Necromunda: House Cawdor Project

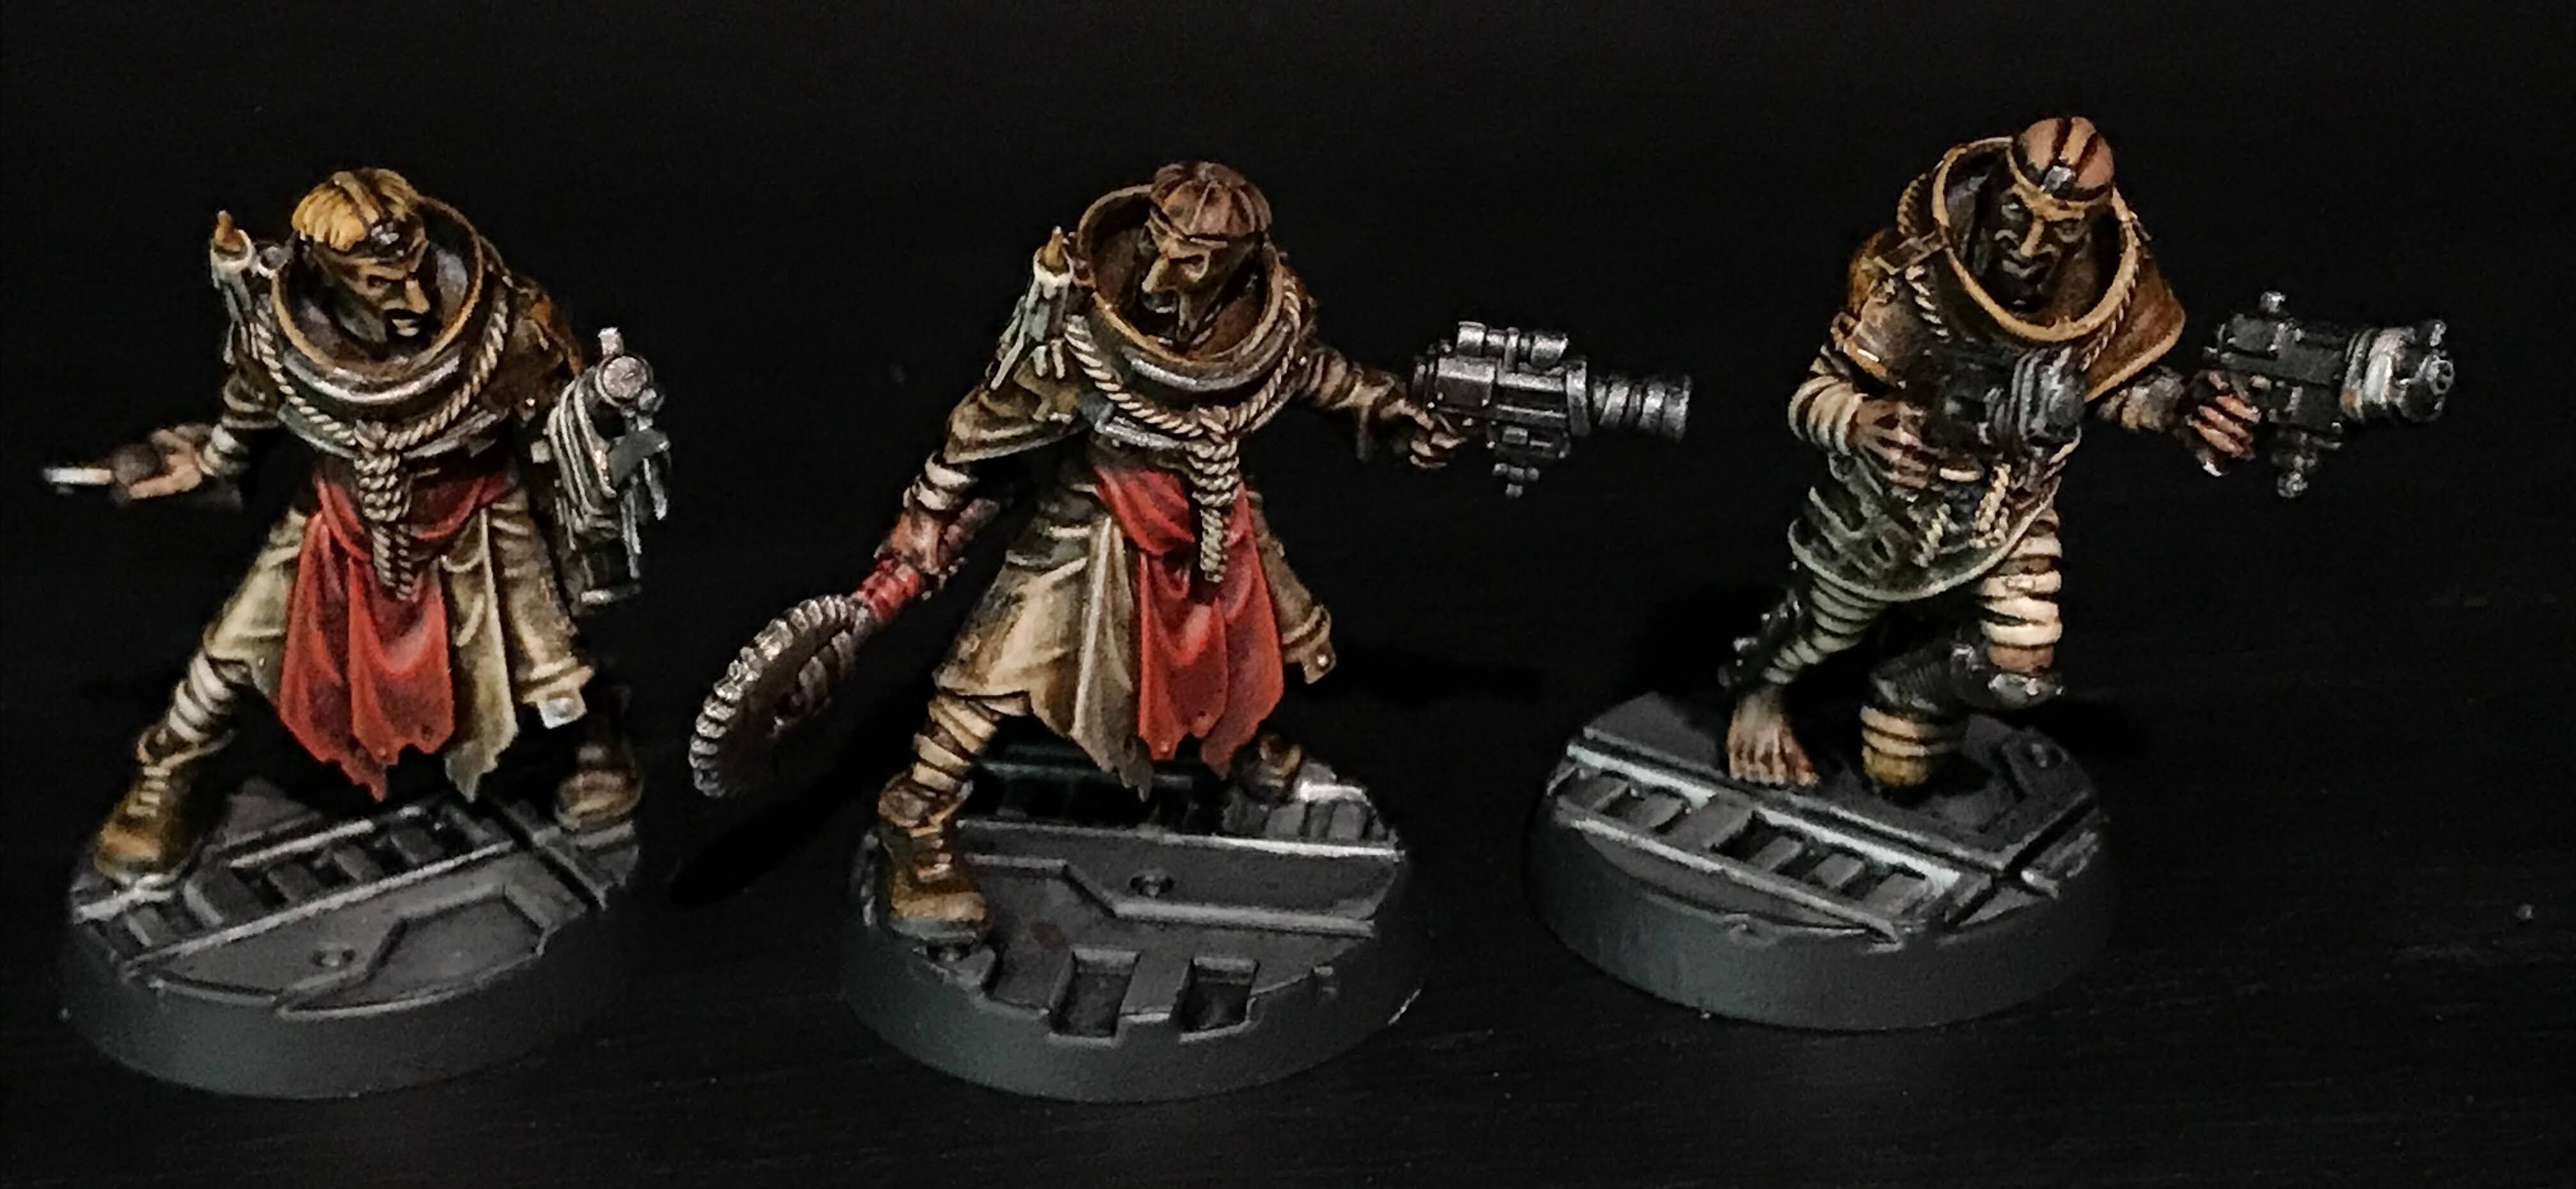
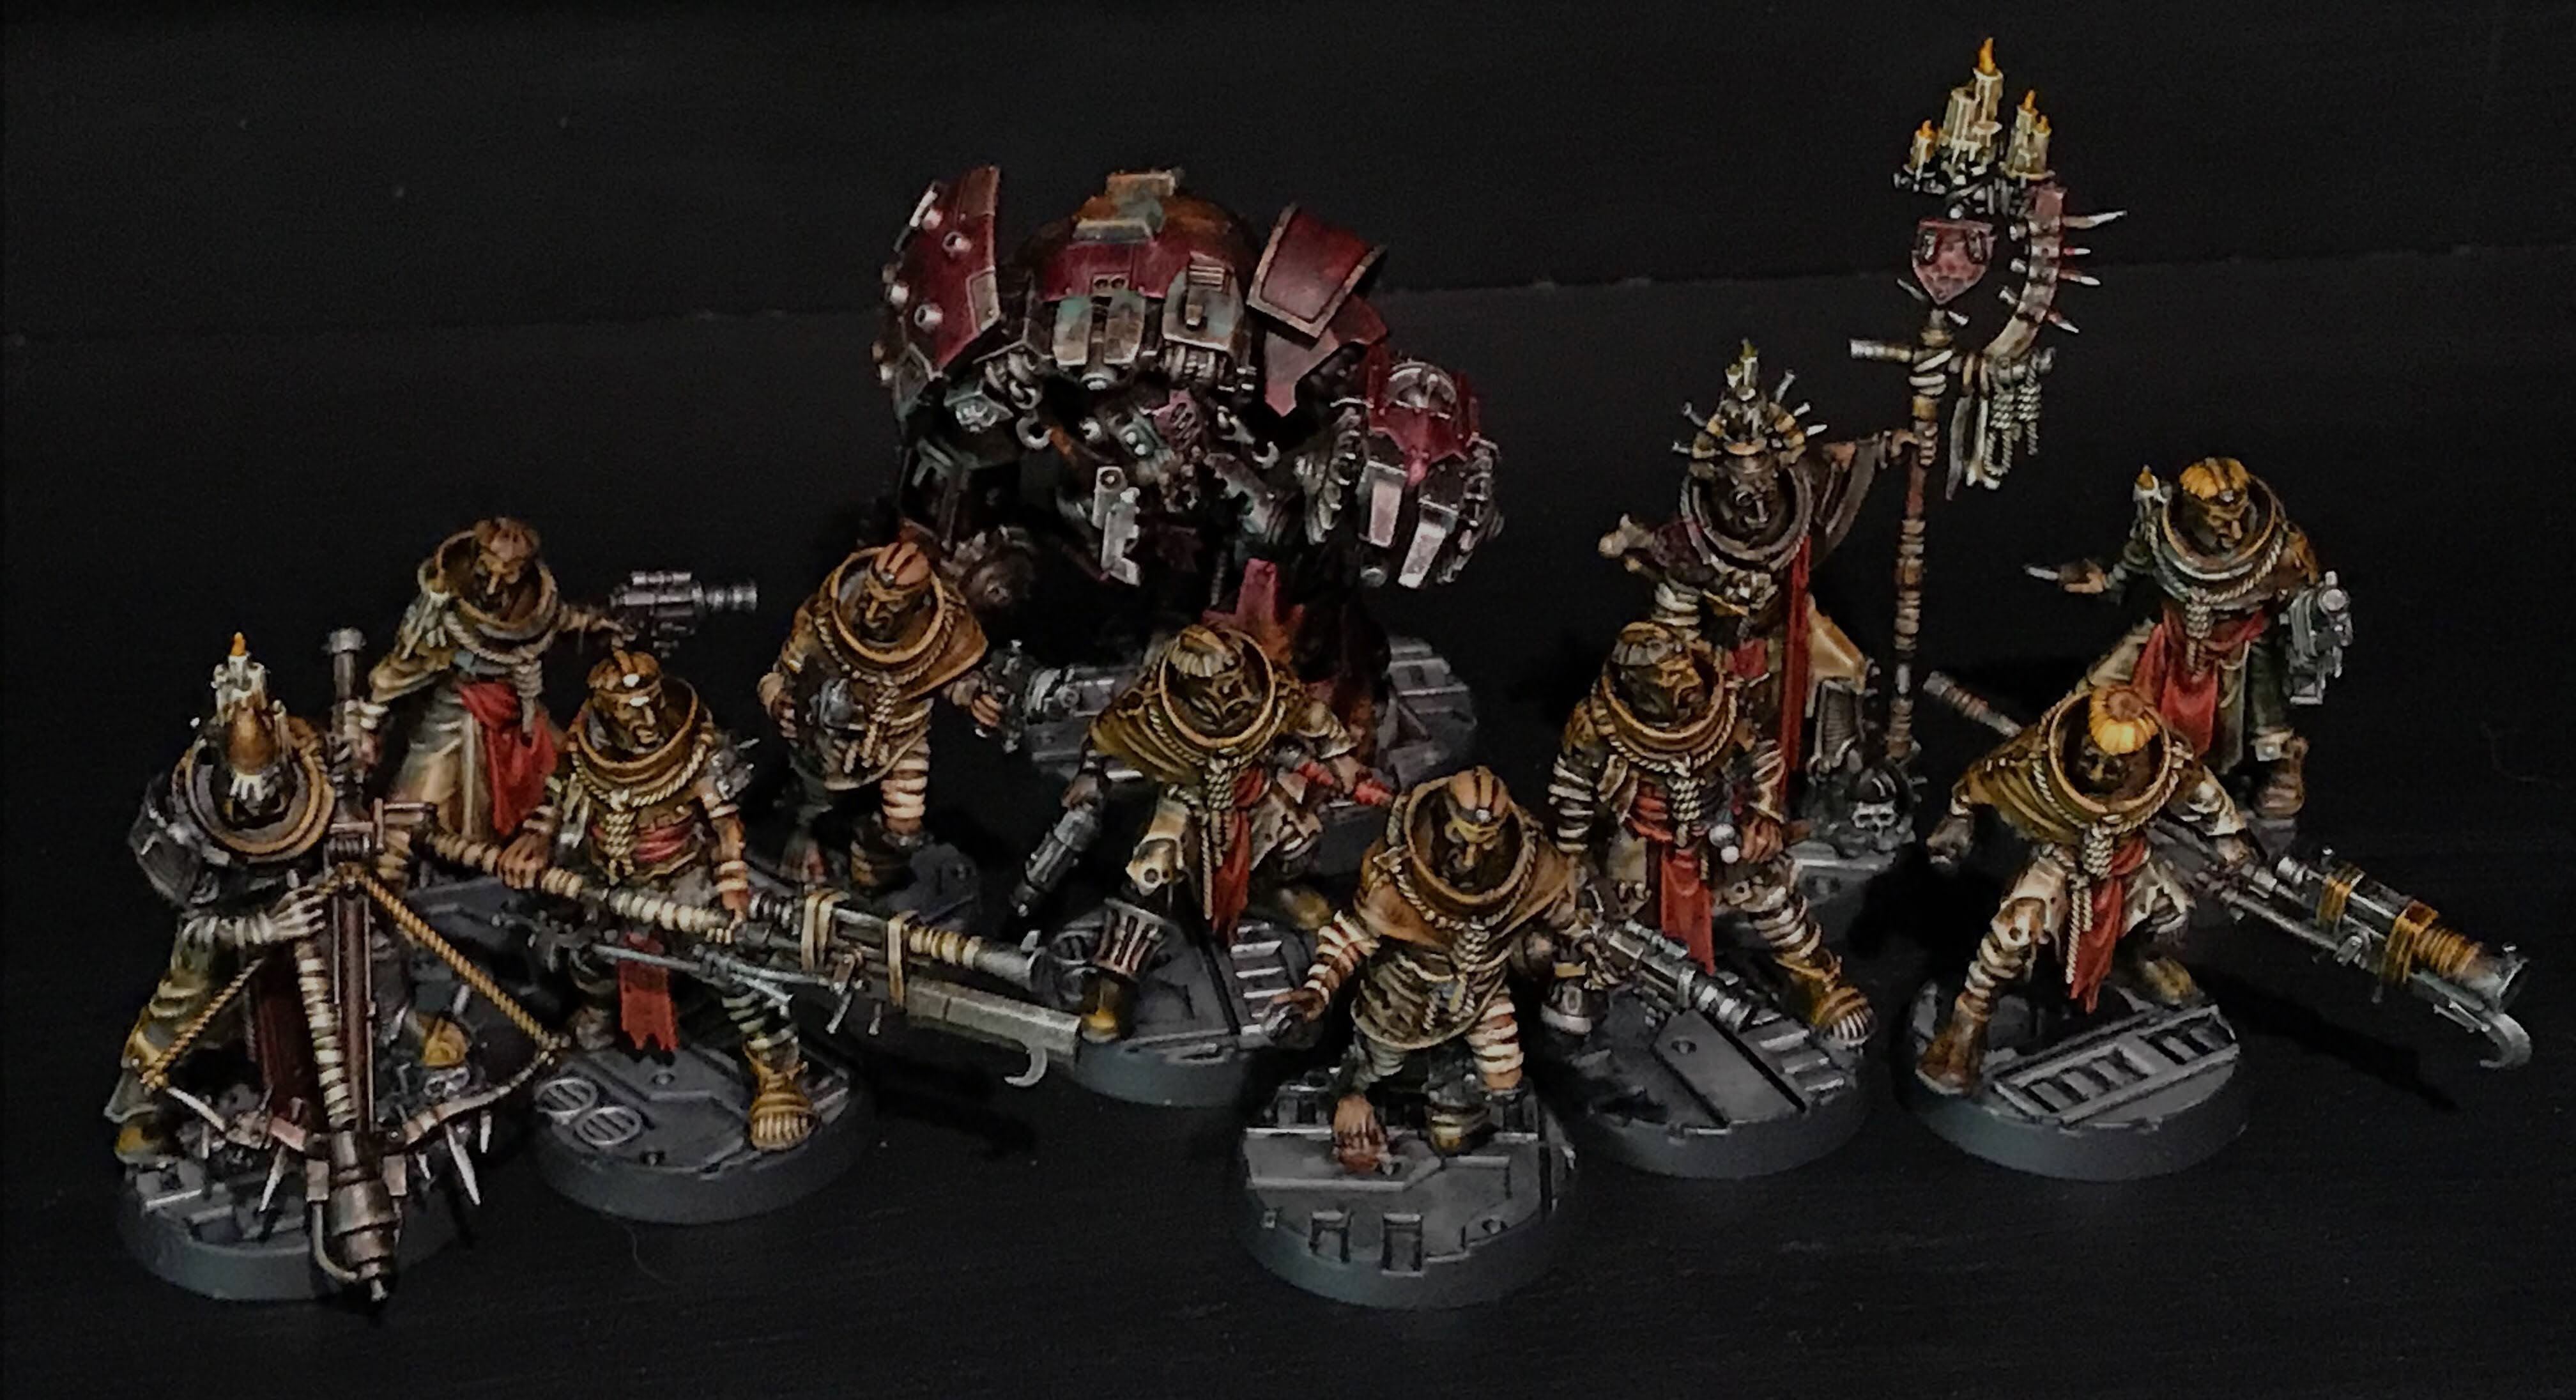
This project is short and sweet. A squad of Necromunda figures with an Ambot for backup.

I have only played a couple of games of Necromunda, and while I enjoyed it I found it overly complicated. And there were a couple of spoofs that players could pull that massively wreck the fun factor, so I won’t be playing again since I already know what any opponent will be fielding. Take out the glue guns, and maybe I’ll think it over again!

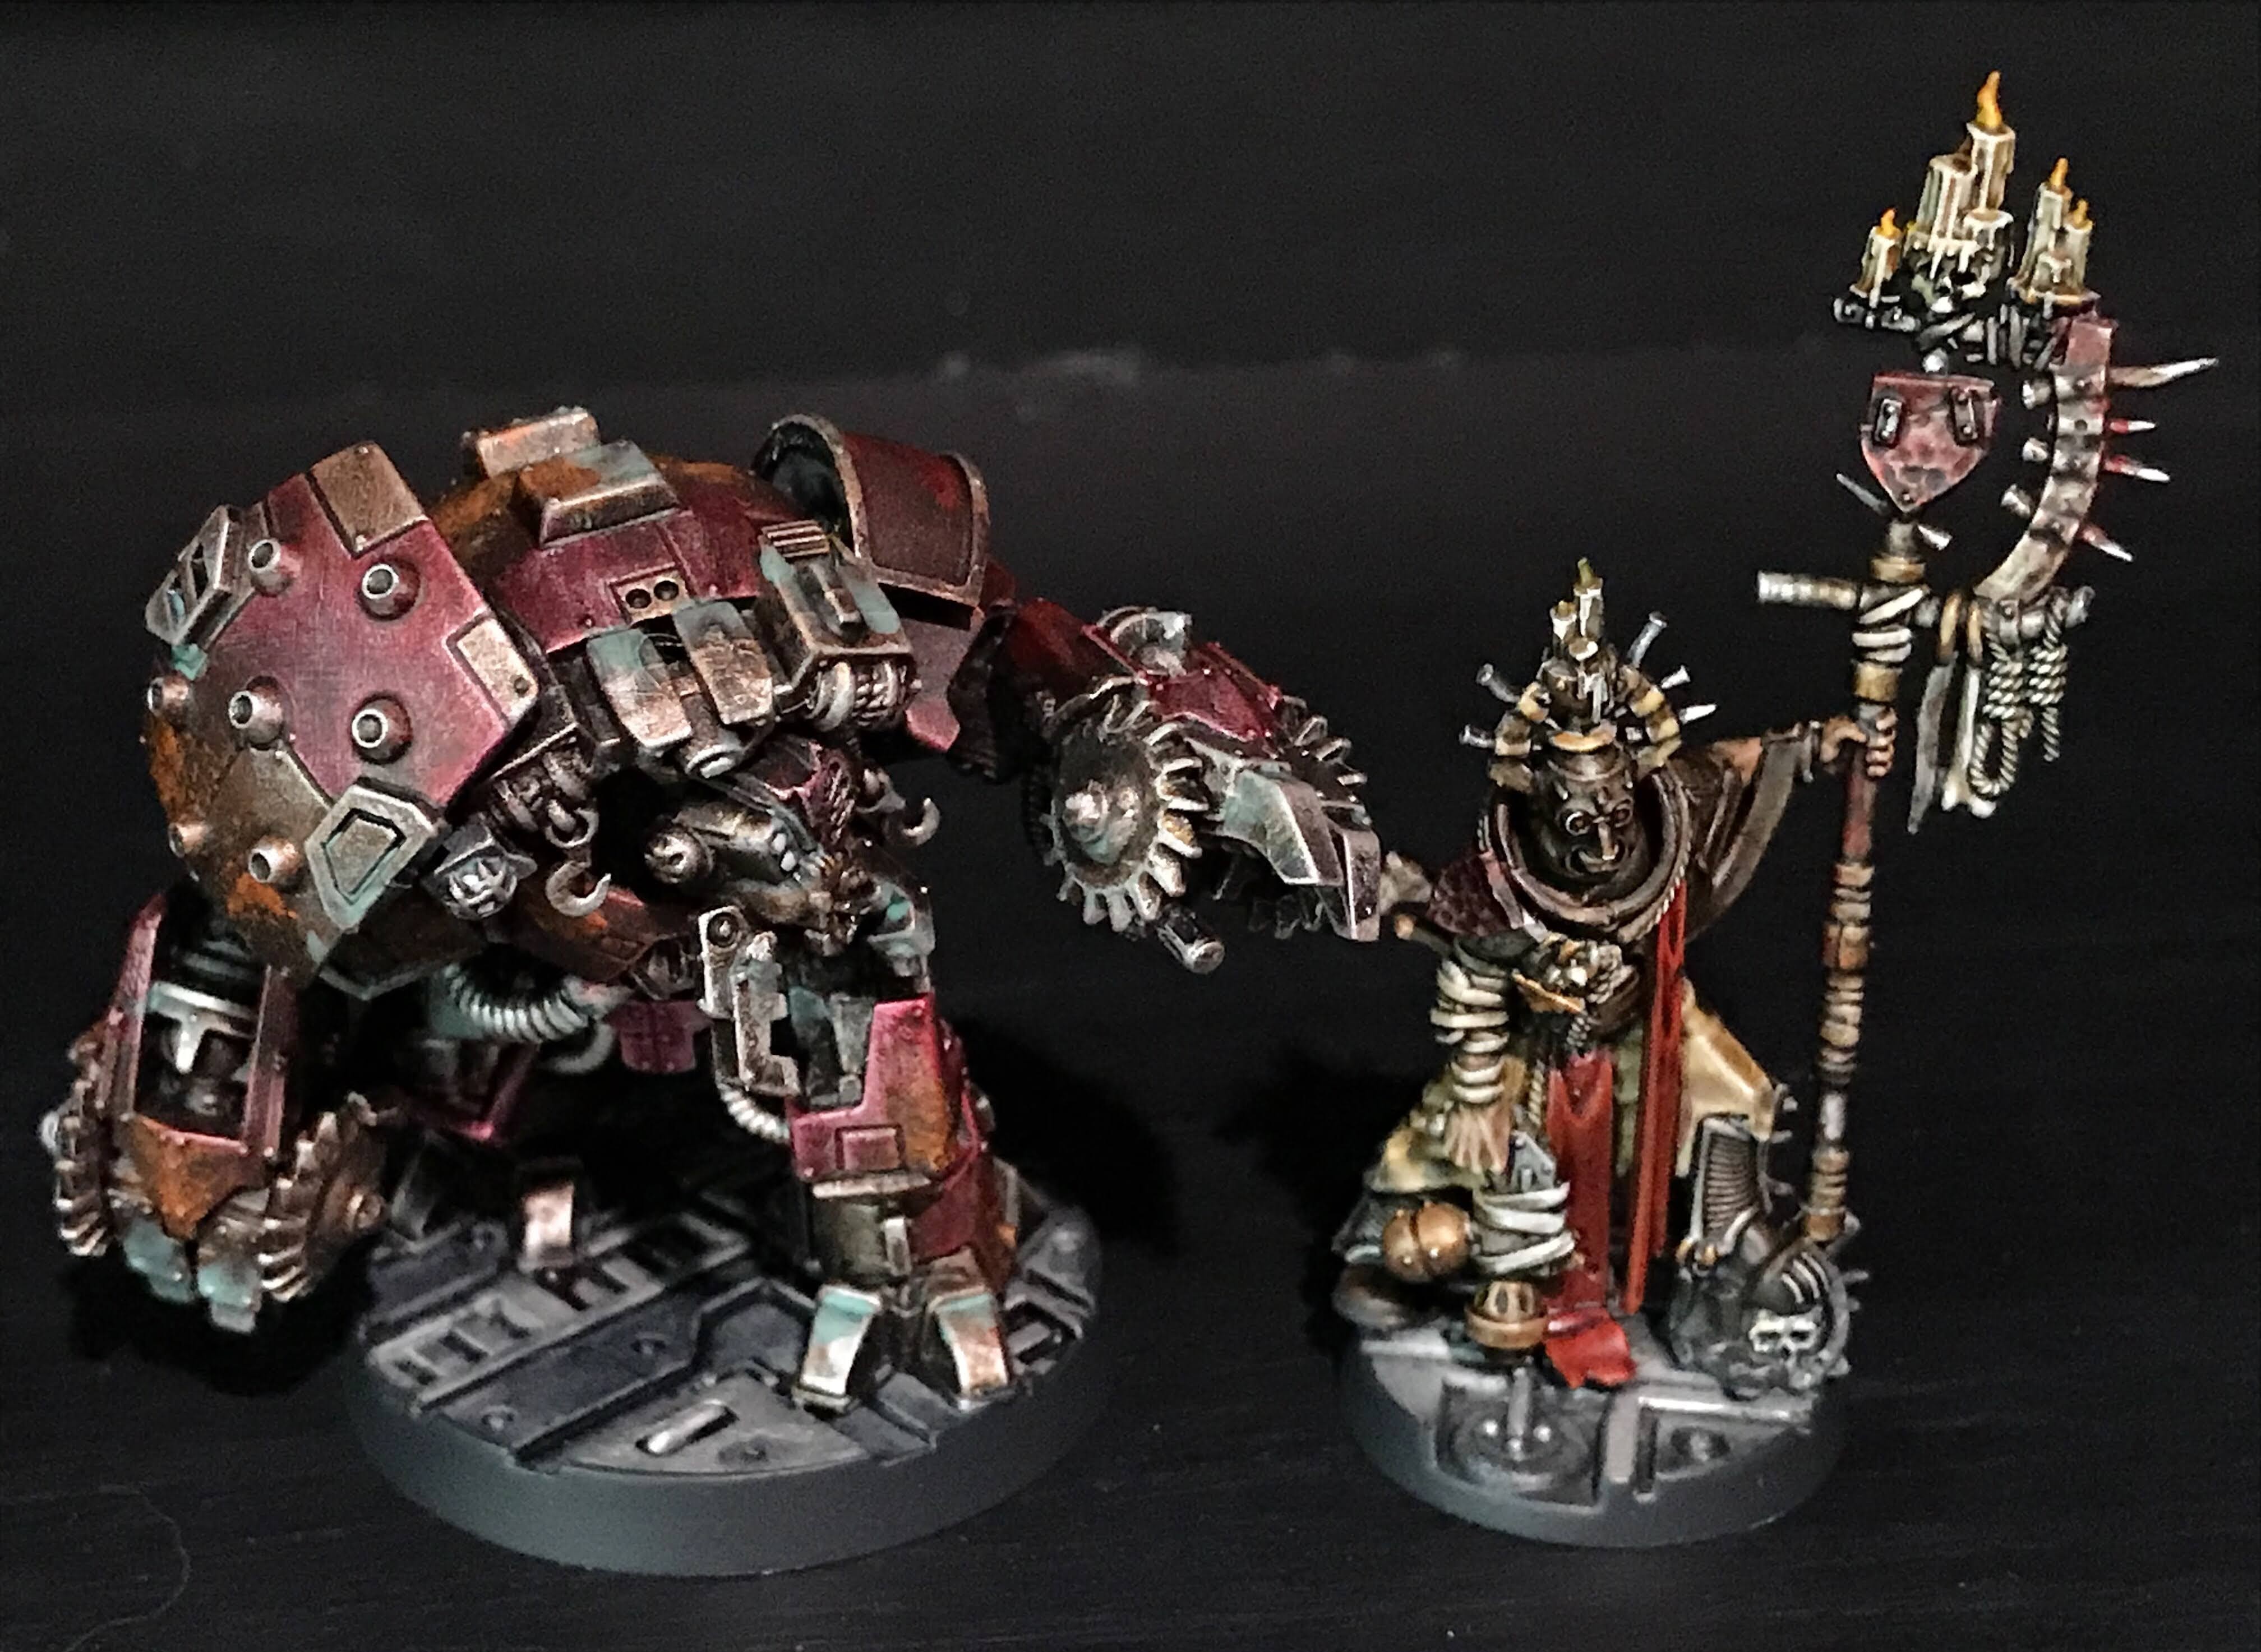
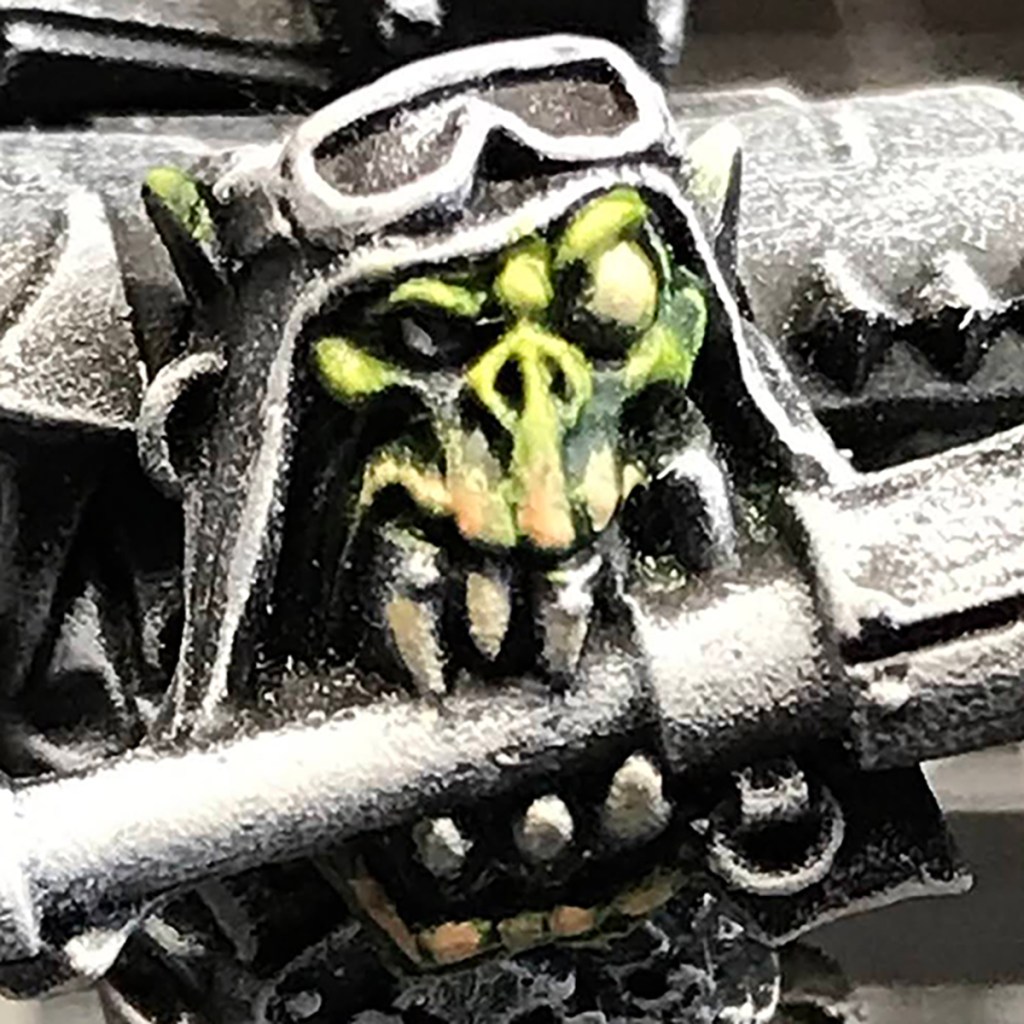
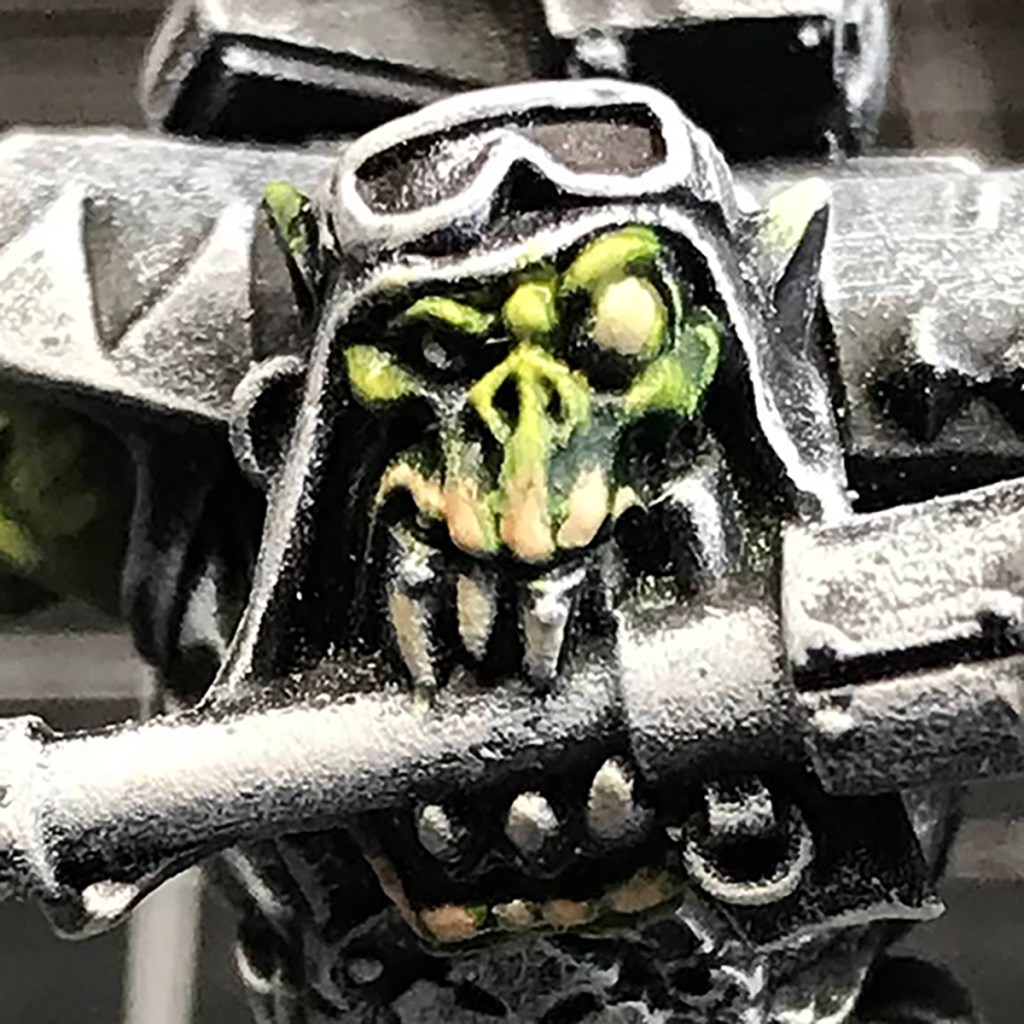
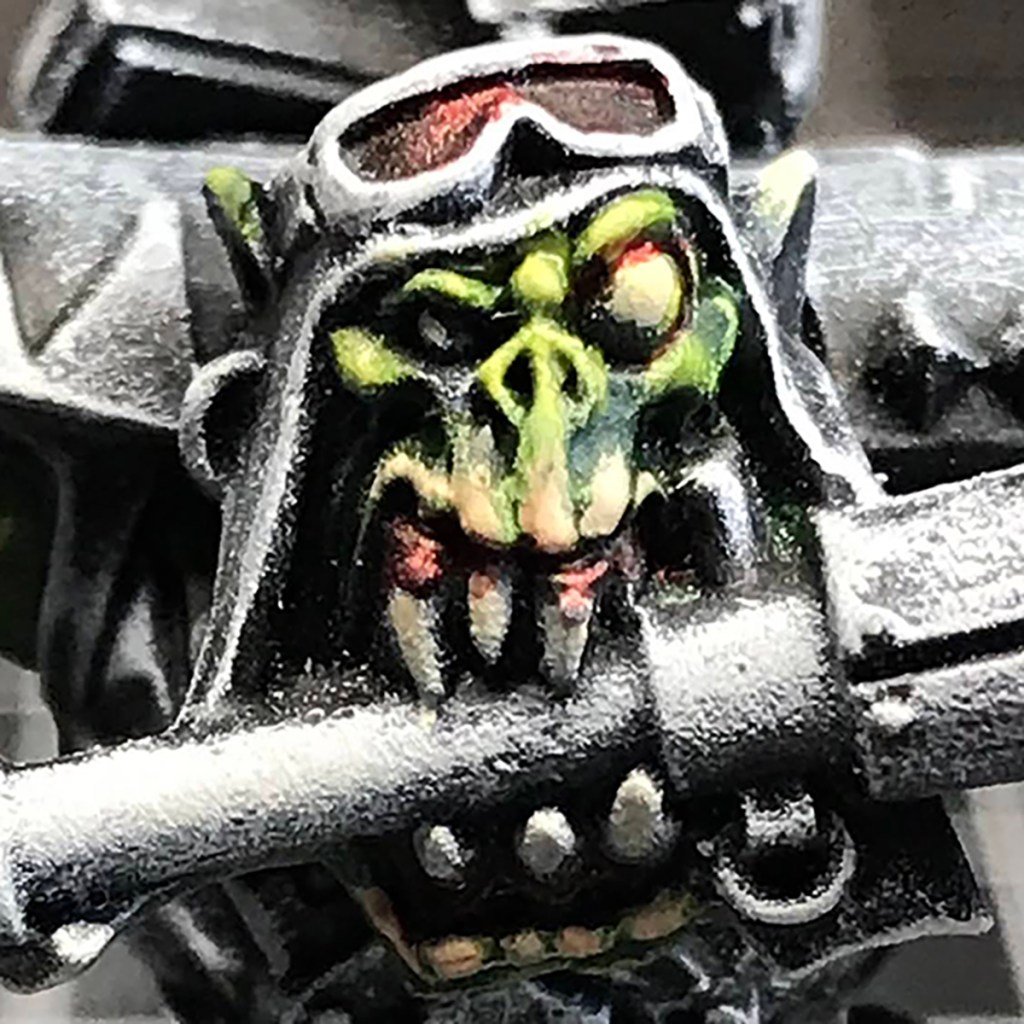
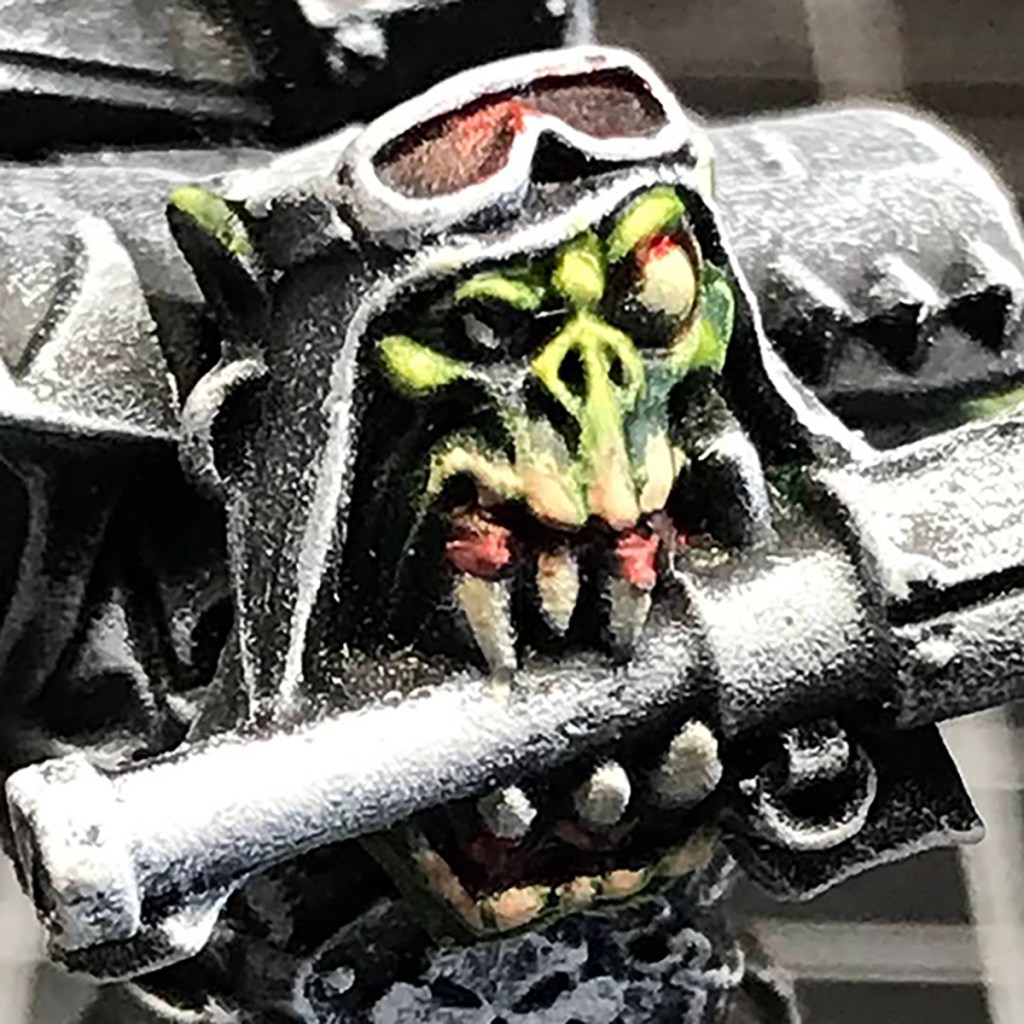
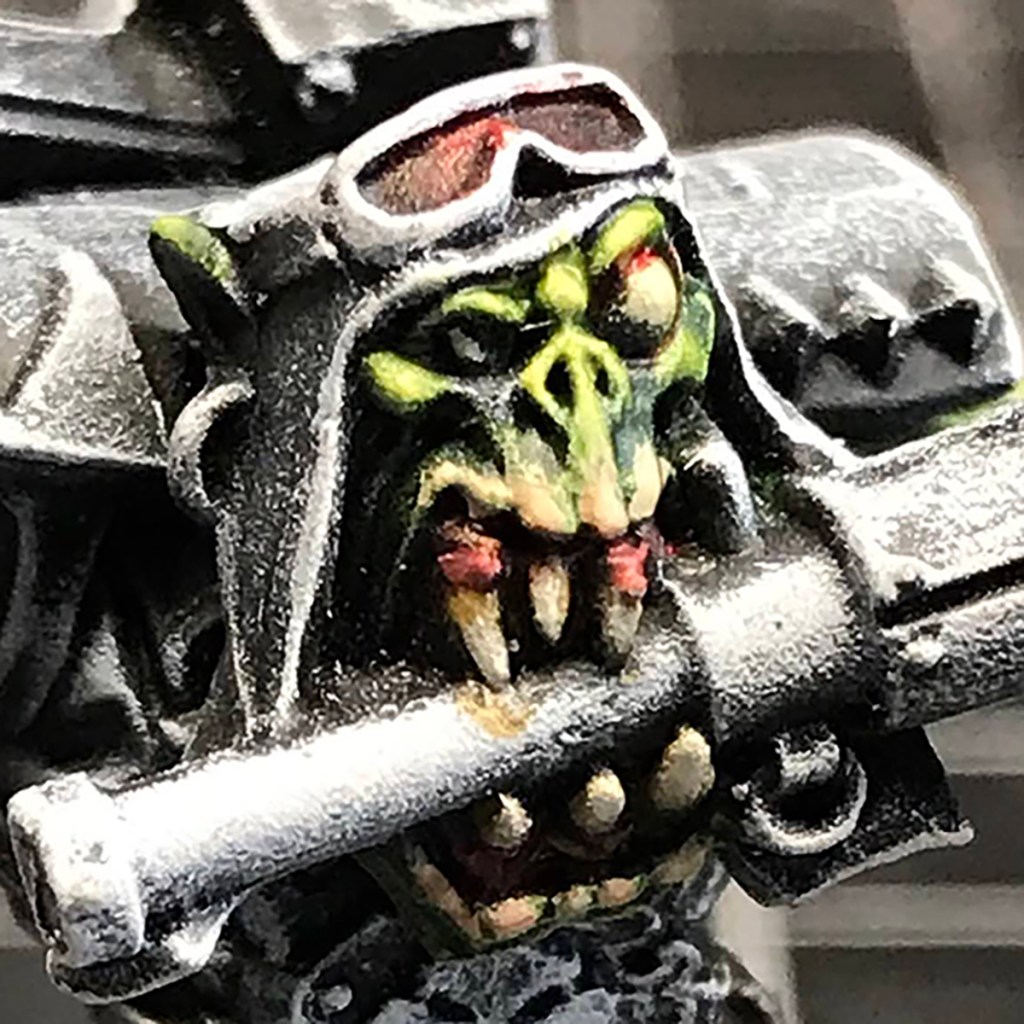
Still, the minis are incredible and full of character, and will work really well with Stargrave, Core Space, and Zone Raiders, so this probably won’t be the last Necromunda set that I pick up!

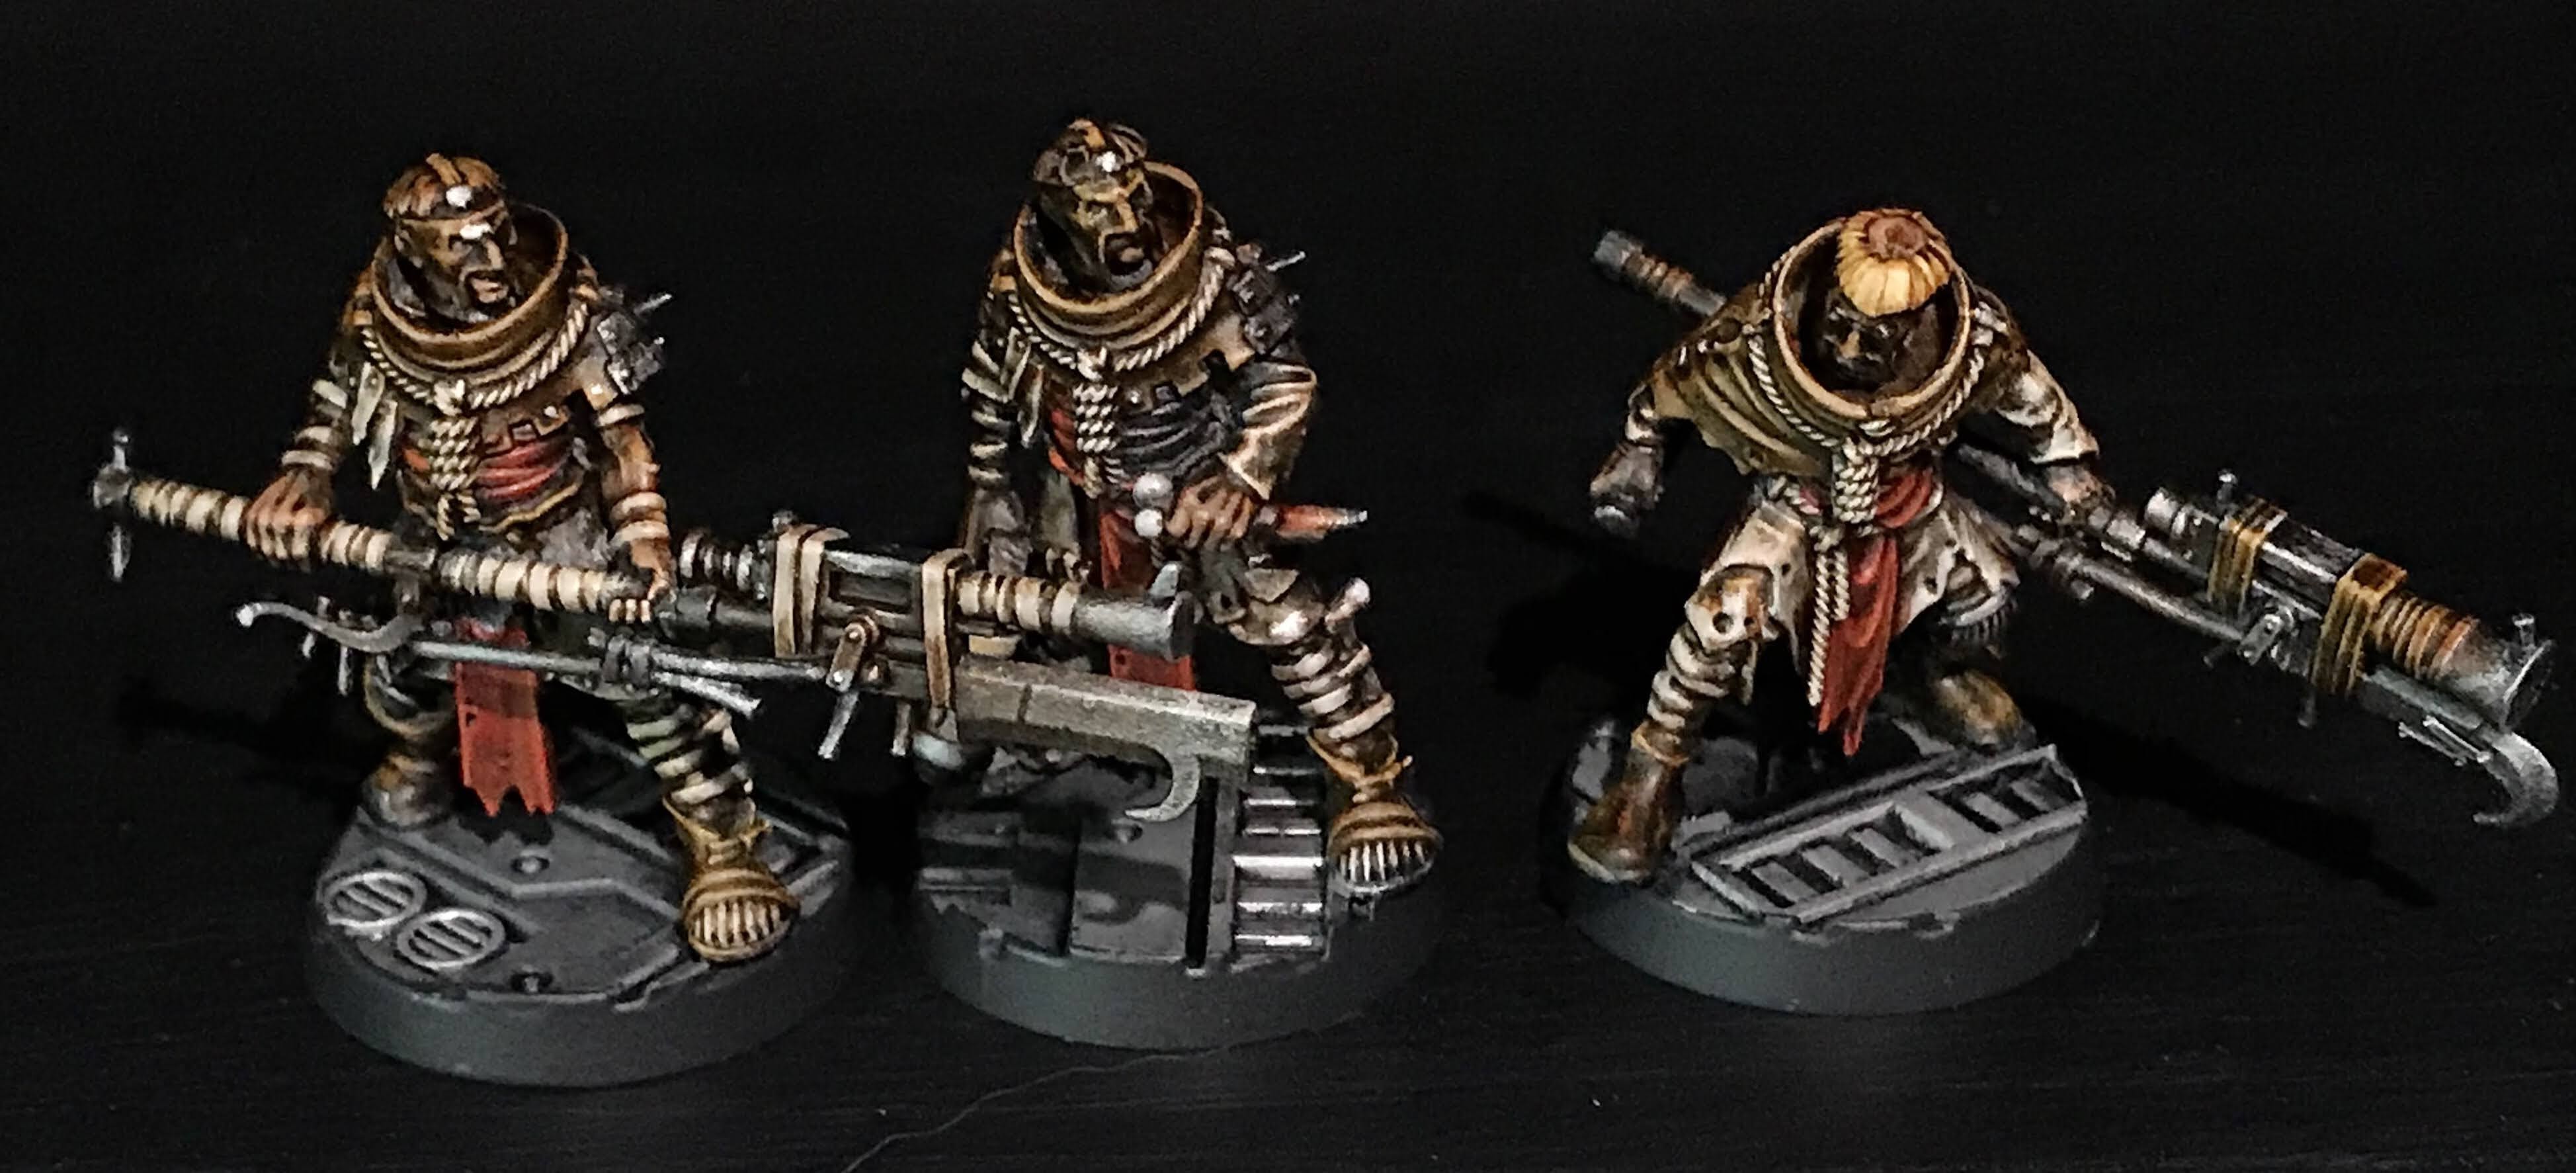
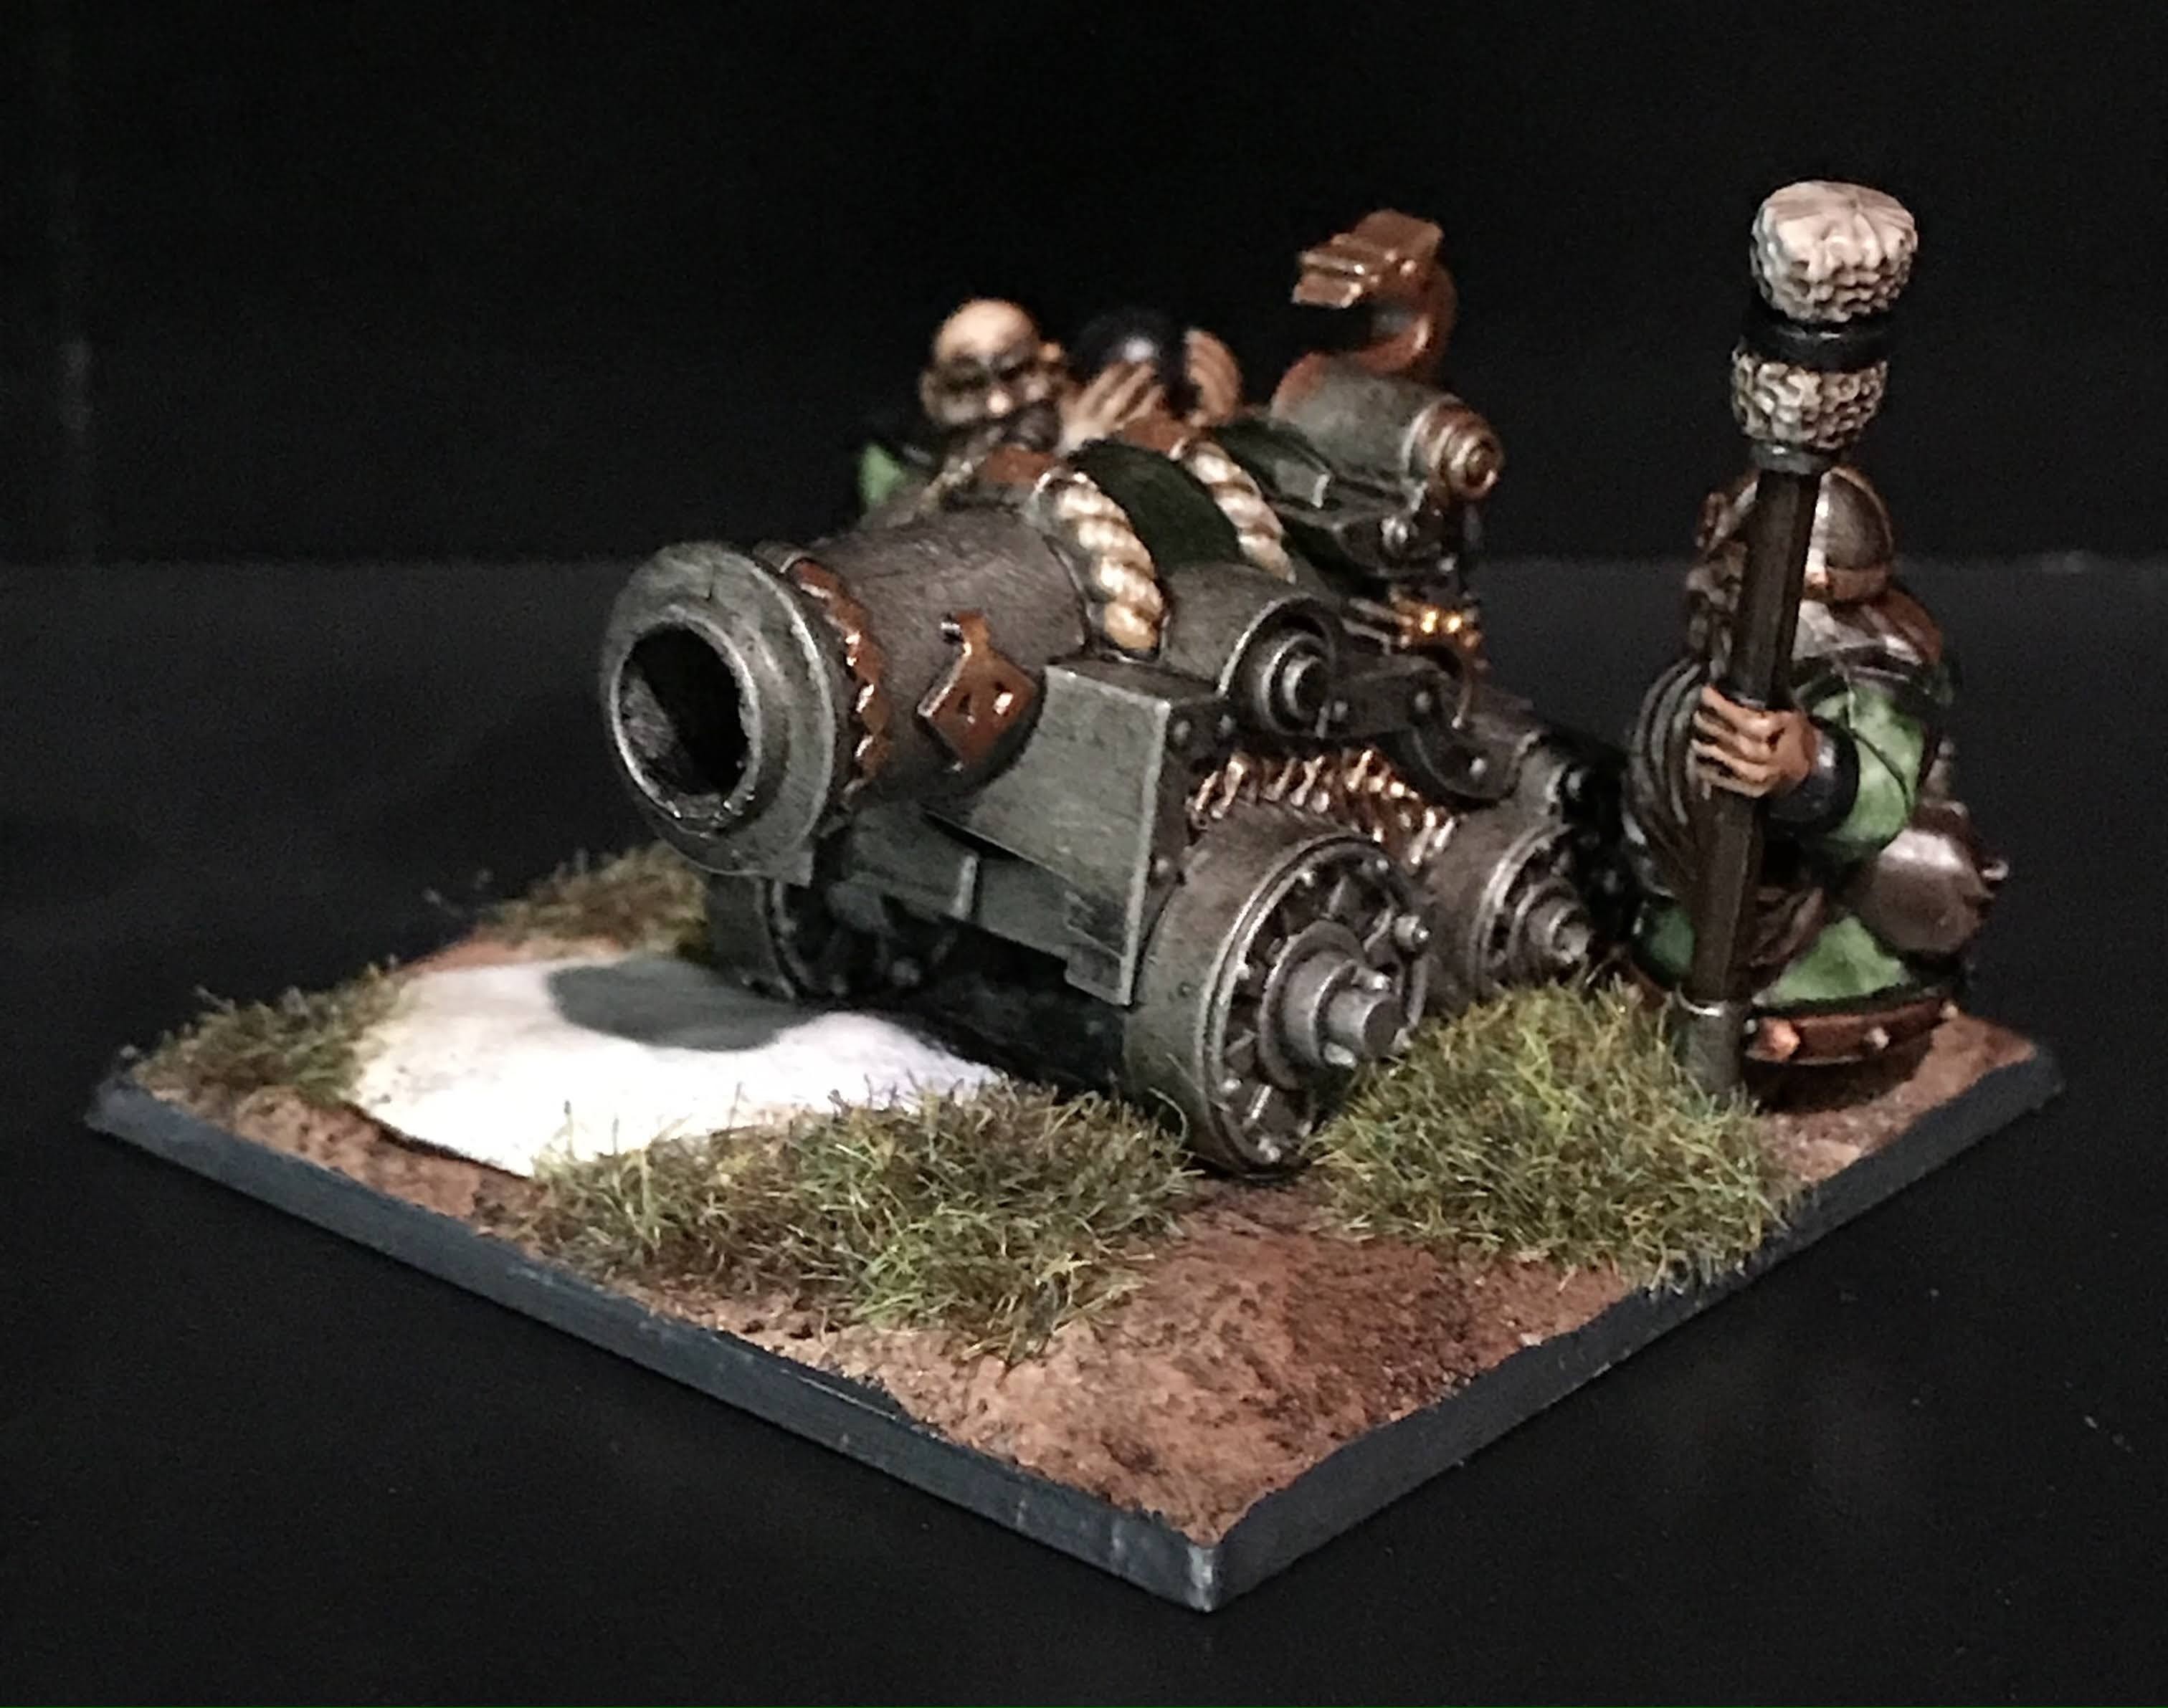
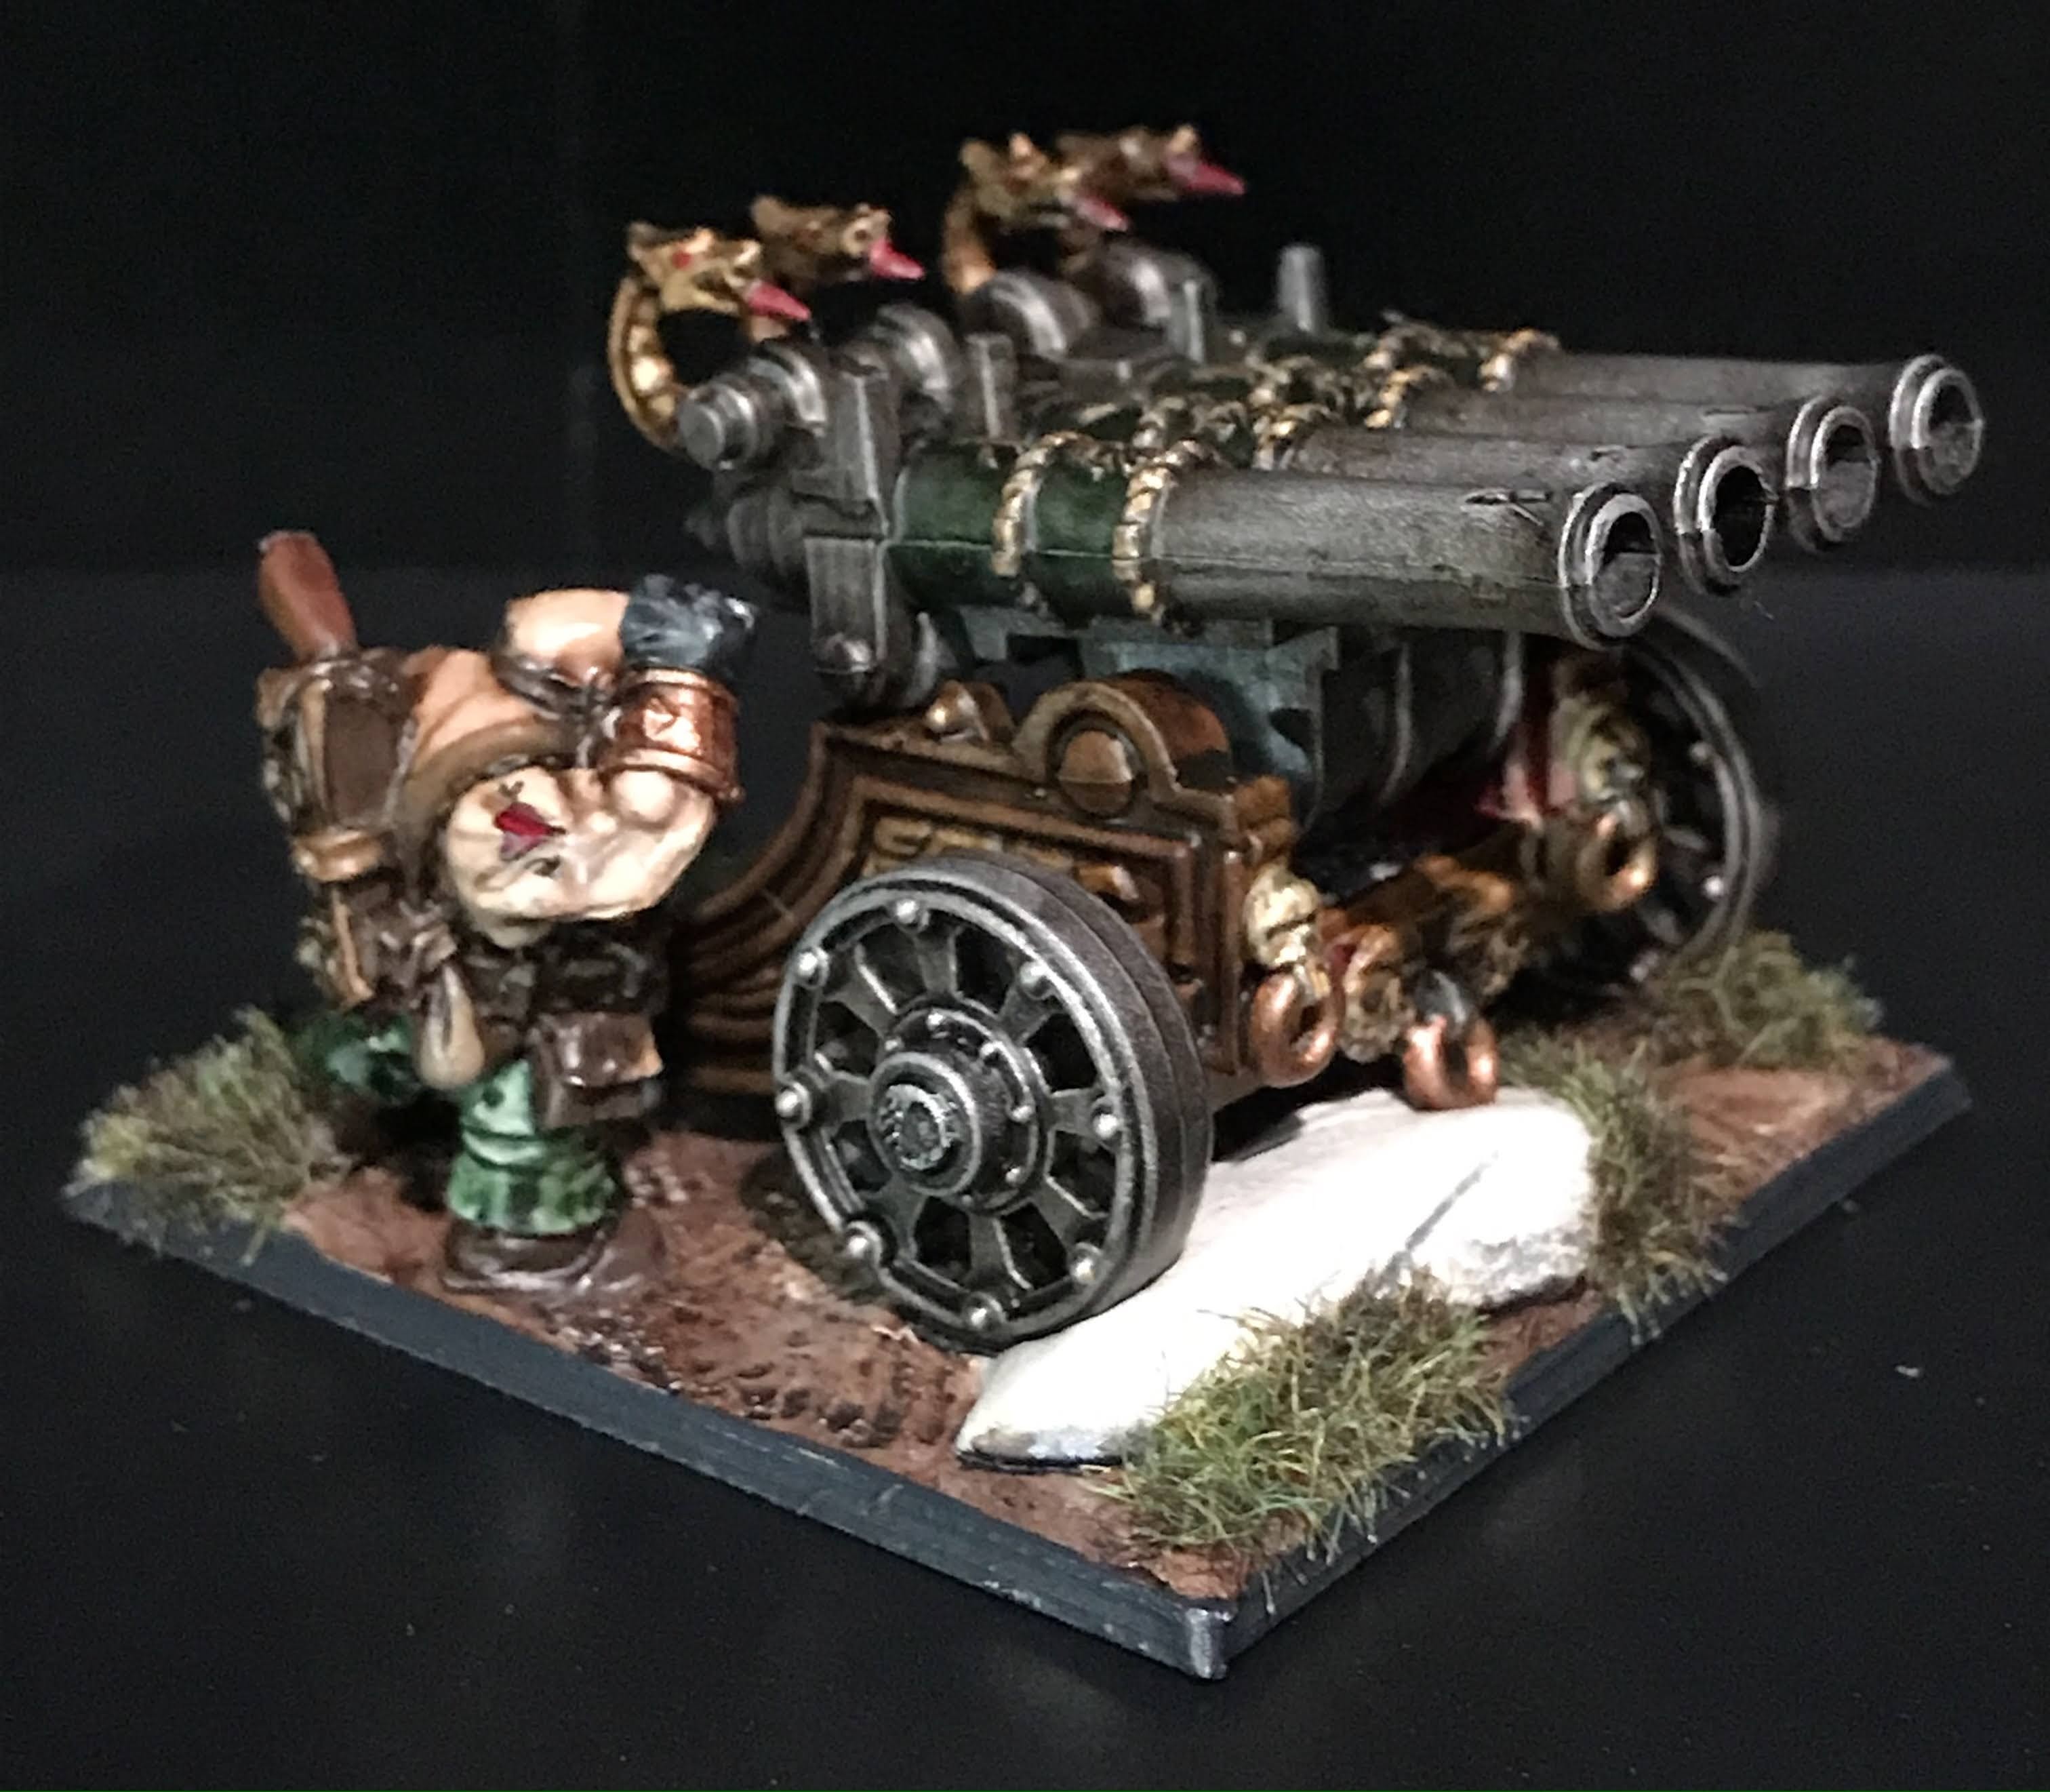
The squad was painted primarily with Citadel Contrast Paints over a zenithal primer coat. Highlights were then layered in to punch of the details, then a diluted wash of Agrax Earthshade was given to tie everything together.

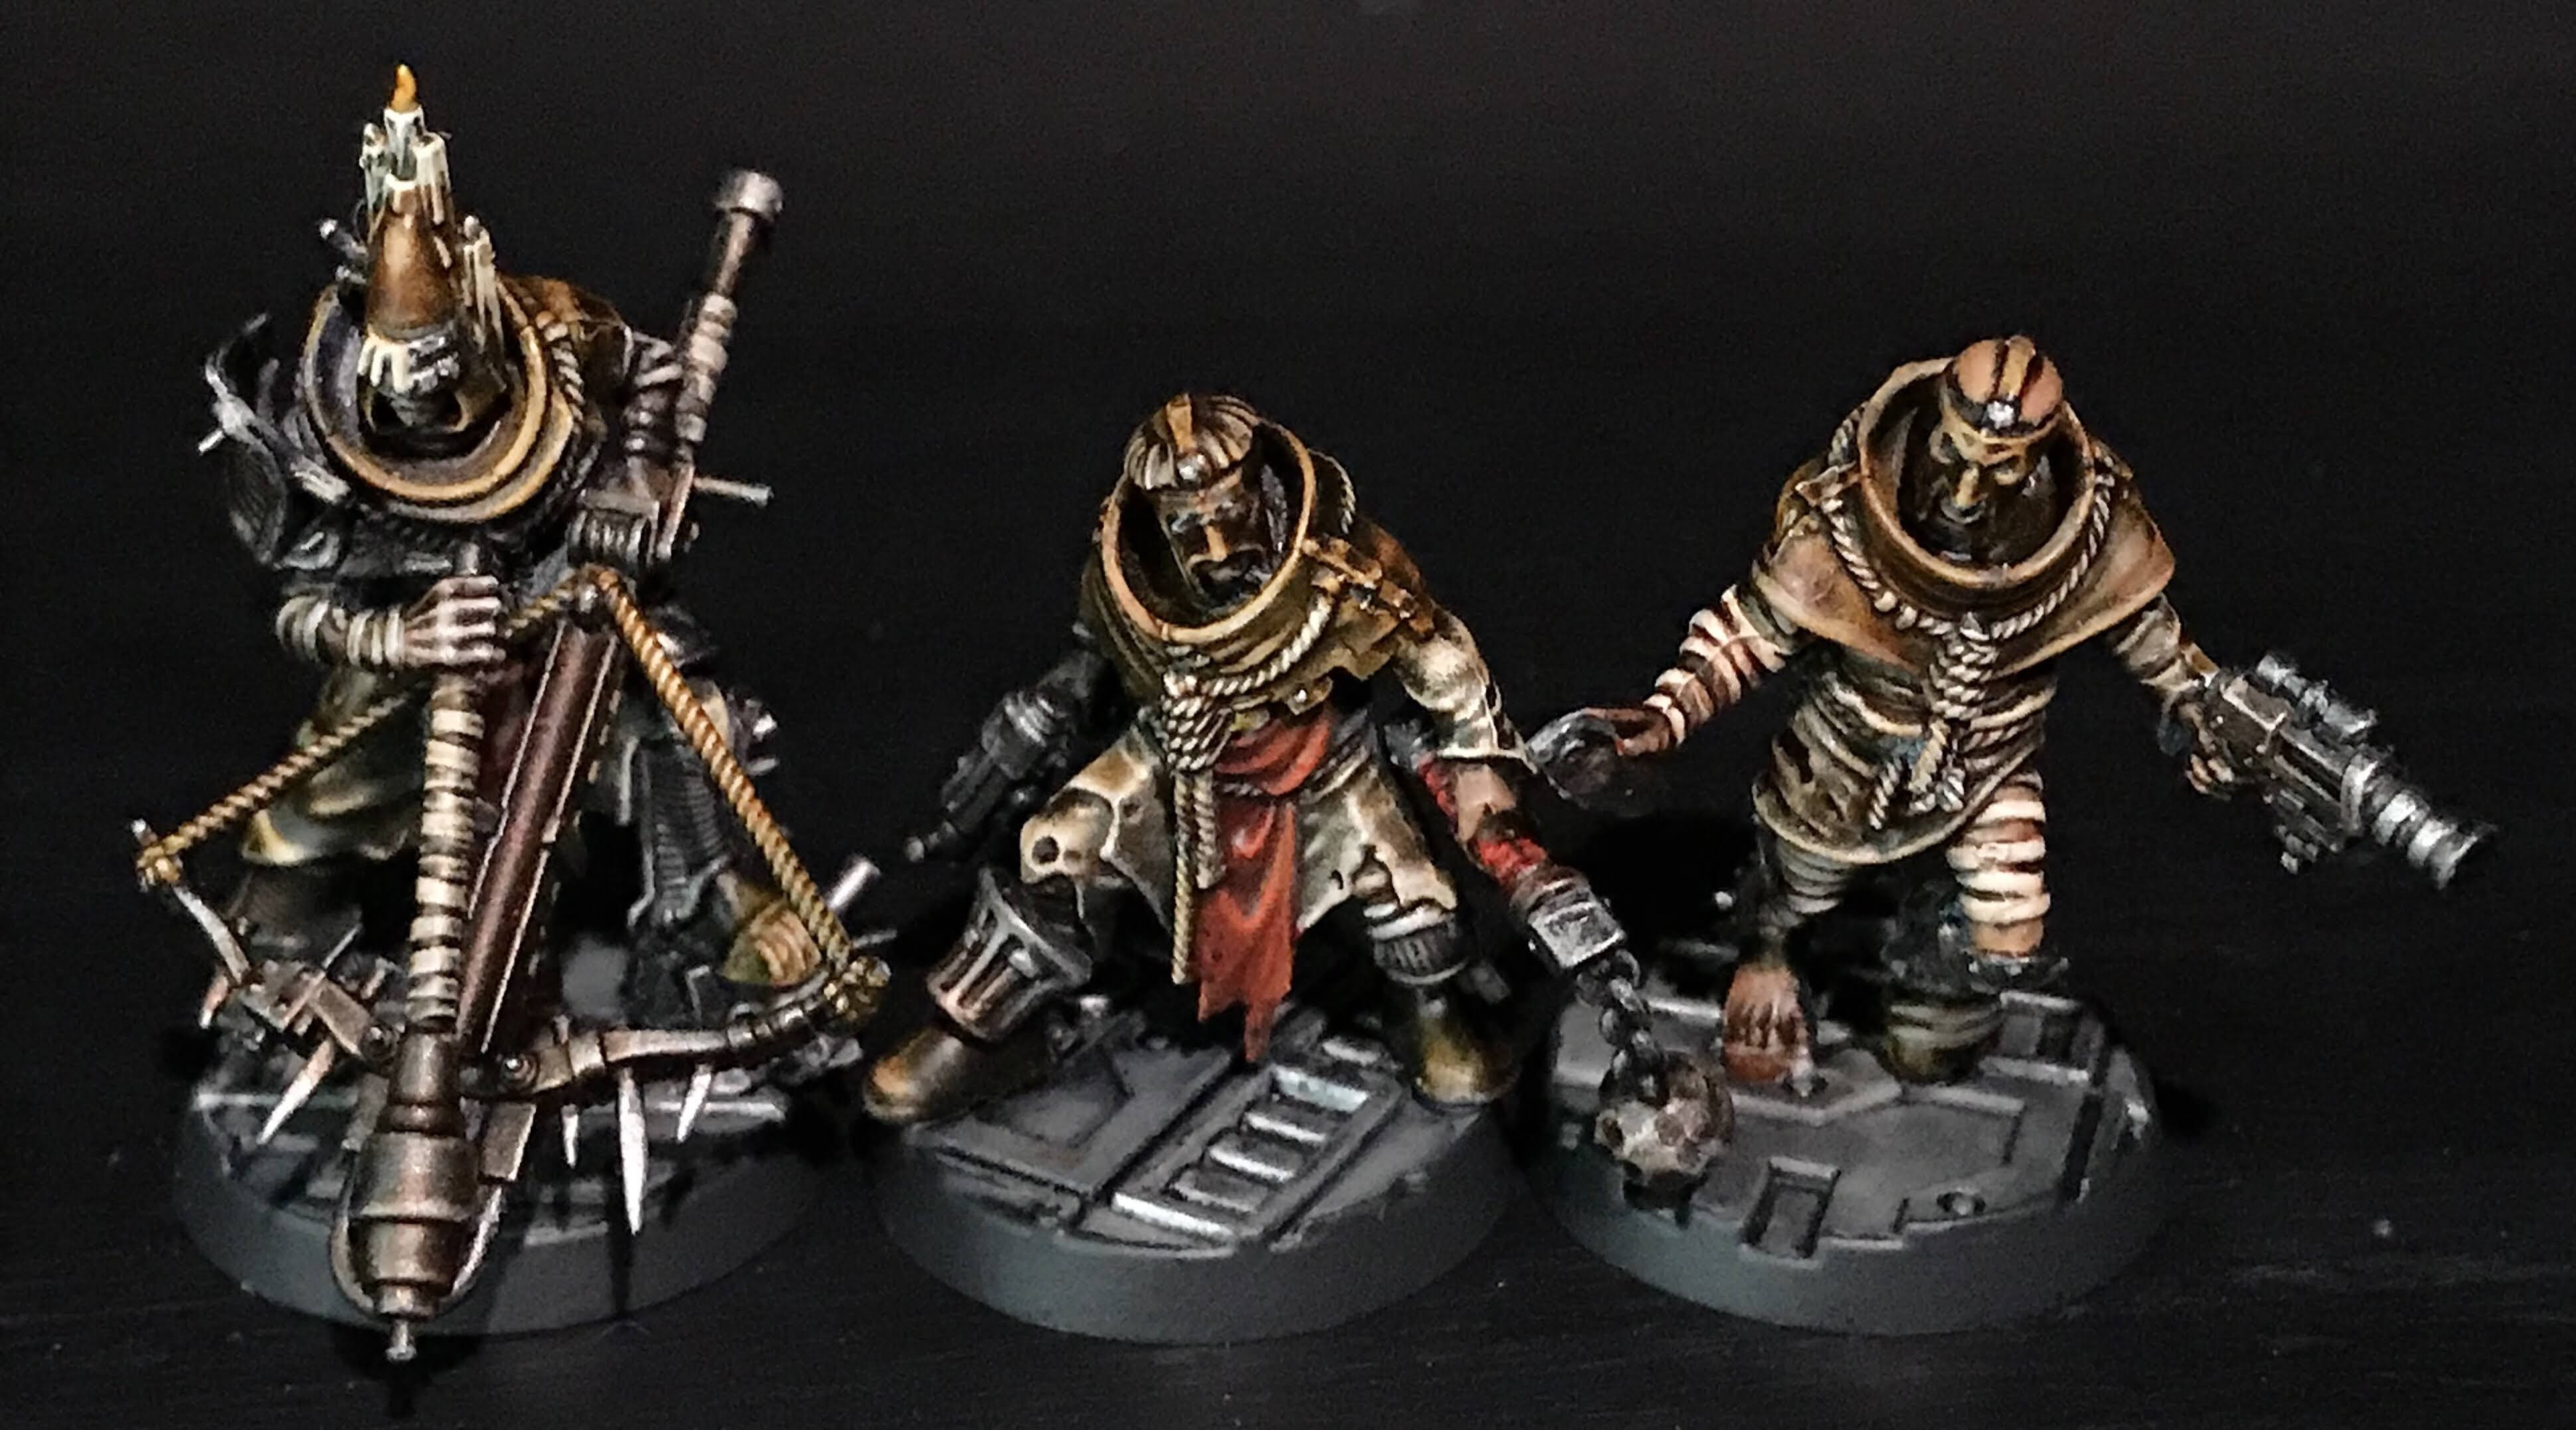
My favorite little detail in the Cawdor kit is the candles a lot of these goofballs have just jutting out of their armor, with the dude with the giant crossbow dealing with dripping wax all over his visor! Great little details that tell their own story. Love it!

Grimmleigh’s Guide to Painting Ork Skin

Since absolutely no one has asked, I thought it would be fun to put together a quick guide to how I paint ork skin. This is a speed paint method that I have been tinkering with for the better part of 20 years, and allows me to get a squad of orks (or goblins, or green dwarves, or emerald halflings) on the table pretty quickly!

Step One:

Start with a good foundation. Deeznudds here was sprayed with a coat of black primer, then I gave him a zenithal highlight pass with gray paint. Then, he got a downward drybrush of light grey paint. I’m going for high-contrast here, so subtlety is absolutely not a goal.


Step Two:

I blocked in the skin with some Sap Green ink from Daler Rowney, mixed with just a tiny bit of airbrush medium to dilute the pigment just a little. With the pre-shading done in step one, the skin could be considered done at this point and look just fine on the table-top…

Step Three:

…but we’re not Barbarians, are we? At this point, I started picking out the upper left side of the highlights with a little bit of yellow paint (Army Builder Babe Blond to be exact). Any light yellow will do the trick. I took a couple of passes to build up the lighter effect.

Step Four:

Why yellow? Well, Padawan, green is made out of yellow and blue, therefore it really likes being highlighted with yellow, and if you need to shade, blue works a wonder. At this step I have mixed a little Army Painter Arid Earth in with my yellow, and my highlights are getting smaller with each layer. It’s also time to paint that manky damned eye.


Step Five:

This step is completely optional, but I really like the effect. I paint in the highlights on the lips with a lighter skin tone, this adds a cool effect to the face and breaks up the monotony of a purely green face.


Step Six:

This is where I block in final highlights on the lips by adding a little Army Painter Arid Earth to the flesh tones. 


Step Seven:

Deeznuddz is looking pretty fierce, it’s time to line his gums and his manky damned eye with some Flesh Tearers Red Contrast Paint from Citadel.I also painted in his teeth with some Menoth White Highlight from Studio P3.

Step Eight:

The gums get a little highlight action by adding a little Army Builder Arid Earth to the Flesh Tearers Red. Yes, I do try to highlight with the same color, good eye! This is a good place to coat the teeth with some Skeleton Horde Contrast Paint from Citadel.

Step Nine:

At this point, all that’s left is the teeth. Since highlighting with a yellow based paint won’t give me the effect I’m looking for, I’ll be using Menoth White Highlight from Studio P3. Deeznuddz is ready to smash some skulls!

The same technique that was used on this face works perfectly for any green skin, whether it’s arms, torsos, or even squishy little goblins. Have fun!

Now, the colors may seem a bit washed out, but that’s because we’re looking at this guy much bigger than he is in real life. Look at your screen at about what his real world size would be, and you’ll see what I mean!

If you enjoyed this guide, let me know! I’m thinking about starting a series to help people navigate learning to paint miniatures!

Kings of War: Heroes of Iron and Stone (KoW Dwarf Project, part 5)

The Kings of War project I started last year is one of those giant undertakings that I really struggle with. I’m not much of a horde painter when it comes to miniatures, I would much rather paint up a dozen minis and focus on skirmish games, but there is something about the enthusiasm of my local KoW group that is a little infectious.

I have a couple of good, solid core groups put together, and my command minis have arrived from Durgin Paint Forge in Italy, so I have some great character options for my Vanguard detachments.

What we need now is some artillery. Big, brash cannons and terrible engines of war. With Dwarves, you need a bit, too. Or just stay home.

The first two cannons are plastic hold-overs from a box of Dwarves I picked up from a friend. A couple of quick multi-bases later, and these standard cannons are ready for action!

The organ gun is also a plastic kit, but it looks cool and actually has a stat line in KoW, so that’s even better!

The Flame Belcher is the only vintage mini in this group, and it dates back at least 20 years or more from the classic Games Workshop Dwarves line. And, don’t you know it, there is a stat line for this one, too!

It’s going to be a lot of fun seeing these models back in action! Now all we need to do is get this pandemic under control, and let the heavens rain fire! At least the heavens in my games.

Marvel Crisis Protocol: Green and Mean in Asgard

There is something about the color green that inspired Jack Kirby to make his more evil-inclined Asgardians follow a jade hue. Or, perhaps it’s because they the green of Enchantress, Hela, and Loki contrast the overwhelming pop of Thor’s red cape so well. Regardless, it seems like the three primary Asgardian baddies really dig their green duds!

So far, Loki and Hela are the only “evil” Asgardians that Atomic Mass Games has released, and I finally got a chance to get them painted up!

Hela is a lot of fun, with a sculpt that kind of hints at the casual immensity of her power. I have been experimenting with a new speed paint technique, which came together pretty well with her.

Loki is pulling the inspiration for his look from the more recent comics, with a pretty nice coat and a smirk that speaks volumes.

The magic effect for both was created by layering thinned inks over silver, which looks pretty cool in person. In photos, it’s really hard to see the effect working!

I used the same effect on the stone in Loki’s scepter, with a little plasma blue painted over silver. It’s not perfect, and I’ll probably play with it a lot more before I get it to where I want it!

There’s another pack coming soon with Enchantress and Angela, which is cool, but I would rather have Sif packed in with Enchantress if I’m being completely honest. Angela may be a Marvel character now, but she really feels like an eternal Spawn character to me. Still, I’ll be happy to see them in the collection!