Scratch-Built Fantasy Village, Part 5

Things start to come together quick at this point in a project! Now that the base is dry, I brushed on a solid coat of cheap brown acrylic craft paint. This is about the only thing that I use cheap craft paint on– it’s perfect for this kind of job!

img_3545

Now that the base color is down, a couple of dry-brush passes bring the base closer to what I’m looking for. I also paint in a layer of green for the moat, which will get filled with clear resin later. The stone work that I carved in earlier gets a coat of grey paint, which will get some highlights and shading later.

img_3546

Color blocking is done, so now it’s time for flock. I use a couple of different colors of flocking, and will use some tufts, too. Foliage is never a uniform color or height, right?

img_3547

I took some ground up dried leaves and stuck them to the bottom of the moat with watered down white glue. Shrubbery is the last step here, which has to be glued down using super glue.

img_3548

Next up, it’s time to fill that moat and glue down the building!

First Warband for ‘Rangers of Shadow Deep’

It took some time management to wrangle this project to completion! I have about a dozen projects in progress right now, and the part of me that launches that many projects kind of hates to see one get crossed off. But Lila Moonshadow, my intrepid half-ranger, finally has her company assembled!

img_3559

As per my own rules for my Rangers of Shadow Deep campaign, each of the models will need to be printed at home and painted before they see play. I will make a few exceptions where needed, but the Company of the Moonshadow were all printed on my Elegoo Mars and a dream to paint.

Erdwyn Ghost-Step and Morlaine DeShayne are the newest members of the party. Erdwyn is your classic rogue, choosing a life in the shadows over renown and glory. Morlain has been traveling the countryside, looking for a cause to swear her sword to. In Rangers of Shadow Deep Morlaine would be a Swordsman, but I’m changing the class to Sworn Sword.

img_3561

Lila’s oldest companions came with her when she set out on her quest. The Dwarfen Barbarian Gino Stonefist has known Lila since she was an apprentice, when he was tasked to guide her through the Crimsonthorn wilds. They became fast friends, and were eventually joined by Bromwyd Stoutshield, Gino’s impetuous nephew. Browmwyd is a man-at-arms, while Gino, of course, is a barbarian.

img_3560

Now that the party is done. I need to finish up the rest of the monsters for the first encounter, get some buildings put together, and finish up the design on my stat cards!

Scratch-Build Fantasy Village, Part 4

The bulk of the first building is done, but it was looking kind of sad on its own. This here project was in pretty dire need of some elevation. Lucky me, there is quite a bit of MDF just hanging out in the garage looking for a project connection!

img_3497

First things first, I cut some blocks of blue insulation foam with my trusty Proxon foam cutter. Then I cut a deep recess into one of those blocks, and cut up the recess to make some narrow stairs. I used a ballpoint pen to carve in some stone detail.

img_3539

I place used the building to make sure that the separate blocks were far enough apart, and glued them down to the MDF. Then it was time to use some Celluclay to bulk out the base to make the whole thing look like mounds of earth.

img_3540

Next, I shaped the MDF with a saw and a small detail sander. Once I got the shape down, it was time to build up some more earthen mounds around the stairs leading to the tower.

img_3544

Now to wait for everything to dry, and then get some paint down on this!


‘Gloomhaven’ Paint Project, Part One

My friend (and Geekshow MVP) Rebecca Frost was talking about Gloomhaven one day, and I kind of lost my mind. I had to paint them. Why? Well, I had never seen them before. Here was a game set in the fantasy genre that I had never seen, let alone painted.

img_3518

Luckily, Rebecca didn’t call the police, and I was able to get started on the first batch of six figs. I don’t know what they are, who they are, or why they are, but they are a lot of fun to paint!

First up, a badass lady with a couple of axes. She reminds me of a classic orc, but I think her skin is made of stone or bark!

img_3478

Next up is a bard, but I think she might also be a plant person:

img_3475

I know a Rogue when I see one!

img_3471

I think the next two are druid/ranger types. I might also be waaaay off here, but they both fit a nature theme:

The last one in the first batch looks like a Paladin. We’ll have to see!

img_3477

I have another five of Rebecca’s figs, and I need to get them done soon, too. There are a TON of Gloomhaven minis, so this project should keep me busy a while.

It’s interesting painting board-game miniatures. They still have a lot of detail, but the need to keep the poses static to keep production costs down makes a mini that’s a lot easier to paint. For the simple joy of putting paint to plastic, this has been a pretty fun project!

The Shambling Horde is Growing!

I have to admit something– I am allowing myself to go “full geek” on my upcoming Rangers of Shadow Deep campaign. I am also changing a few of the rules I set earlier, but I’ll get to that in a minute.

img_3532

The first scenario that I am going to play involves my Ranger and her crew searching for clues about a missing Ranger… and a town full of missing people. The scenario calls for a load of zombies, so I loaded a set of five into the Mars and got them painted up the next day.

img_3535

I went with a rough and ready paint scheme with lots of glazes. I wanted the skin to look leathery and mummified, and the metals to look really weathered.

img_3534

I also lucked out this month since Titan Forge has a bunch of undead up for this month’s Patreon subscribers, so I got some pretty great and pretty fresh minis for the game.

img_3533

That brings me to the first rule I am “breaking” for my campaign! I was only going to allow minis that I had printed, but printing and painting a whole slew of zombies was going to take forever. Plus, I have a bunch of orc zombies from Zombicide just gathering dust, so I am allowing 32mm figs that I already own for horde groups like zombies. Plus, I love the Zombicide figs, so I’m happy to get them going. I’m going to print some new bases for them so they fit the theme a little better, and I’ll have a post for them up shortly.

I will be posting Sundays and Wednesdays from here on out, so I’ll be back on Wednesday with the nerdiest damned project I’ve taken on yet. See you soon!


Print/Paint Spotlight: Elf Ranger

Peeps, we have a winner! After quite a bit of soul searching, I have selected the Ranger that I will be using for my Rangers of Shadow Deep campaign. Drumrolls are not necessary right now, we’re in the middle of a pandemic and loud, repetitive rhythm might startle a neighbor.

Lila Ranger

I went with the Lila the Wood Elf Ranger model from The Dragon Trapper’s Lodge. This company releases a great range of figures, each with a main character on foot and mounted, as well as a dragon. The whole range is pretty cool, and very thematic.

Now that my printer is back up and running, I plugged the supported STL file into my slicer software with another five zombies on the build plate, and three some odd hours later, Lila was done!

img_3527

Once she got a UV cure, I went over the model with a black primer in the airbrush, then added a zenithol highlight with white. For those of you who don’t know, the zenithol highlight allows you to see your highlights and shadows before you even commit paint to the model.

img_3526

After the highlight, my first color pass went down using Citadel Contrast paints and Daler Rowney inks. This lets me get color on the whole model quickly, but at the cost of having to be really careful afterward. Contrast rubs off of models pretty easily, so use a paint stand and try not to touch the model with anything but your brush.

img_3525

The next step is the highlight pass, where I go over all of the main colors with lighter shades of paint. I use Vallejo airbrush paints for this, since the pigment count is higher, which lets you get more done in less time.

img_3524

After the highlights dry, I use a combination of citadel shades either straight out of the bottle or diluted with acrylic based floor polish, depending on how strong of a shading effect I am after.img_3523

Using this technique has been a pretty tried and true process for me, and has taken me the better part of 20 years to perfect. Before Contrast Paints came into the picture, I was using inks diluted with acrylic medium, and I only stumbled across zenithol highlighting about 8 years ago! It’s been a long process, but at this point I can get a figure like this one knocked out in about an hour.

img_3522

Which means if I did nothing but paint, I could get the pile of shame painted up in about 400 hours…

It won’t win any awards, but it’s a damned good table top quality that will make me real freaking happy to play a game with!

I think I’ll keep her name as Lila, I just need to come up with a cool last name, and get her stats together! One step closer to my first game of Rangers of Shadow Deep!

If you have a cool last name for an Elf Ranger in mind, leave it in the comments!

Scratch-Build Fantasy Village, Part 3

After the tower was sealed in a couple of coats of wood glue and black paint, it was time to get some color on the tower!

img_3441

I blocked in most of the major color areas with my airbrush, then went to town with a cheap wash made of equal parts black acrylic, brown acrylic, and clear acrylic medium.

img_3438

After the first coat of wash dried, I went through with a light dry brush over the whole model. This helped bring out a lot of the raised details.

img_3440

Then I picked out some individual stones to paint lighter colors, and added some wood grain to the timbers. Then everything got another series of washes, with either a moss green with clear acrylic, or Payne’s Grey with clear acrylic. This aged everything up a bit, and added a more lived-in feeling to the model.

img_3437

Something this big and cool looking needs a base to tie it all together, so that will be the next step in the project!

TRAGEDY…Averted?

On April 10th, my hobby world changed in an interesting way when my new Elegoo Mars 3D resin printer showed up at my house. I had been debating the purchase for over six months, but I had a pretty good bonus, the bills were paid, and I decided to jump in.

img_3460

The first week was pretty rough, with a lot of failed prints and hard lessons learned. I finally got my settings dialed in, found a good little heater to keep the resin liquid in our chilly April weather, and managed close to 3 dozen fantastic prints. So many cool minis joined my collection, and I joined 3 cool printing communities to celebrate and share pics of our amazing prints.

img_3513
Successful Print #1, Gino the Dwarf from Artisan Guild

Then, the unthinkable happened. About a week ago, I noticed a weird hole appearing in some of my mins, like someone had drilled a hole through them. It was baffling. I hopped on one of the 3D communities, and some really cool people broke the news to me gently.

img_3514
Pope Blobulba from Artisan Guild

My LCD screen was burning out.

I had only had the printer for 3 weeks, and while it had already paid for itself easily, I wasn’t ready to pay to get it serviced. I contacted Elegoo directly, a really patient customer service rep walked me through a diagnosis, and yep. The LCD was fried.

img_3515
Dragonborn Hero from Titan Forge

I was told a replacement part would come, and that it would take two weeks to get to me. I resigned myself to painting some of the finished models, and settled in for my two week wait.

That two weeks was three business days. My replacement screen arrived Monday afternoon, and after work I settled down to watch a YouTube video from Elegoo on how to change the LCD screen.

img_3516
Druid Hero from Titan Forge

The video showed a fairly complicated procedure, but I figured if I took notes, I could get through it. Then the video switched to motherboard model B, and it was just a couple of swapped out relays. Then motherboard model C came up, and it was literally one quick swapped out relay, pop out the old screen, and replace it with the new one. Connect the relay, and test your settings.

I have a motherboard model C.

The whole procedure to replace my LCD screen took less than 10 minutes. That’s pretty staggeringly cool in my book!

img_3517
Ogre Mage from Artisan Guild

I ran the diagnostic, and everything came up aces. Tomorrow, I am printing up my Ranger and a whole slew of zombies! My enthusiasm for the Elegoo Mars really went up a couple notches today.

I can’t wait to get more prints ready to paint, and get my Rangers of Shadow Deep on!

Winding Up for”Rangers of Shadow Deep”

Rangers of Shadow Deep is not, by any stretch of the imagination, a new game. The table top skirmish game was released about a year ago by Joseph McCullough, and shares a ton of the DNA of one of his other games, Frostgrave. As a matter of fact, if you have played Frostgrave (you should), you’ll be able to pick up on Rangers of Shadow Deep in a jiff.

Shadow Deep has a few really cool aspects that set it apart from Frostgrave, though. Rangers is a co-op game, so you don’t face your fellow players in combat. You work together to solve riddles, battle monsters, and find clues about the encroaching darkness that has been wiping kingdoms off the map.

And you can play it solo. It’s pretty amazing. The game has a simple AI baked into it, but it still proves to be plenty challenging.

I’m getting ready to play my first game of Rangers, but I figure I might as well go bonkers with the project. I have set a few rules into play for myself, which I will outline here:

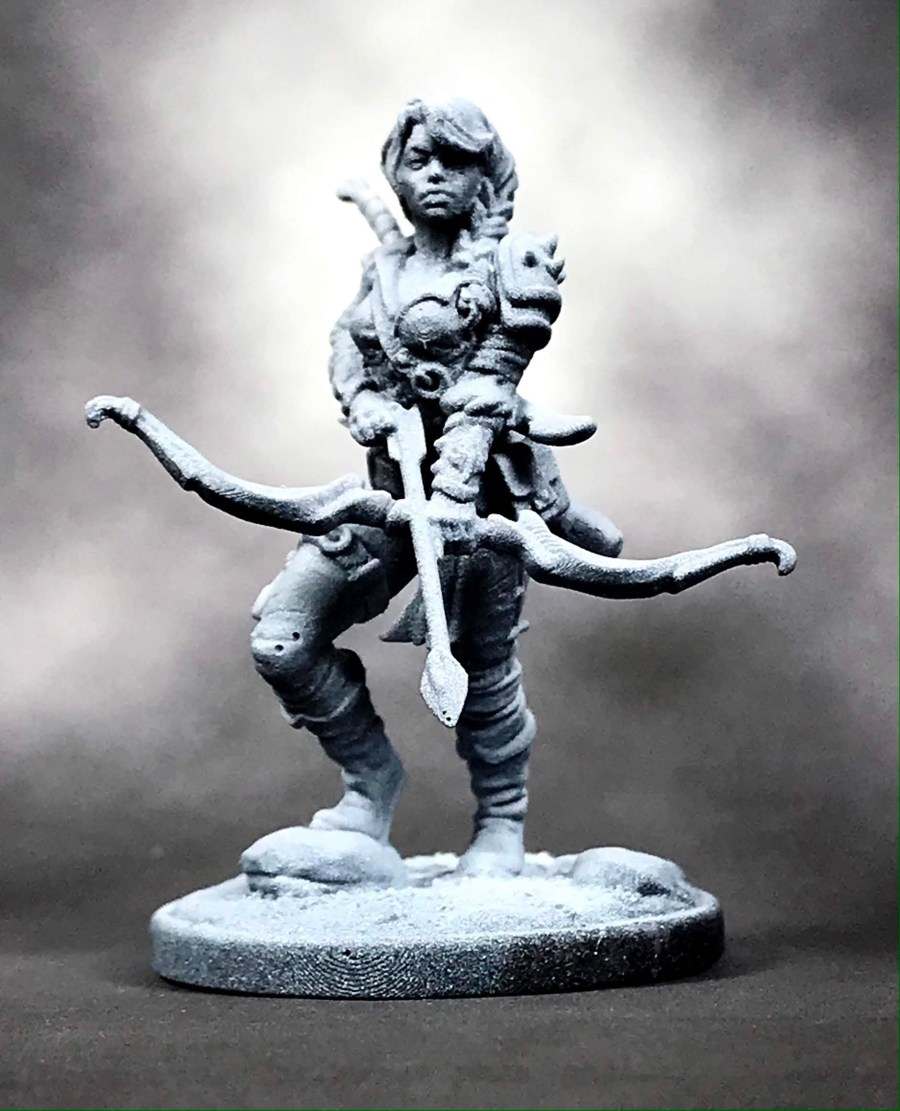
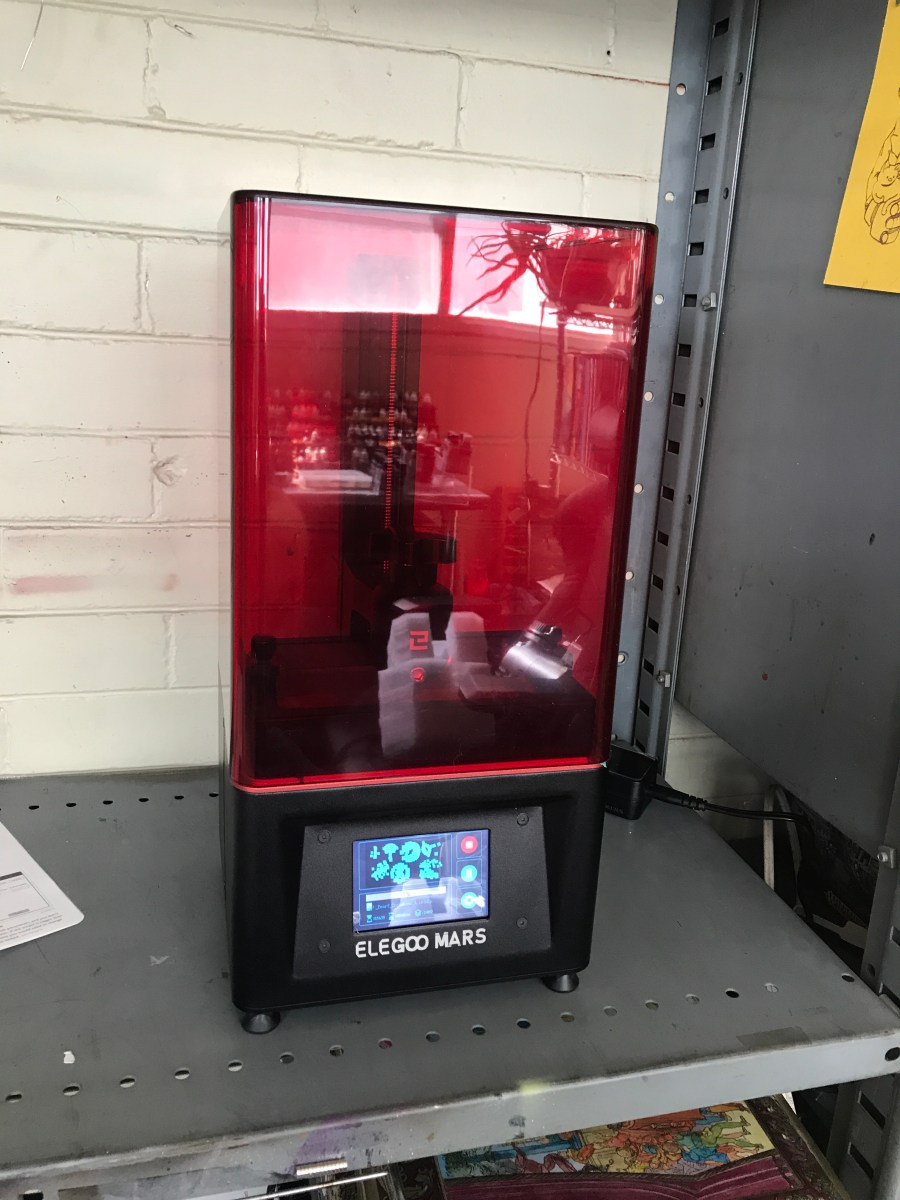
1- All the minis I will be playing with will be printed on my Elegoo Mars.

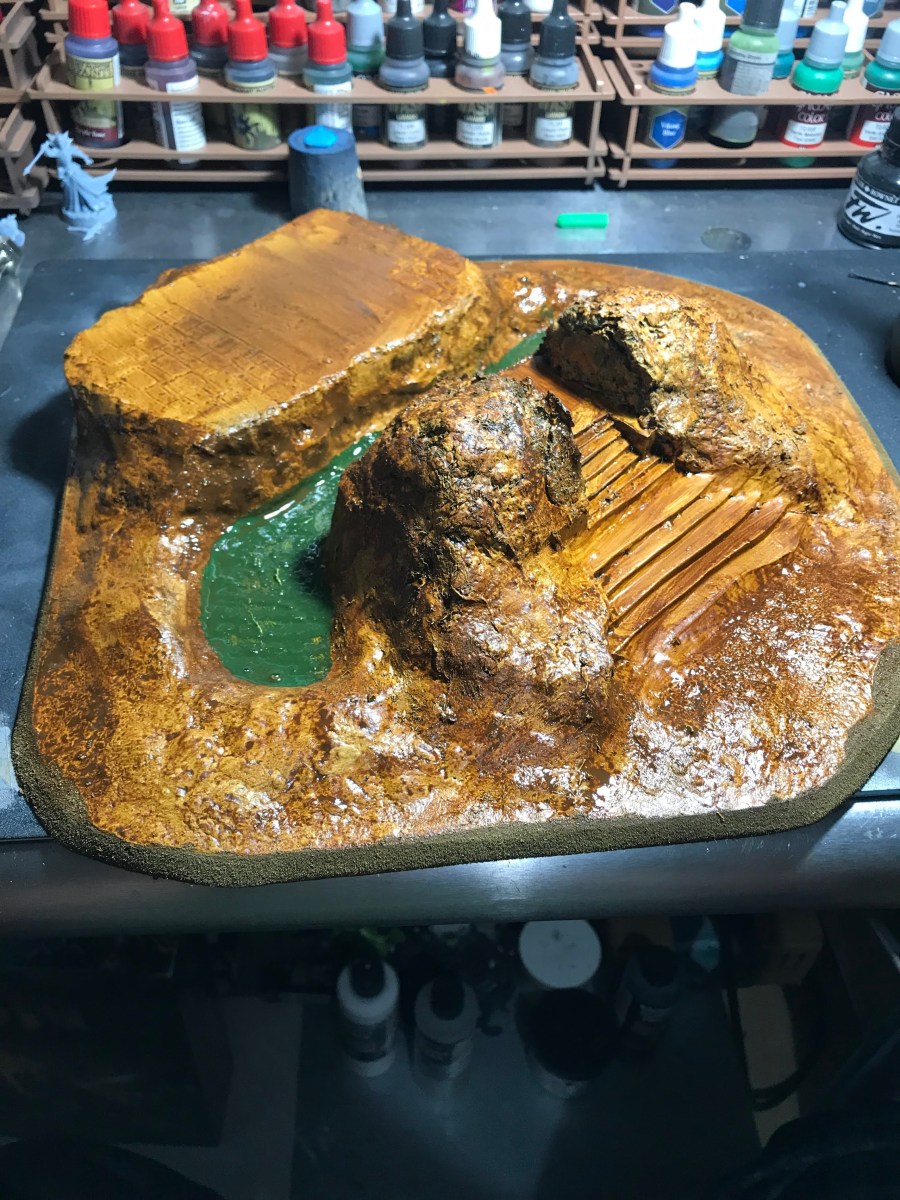
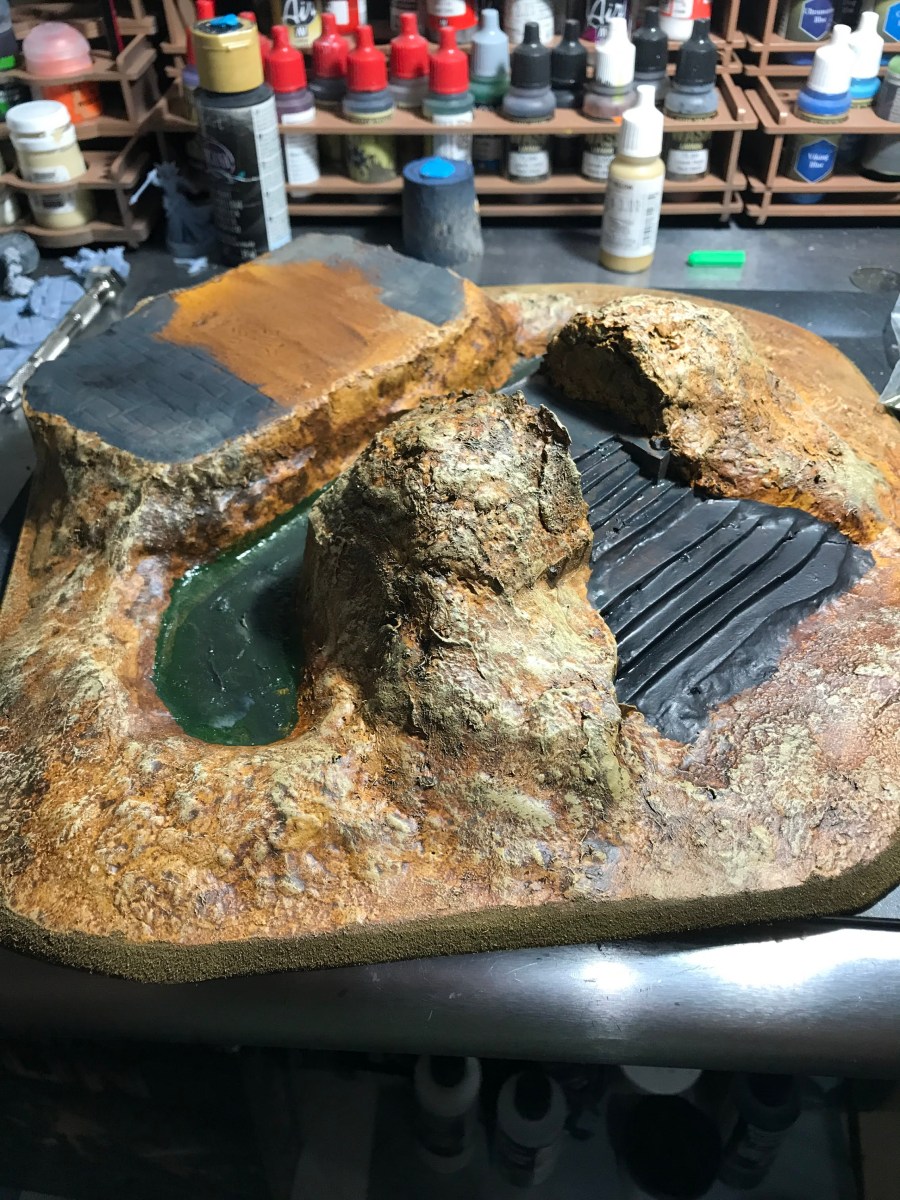
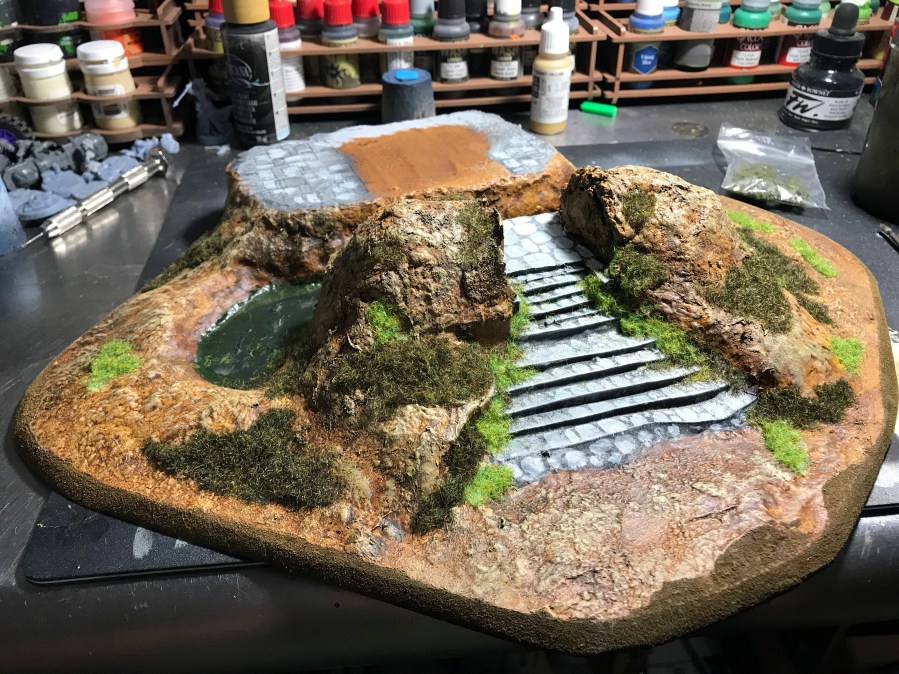
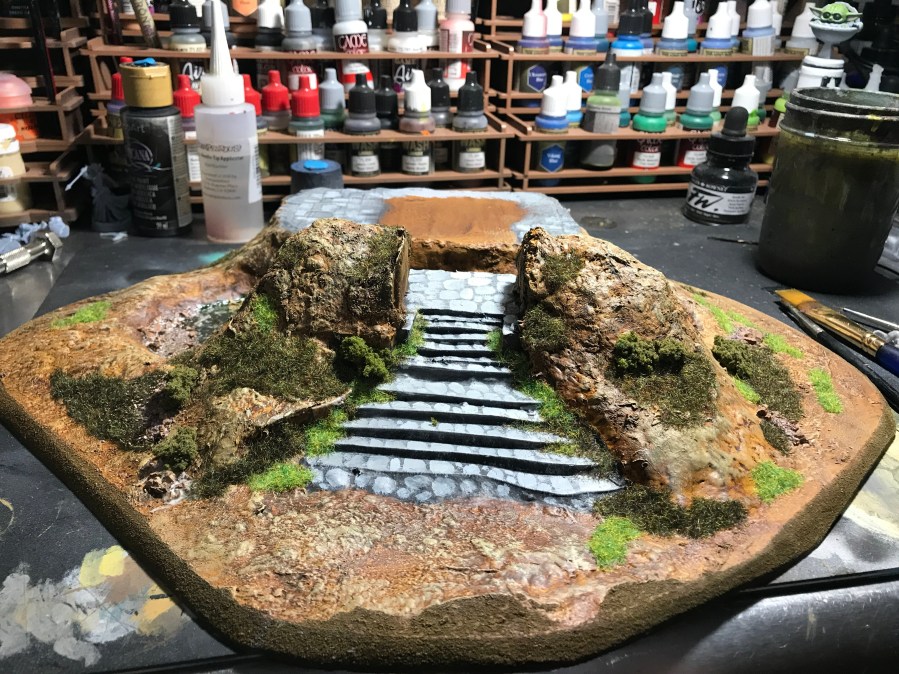
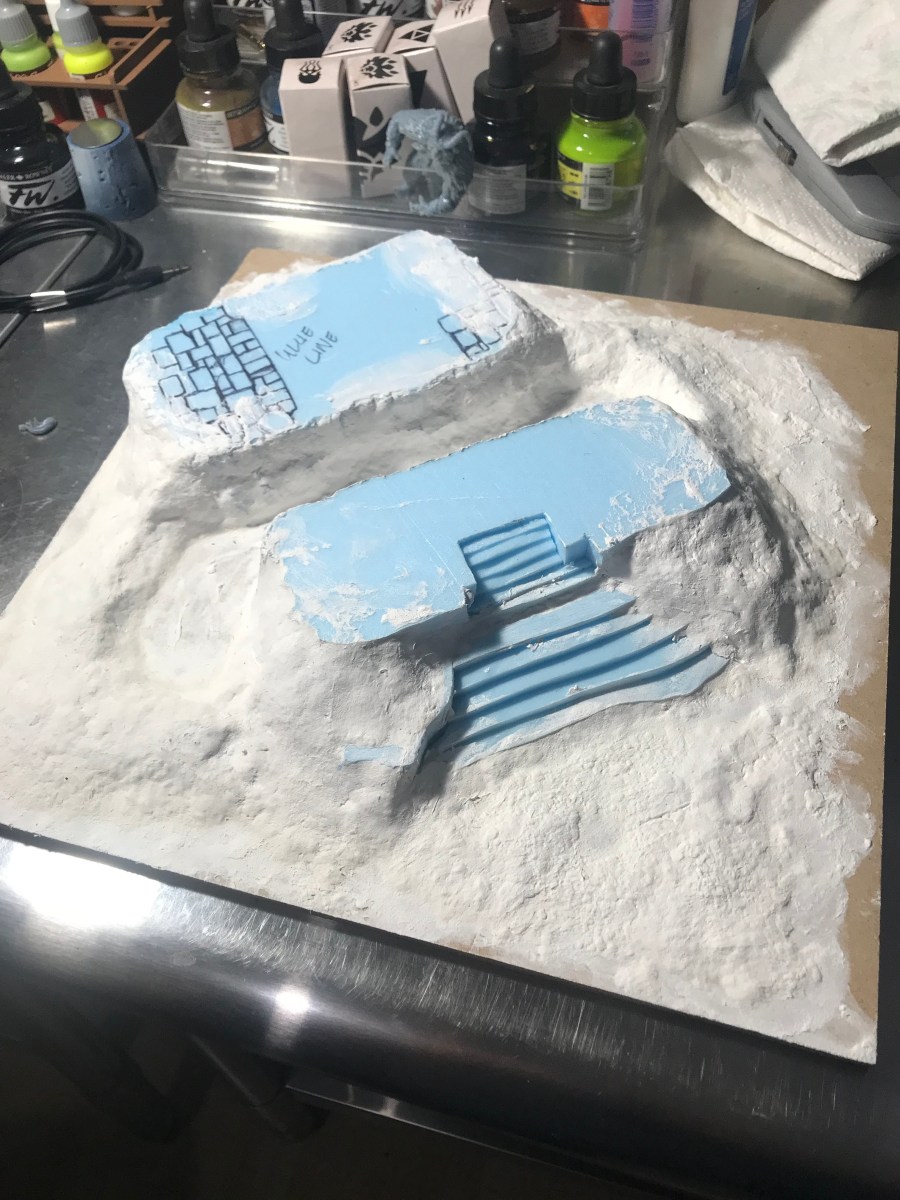
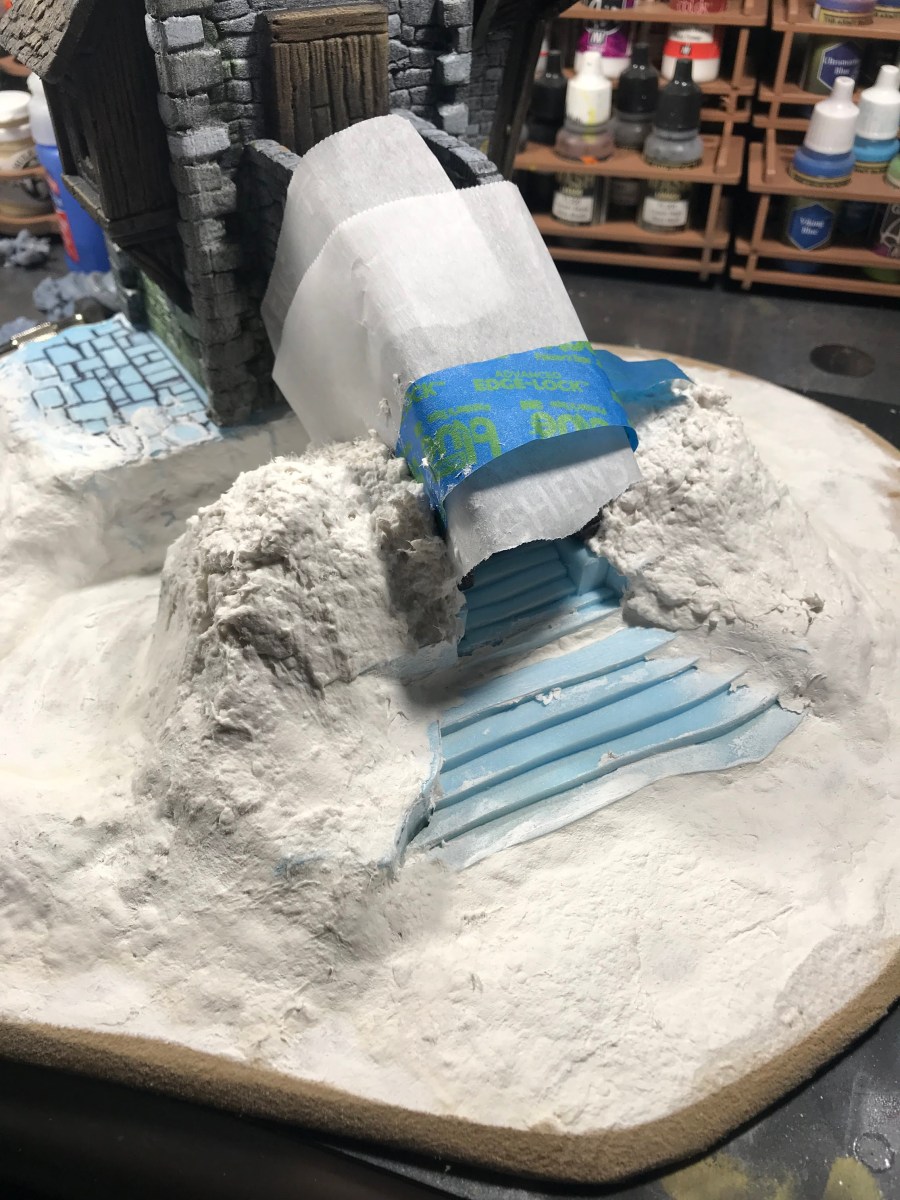
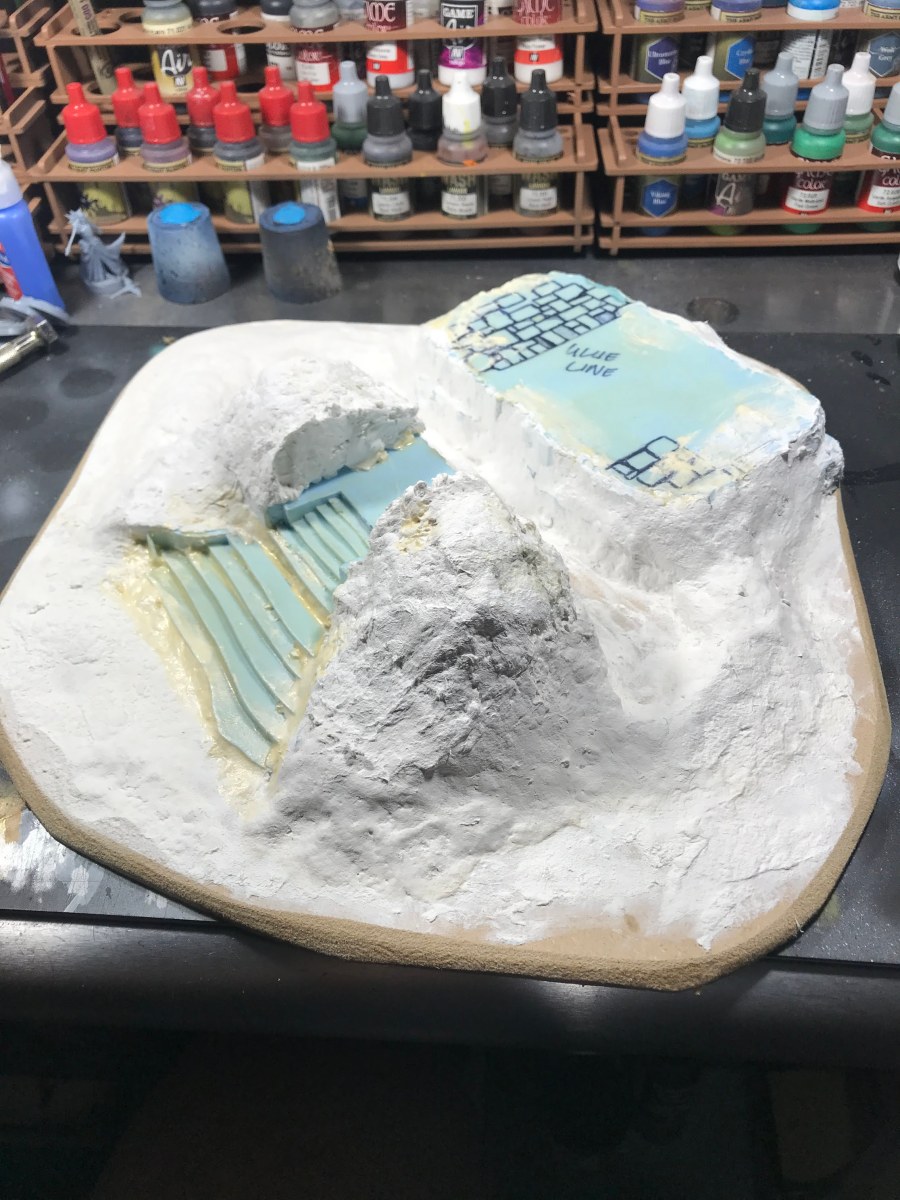
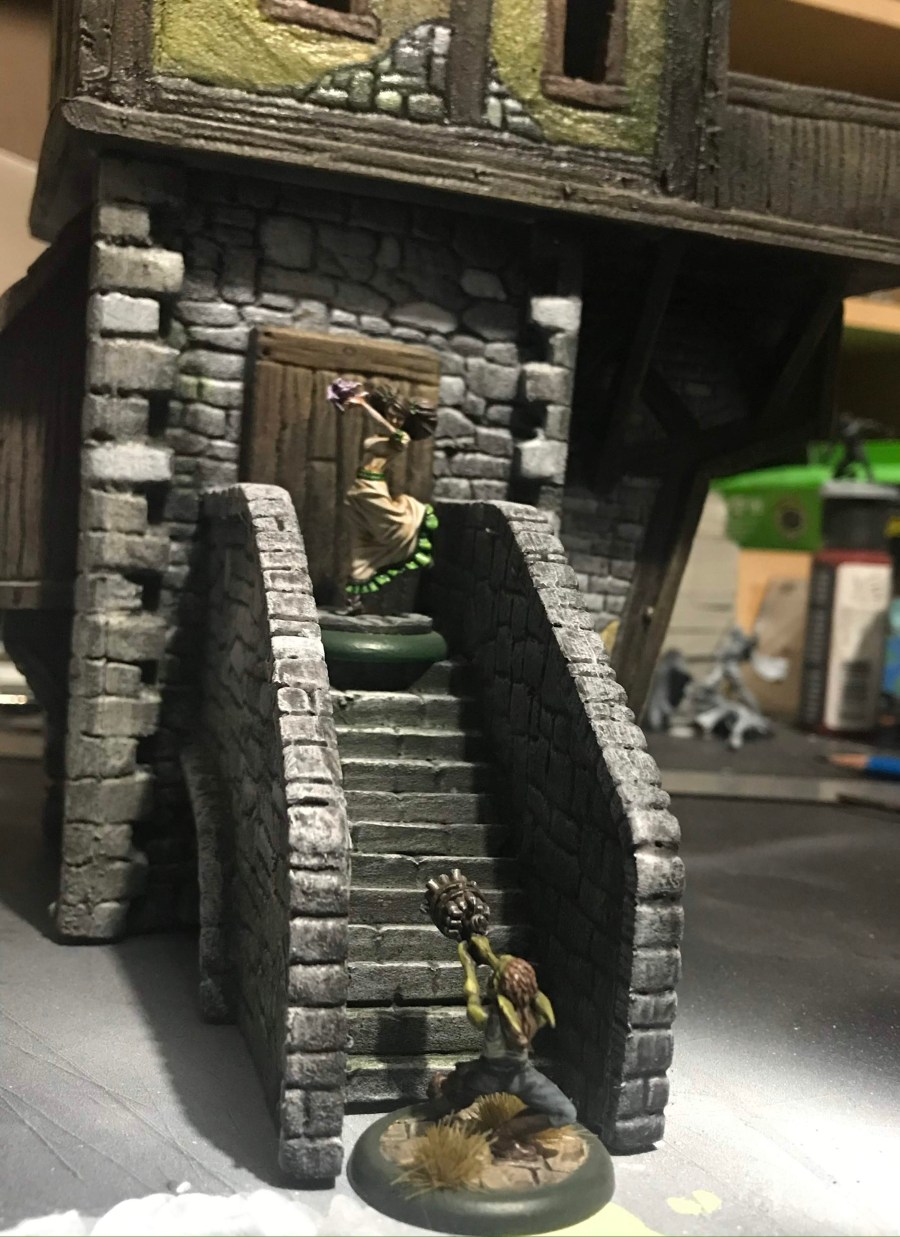
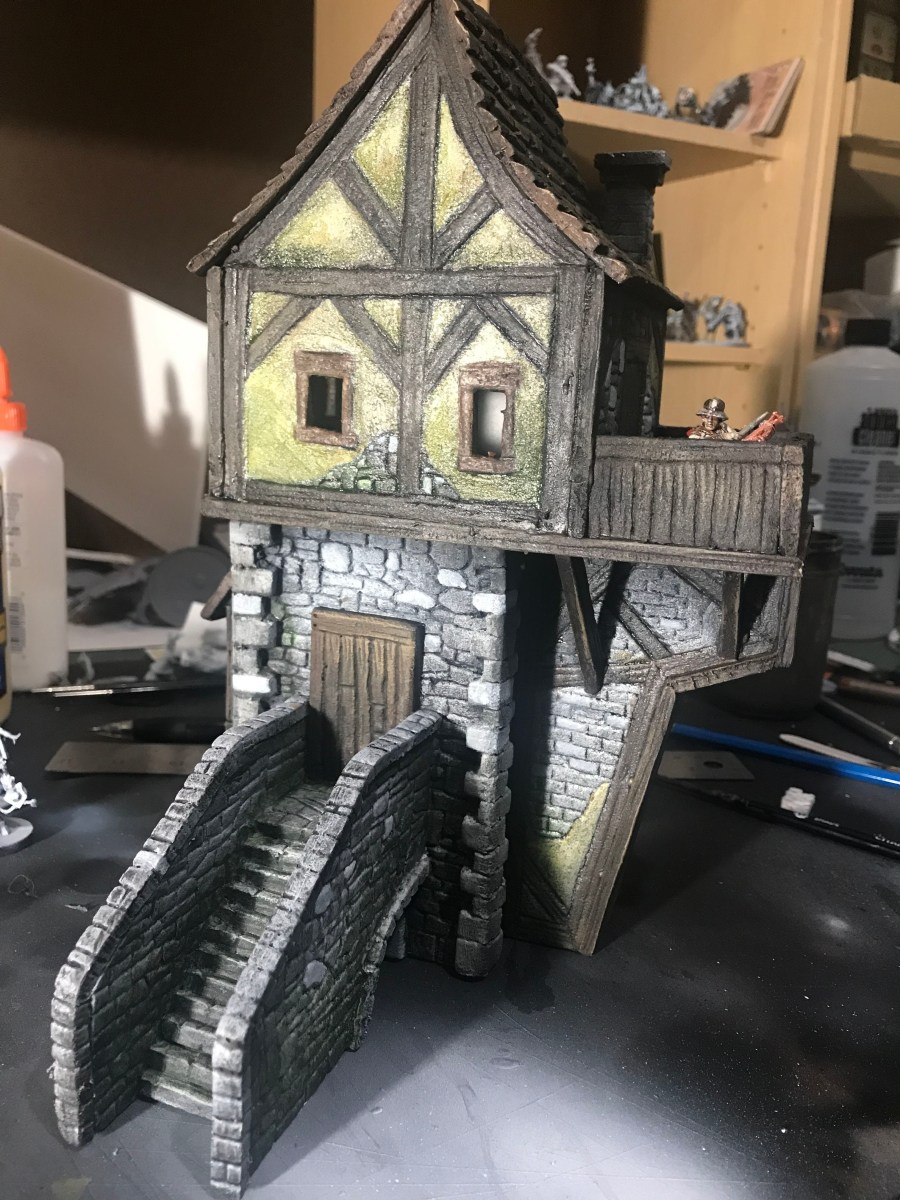
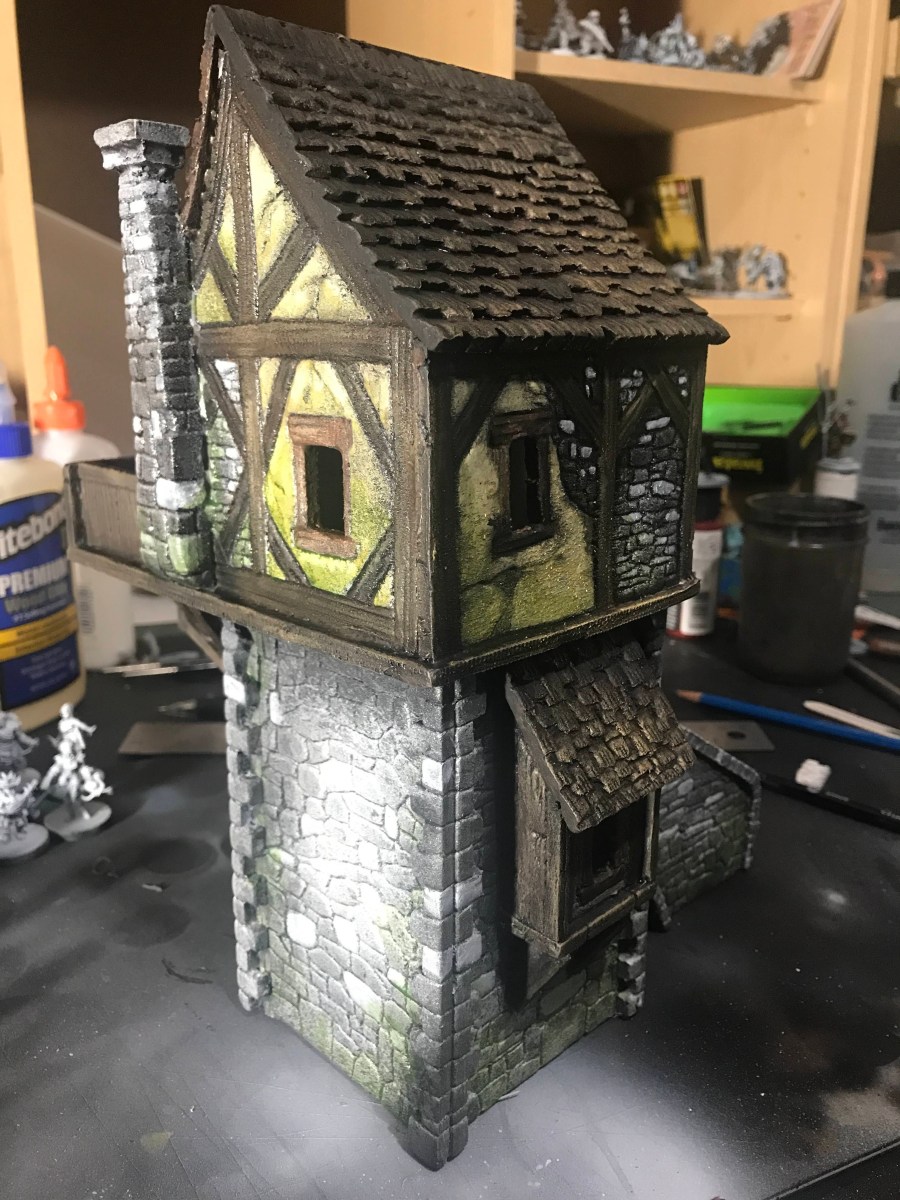
2- The terrain for each scenario will be scratch built, of printed here in the lab.

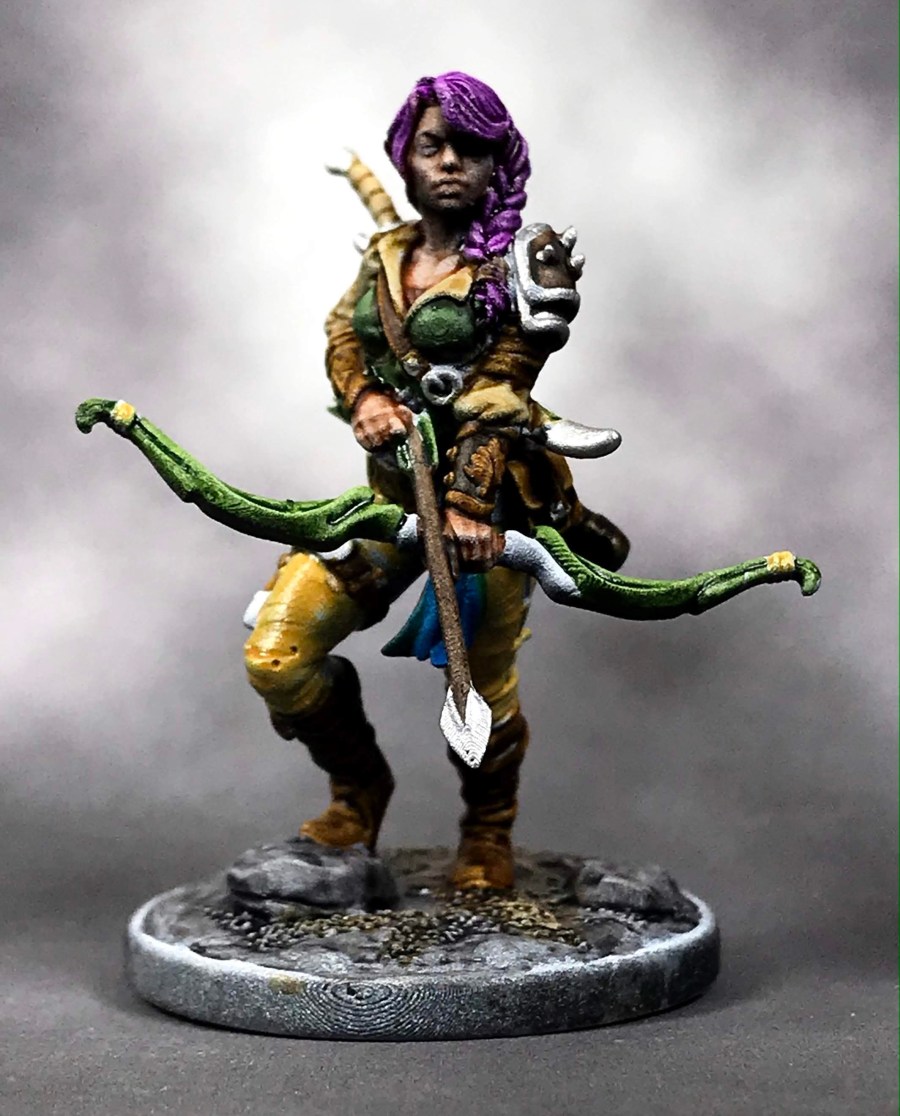
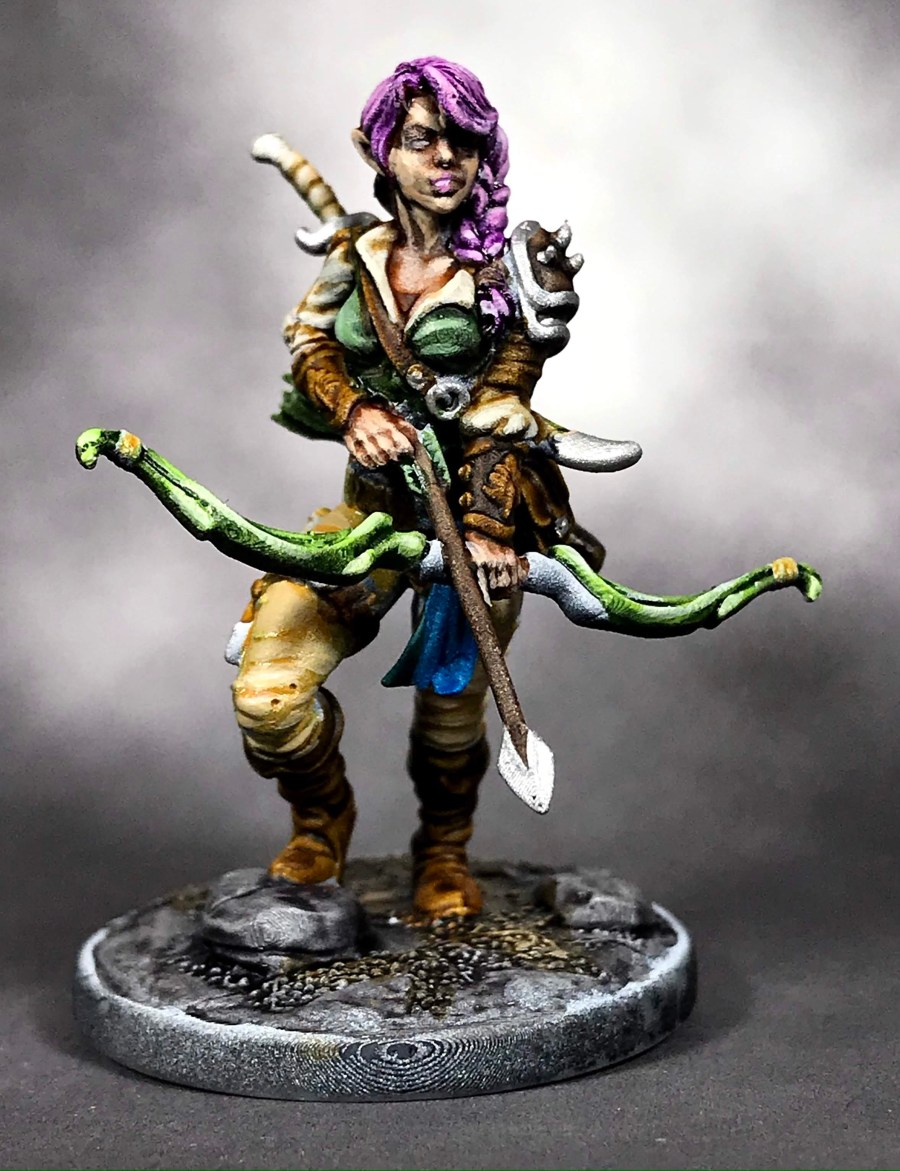
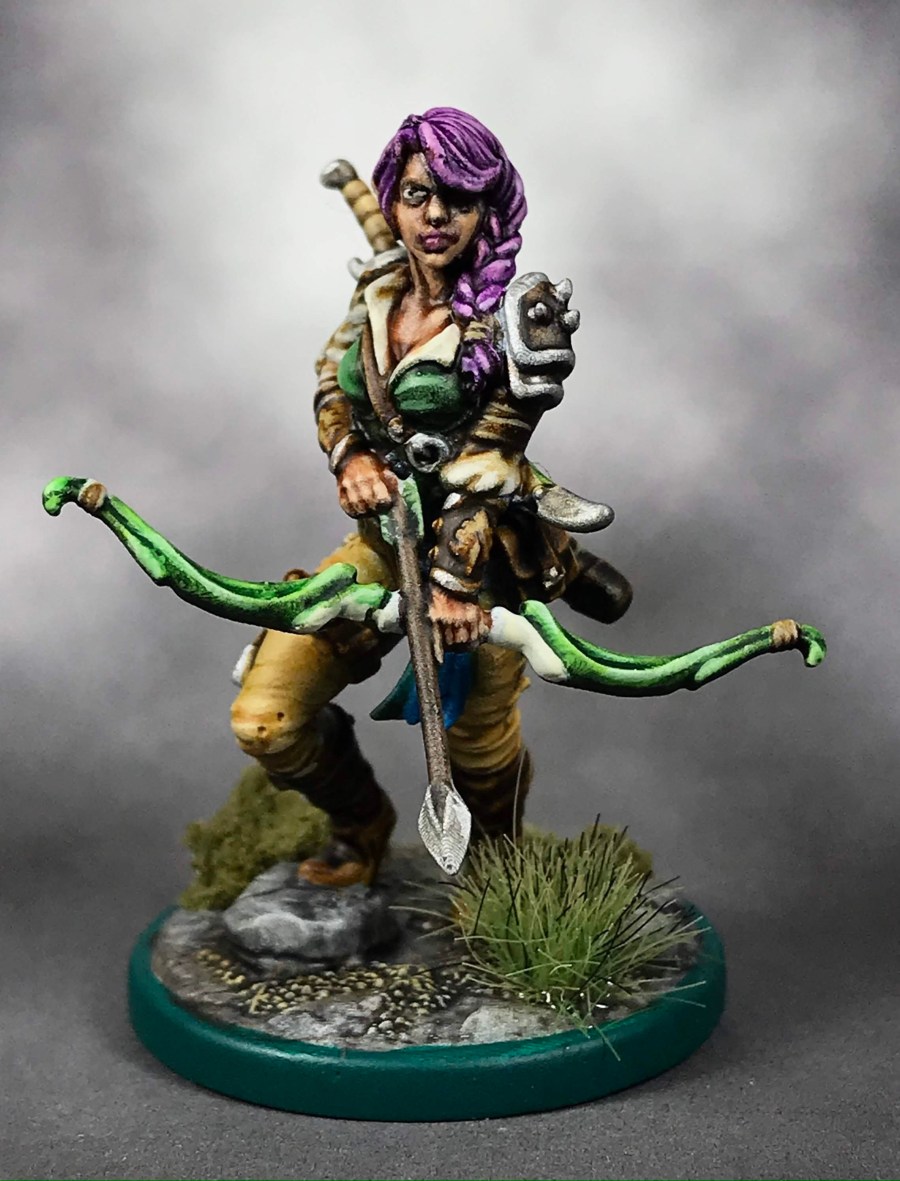
3- Everything used in game will need to be fully painted.

4- I will present write-ups of each game, as well as behind the scenes looks at the processes that I will be using to bring the game to the table. I’m really freaking bored, and this might be the only thing that keeps me from going kookoobananas.

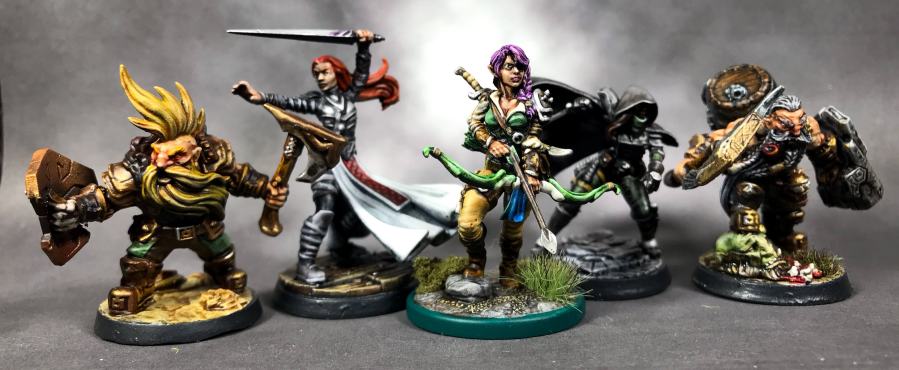
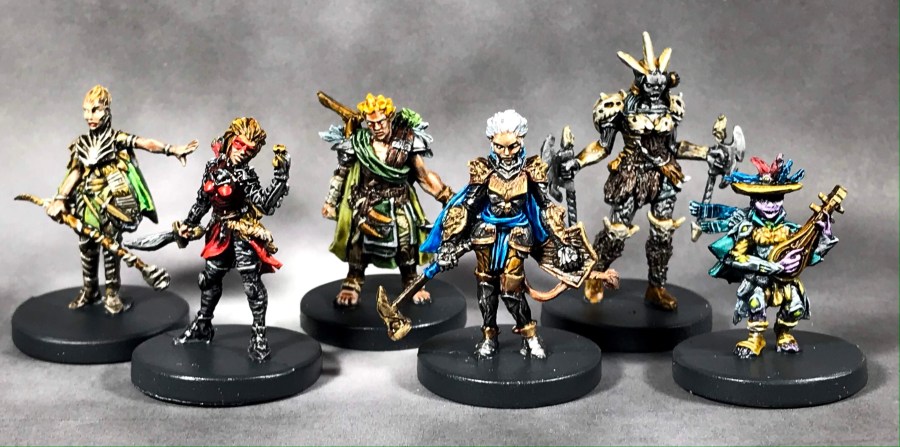
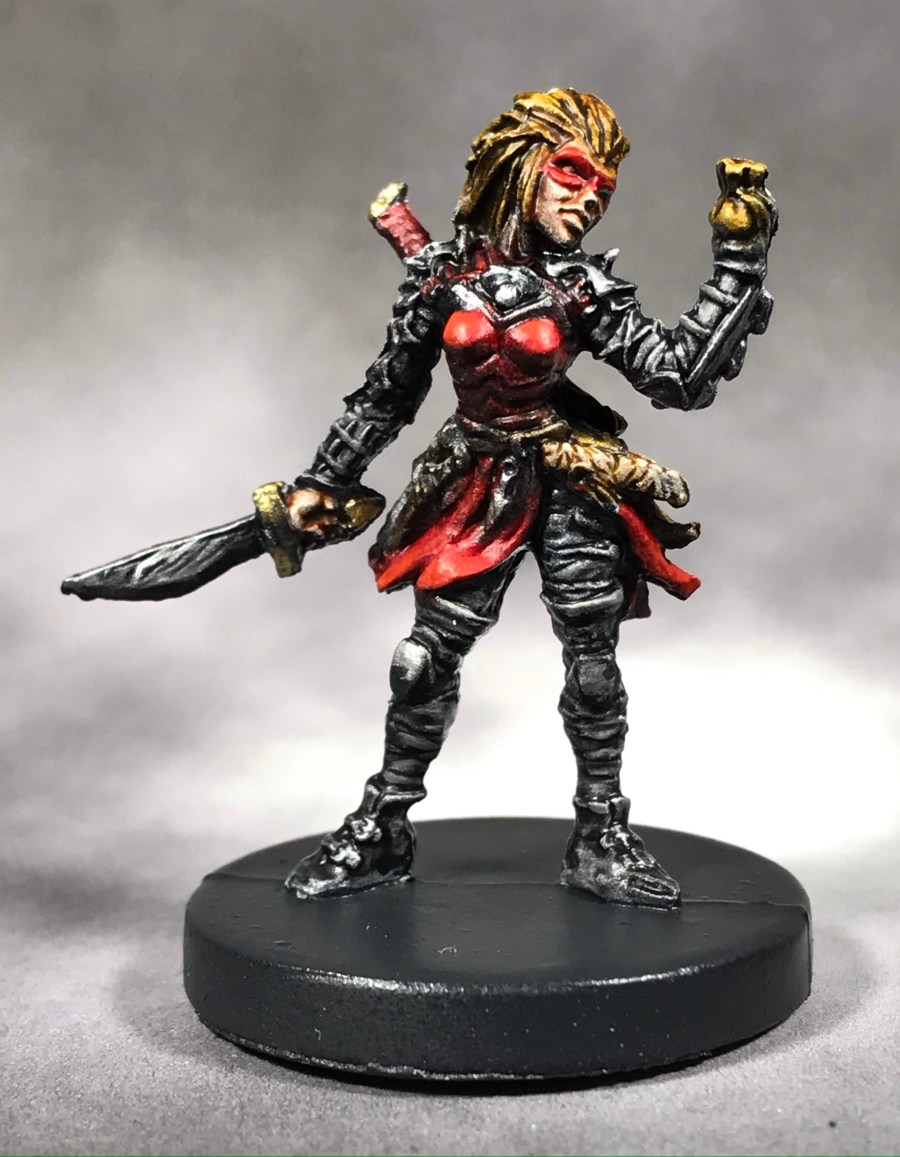
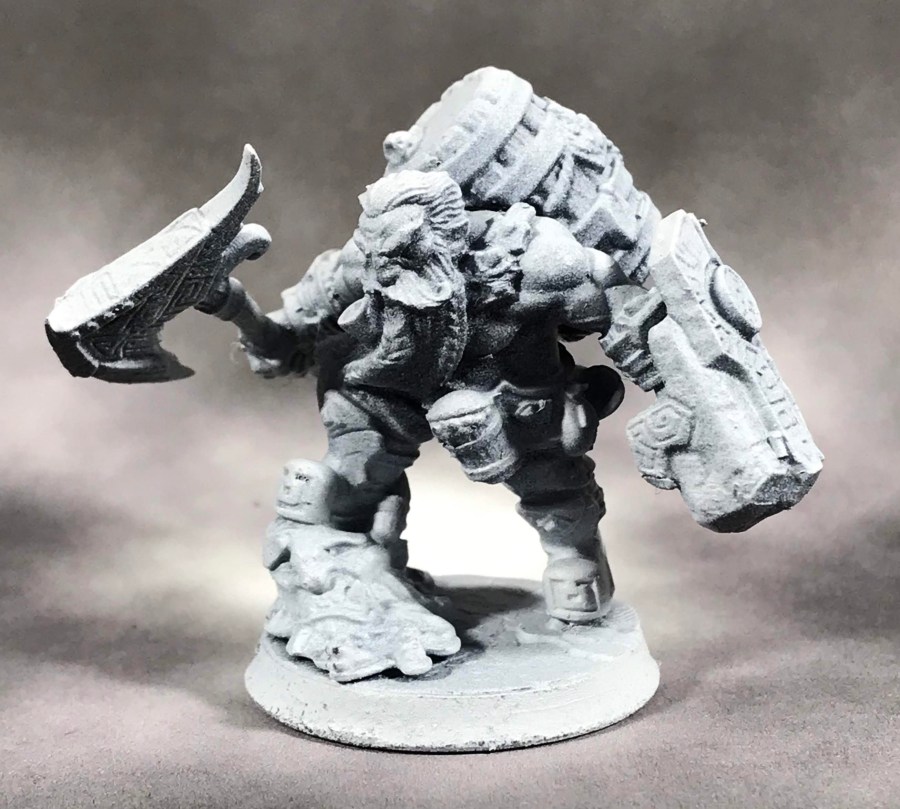
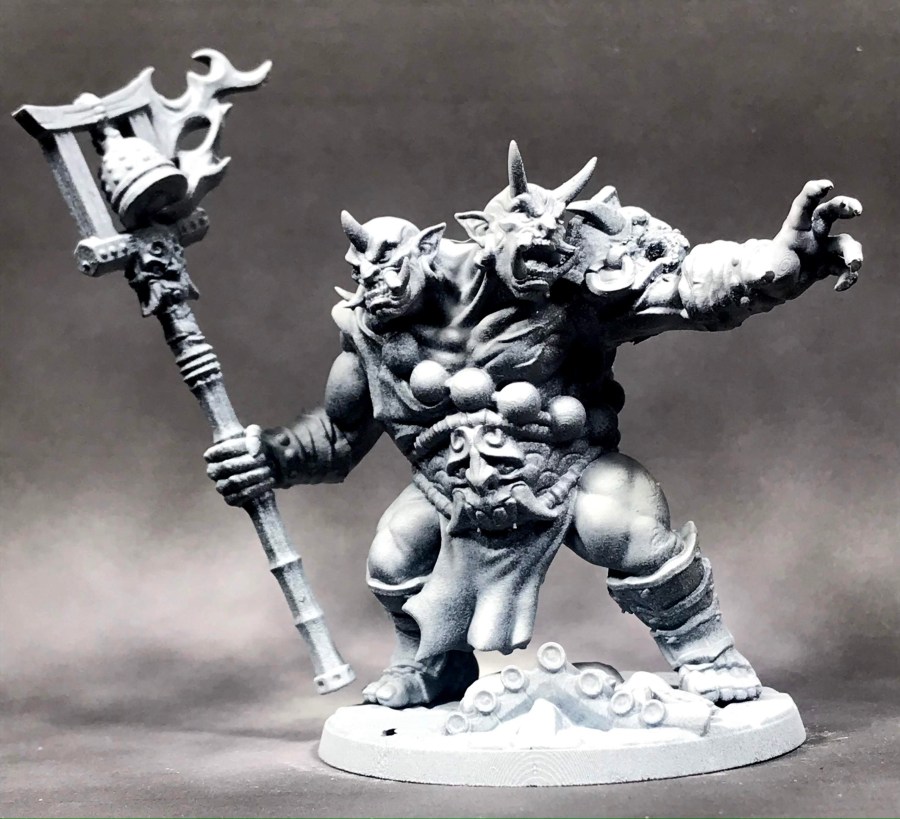
5: This guy needs to be in the Ranger’s band of heroes:

img_3482

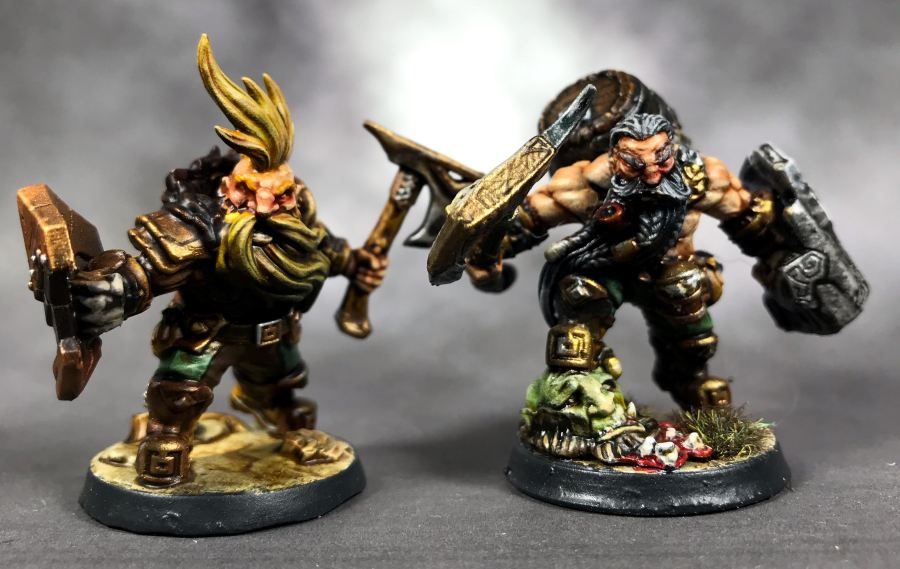
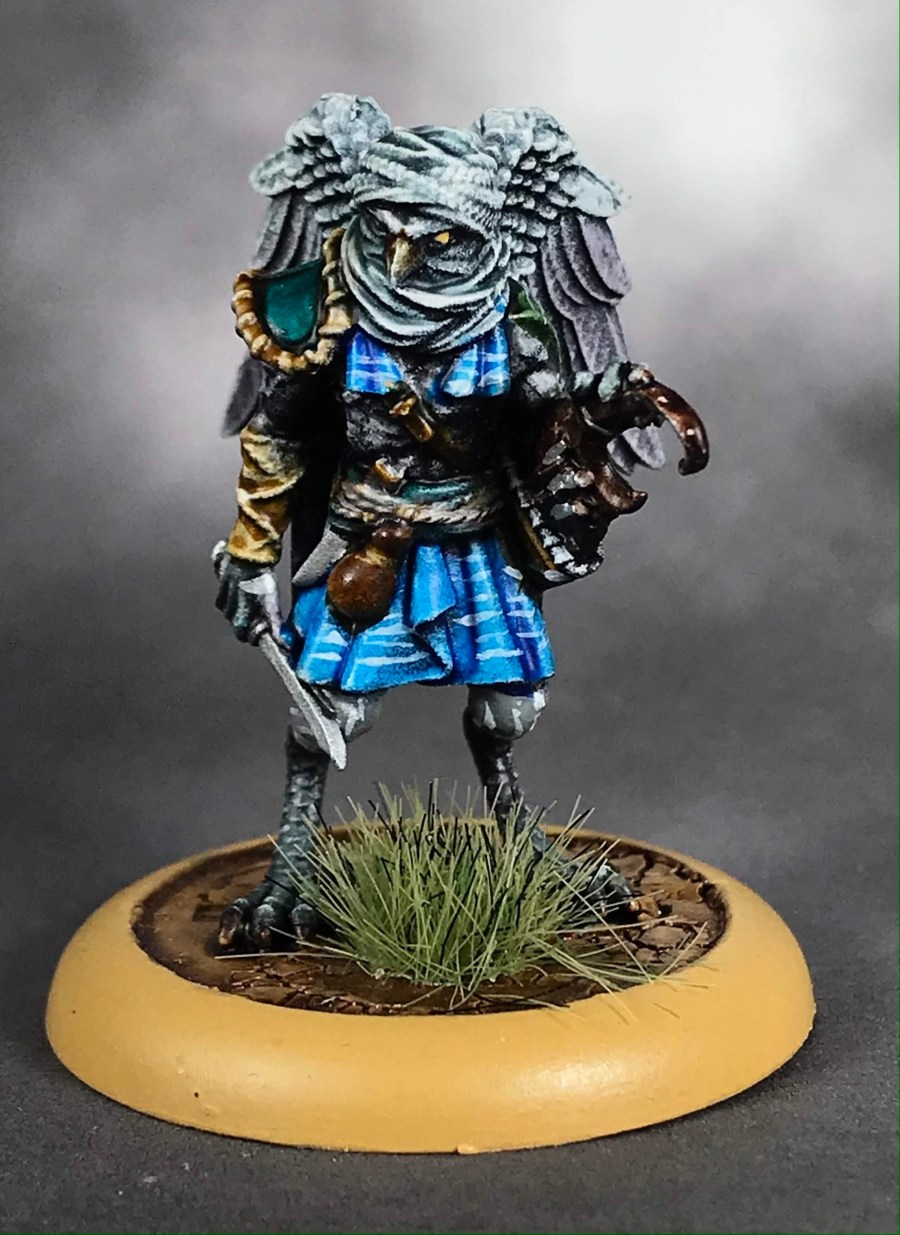
The first thing I needed to do was settle on a Ranger. In Shadow Deep, your Ranger can be just about anything; Spellcasters, classic barbarian types, sword-and-board twinks, dump-truck babies in bear suits, you name it.

I have always been partial to half-elf Rangers, especially the classic, archetypal bow wielding bad-ass. I would also like to play with a female Ranger character, because I’m tired of beefcake.

I’m also pretty burned out on cheesecake, so finding the right Ranger proved more challenging than I thought!

(I don’t have a problem with cheesecake mins. If you want a little T&A in your games, have at it! There are some great sculpts out there! It’s just not what I want right now!)

But I want a mini that looks fierce, and has the sense to go adventuring with something covering her vital organs.

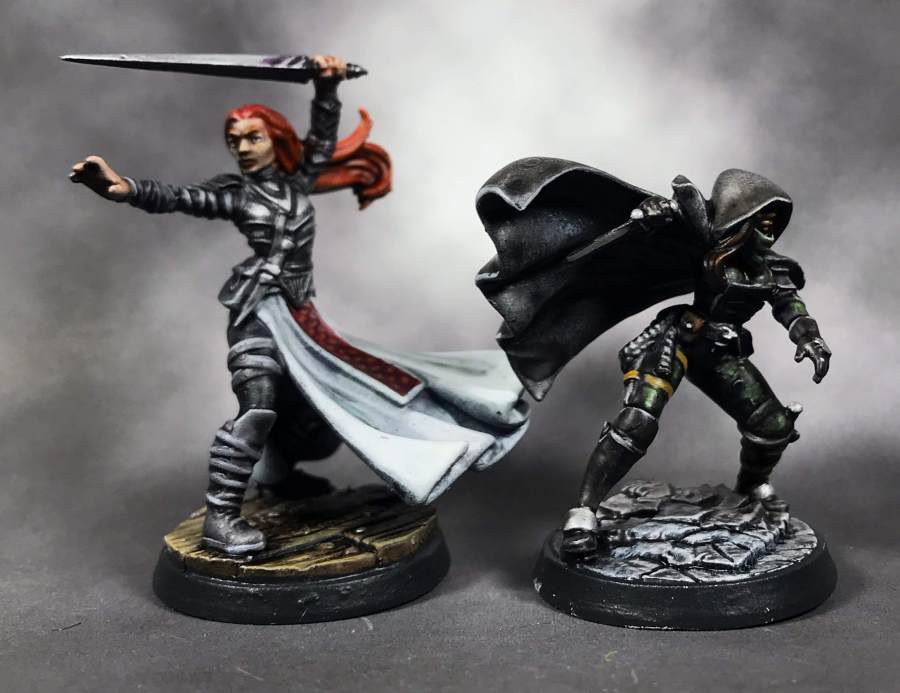
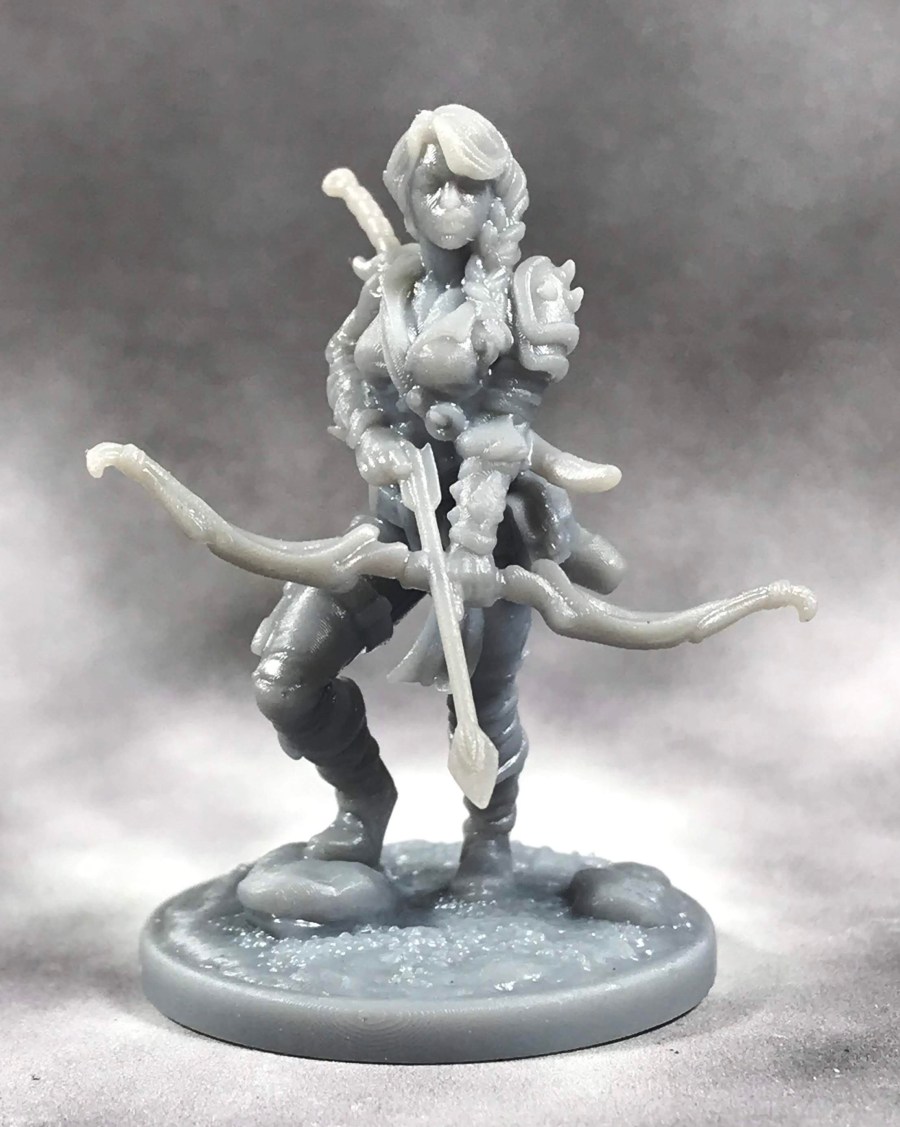
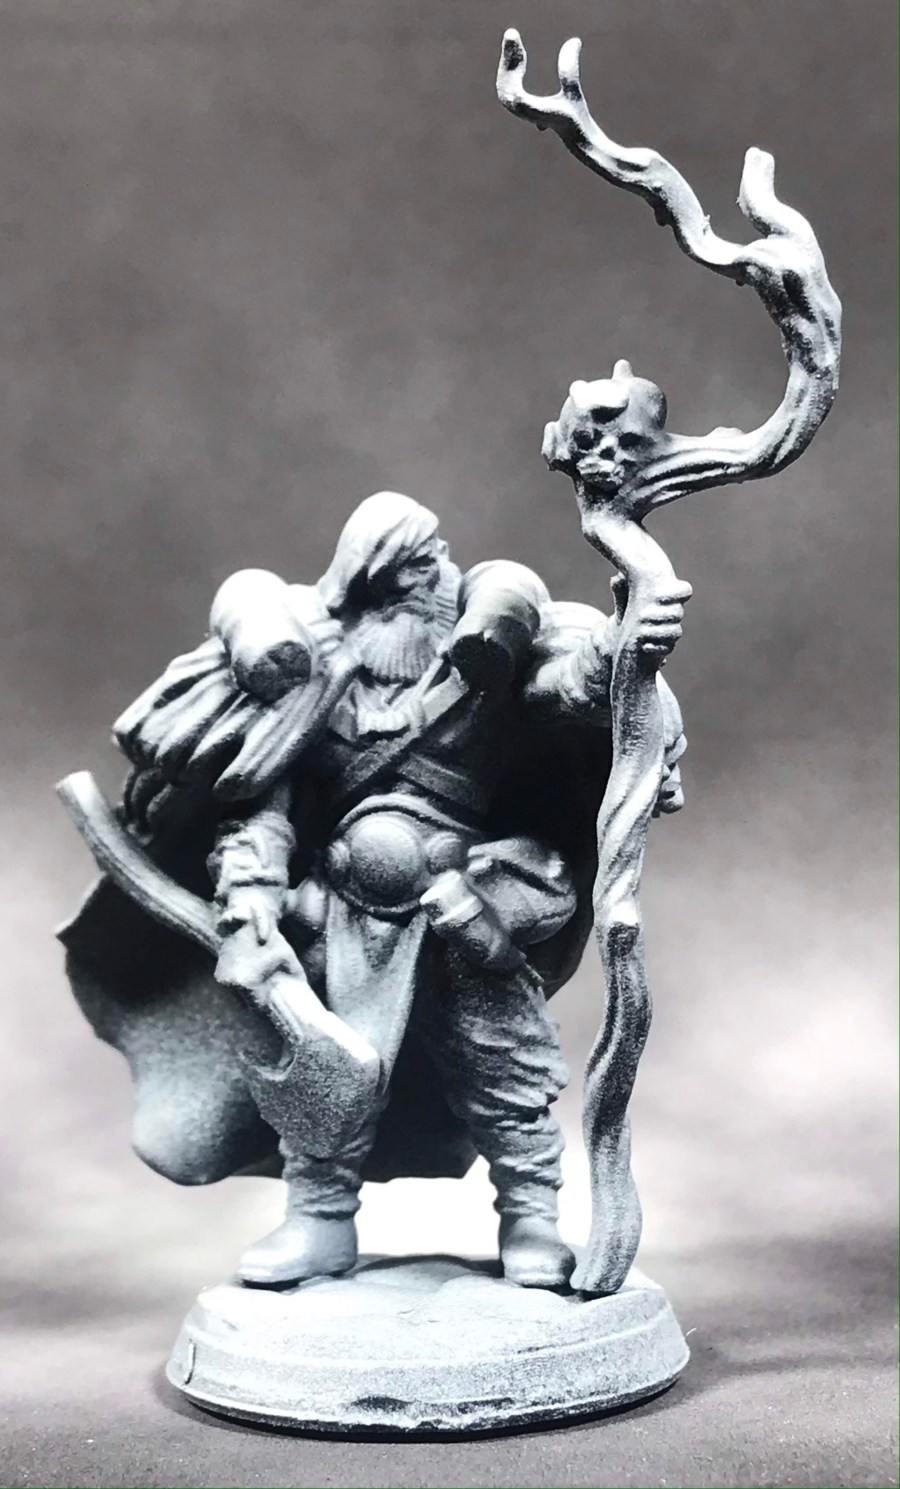
My usual go-to STL model files have been from Titan Forge Miniatures, Artisan Guild, and Lion Tower Miniatures. They all have some great figs, and I came really close to going with this awesome Ranger from Lion Tower:

But, I kept looking. I also found Lila from The Dragon Trapper’s Lodge, and a few minutes later found another set of files that had Lila with an amazing mount. So, she’s in the queue, as is the earlier Ranger from Dan Kelly at Lion Tower Miniatures.

You can’t have enough Rangers, after all!

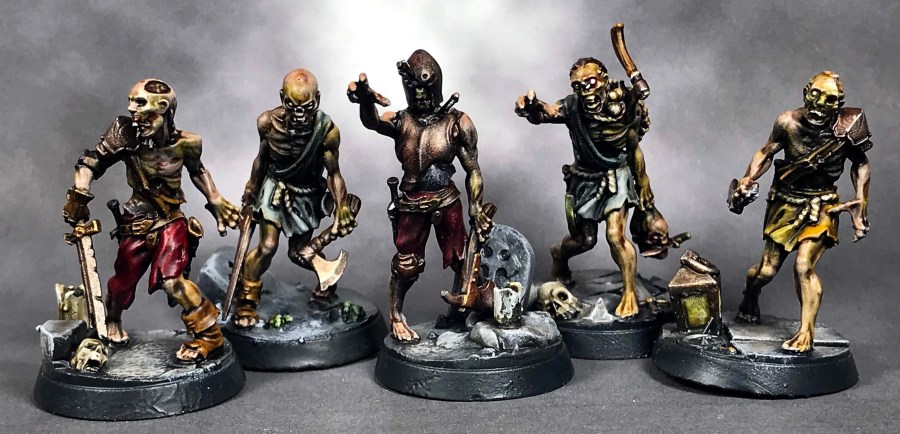
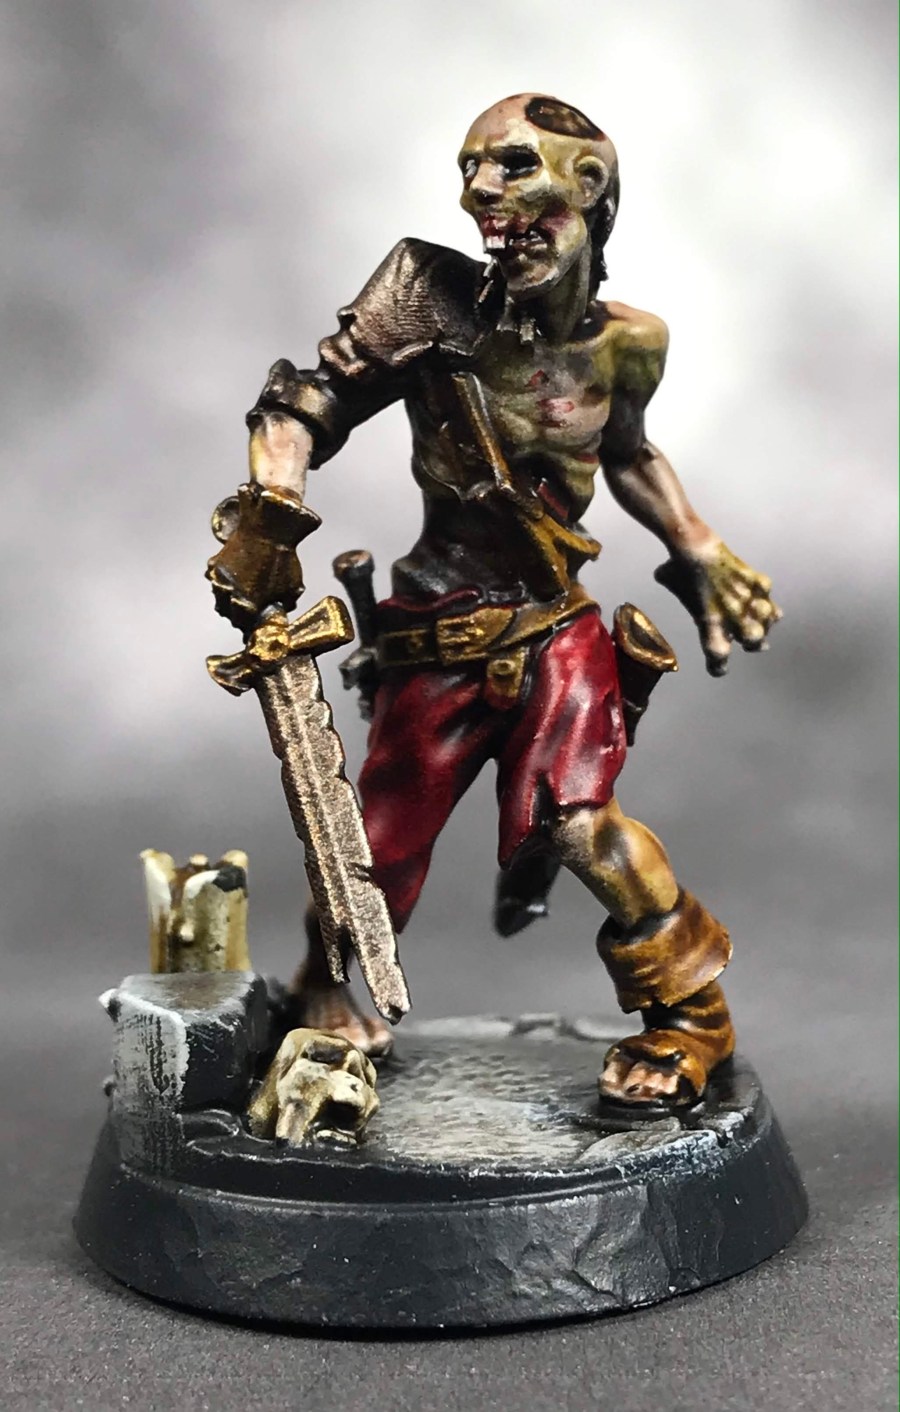
Next up: a big batch of zombies for the first scenario!

My Kingdom for Good Lighting

It’s been a long, terrible, and murky road, but I think I might finally have my lighting dialed in for miniature photography. Here are my Tengu from Bushido, finally looking like I have always wanted them to look in a photo:

img_3413

Compare the shot above to this glam shot of the same figs from a few months back:

img_3338

The second photo looks pretty okay, but the warmth of the colors isn’t there, and you can’t see how cool the feathers on old Papa Owl look. It’s a pretty staggering difference when you’re trying to show off your chops as a painter.

img_3414

I have tried so many damned set-ups for photographing minis. Everything from light booths to a trash-can with a light shining through it. Nothing was giving me what I wanted.

img_3415

Then, I decided to print off a washed out grey background, which I taped to a stand that had a back panel on it. I taped the background on with a slope at the back, so that the minis could be photographed without a crease in the background.

img_3416

It takes two studio lights held about 8 inches above the stand to light everything up, and it makes a world of difference in the quality of the photos!

img_3417

Now, I have to fight off the temptation to go back and take new photos of all of my minis! It’s a pretty tough urge to fight!

img_3418

Now, I just have to ride out the pandemic until Shiv Games opens back up. Most of us have been working on Bushido bands over the last few months, and I know we’re all itching to check out the game!