Town Guards, Part One

My quest to find the perfect town guards came to an end this month. The awesome sculptor that runs Tytan Troll Miniatures on Patreon has been knocking out some amazing sculpts to print this month. They remind me a lot of the guard in the Diskworld books, so I really didn’t have a choice.

The first batch of four printed up in under 4 hours, cleaned up beautifully, and were a blast to slap a quick paint job onto!

I plan on using them to replace the villagers in my first Rangers of Shadow Deep game, with my Rangers investigating an eerily quiet barracks instead of a village.

Scratch-Built Fantasy Village, Part 6

The first building is finally finished, and I could’nt be happier with how it turned out!

After the flock and shrubbery was secure, I added a couple of plastic railroad trees that I was able to twist in extremely twisty ways by soaking them in boiling water.

The rest of the piece was just a matter of concealing joins and gaps with shrubs.

After all of the flock was set, I poured clear resin into the moat for a water effect.

It’s a really fun piece, and will make for a thematic center-point for my games!

Print/Paint Spotlight: Elf Ranger

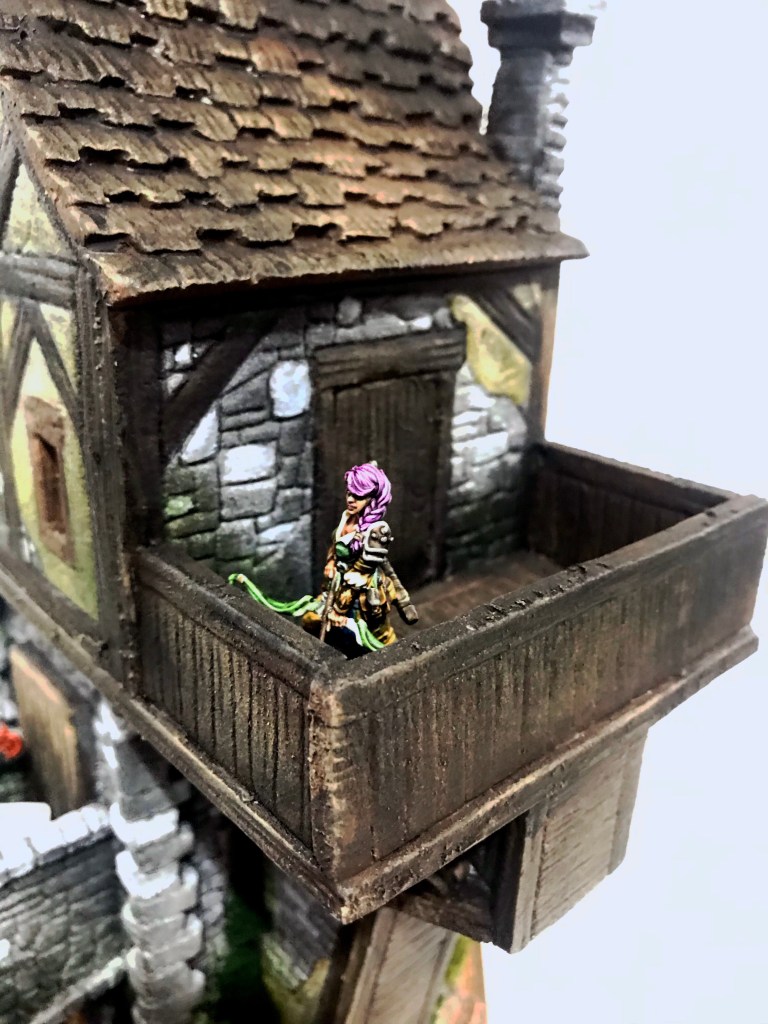
Peeps, we have a winner! After quite a bit of soul searching, I have selected the Ranger that I will be using for my Rangers of Shadow Deep campaign. Drumrolls are not necessary right now, we’re in the middle of a pandemic and loud, repetitive rhythm might startle a neighbor.

Lila Ranger

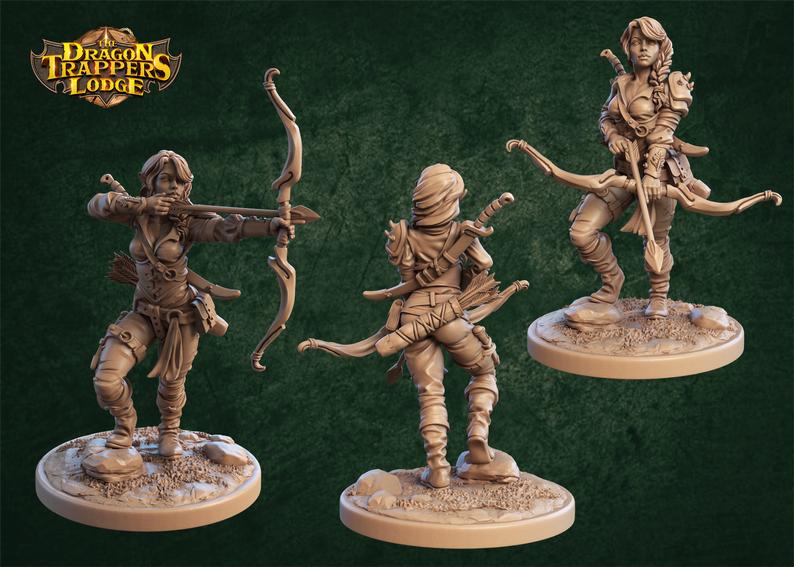
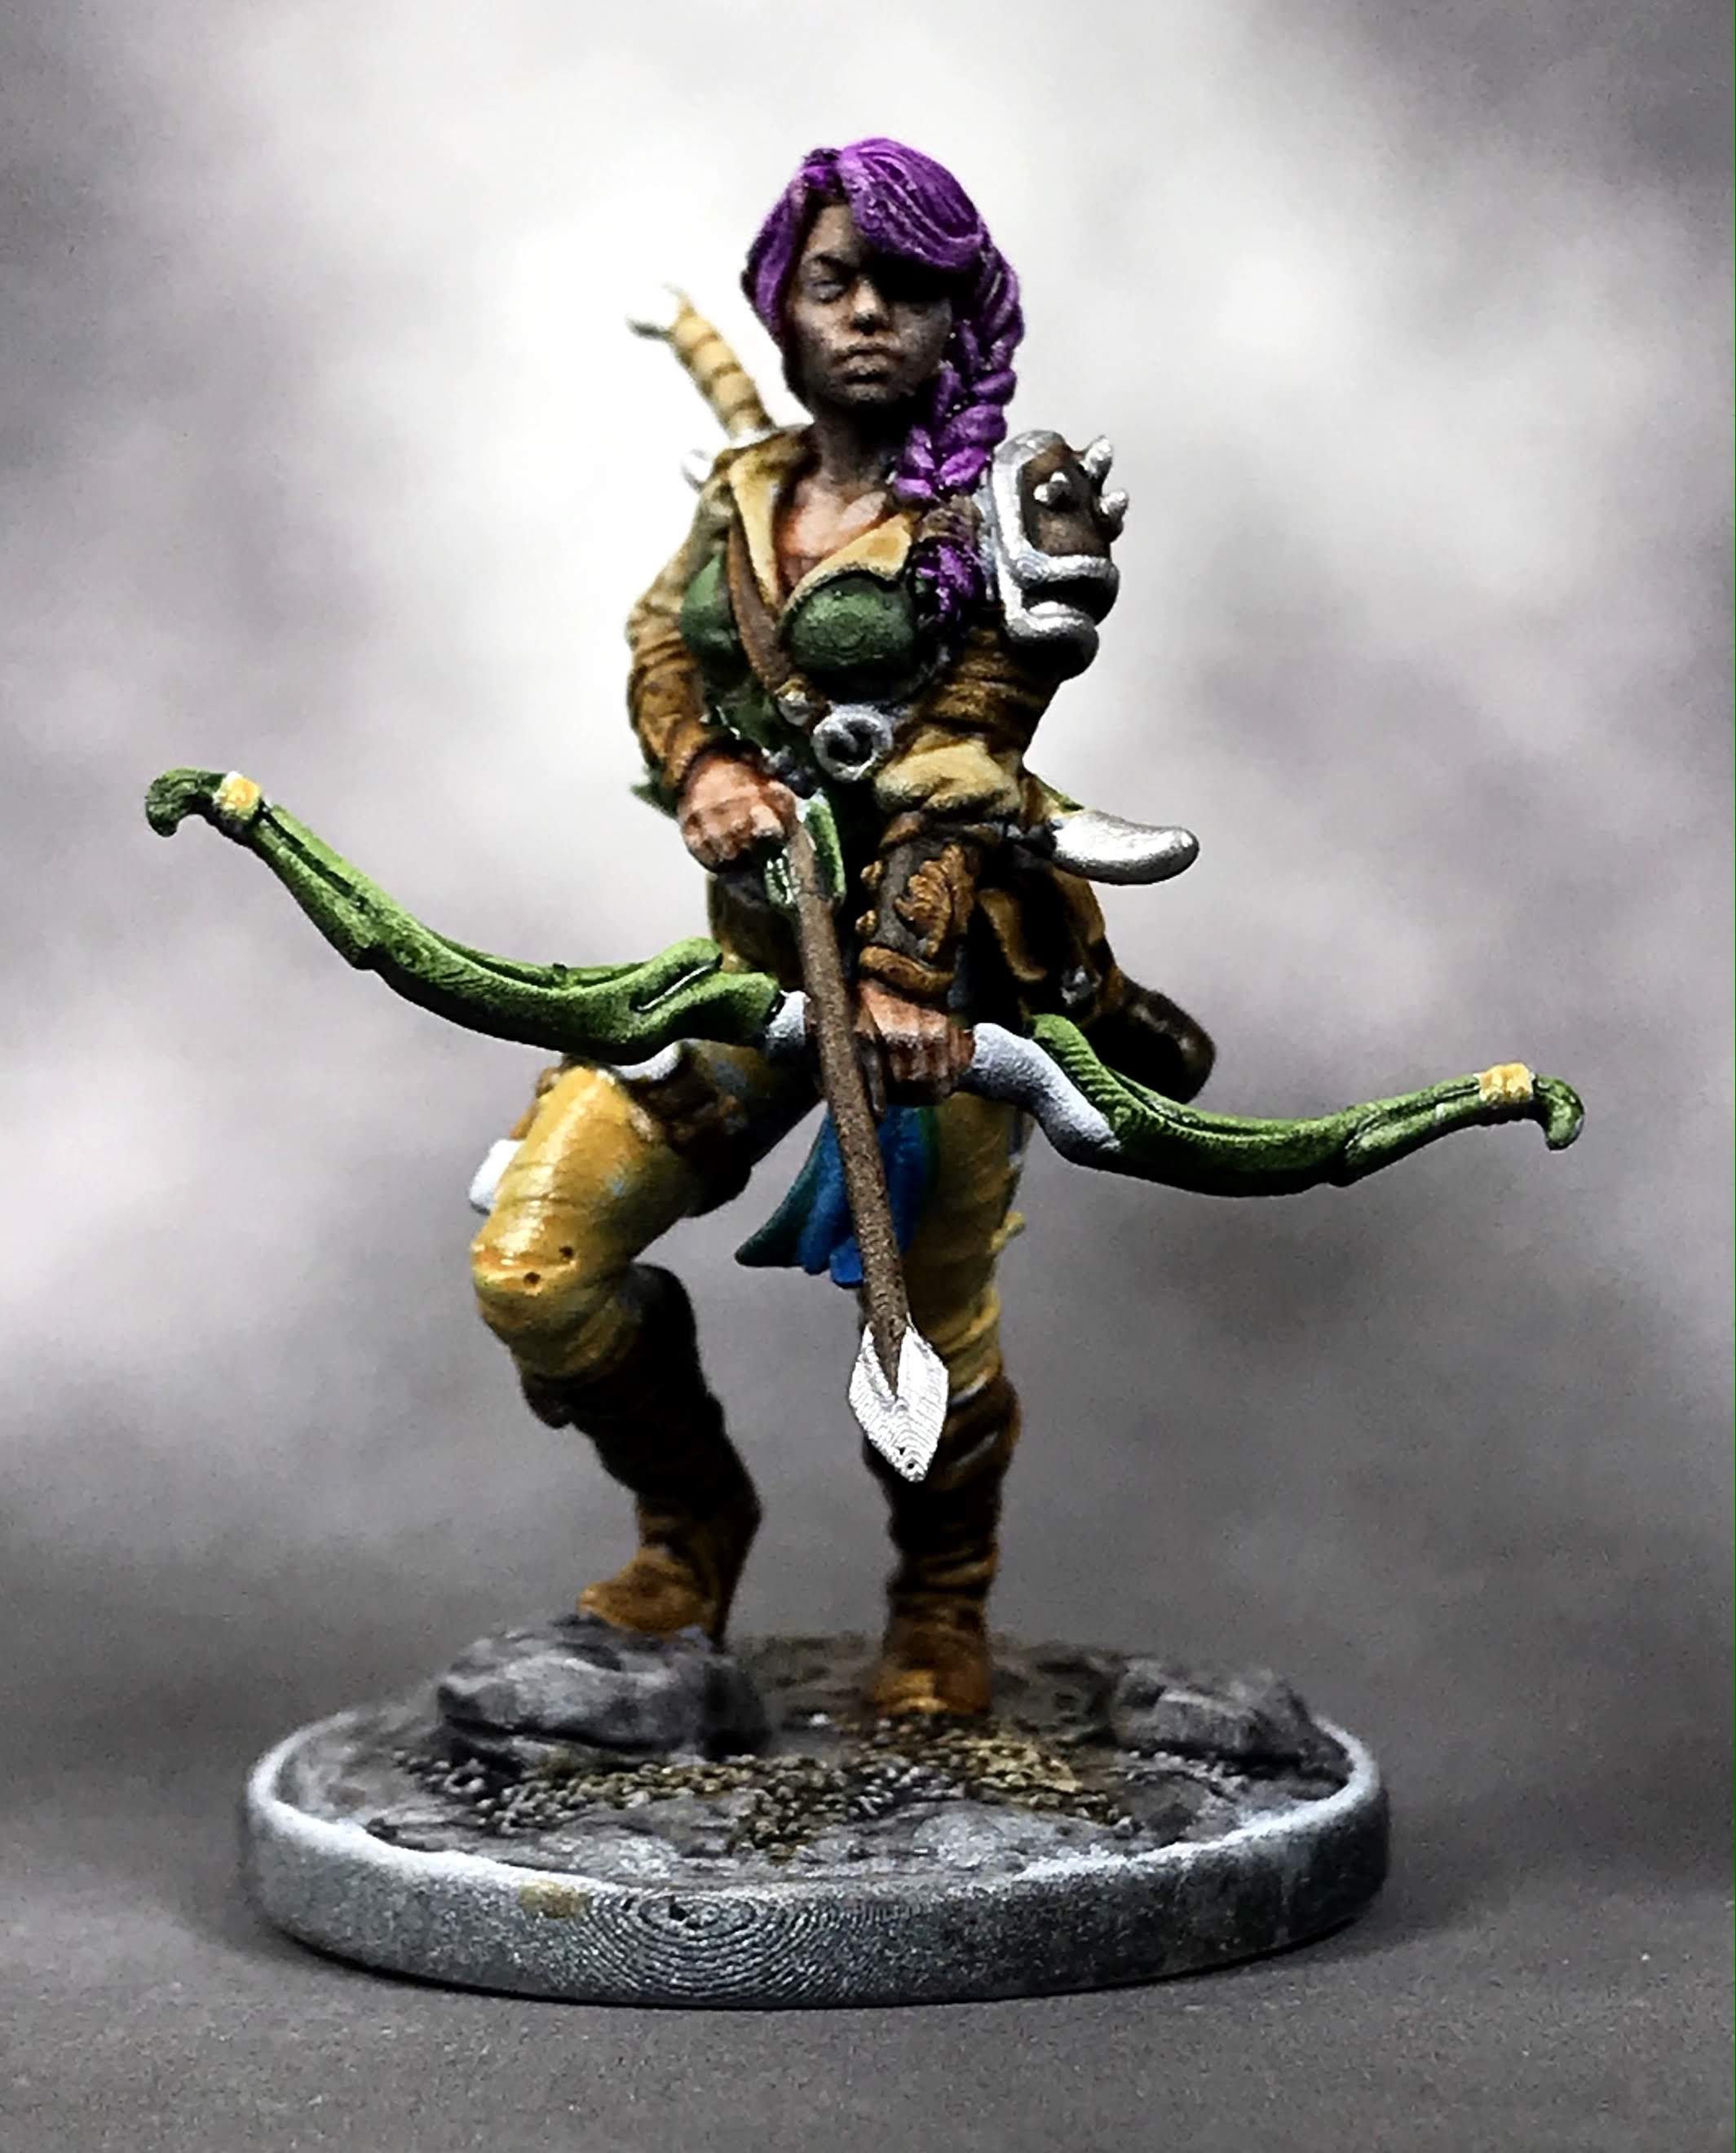
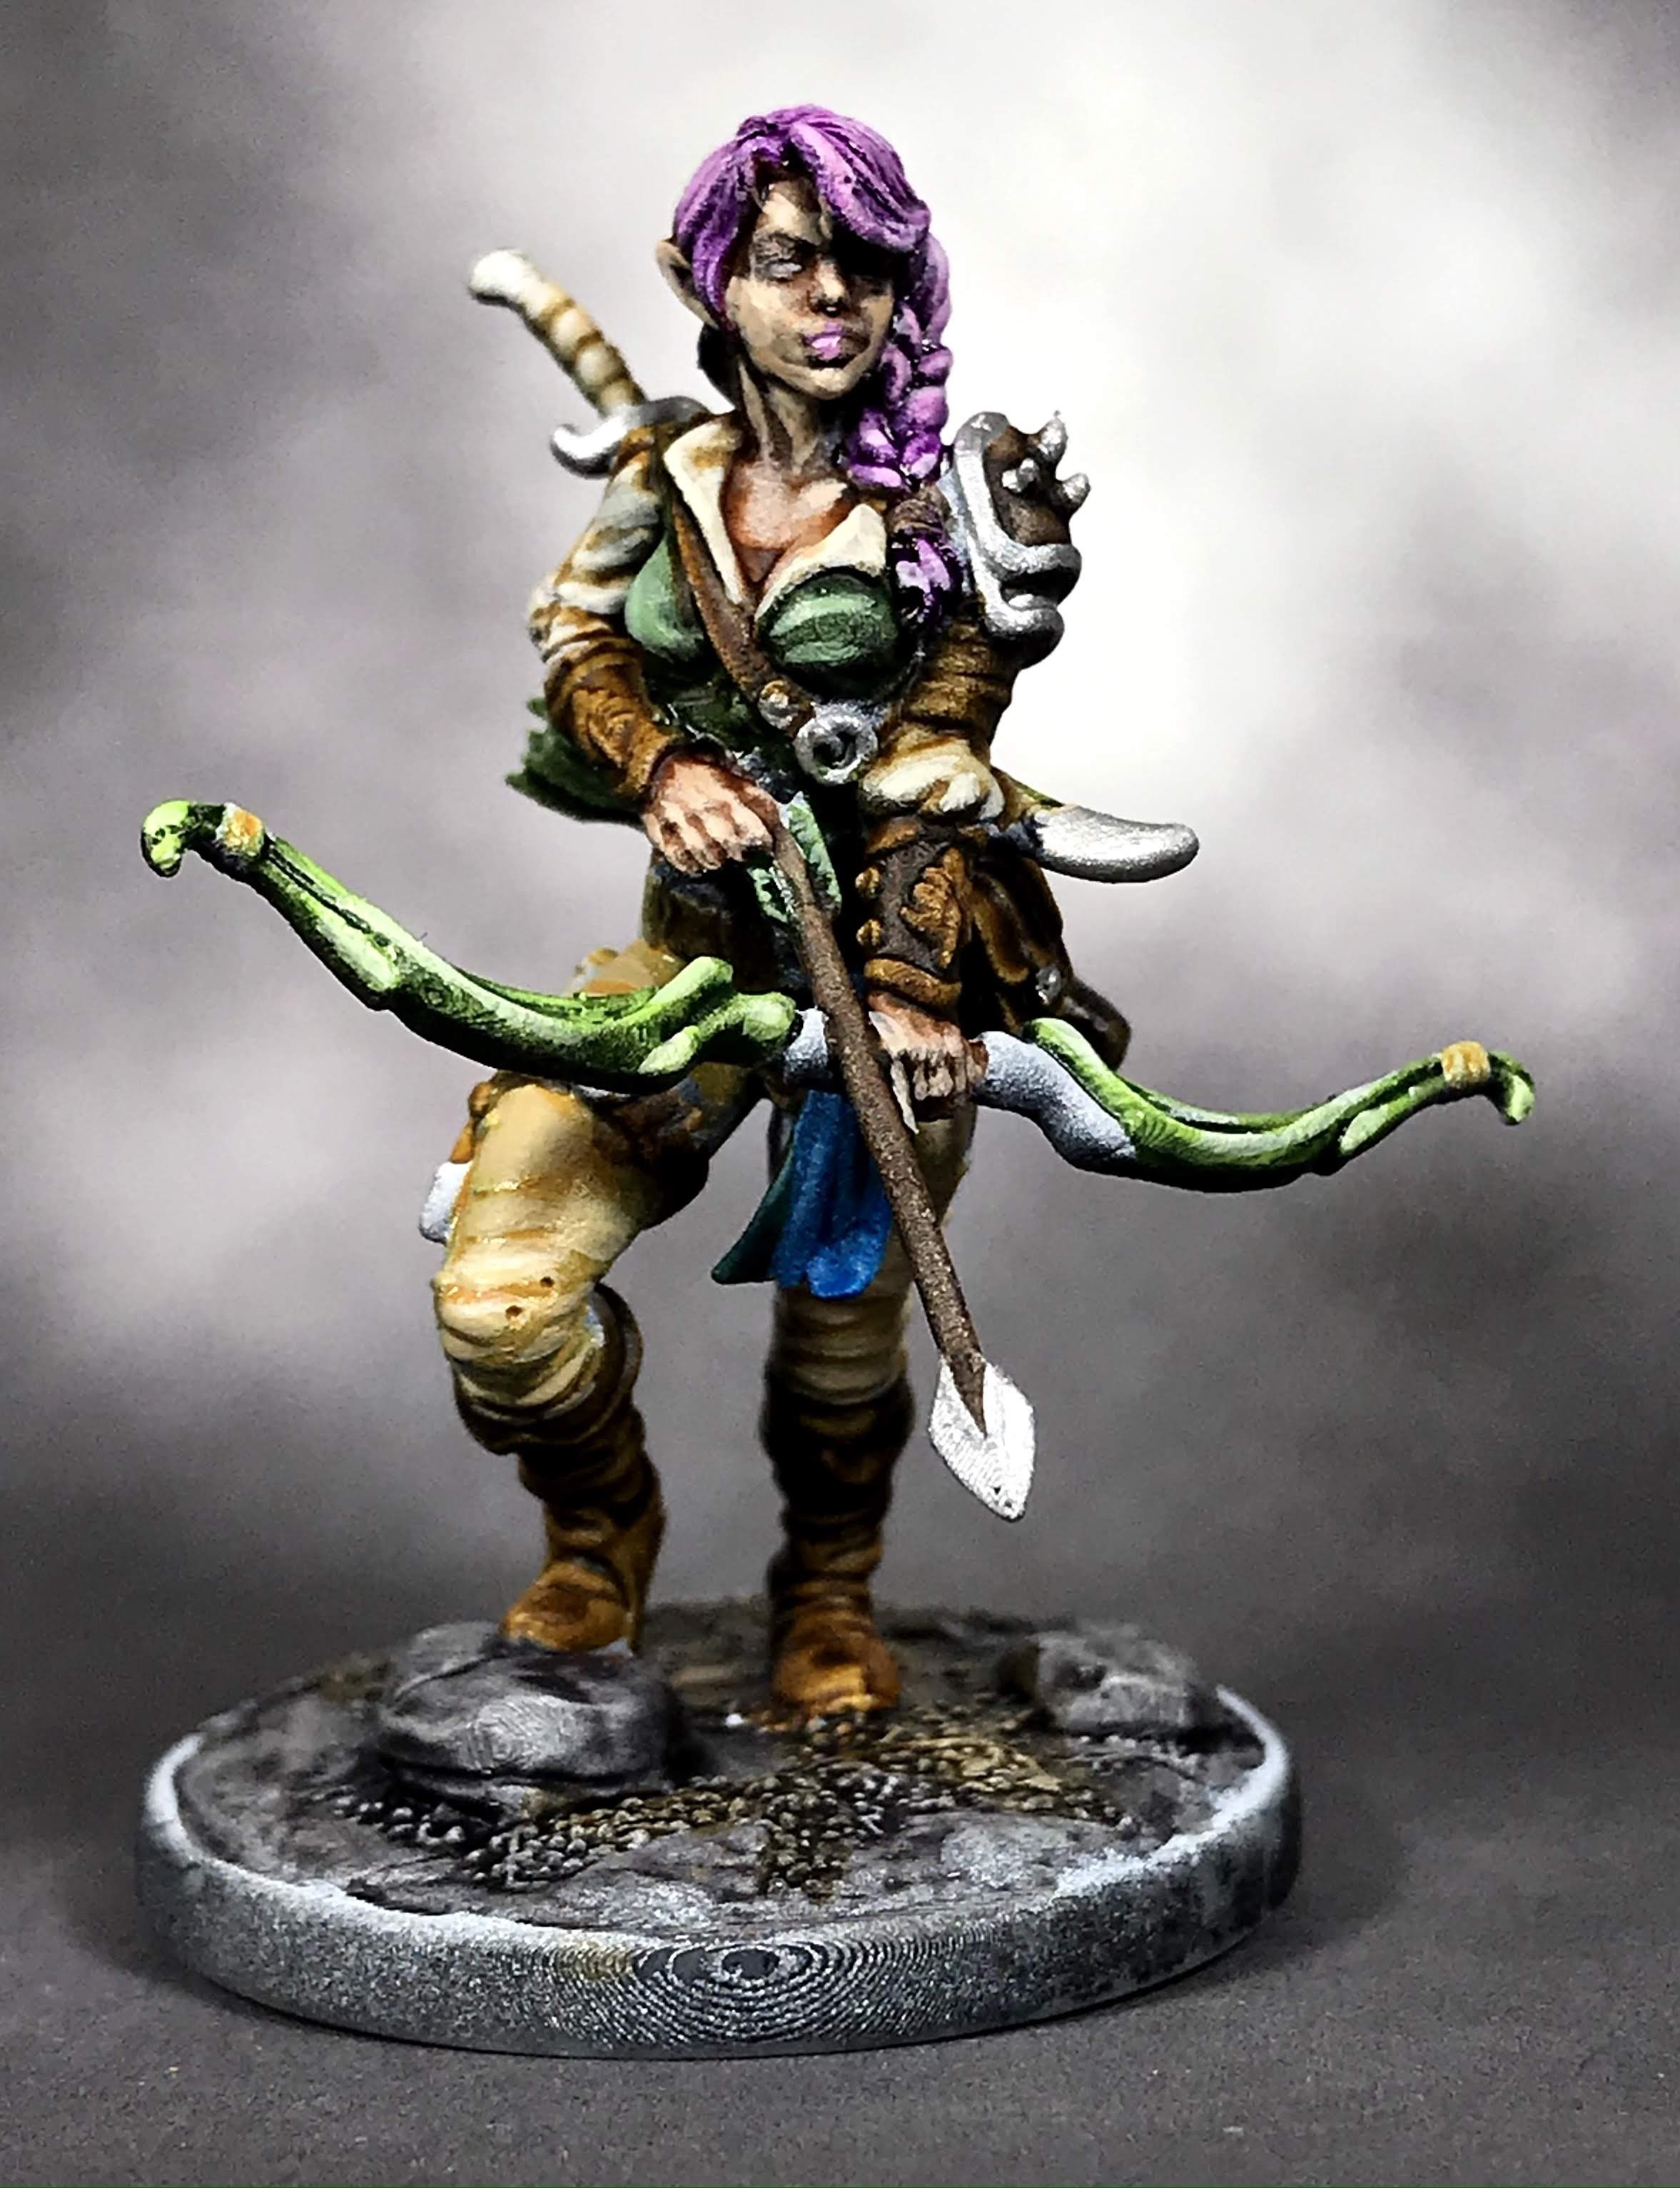
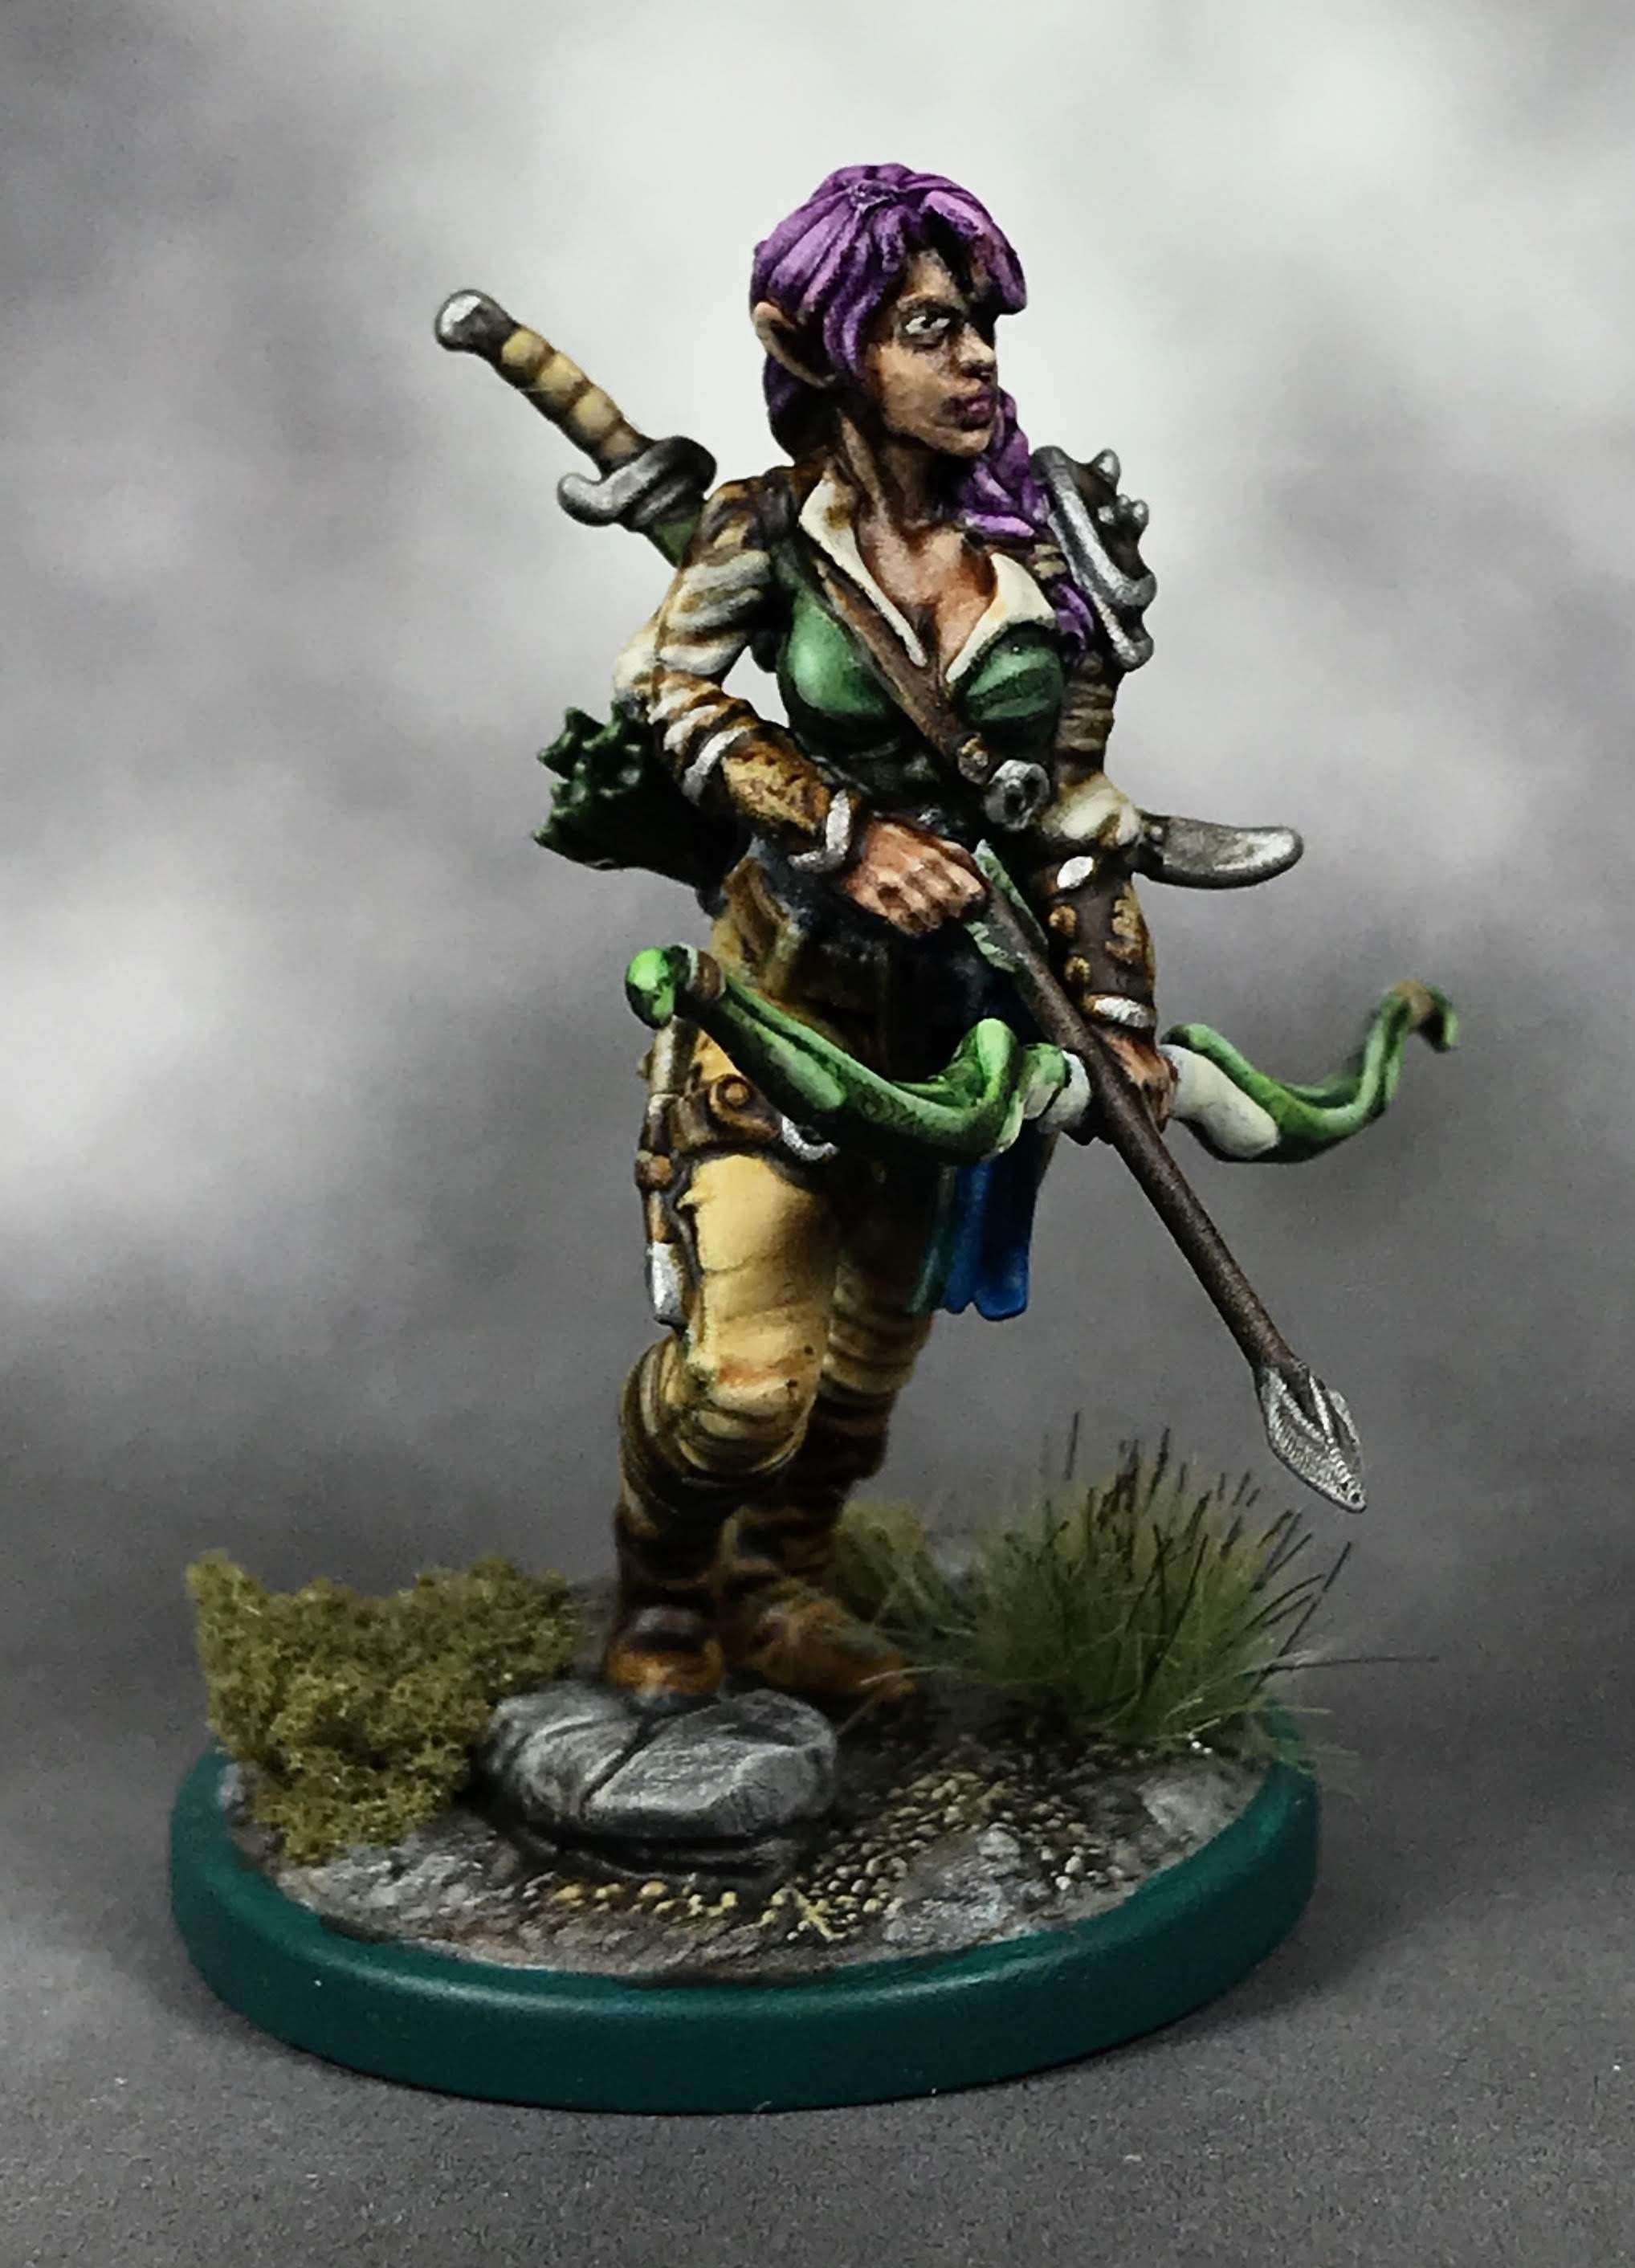
I went with the Lila the Wood Elf Ranger model from The Dragon Trapper’s Lodge. This company releases a great range of figures, each with a main character on foot and mounted, as well as a dragon. The whole range is pretty cool, and very thematic.

Now that my printer is back up and running, I plugged the supported STL file into my slicer software with another five zombies on the build plate, and three some odd hours later, Lila was done!

img_3527

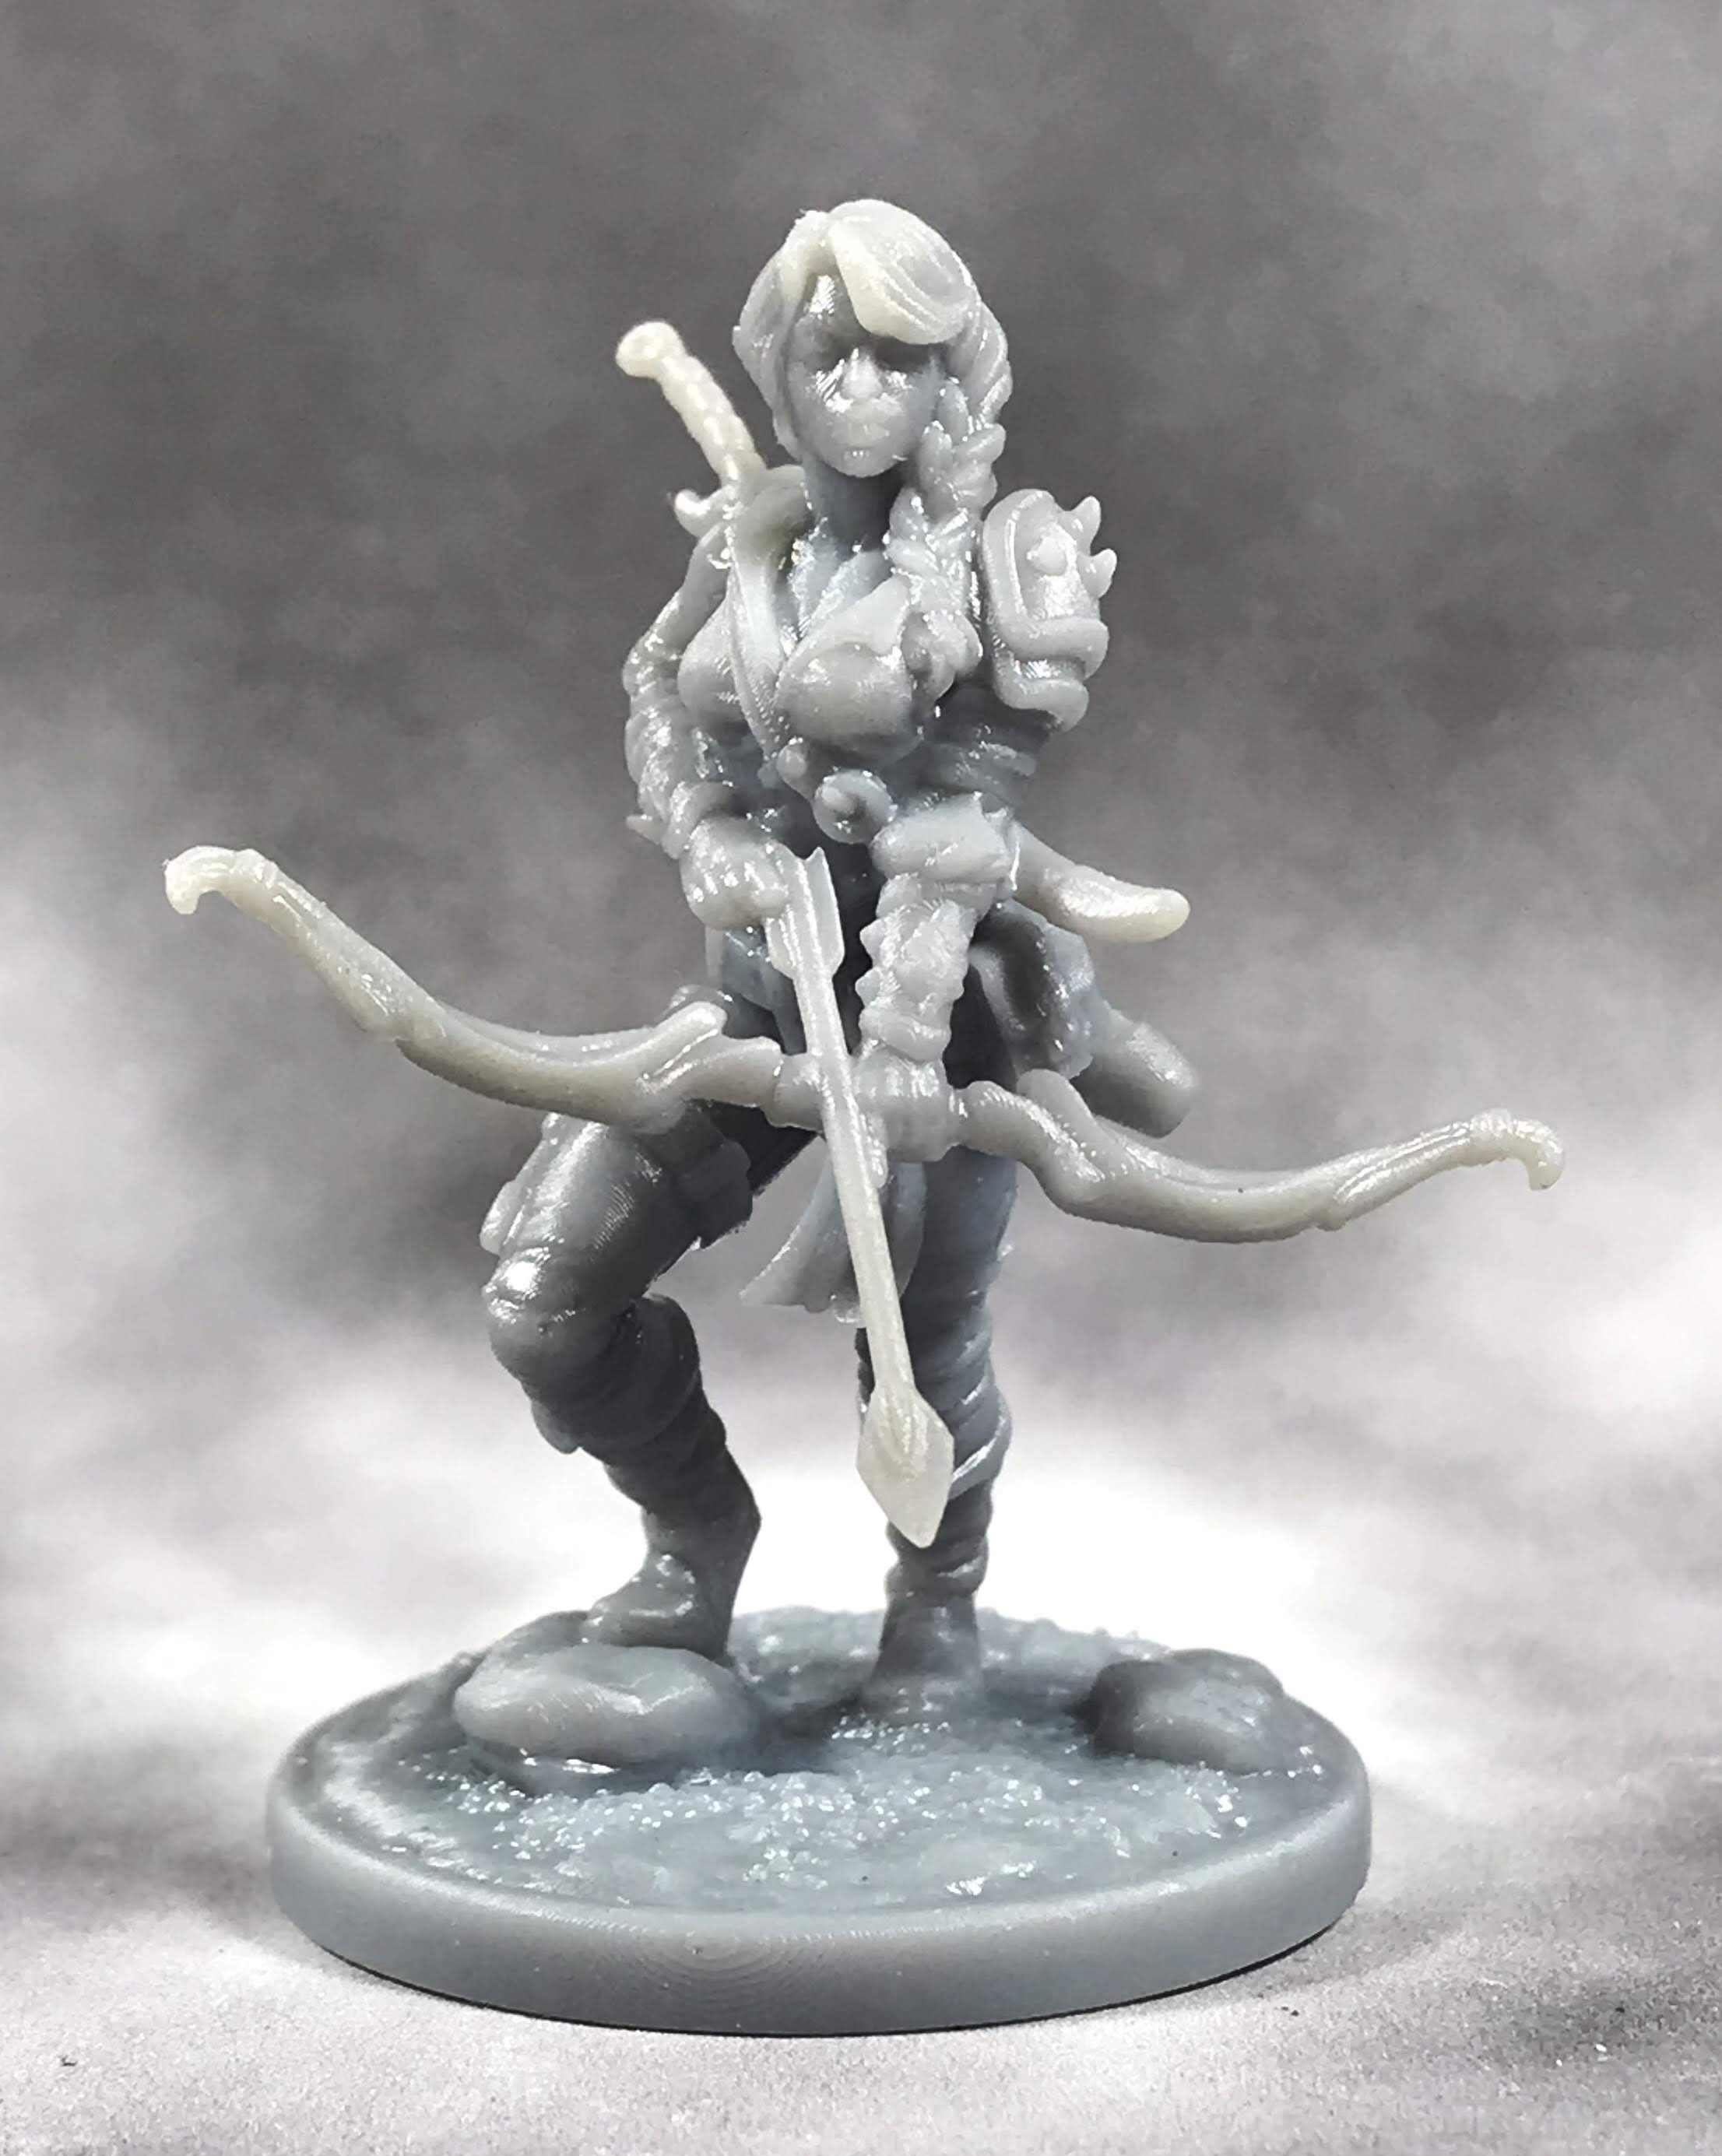
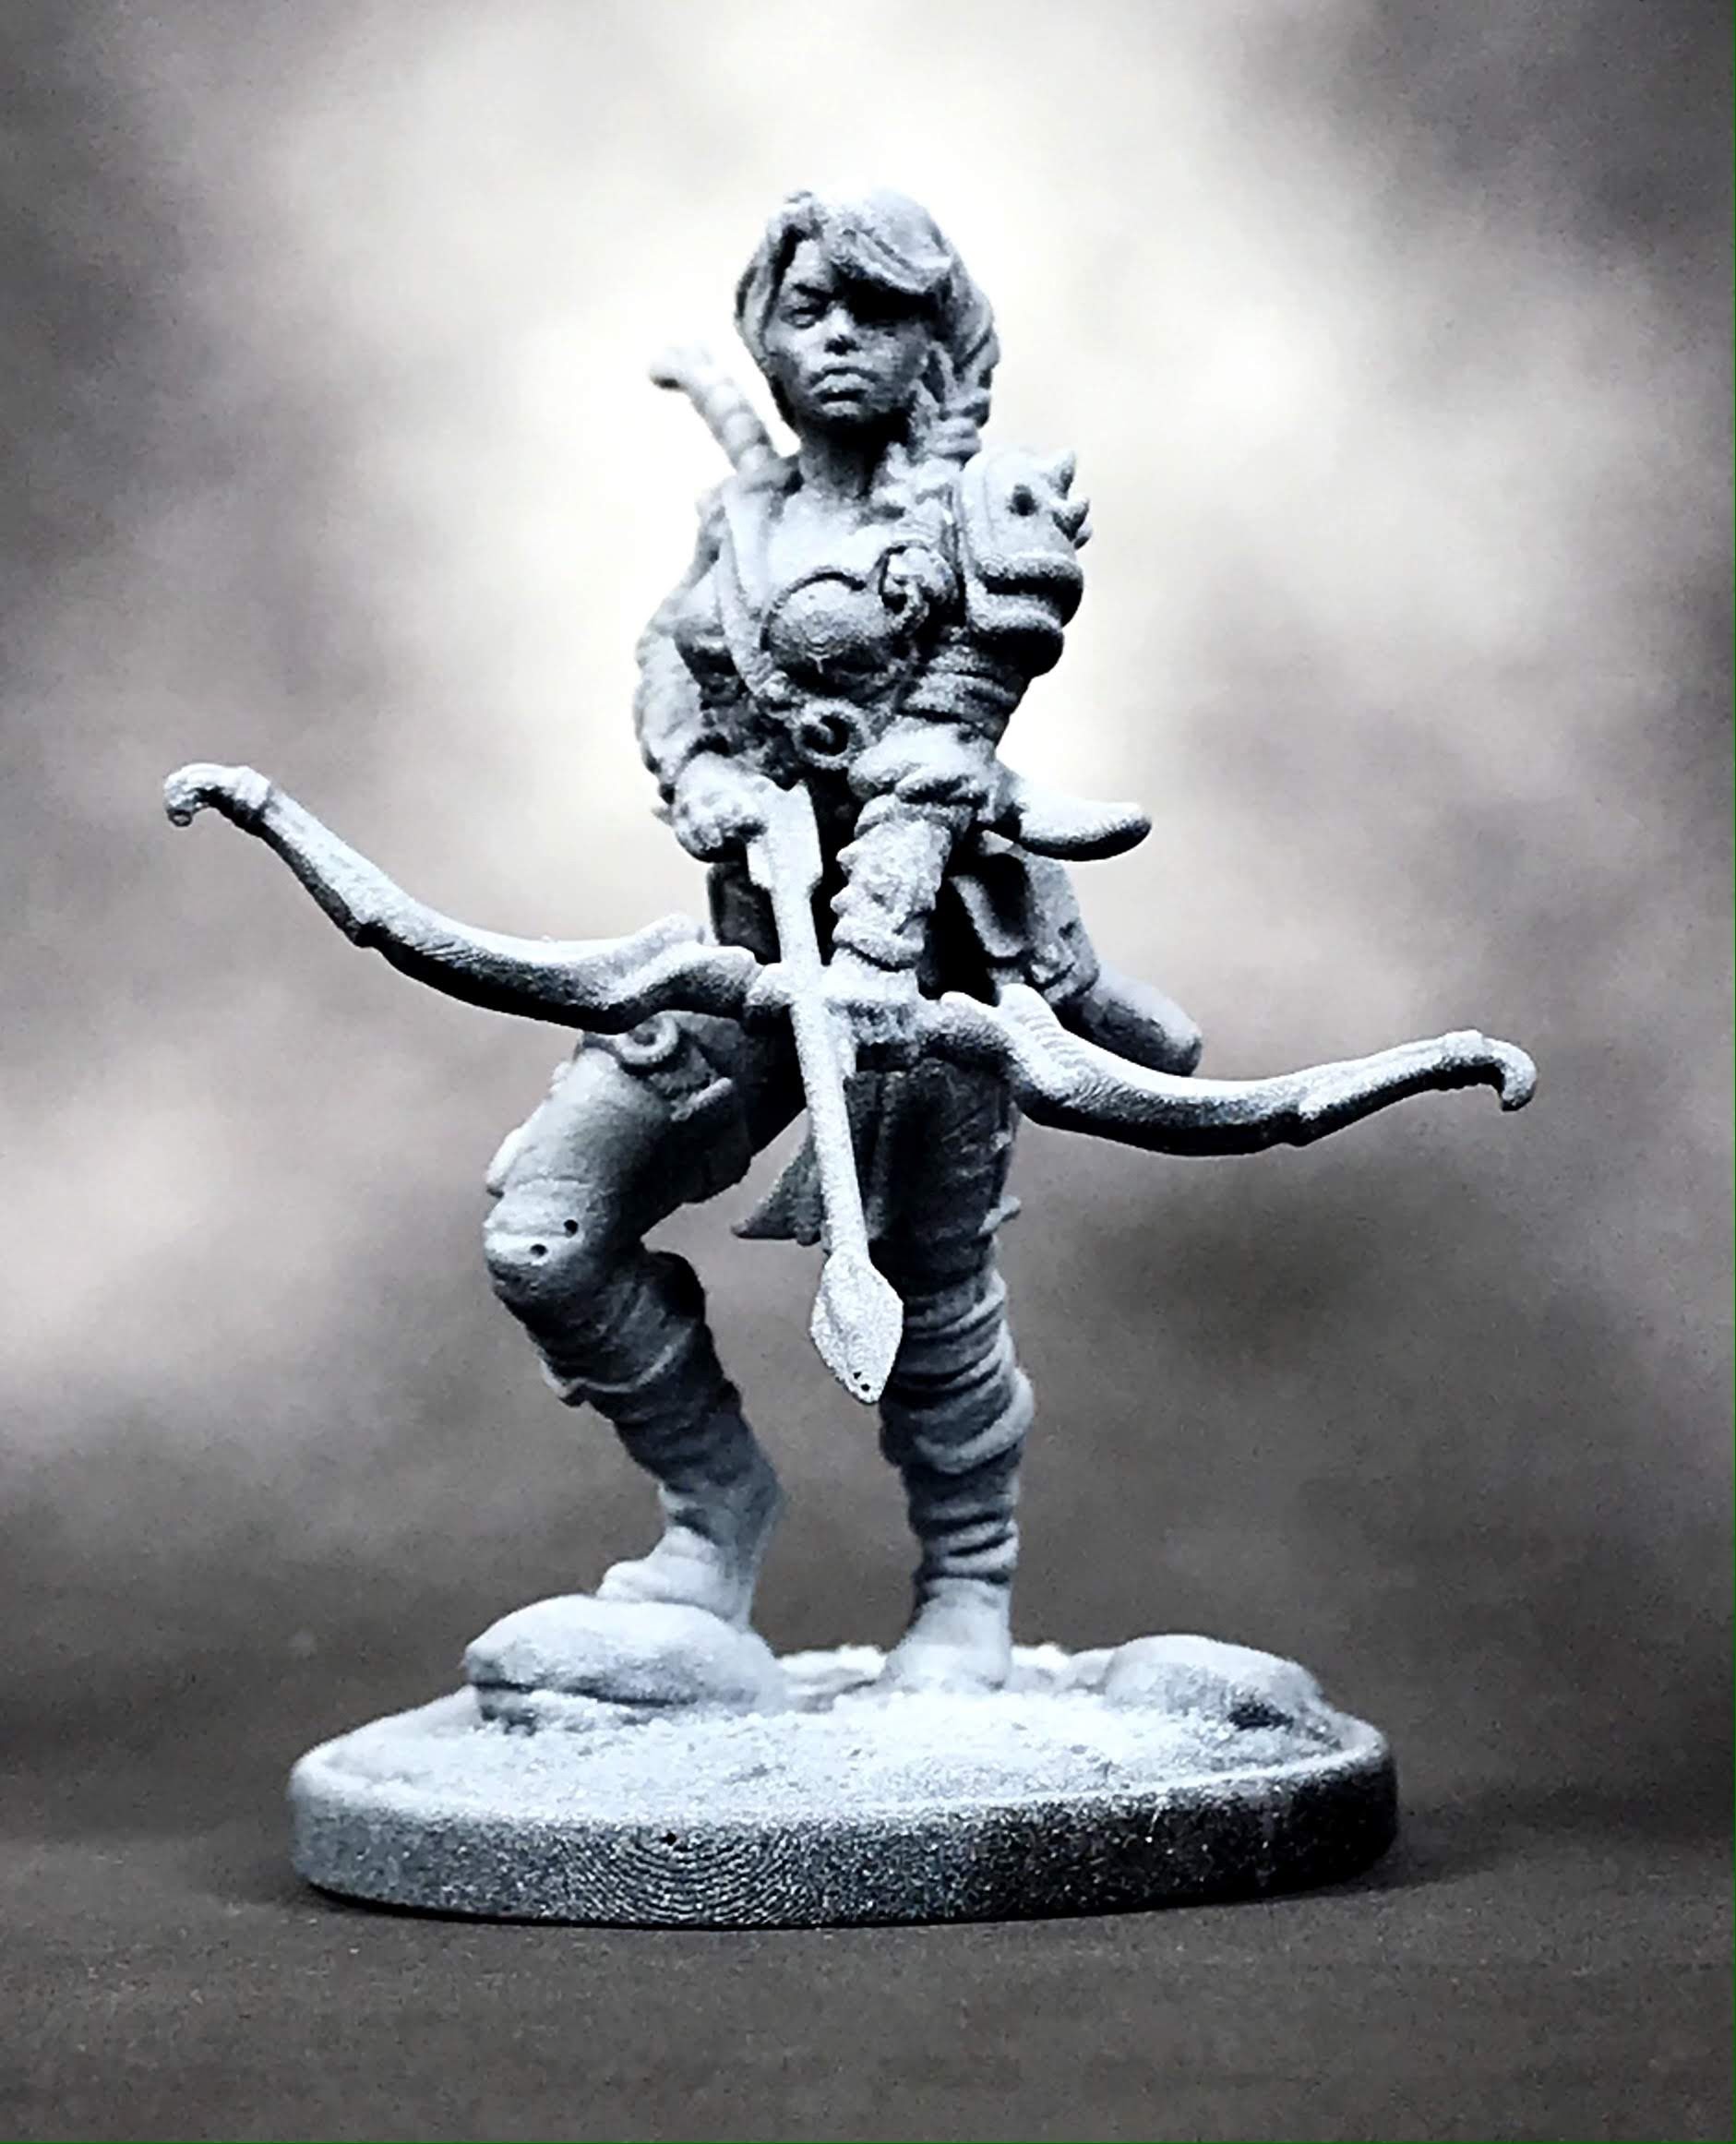
Once she got a UV cure, I went over the model with a black primer in the airbrush, then added a zenithol highlight with white. For those of you who don’t know, the zenithol highlight allows you to see your highlights and shadows before you even commit paint to the model.

img_3526

After the highlight, my first color pass went down using Citadel Contrast paints and Daler Rowney inks. This lets me get color on the whole model quickly, but at the cost of having to be really careful afterward. Contrast rubs off of models pretty easily, so use a paint stand and try not to touch the model with anything but your brush.

img_3525

The next step is the highlight pass, where I go over all of the main colors with lighter shades of paint. I use Vallejo airbrush paints for this, since the pigment count is higher, which lets you get more done in less time.

img_3524

After the highlights dry, I use a combination of citadel shades either straight out of the bottle or diluted with acrylic based floor polish, depending on how strong of a shading effect I am after.img_3523

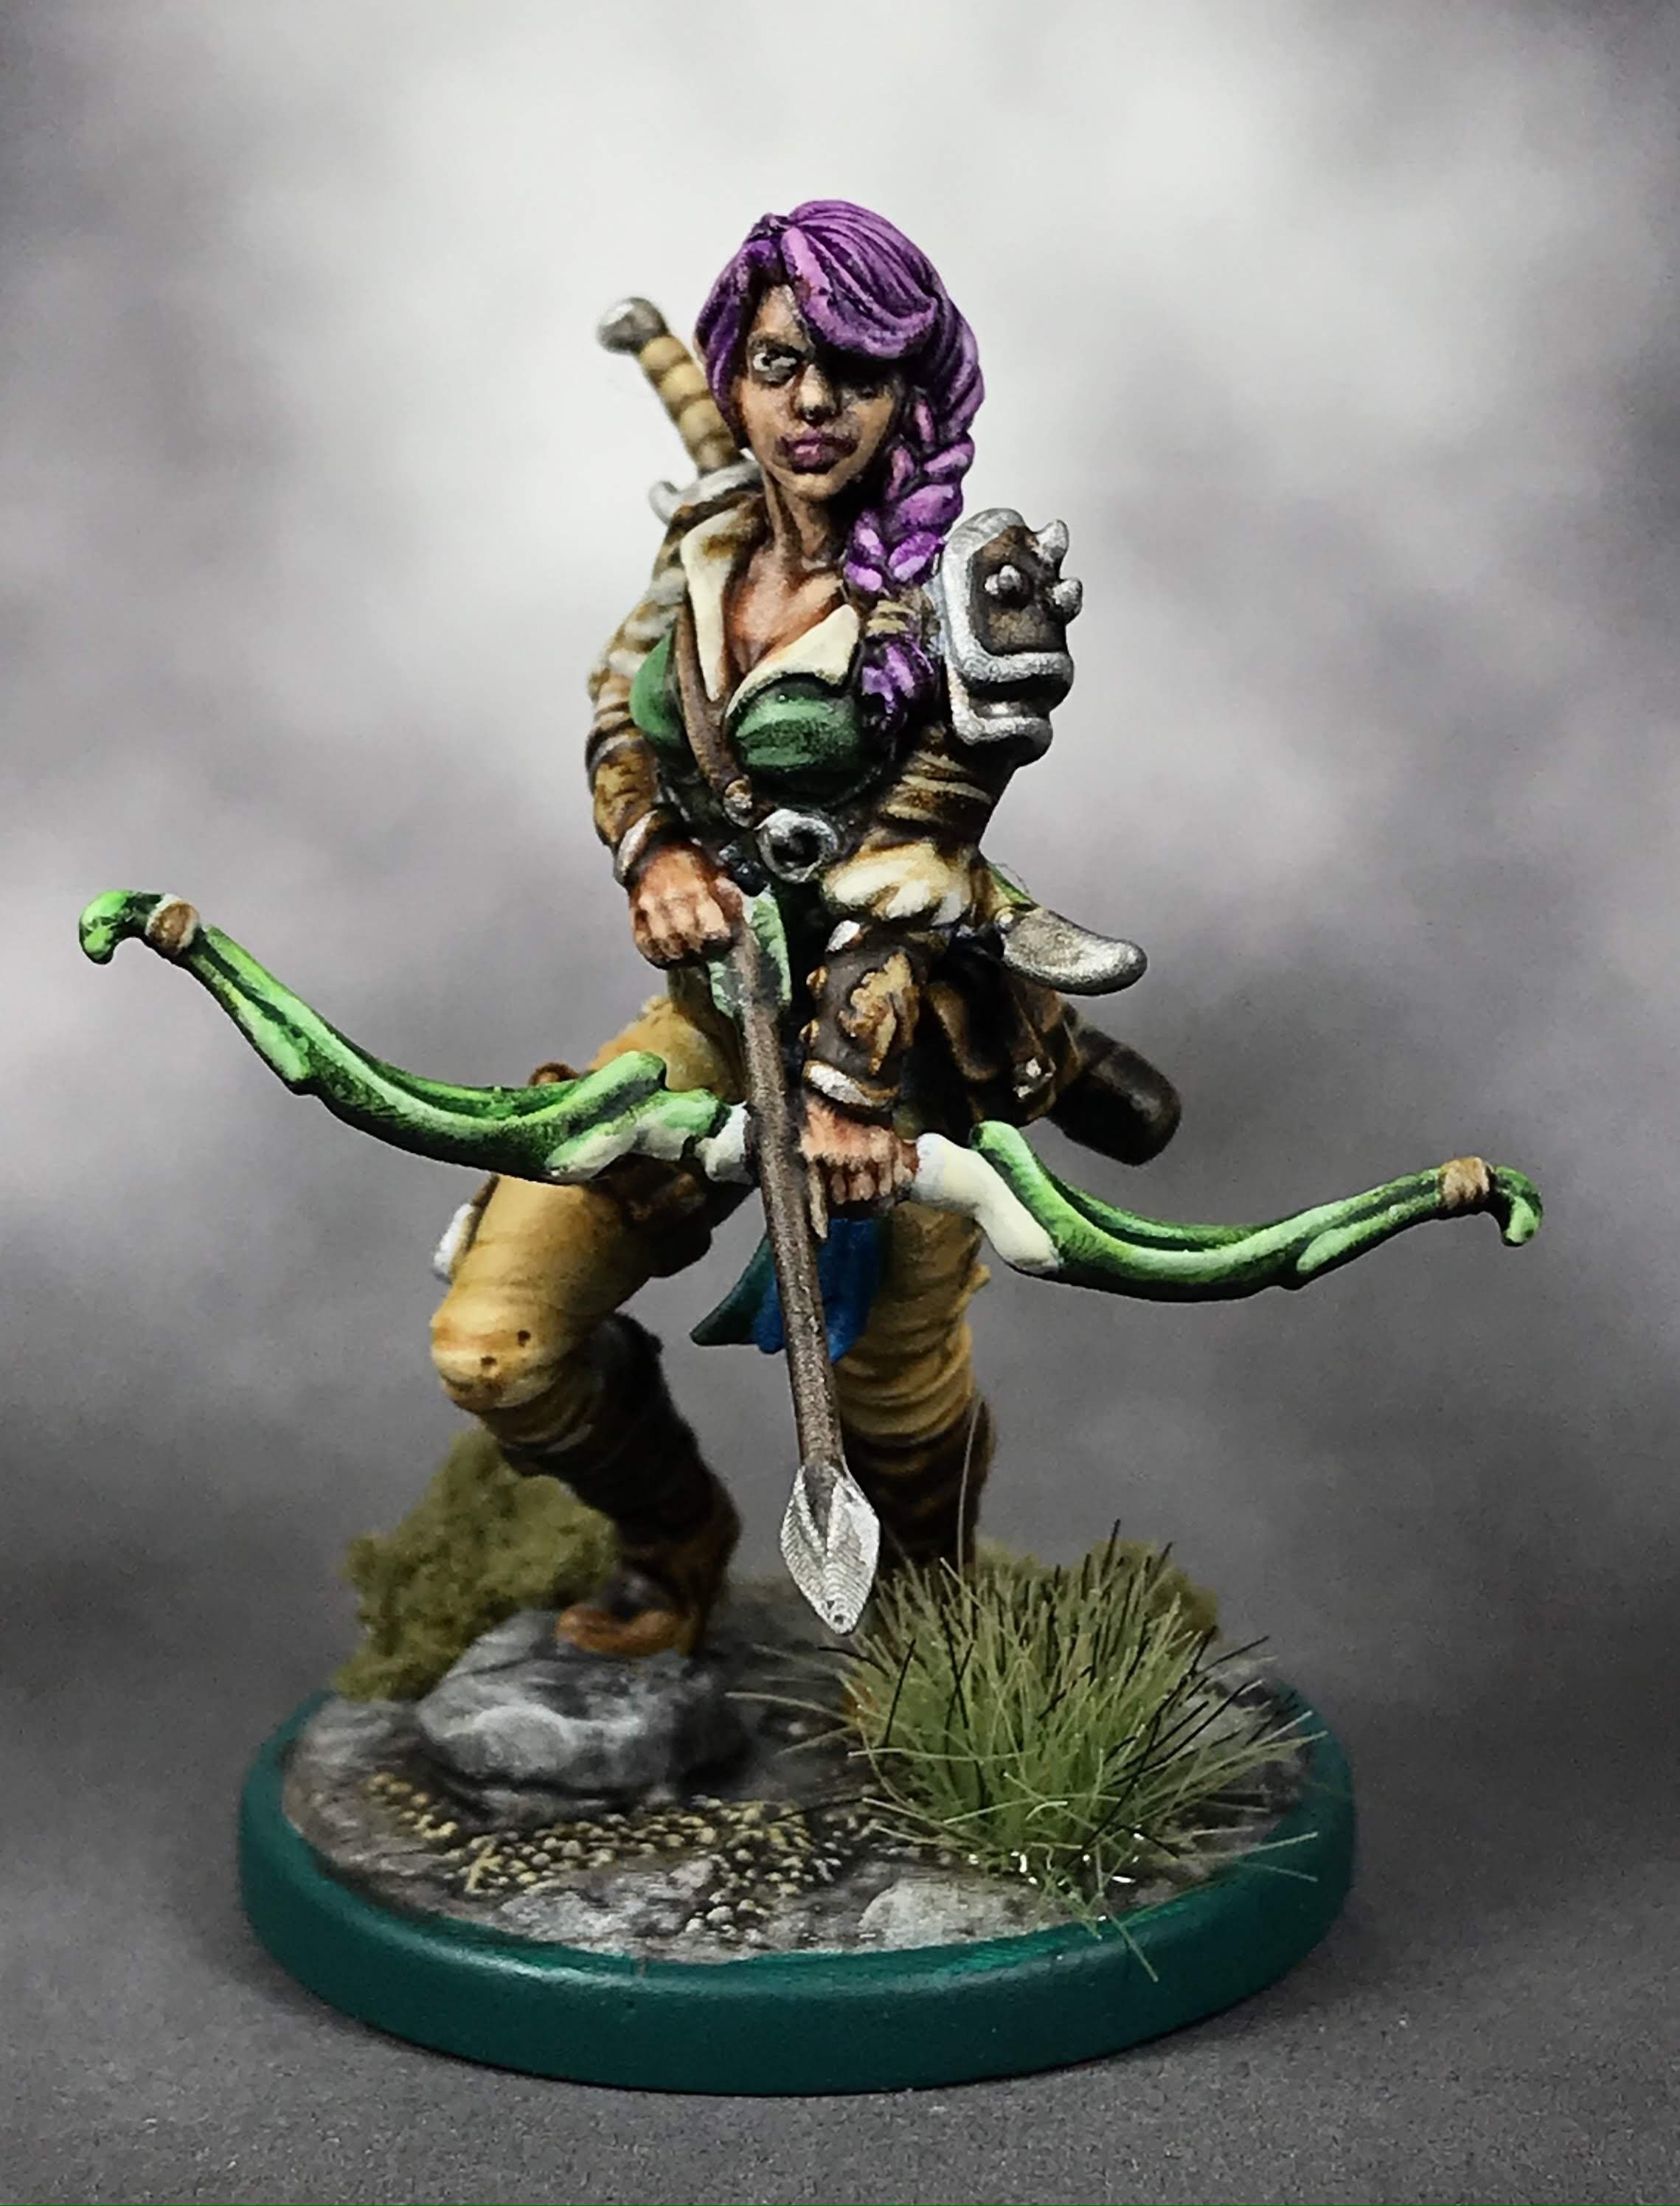
Using this technique has been a pretty tried and true process for me, and has taken me the better part of 20 years to perfect. Before Contrast Paints came into the picture, I was using inks diluted with acrylic medium, and I only stumbled across zenithol highlighting about 8 years ago! It’s been a long process, but at this point I can get a figure like this one knocked out in about an hour.

img_3522

Which means if I did nothing but paint, I could get the pile of shame painted up in about 400 hours…

It won’t win any awards, but it’s a damned good table top quality that will make me real freaking happy to play a game with!

I think I’ll keep her name as Lila, I just need to come up with a cool last name, and get her stats together! One step closer to my first game of Rangers of Shadow Deep!

If you have a cool last name for an Elf Ranger in mind, leave it in the comments!

Hero Forge Project, part One

Hero Forge is a cool concept; you use the Hero Forge interface to design a custom miniature. You have a lot of control over pose, build, genre, and costume, and can select different races like cat people or lizard folk. I have always been curious about the miniatures, but never got around to ordering one.

Maren and Josh commissioned me to paint up the figures they designed for their D&D characters, and I have to say I am impressed with what Hero Forge can produce. The figures look really nice, and there is a lot of detail packed into the miniatures. Maren has an Elven Ranger character, and she wanted her to have some aquatic details. Josh has a Dragon Born gunslinger, with black scales and yellow eyes.

Impressions? Maren and Josh opted for the high detail plastics, which look great but are incredibly brittle. The figures have a little bit of artifacting from the printing process, but there is not a single instance of flash, since there aren’t any molds used to cast the figures. I decided to cut the bow on Maren’s Ranger and reinforce it with a metal rod, because I KNOW that figure is going to fall, and that plastic is far too brittle not to break. The miniatures take paint really well, and paint up just like any other miniature.

Downsides? Only a few. There are areas of the miniature that are next to impossible to reach, like the inside of the Dragonborn’s coat. Since the figure is printed from the base up, the coat hangs just like a real coat would, and getting a brush up behind a character’s legs is pretty tricky. Also, for $30, I would hope for a more durable plastic. There is a stronger miniature from Hero Forge that costs less, but the detail is chalky and looks pretty rough.

The gallery below highlights the first half of the painting process, I will post the finished figures tomorrow!