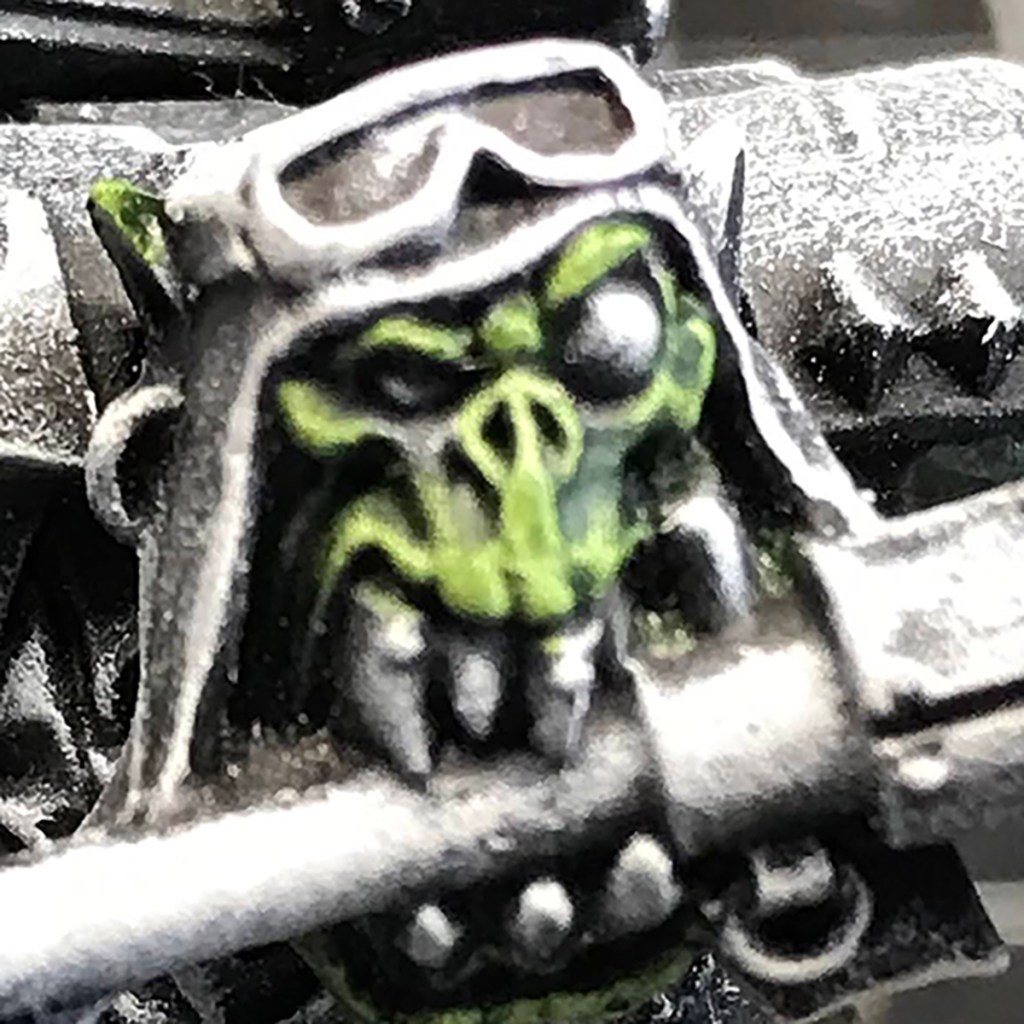
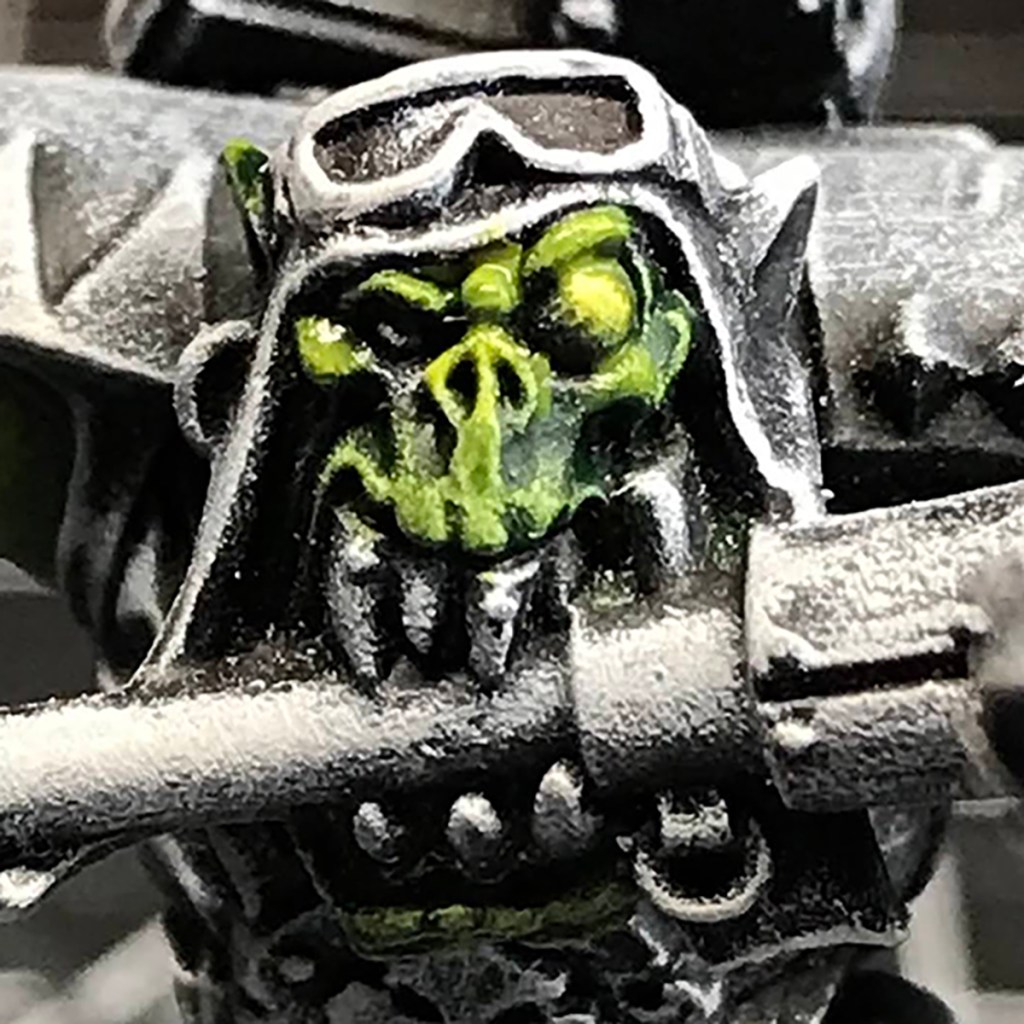
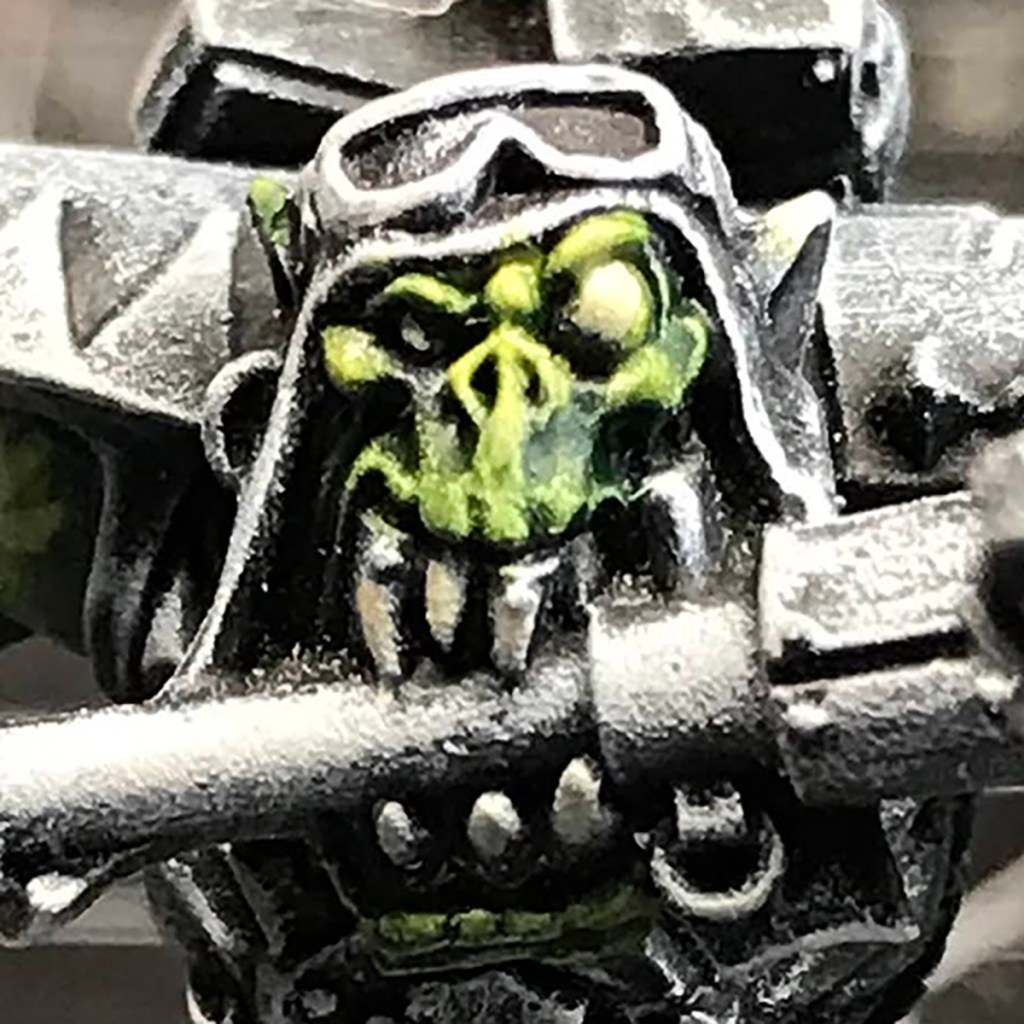
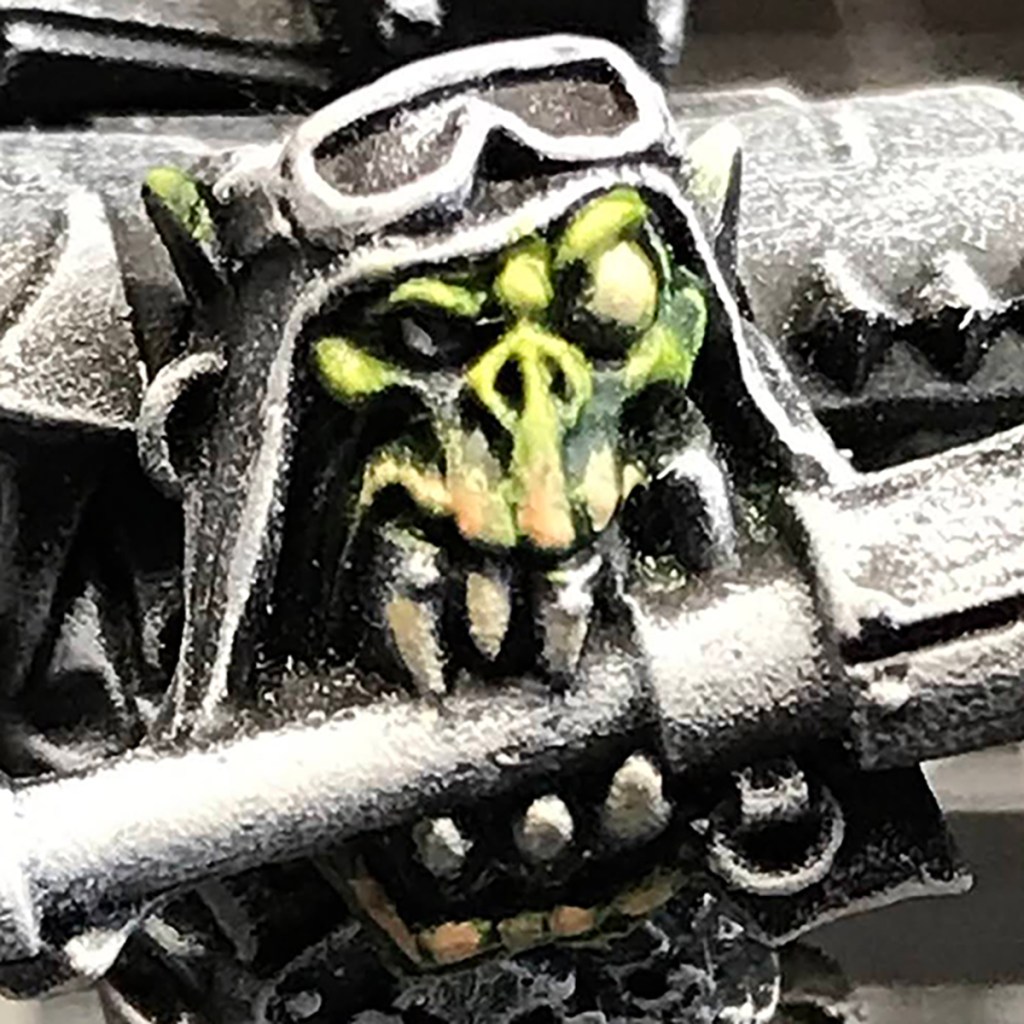
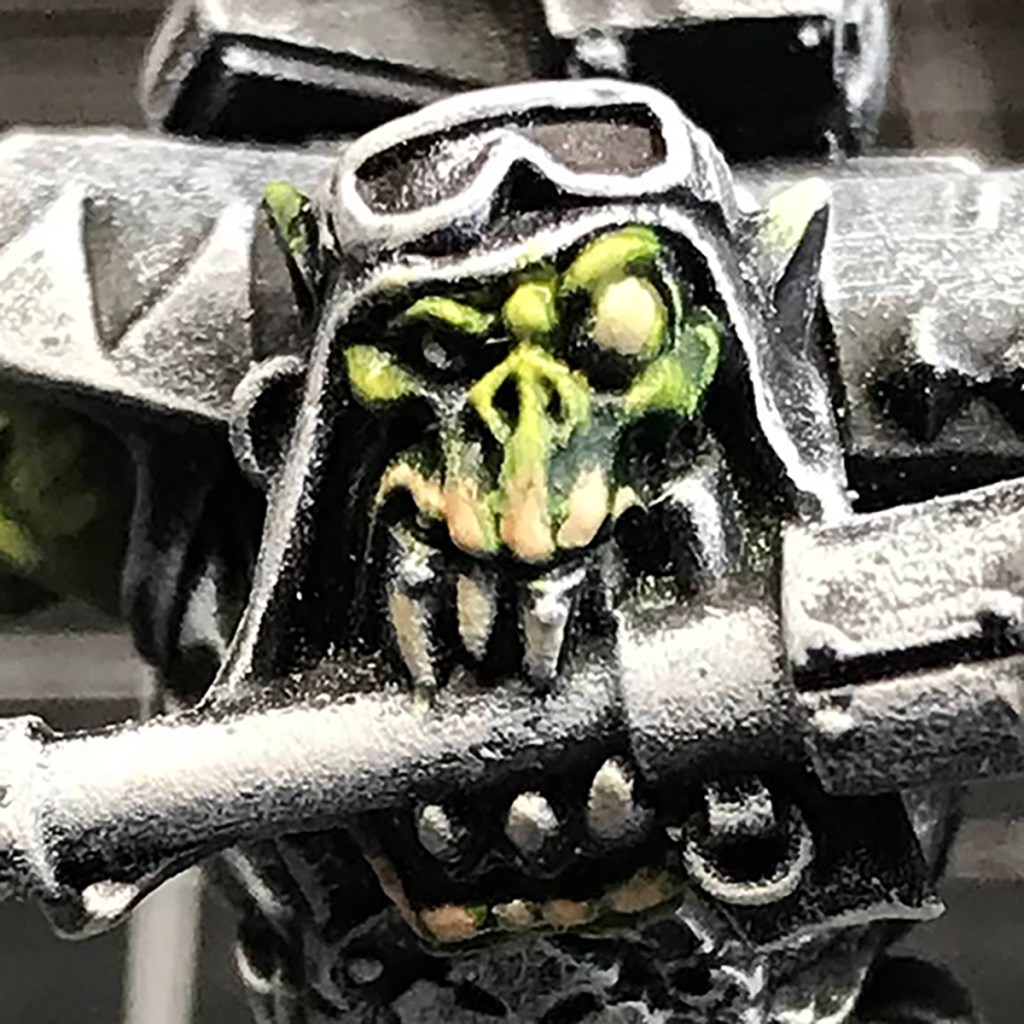
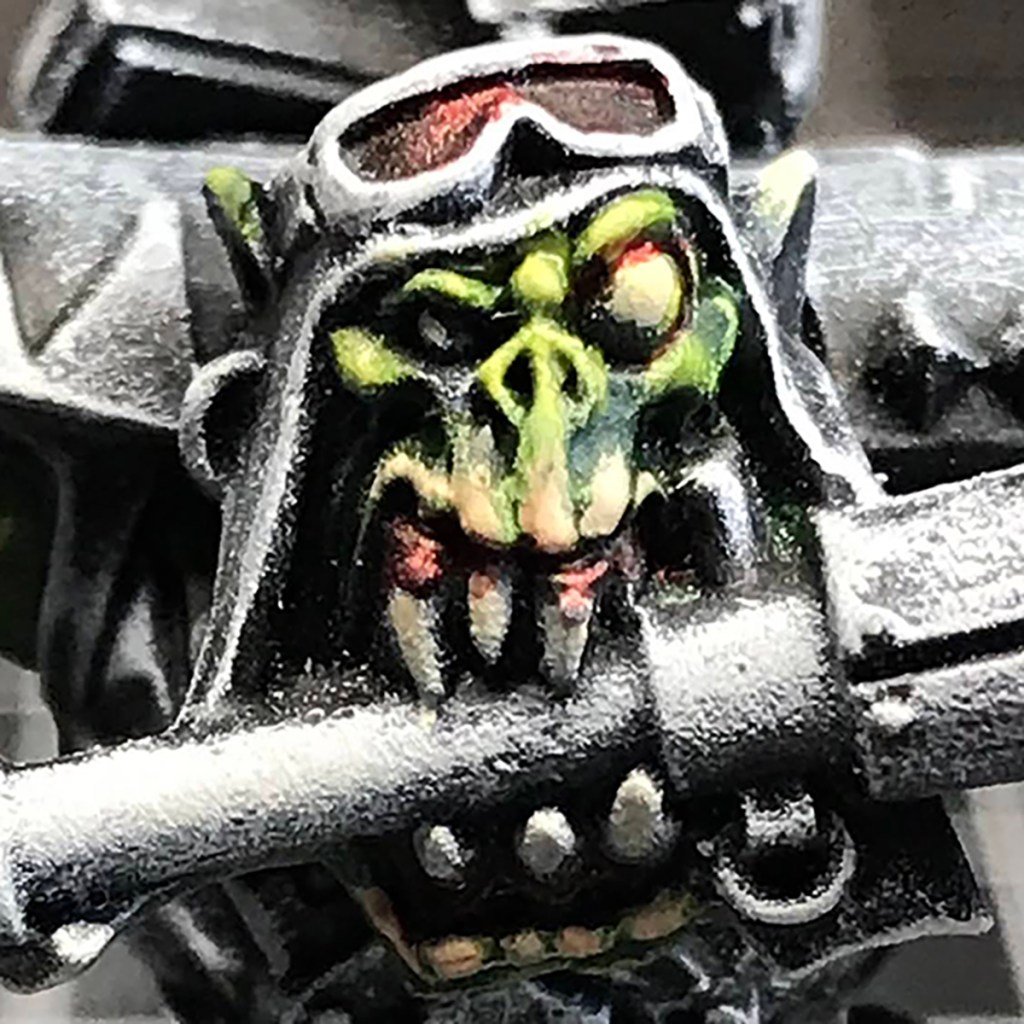
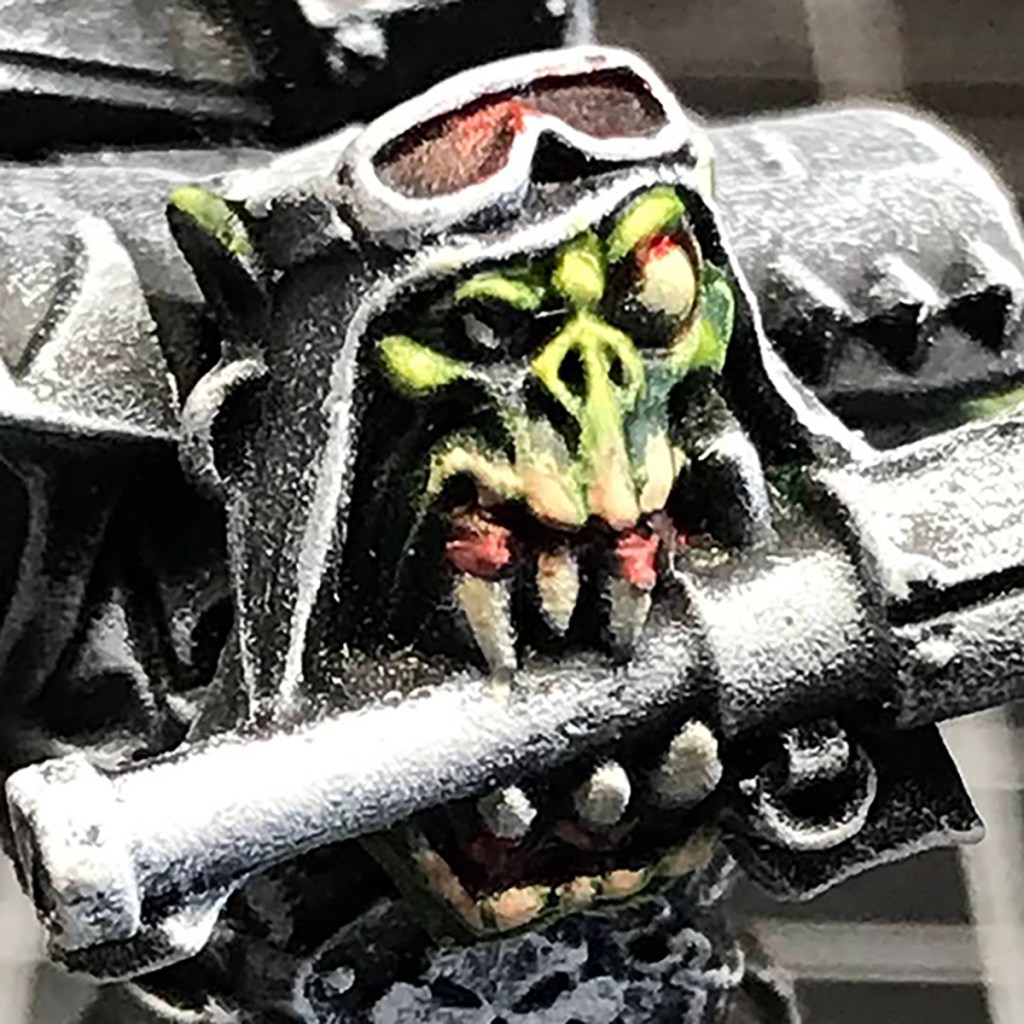
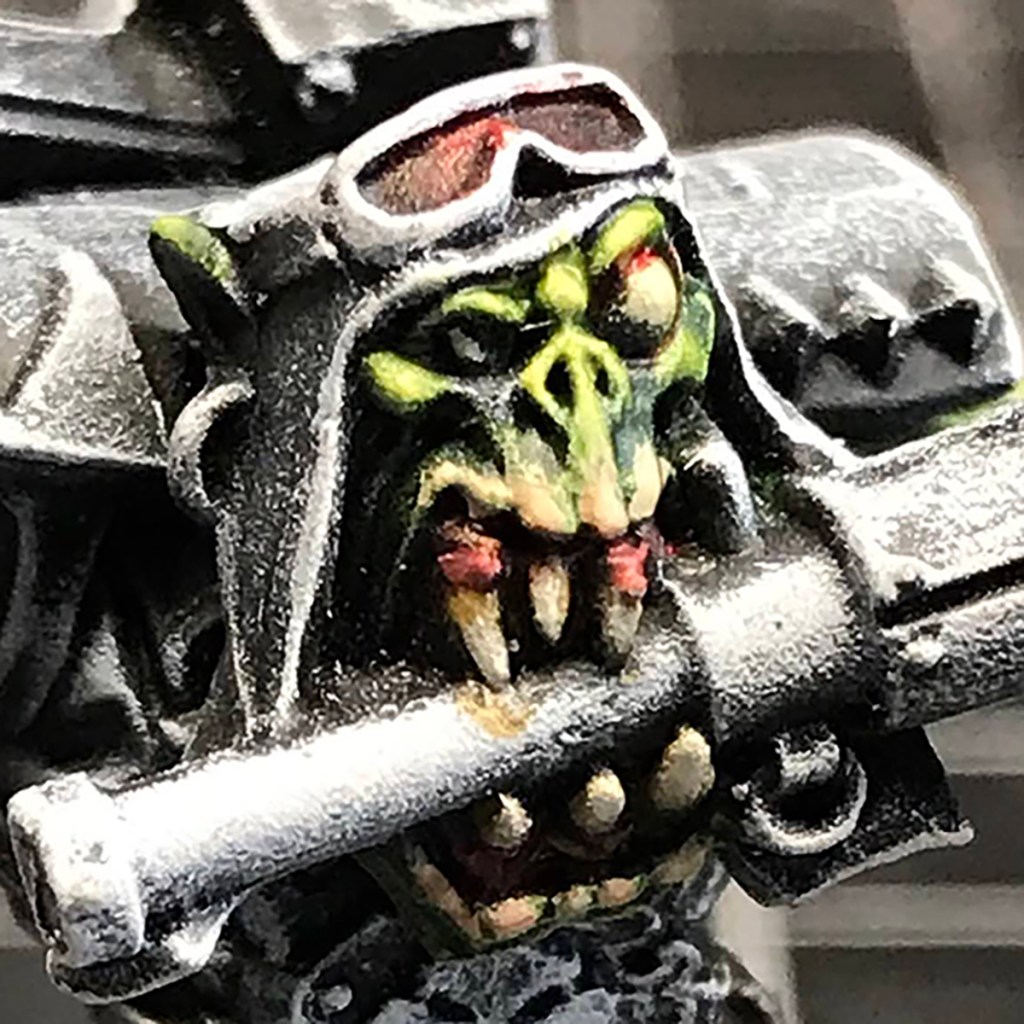
This project has been a funny one, and an oddly therapeutic one. Accidentally therapeutic. Weirdly therapeutic.
Anyone who has been around this ramble factory for more than a minute knows of my love/hate/adoration/ambivalent relationship with Games Workshop. I freaking love 40k, and have for nearly 40 years.
And I kinda hate what it’s become, and the all consuming capitalist machine GW has become. I’ve been consuming GW media for nearly as long as there has been a GW, and while the games haven’t always been perfect, they were always pretty free spirited and anti-establishment.
Early Warhammer 40,000 was brimming to near overflow with the kind of punk energy that came to life to counter the Thatcher/Reagan political machine, and thumbing through a book or White Dwarf was sometimes akin to putting on a Black Flag album and knowing you weren’t alone in being pissed off at the direction the world was going.
Now, I look at GW and it feels a bit like running into someone I used to know in the old scene, but they’re sporting a suit and clutching scripture while desperately trying to fit in to the corpo world.
ICKY! It feels icky! Modern GW is pretty much everything classic GW was making fun of. Those guys weren’t worried about stock dividends and shareholder satisfaction. They wanted toy soldiers of comically fascist orks, disposable infantry, and uber-men that poked fun at the macho swagger that polluted the entertainment sphere of the time.
So, where does that leave an old-timer like me? I still love that space. I still enjoy the franchise. But it’s a lot like Disney era Star Wars– You’re playing my song, you’re hitting the right beat, but I’ll be damned if you aren’t much more than a pretty good cover band…
This Ork project was one I went in to with pretty open arms and a fairly open mind. I love miniatures, I love painting miniatures. Sometimes, I even enjoy playing the games that are out there that I use to justify loving miniatures. But I’m not a fan of the modern holders of the license, and their interpretation of the rules and I don’t mix well.
But, if I want to play a game with anyone, I pretty much have to have some grasp on 11th edition. So, my solution is to have a Combat Patrol sized force, with an army that hasn’t changed much unit wise since the edition I did like, which was 4th. Again, I know it has problems. But I know how to work around those problems, and it feels like properly cinematic wargaming to me.
Grimmguttz is my Warmaster, and he’s the dessert portion of this painting project. He’s also a little nod to my situation, as I use Grimmleigh* as a pen-name, and my guts tried to kill me. So, Grimmguttz. You’ll see him in a couple of weeks.
Grimmguttz in 11th will be leading a couple of squads of Boyz, a squad of Grots, a Weirdboy, and a buggy. In 11th, I’ll probably put some other goodies like Killa Kans and Dredds, but I’m not in a hurry.
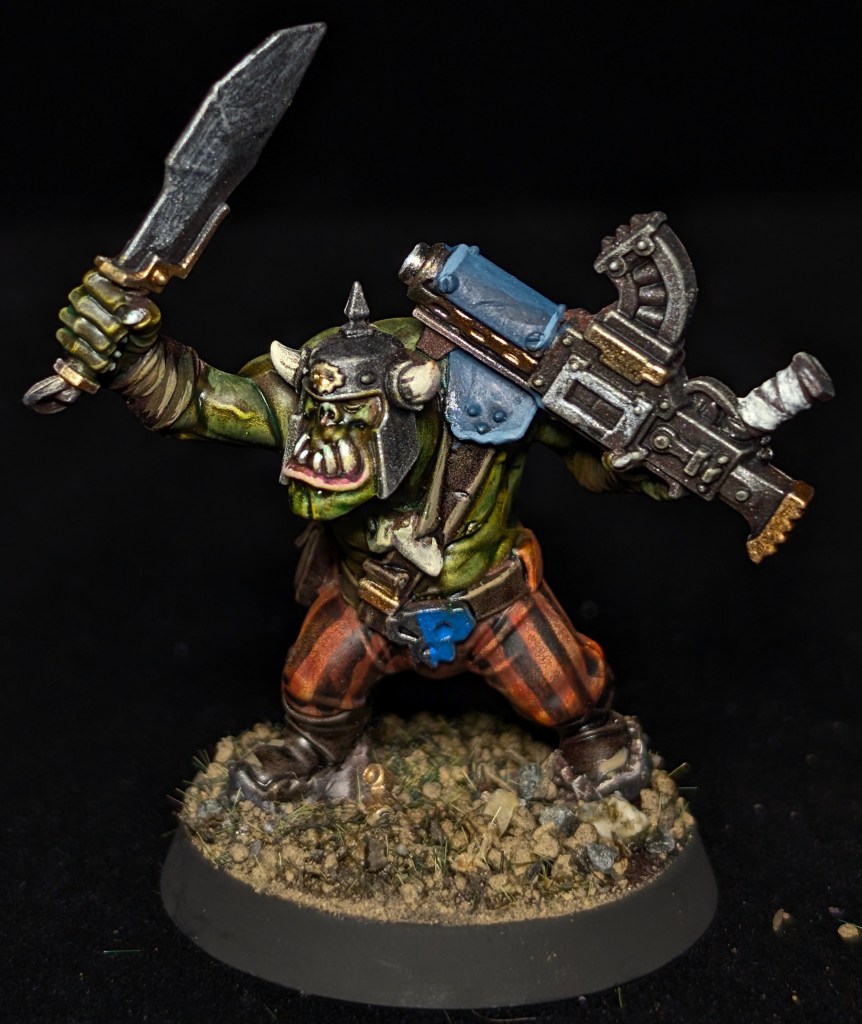
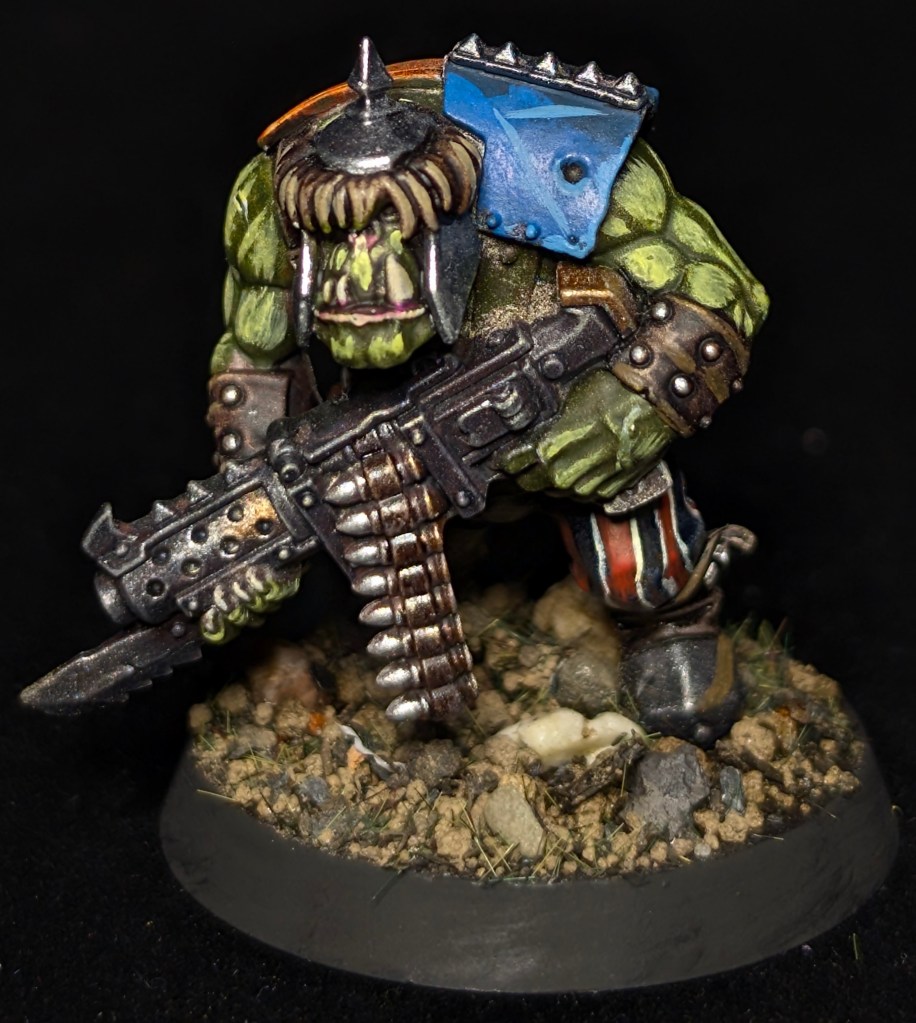
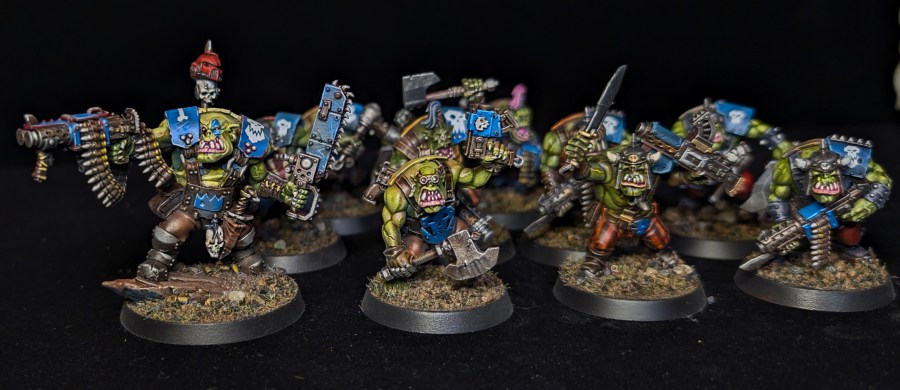
Here’s the first squad of Boyz, lead by Skullpuncha. He’s the farthest up the leadership ladder this squad has with the Deathskulls, so he gets a little blue tattoo action. Everyone else has a little blue worked into their wargear, but they have to earn anything more.
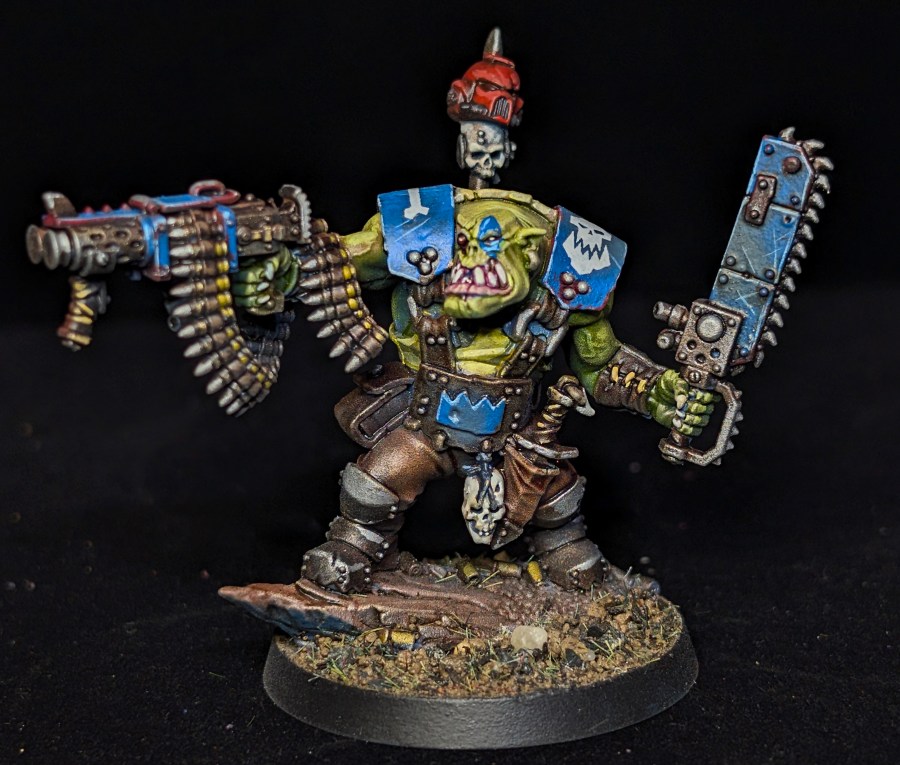
I wanted to lean into a little pirate look for these guys, so there isn’t a unifying color scheme outside of the blue bits here and there. But I did do some stripes on some of the clothes, and plan on doing some other fun marking on boyz that have more clout in the gang.
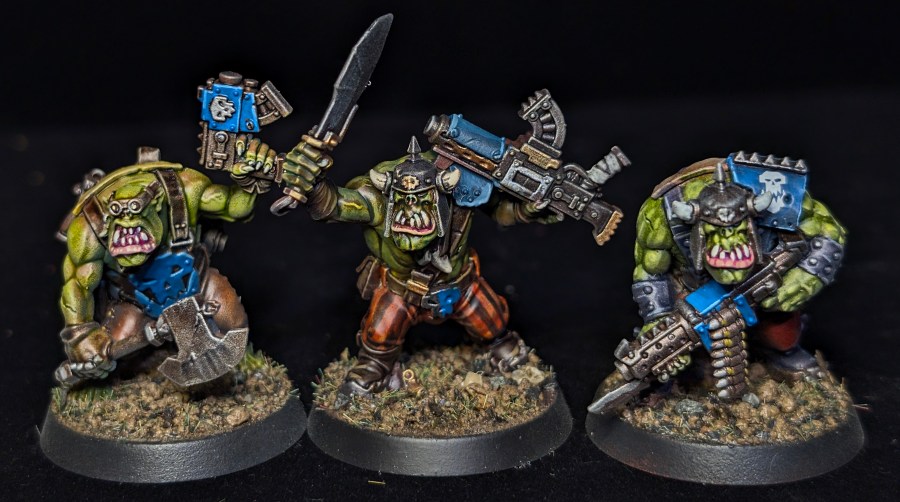
The rule of thumb I’m trying to go by is that gear bigger than basic shootas should be stolen, so I’ll be stealing lascannons and other goodies from my bits box. I want these guys to look like they’re really only out there fighting because krumpin’ is the best way to get stuff to pinch!
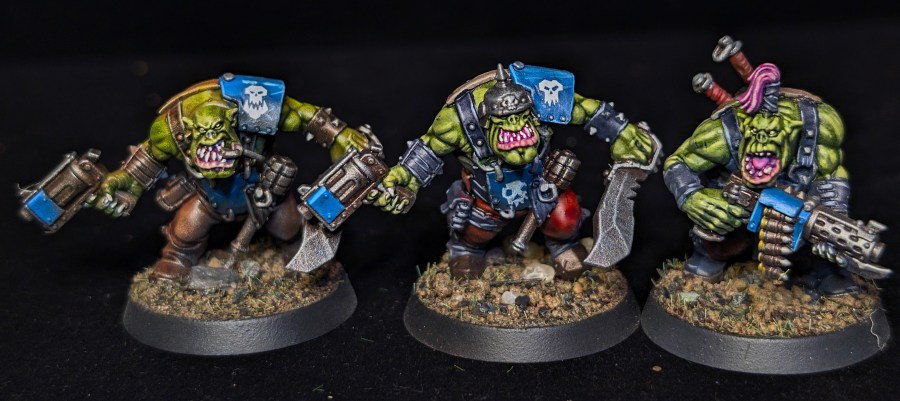
The other rule is that nothing else is getting worked on until this Combat Patrol is done, which is driving me crazy… I like to have a buffet of projects in front of me, but I’m hoping that the desire to paint other stuff will help me buckle down and finish all the Orks I currently have!
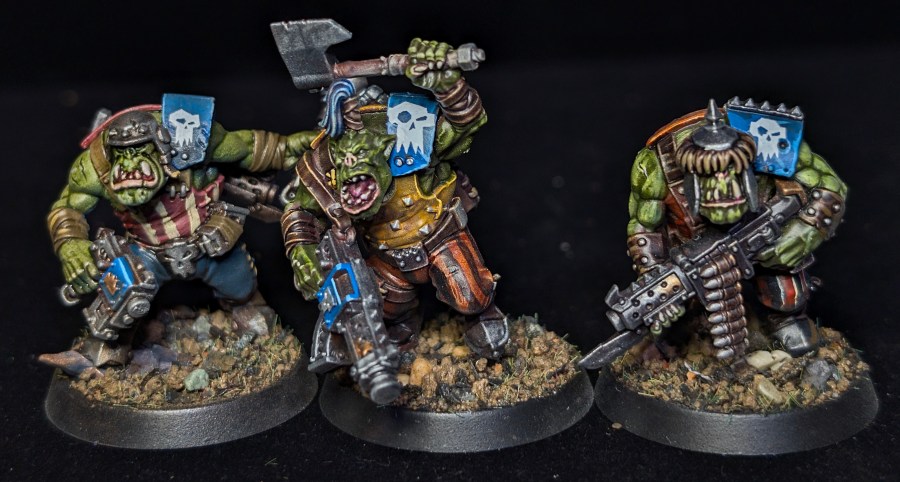
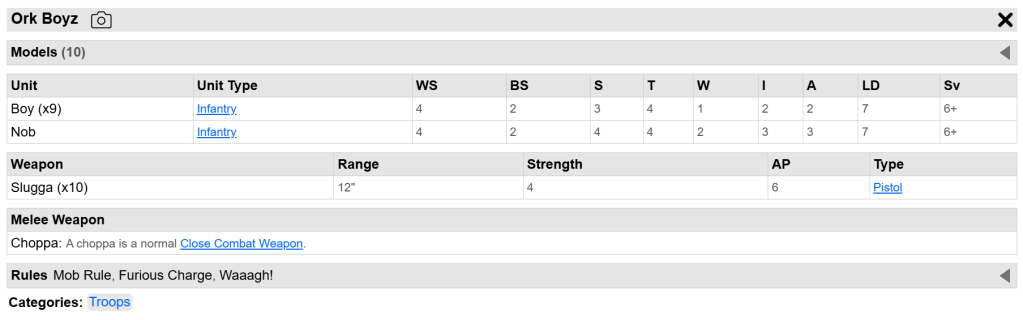
The best part of this project, for me, at least, is that these guys translate pretty cleanly into 4th edition 40k. While 11th doesn’t let you do any gear shopping, I can clearly buy extra goodies and gear for my troops in 4th. So, while they don’t have a heavy weapon option for their squad yet, there’s room to buy one later, when Skullpuncha has earned the Teef for it.
Here’s the unit in 4th edition, clocking in at 70 points:
Here’s that same unit for 11th, which is 90 points no matter what I do equipment wise:
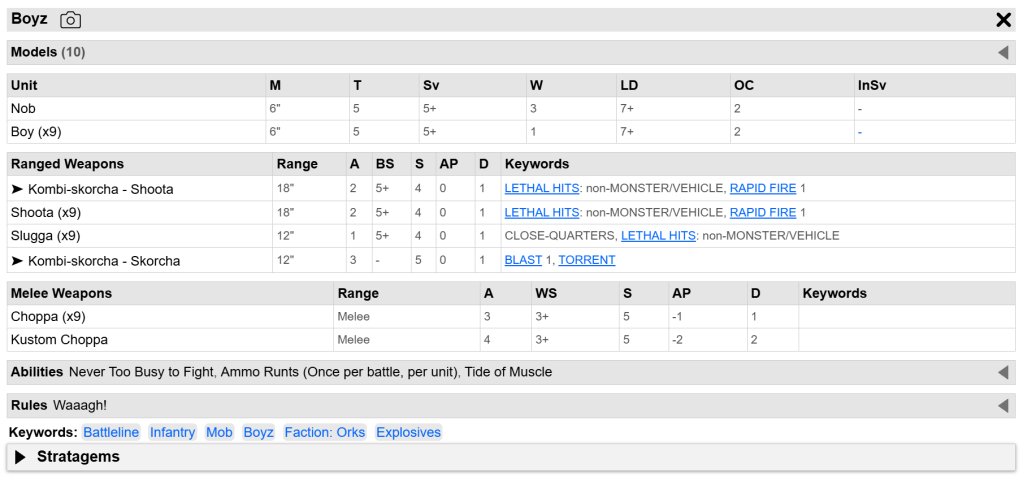
Like I said before, I like to shop for my toys. So even though the first unit actually cost the same 90 points as the second one if I buy the kombi-weapon, the fact that I can field 9 basic mooks and a nob for less points and build them up as I like them is a huge win.
Plus, the 40k rules for Killteam mean I can pick bits and pieces from a larger Ork army to make a cool action squad, which is always aces in my book! I’ll show that off as I get closer!
*Grimmleigh is a nod to The Damned song ‘Grimly Fiendish’ from the ’80s, which in itself was a nod to a long running comic strip in the UK… I’m not British, but my name is Leigh and I like that damned song, hahaha!