The Frostgrave Project, part One

I’ve been spending a lot of time painting miniatures again. It’s been pretty therapeutic, and that has led me to actually finding a group of people I can game with occasionally without wanting to kill everyone. It’s been nice, and not something I realized I was missing so badly.

Sometimes, it’s nice to push little plastic monsters into other little plastic monsters and see what happens.

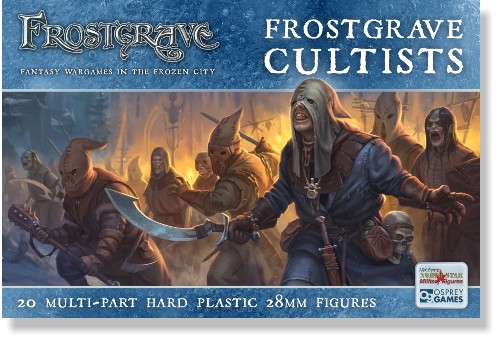
Frostgrave caught my eye about a year ago, mostly because it keeps being compared to Mordheim, the great-grandparent of fantasy skirmish wargames. After looking over the rules, I think Frostgrave might be the better game. The rules are less convoluted, yet there is still plenty of flavor and character packed into the rules.

So, I decided to paint up a warband. The first group I put together was a bunch of dwarves, centered around an Elemental wizard. I rounded up some cool minis, mostly from the Wizkids Deep Cuts line. But something happened:

Cultists box
I FOUND THESE IN MY GARAGE.

I must have bought them a year ago and forgot about them when we moved. They are multi-piece models, and you can put a bunch of creepy little dudes together for about $35. So, the dwarves went onto the project shelf, and the hunt for proper wizards to lead the band began!

I found these Human Wizards in the Wizkids Pathfinder line, and figured I could do some customizing to make them a little less cheesecakey.  I cut the heads off of both, sculpted some cowls with epoxysculpt, and added a couple of hooded heads from the cultists box. I’ll add some pics on the next post, but they look pretty cool.

Next up was the warband, I decided to go with a death cult to make things ominous. One PVC mini Barbarian from the Reaper Bones line joined seven cultists from the boxed set, and then it was paint time!

I went with reds, browns, and dark grays for this project. The initial colors were blocked in first, with some preliminary shading and highlighting. This was about four hours of work, and I was getting a little frustrated with the reds.

Deathcult 3

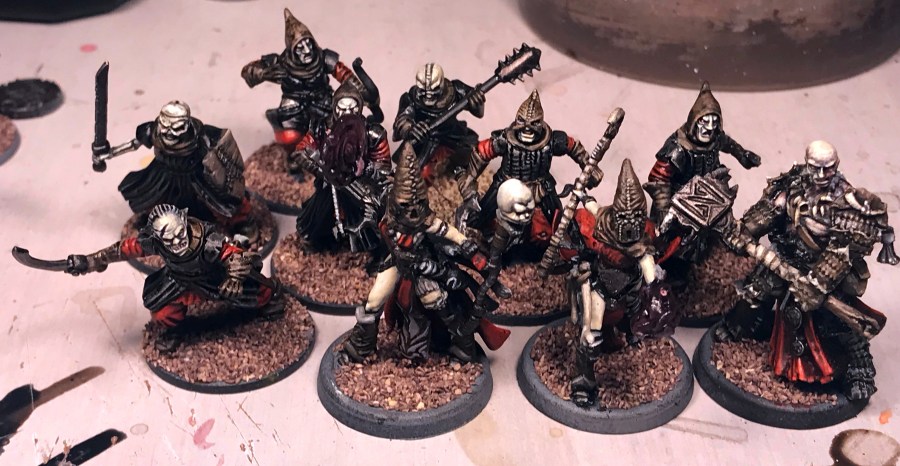
Night two, and I fixed the frustrating reds. The shading I had used was too heavy handed, and the highlights weren’t showing through well enough. I’m much happier now! Bases were textured with ground cork, and finishing details will start tomorrow. Hopefully, I’ll have my light box finished, and I can get some good detail shots of the finished figures!

What’s coming after that? Well, I need an ancient city to play on. And knowing the way my brain works, I won’t play until the terrain is done!

Hero Forge Project, part One

Hero Forge is a cool concept; you use the Hero Forge interface to design a custom miniature. You have a lot of control over pose, build, genre, and costume, and can select different races like cat people or lizard folk. I have always been curious about the miniatures, but never got around to ordering one.

Maren and Josh commissioned me to paint up the figures they designed for their D&D characters, and I have to say I am impressed with what Hero Forge can produce. The figures look really nice, and there is a lot of detail packed into the miniatures. Maren has an Elven Ranger character, and she wanted her to have some aquatic details. Josh has a Dragon Born gunslinger, with black scales and yellow eyes.

Impressions? Maren and Josh opted for the high detail plastics, which look great but are incredibly brittle. The figures have a little bit of artifacting from the printing process, but there is not a single instance of flash, since there aren’t any molds used to cast the figures. I decided to cut the bow on Maren’s Ranger and reinforce it with a metal rod, because I KNOW that figure is going to fall, and that plastic is far too brittle not to break. The miniatures take paint really well, and paint up just like any other miniature.

Downsides? Only a few. There are areas of the miniature that are next to impossible to reach, like the inside of the Dragonborn’s coat. Since the figure is printed from the base up, the coat hangs just like a real coat would, and getting a brush up behind a character’s legs is pretty tricky. Also, for $30, I would hope for a more durable plastic. There is a stronger miniature from Hero Forge that costs less, but the detail is chalky and looks pretty rough.

The gallery below highlights the first half of the painting process, I will post the finished figures tomorrow!

Imperial Assault Figures

I have been painting miniatures for some game or another since 1983. I remember painting some old Ral Partha figures, which were made of lead at the time, and getting really frustrated with how poorly my Testor’s model enamel paints stuck to the metal. It’s been a while. I’ve learned a few things, and I don’t think I ever came down with lead poisoning!

I picked up the Imperial Assault boxed set and quite a few expansions. The miniatures from Fantasy Flight games are really nicely done, and capture the essence of Star Wars beautifully. While I do wish there was a little more variety with “mob” figures, I understand the need to keep costs down.

I have been waiting for things around the new house to settle into their routine before breaking out the paints, and now… that time has come.

The first three models are a Rodian, (I freaking LOVE Rodians) a Weequay, and a Trandoshan. I wanted to get some color on these little dudes without going too crazy on details… I have four of each of these to paint up, so I will be varying the color schemes in each run.