Marvel Crisis Protocol: The Incredible Hulk

Nothing like being all smug about all your newly-finished Marvel Crisis Protocol figures, except maybe when you realize you never photographed all of the original release figures back when you finished them!

So, here’s the first of the OG MCP figs, Doc Banner’s altered ego…

Mean Green was a lot of fun to paint, but I really haven’t found an MCP mini that I didn’t have fun with!

One of these days I’ll remember to putty in that wrist seam, there’s no excuse really. But I’m still happy with the finished result!

Marvel Crisis Protocol: The Winter Soldier

The story of the Winter Soldier is not only one of my favorites from the MCU movies, I really loved the comics version as well.

Ed Brubaker did the unthinkable when he brought Bucky back from the dead. The running logic in the late ’90s was that pretty much any character death at Marvel could be un-done, except Uncle Ben Parker and Bucky Barnes.

After Bucky came back, I spent a bit of time wondering if Uncle Ben was going to stroll back through the door and scold Peter for making him wait at the library.

I wasn’t initially thrilled with the Winter Soldier sculpt for Marvel Crisis Protocol, but once I got it put together and painted up, my mind changed pretty quick. He’s a great looking figure, and I can’t wait to see how he plays!

Fantasy Realms: Gronk Boomshot

One of the cooler aspects of owning a 3D printer is seeing something you love from a great sculptor, buying the file, and several gooey hours later, holding your new mini in your hot little hands.

One of my favorite companies out there right now is Artisan Guild. The sculpts are gorgeous, with tons of character and expression. The Ogres and Dwarves are neck and neck in my heart right now, but Gronk Boomshot here pushes things over the top.

Peg leg? Check. Bandana? Check. Loincloth barely covering his booty? Checkity check. He’s the whole package.

I also wanted to play with skin tones here, so there is a bit of blue in the shading, and a lot of pinks and reds on his facial skin. A true delight to print AND paint!
Marvel Crisis Protocol: Shuri

I am slowly working my way through the backlog of MCP figs that have been growing in number since the pandemic began. I was also a little nervous about painting the Wakandan figures, since it’s easy to make a ton of mistakes with darker skin tones that end up making a mockery of your subject.

Shuri also has some facial markings that took a very steady hand and a super tiny brush, but the end results are exactly what I was hoping for!

So many more minis to show off, I’ll have more from Wakanda this weekend!

Marvel Crisis Protocol: Hawkeye

One of my favorite story arcs ever has to be Matt Fraction‘s fantastic run on Hawkeye a few years back, and I am so happy that Atomic Mass Games went with this version of the archer for MCP.

Clint looks pretty capable, and the Hydra logo on the rubble tells me everything I want to know about this encounter!

I’m thinking of putting together a team of street-level heroes for my next game, with Hawkeye, Winter Soldier, Black Widow, and Suri to round things out. Probably get my butt handed to me, but it will be fun!

Marvel Crisis Protocol: Vision

Just finished up Vision yesterday as part of my “oh, hell, Atomic Mass Games is about to drop a million cool minis and I only have half of my MCP painted” reaction.

This version of Vision is from the incredible Vision comics that Tom King put out a while back. It’s a pretty grim, yet fantastic bit of writing!

I love that Vision is phasing through this smashed up bit of wall, too. Very nice touch!

Marvel Crisis Protocol: Valkyrie

I just realized today that I haven’t actually posted pics of most of the Marvel Crisis Protocol miniatures that I have painted up, so I’m going to have to make a change to that!

Valkyrie, though, is a newer mini that I finished up this week. The box art shows her in her classic comics version, all Nordic and blonde. Nope. I’m a big fan of Tessa Thompson’s portrayal in the Marvel movies, so I opted for a darker skin tone and black hair.

I kept everything else pretty straightforward from Valkyrie’s classic comic look, with the purples and vibrant blues.

Scratch-Built Fantasy Village, Part 6

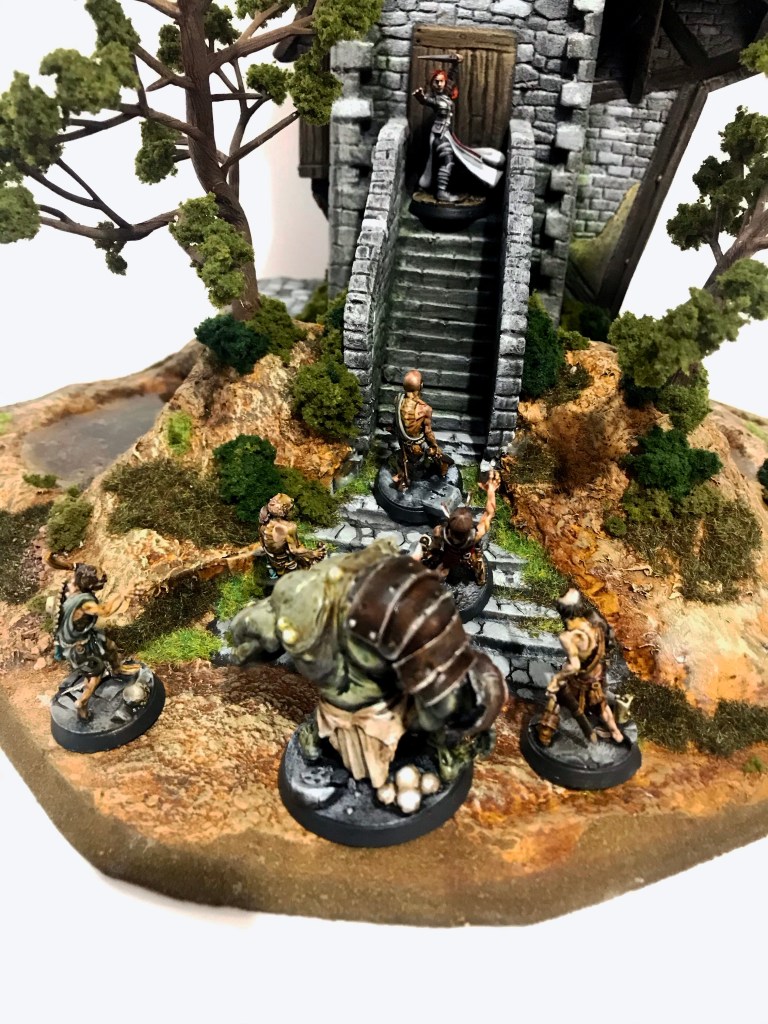
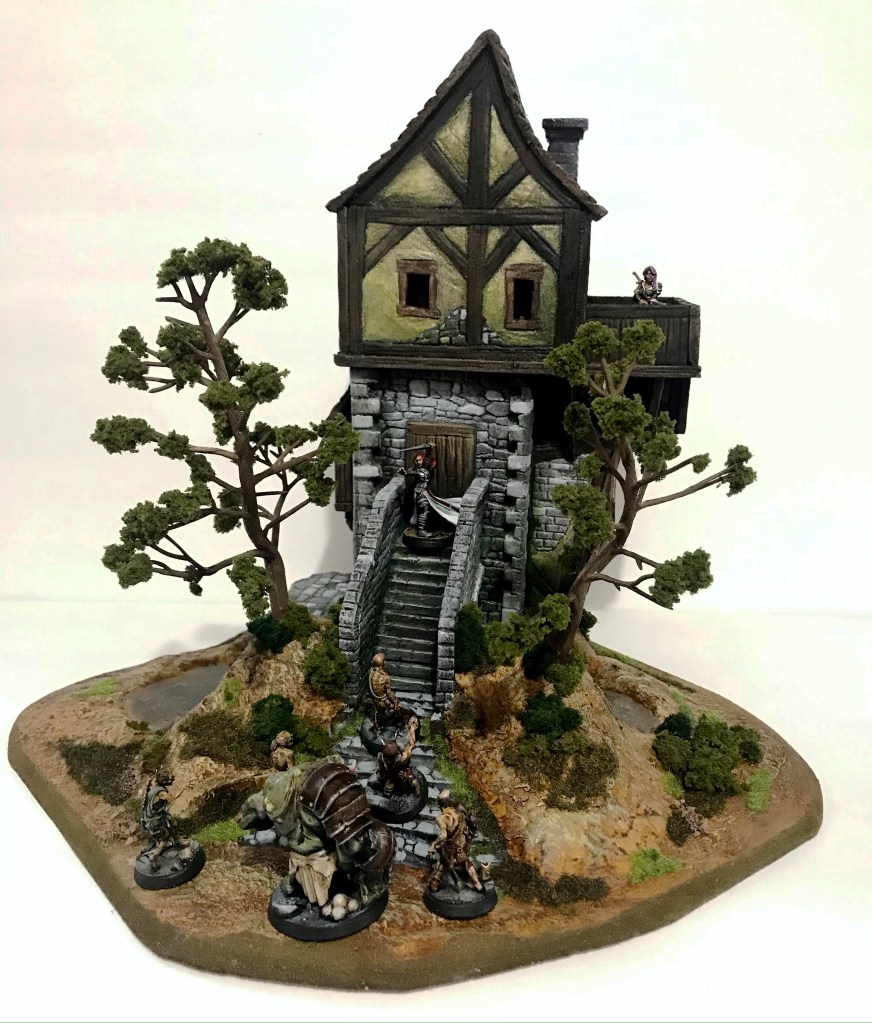
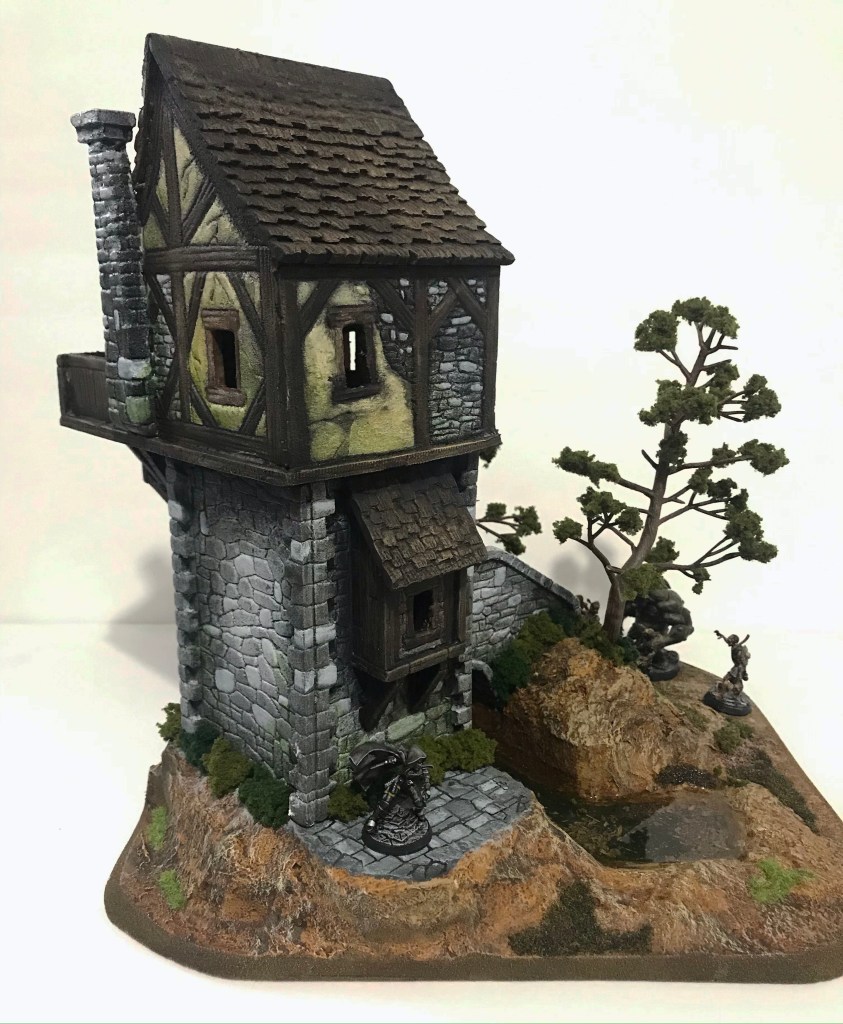
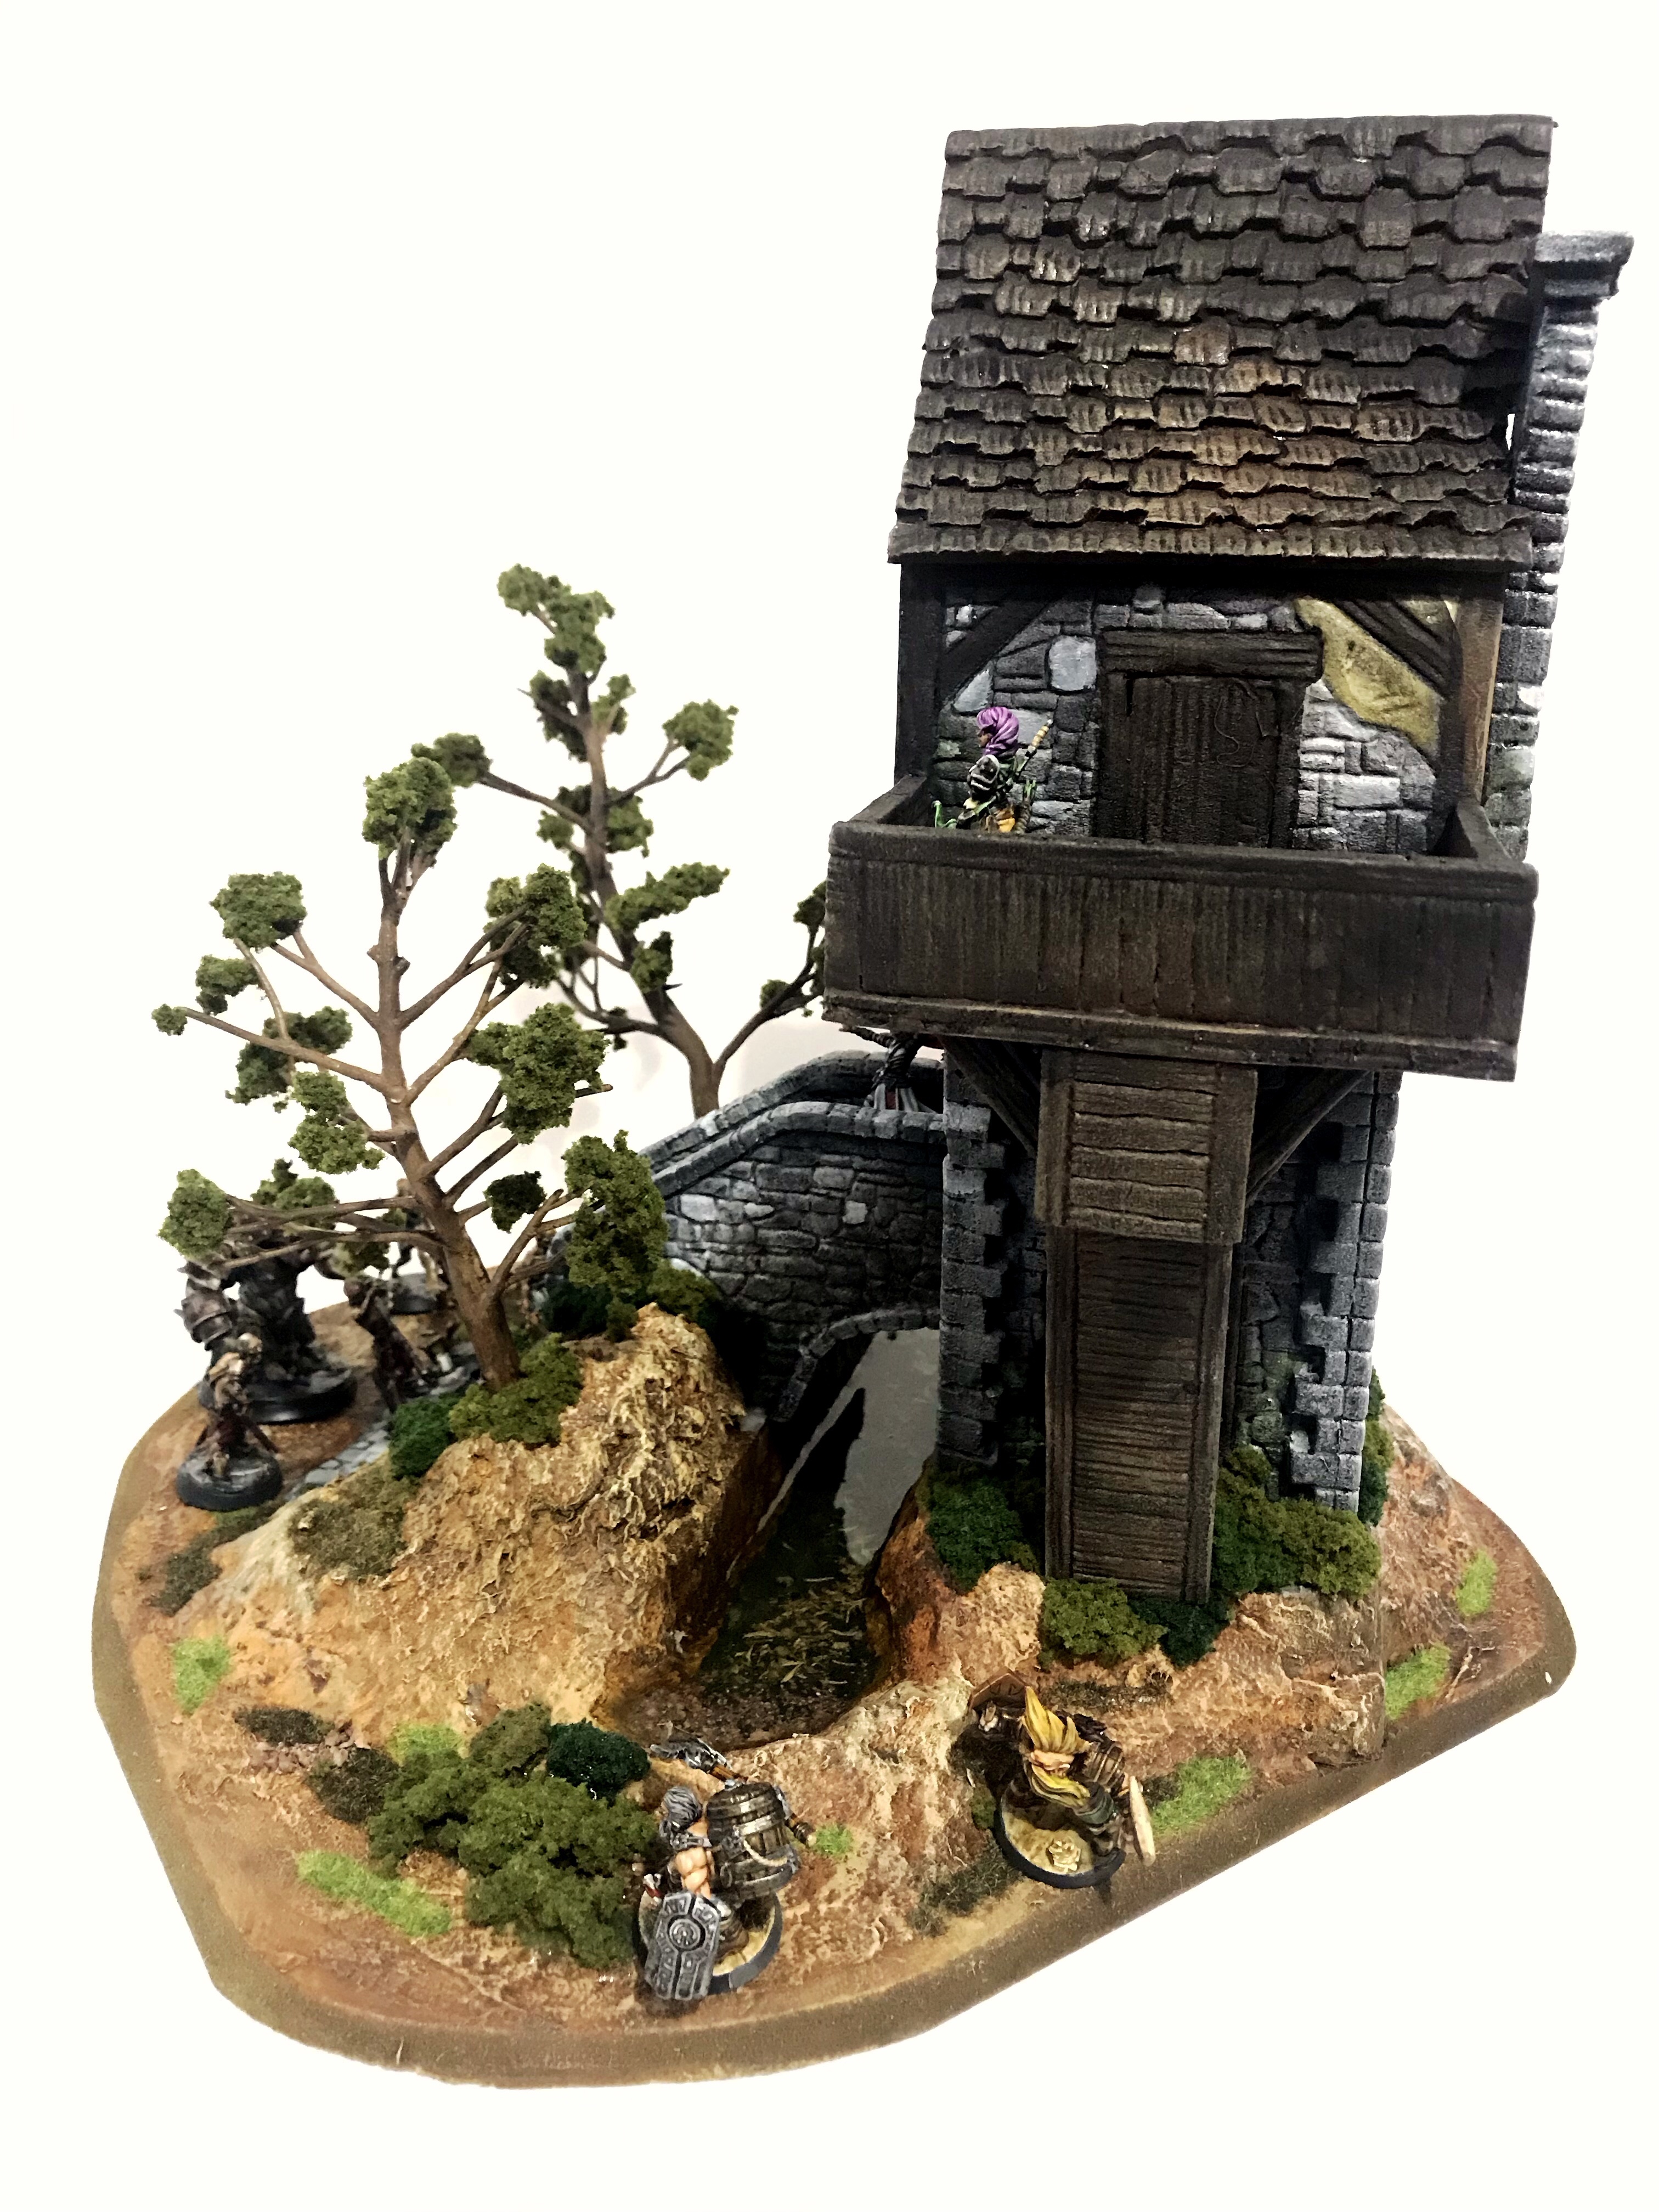
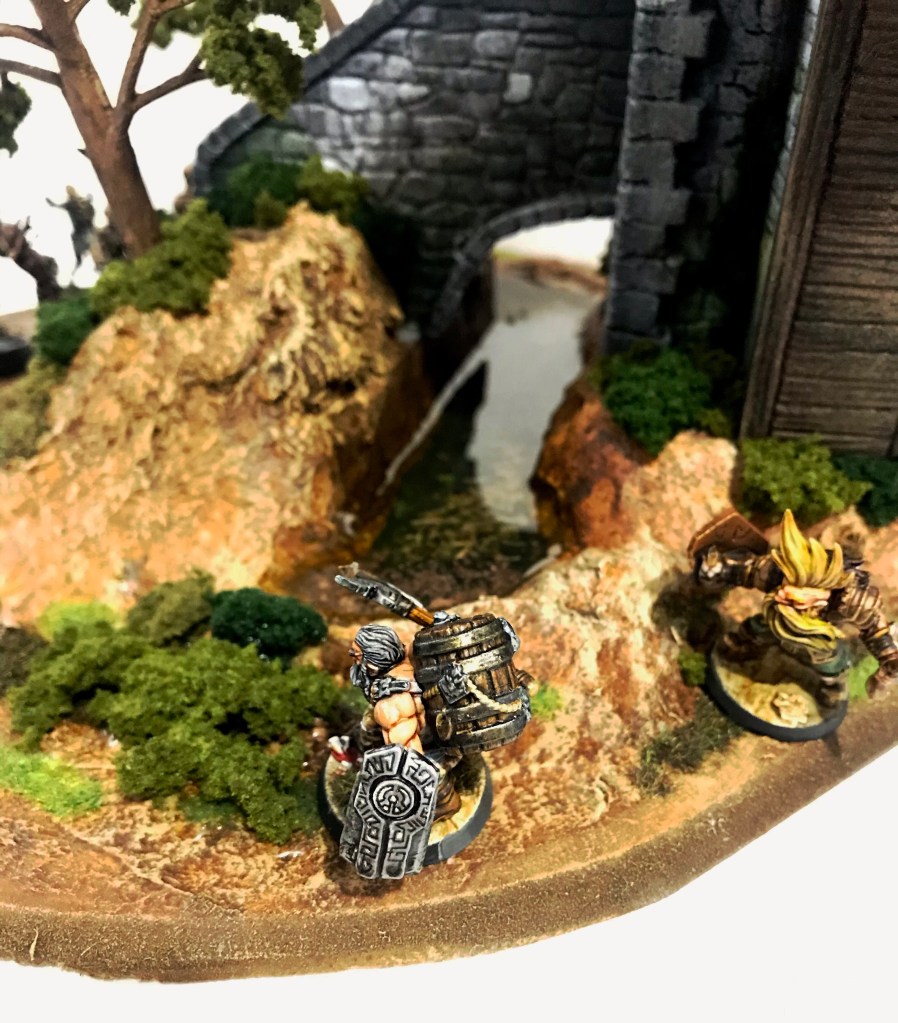
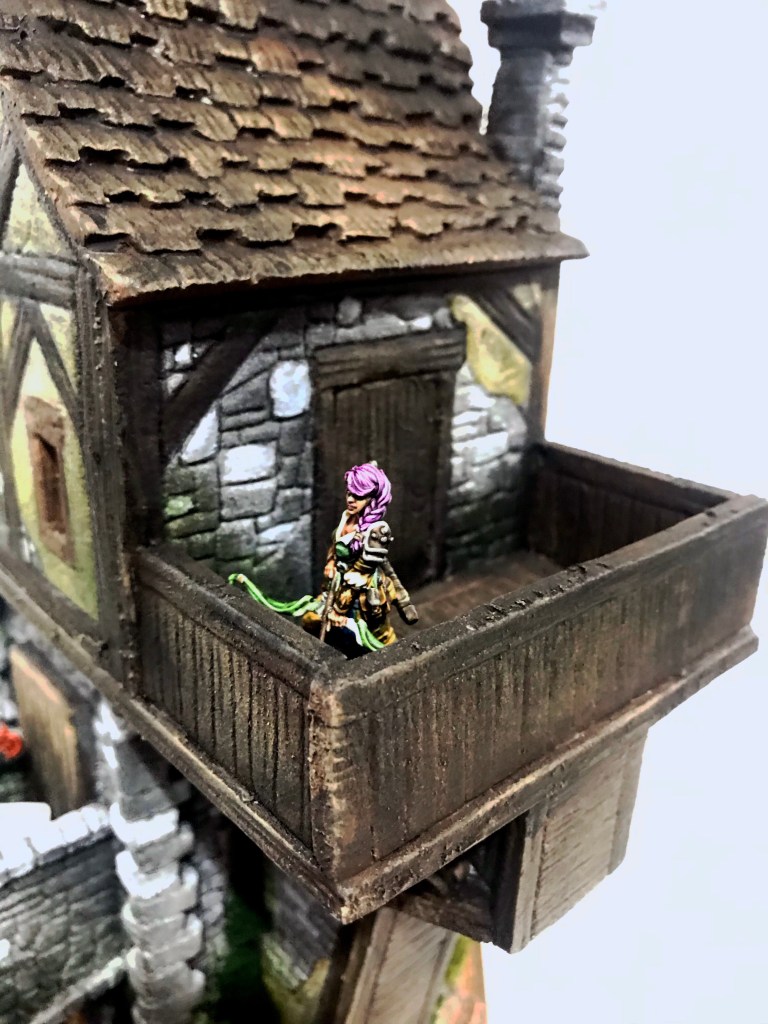
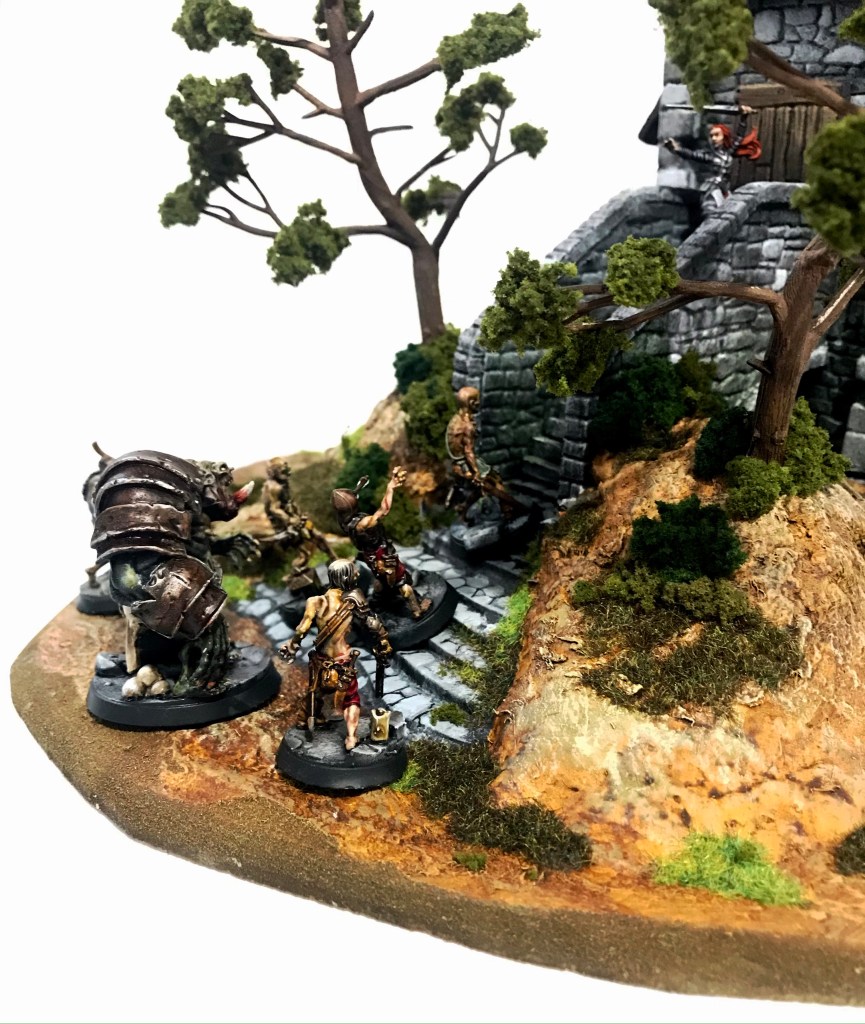
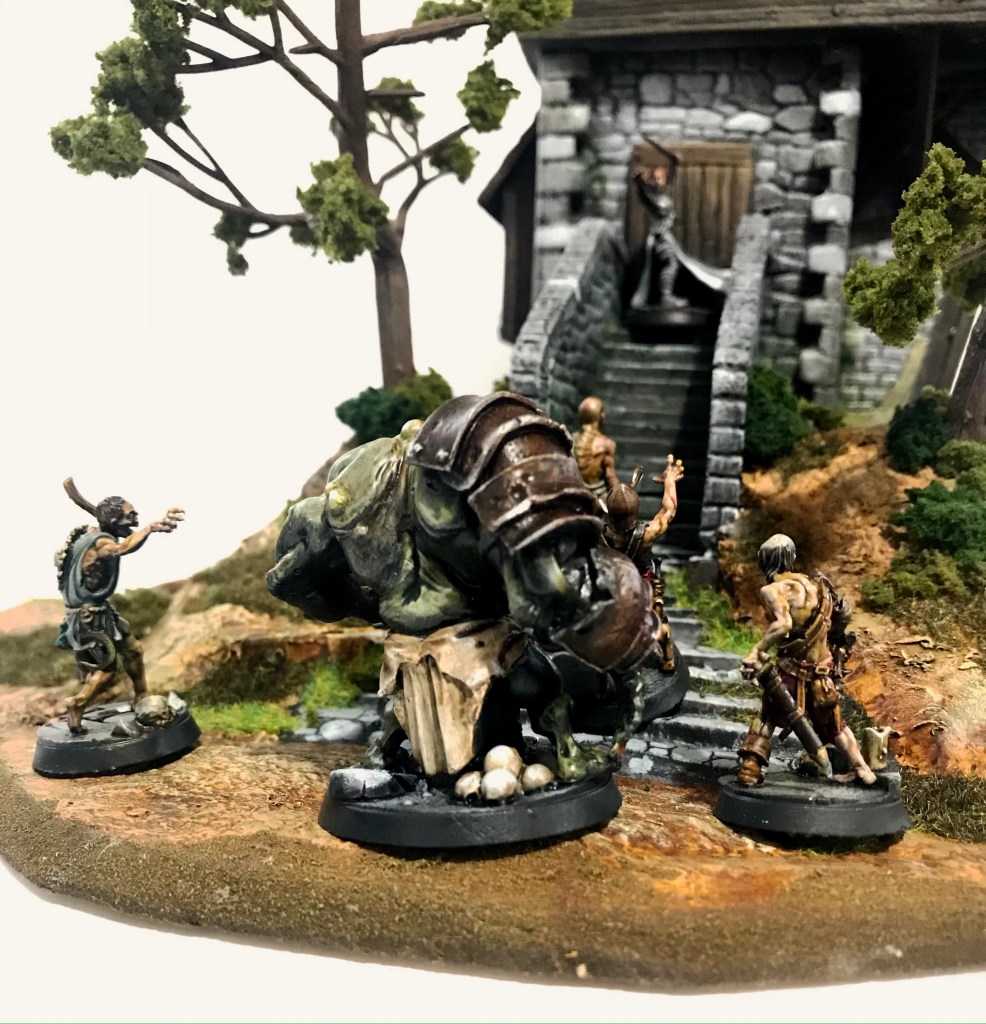
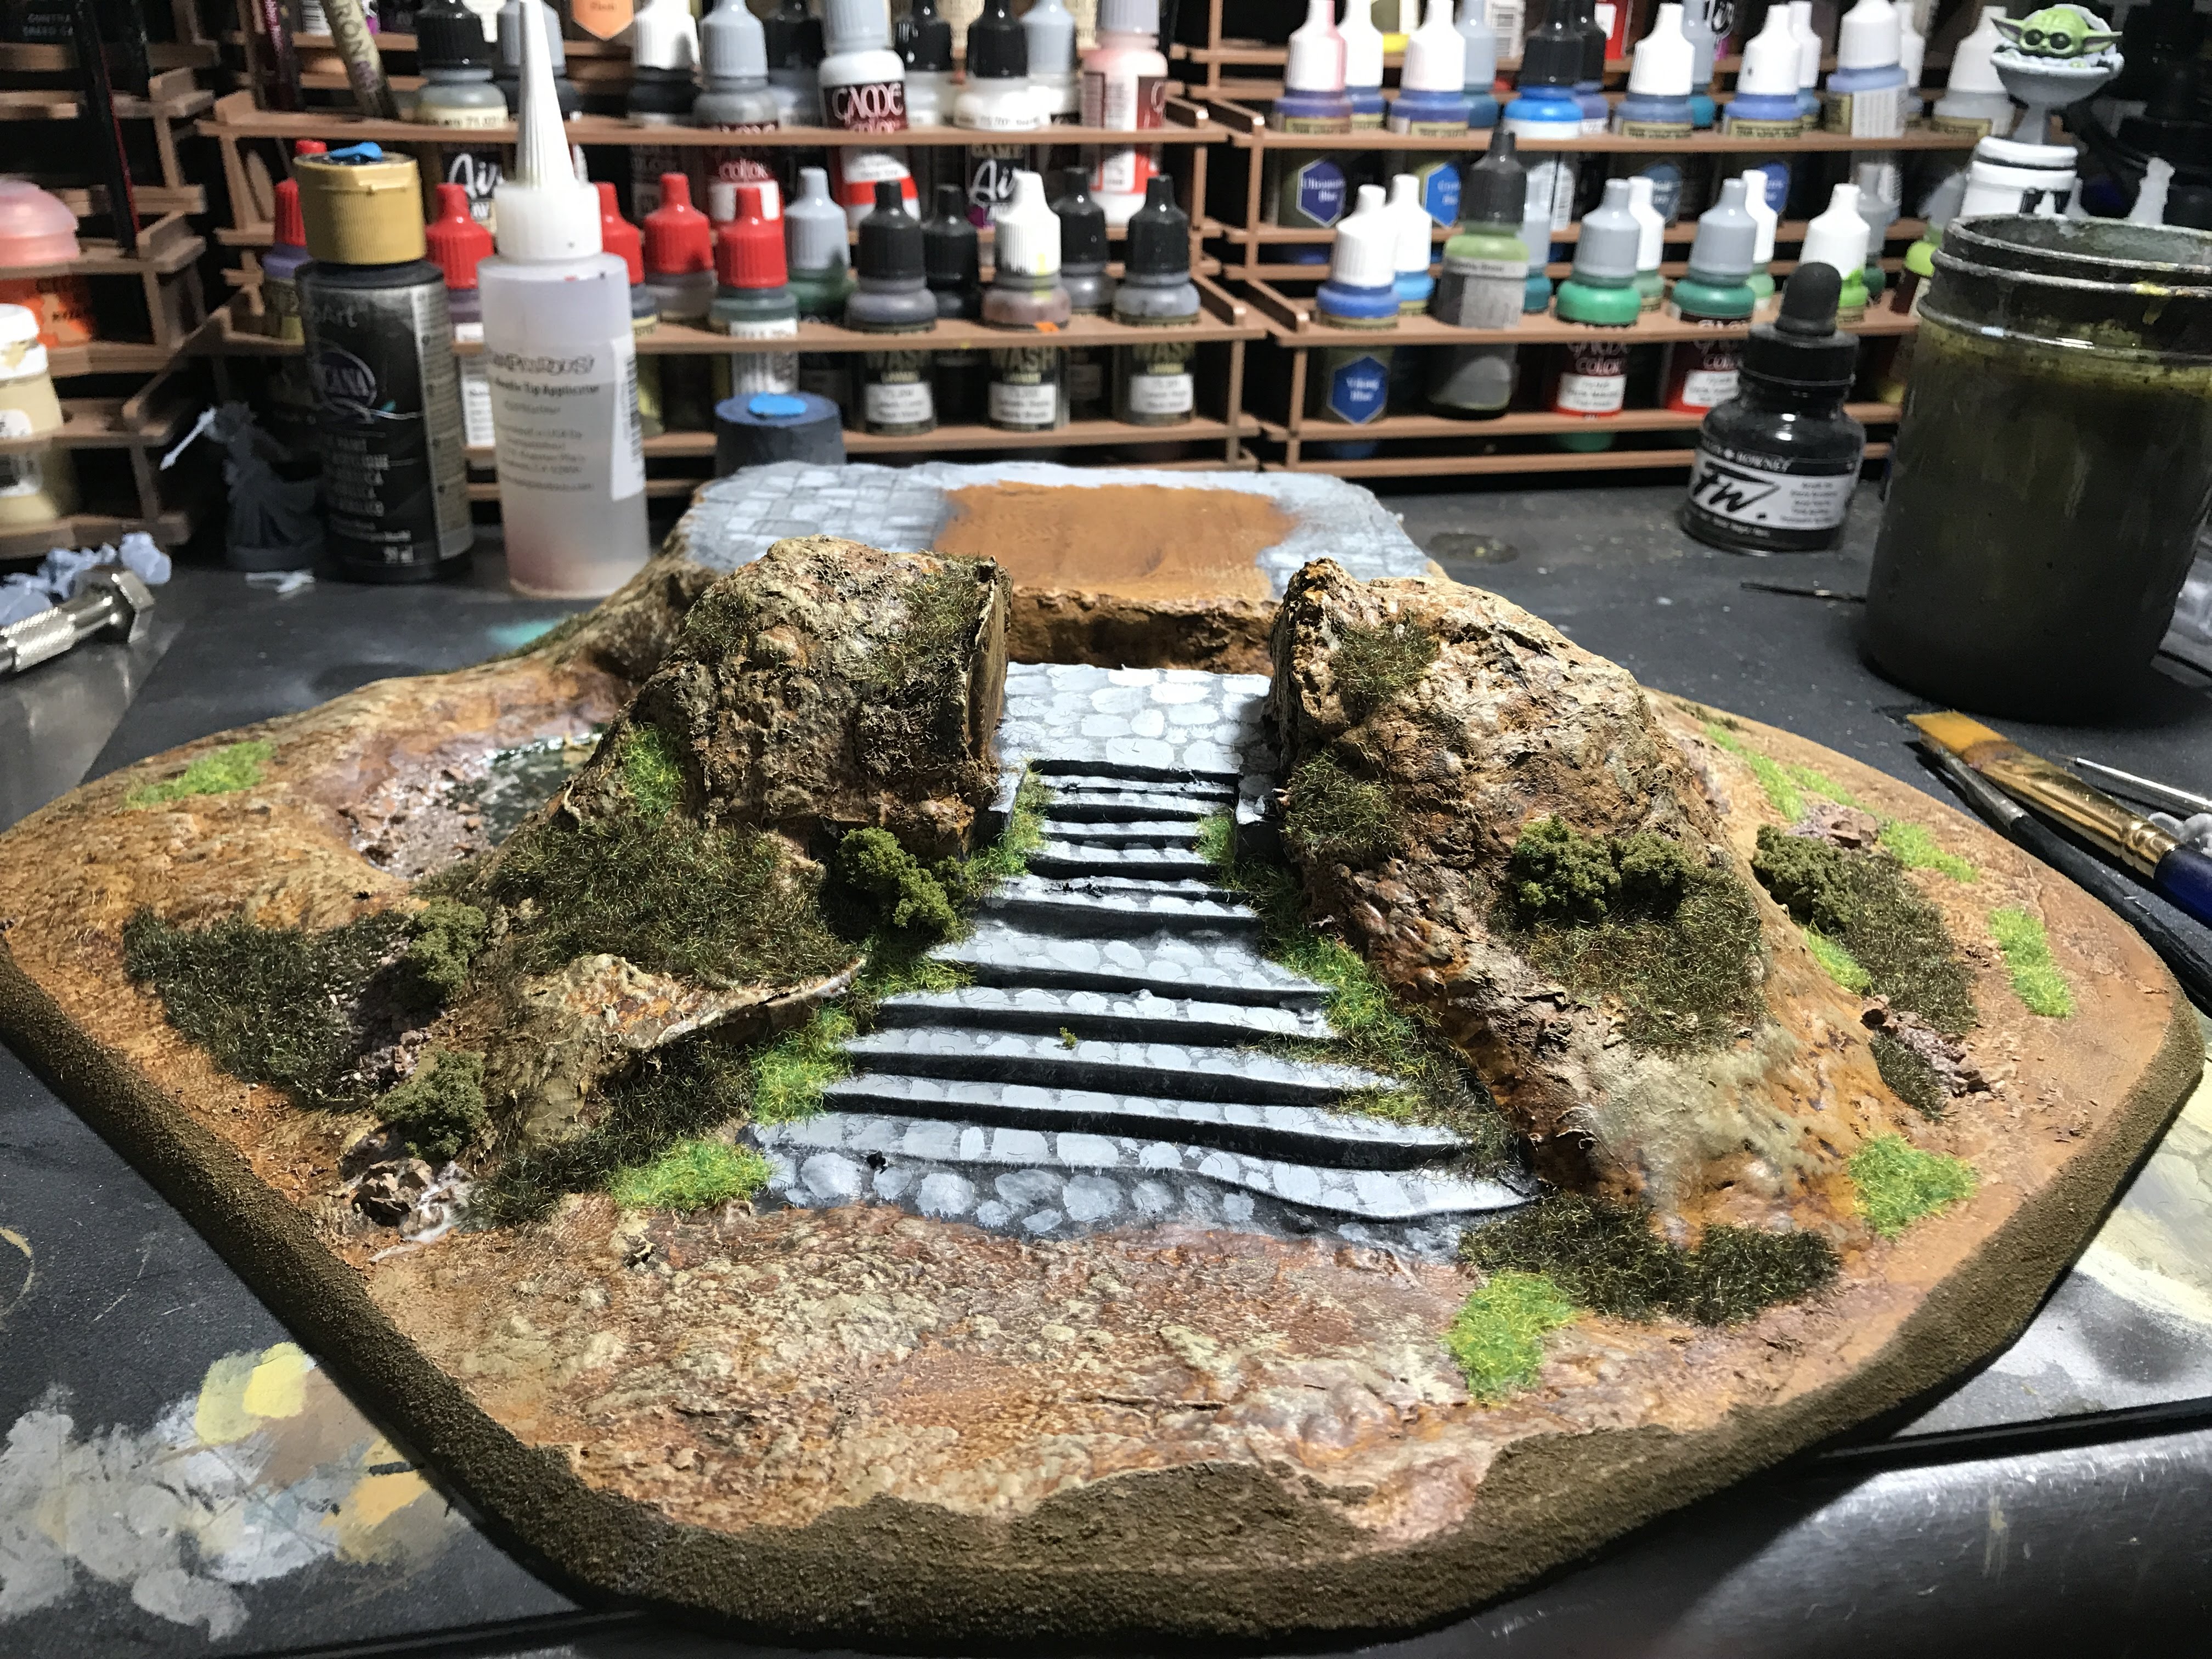
The first building is finally finished, and I could’nt be happier with how it turned out!

After the flock and shrubbery was secure, I added a couple of plastic railroad trees that I was able to twist in extremely twisty ways by soaking them in boiling water.

The rest of the piece was just a matter of concealing joins and gaps with shrubs.

After all of the flock was set, I poured clear resin into the moat for a water effect.

It’s a really fun piece, and will make for a thematic center-point for my games!

Scratch-Built Fantasy Village, Part 5

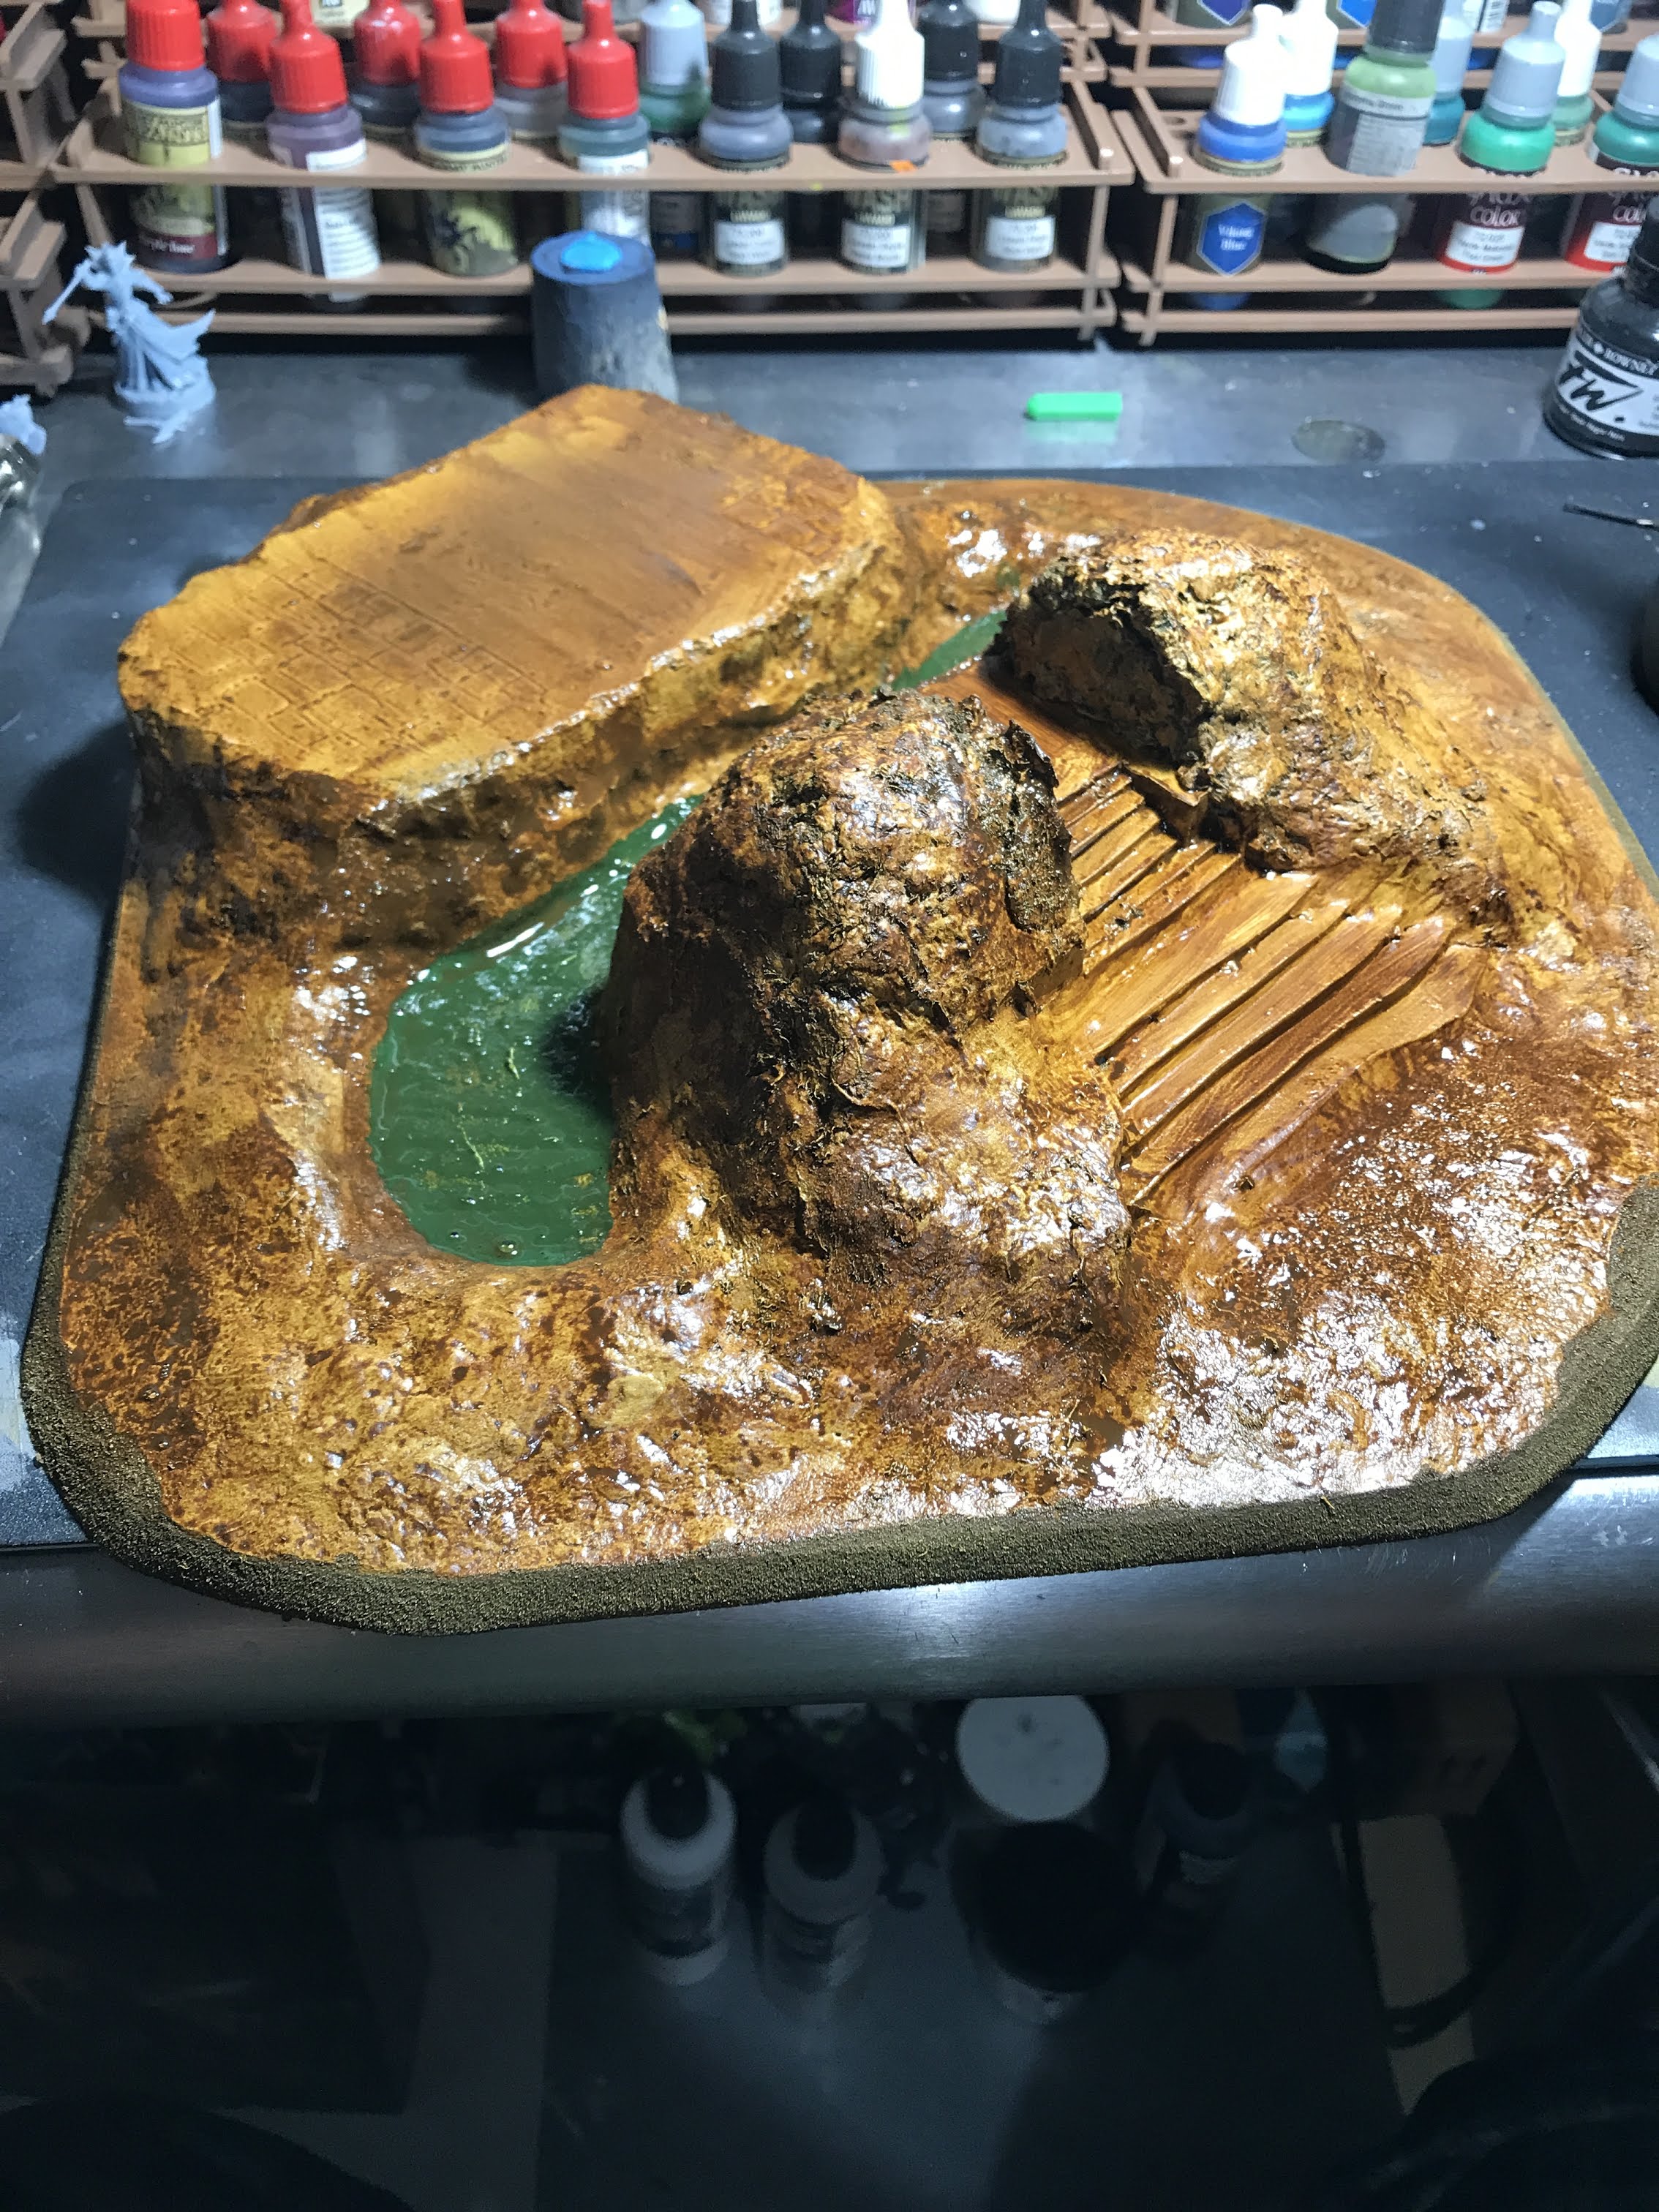
Things start to come together quick at this point in a project! Now that the base is dry, I brushed on a solid coat of cheap brown acrylic craft paint. This is about the only thing that I use cheap craft paint on– it’s perfect for this kind of job!

img_3545

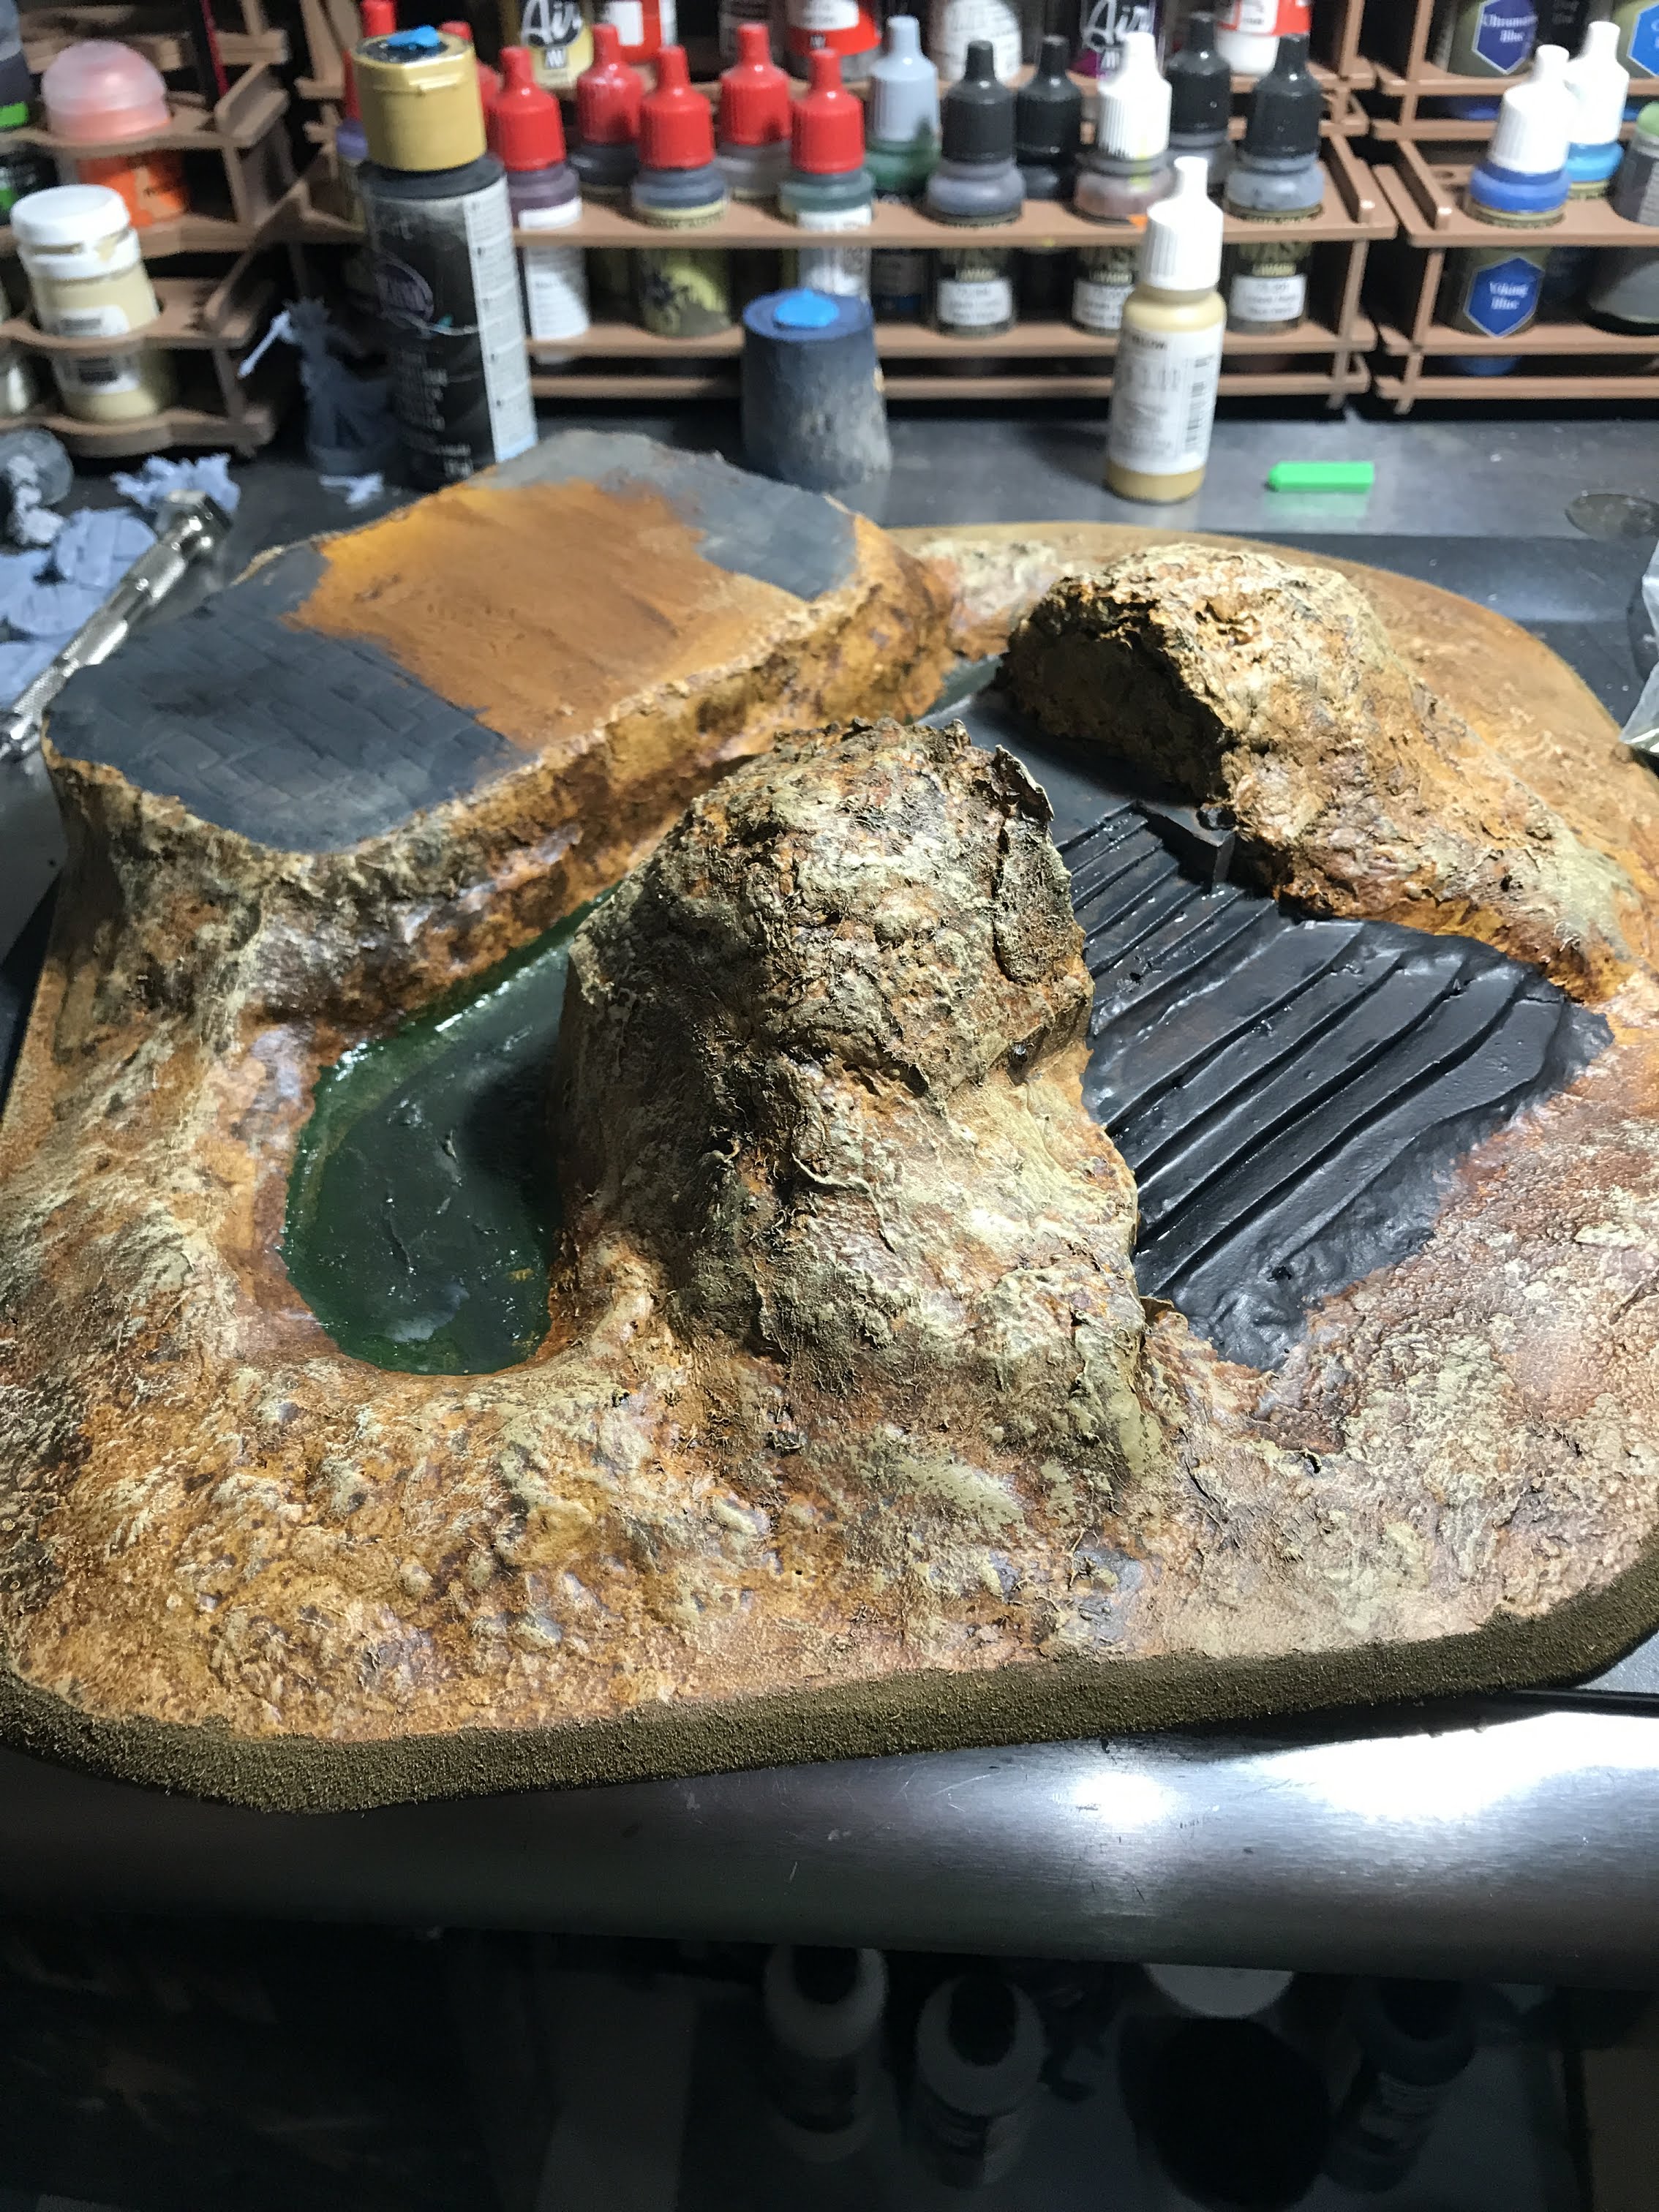
Now that the base color is down, a couple of dry-brush passes bring the base closer to what I’m looking for. I also paint in a layer of green for the moat, which will get filled with clear resin later. The stone work that I carved in earlier gets a coat of grey paint, which will get some highlights and shading later.

img_3546

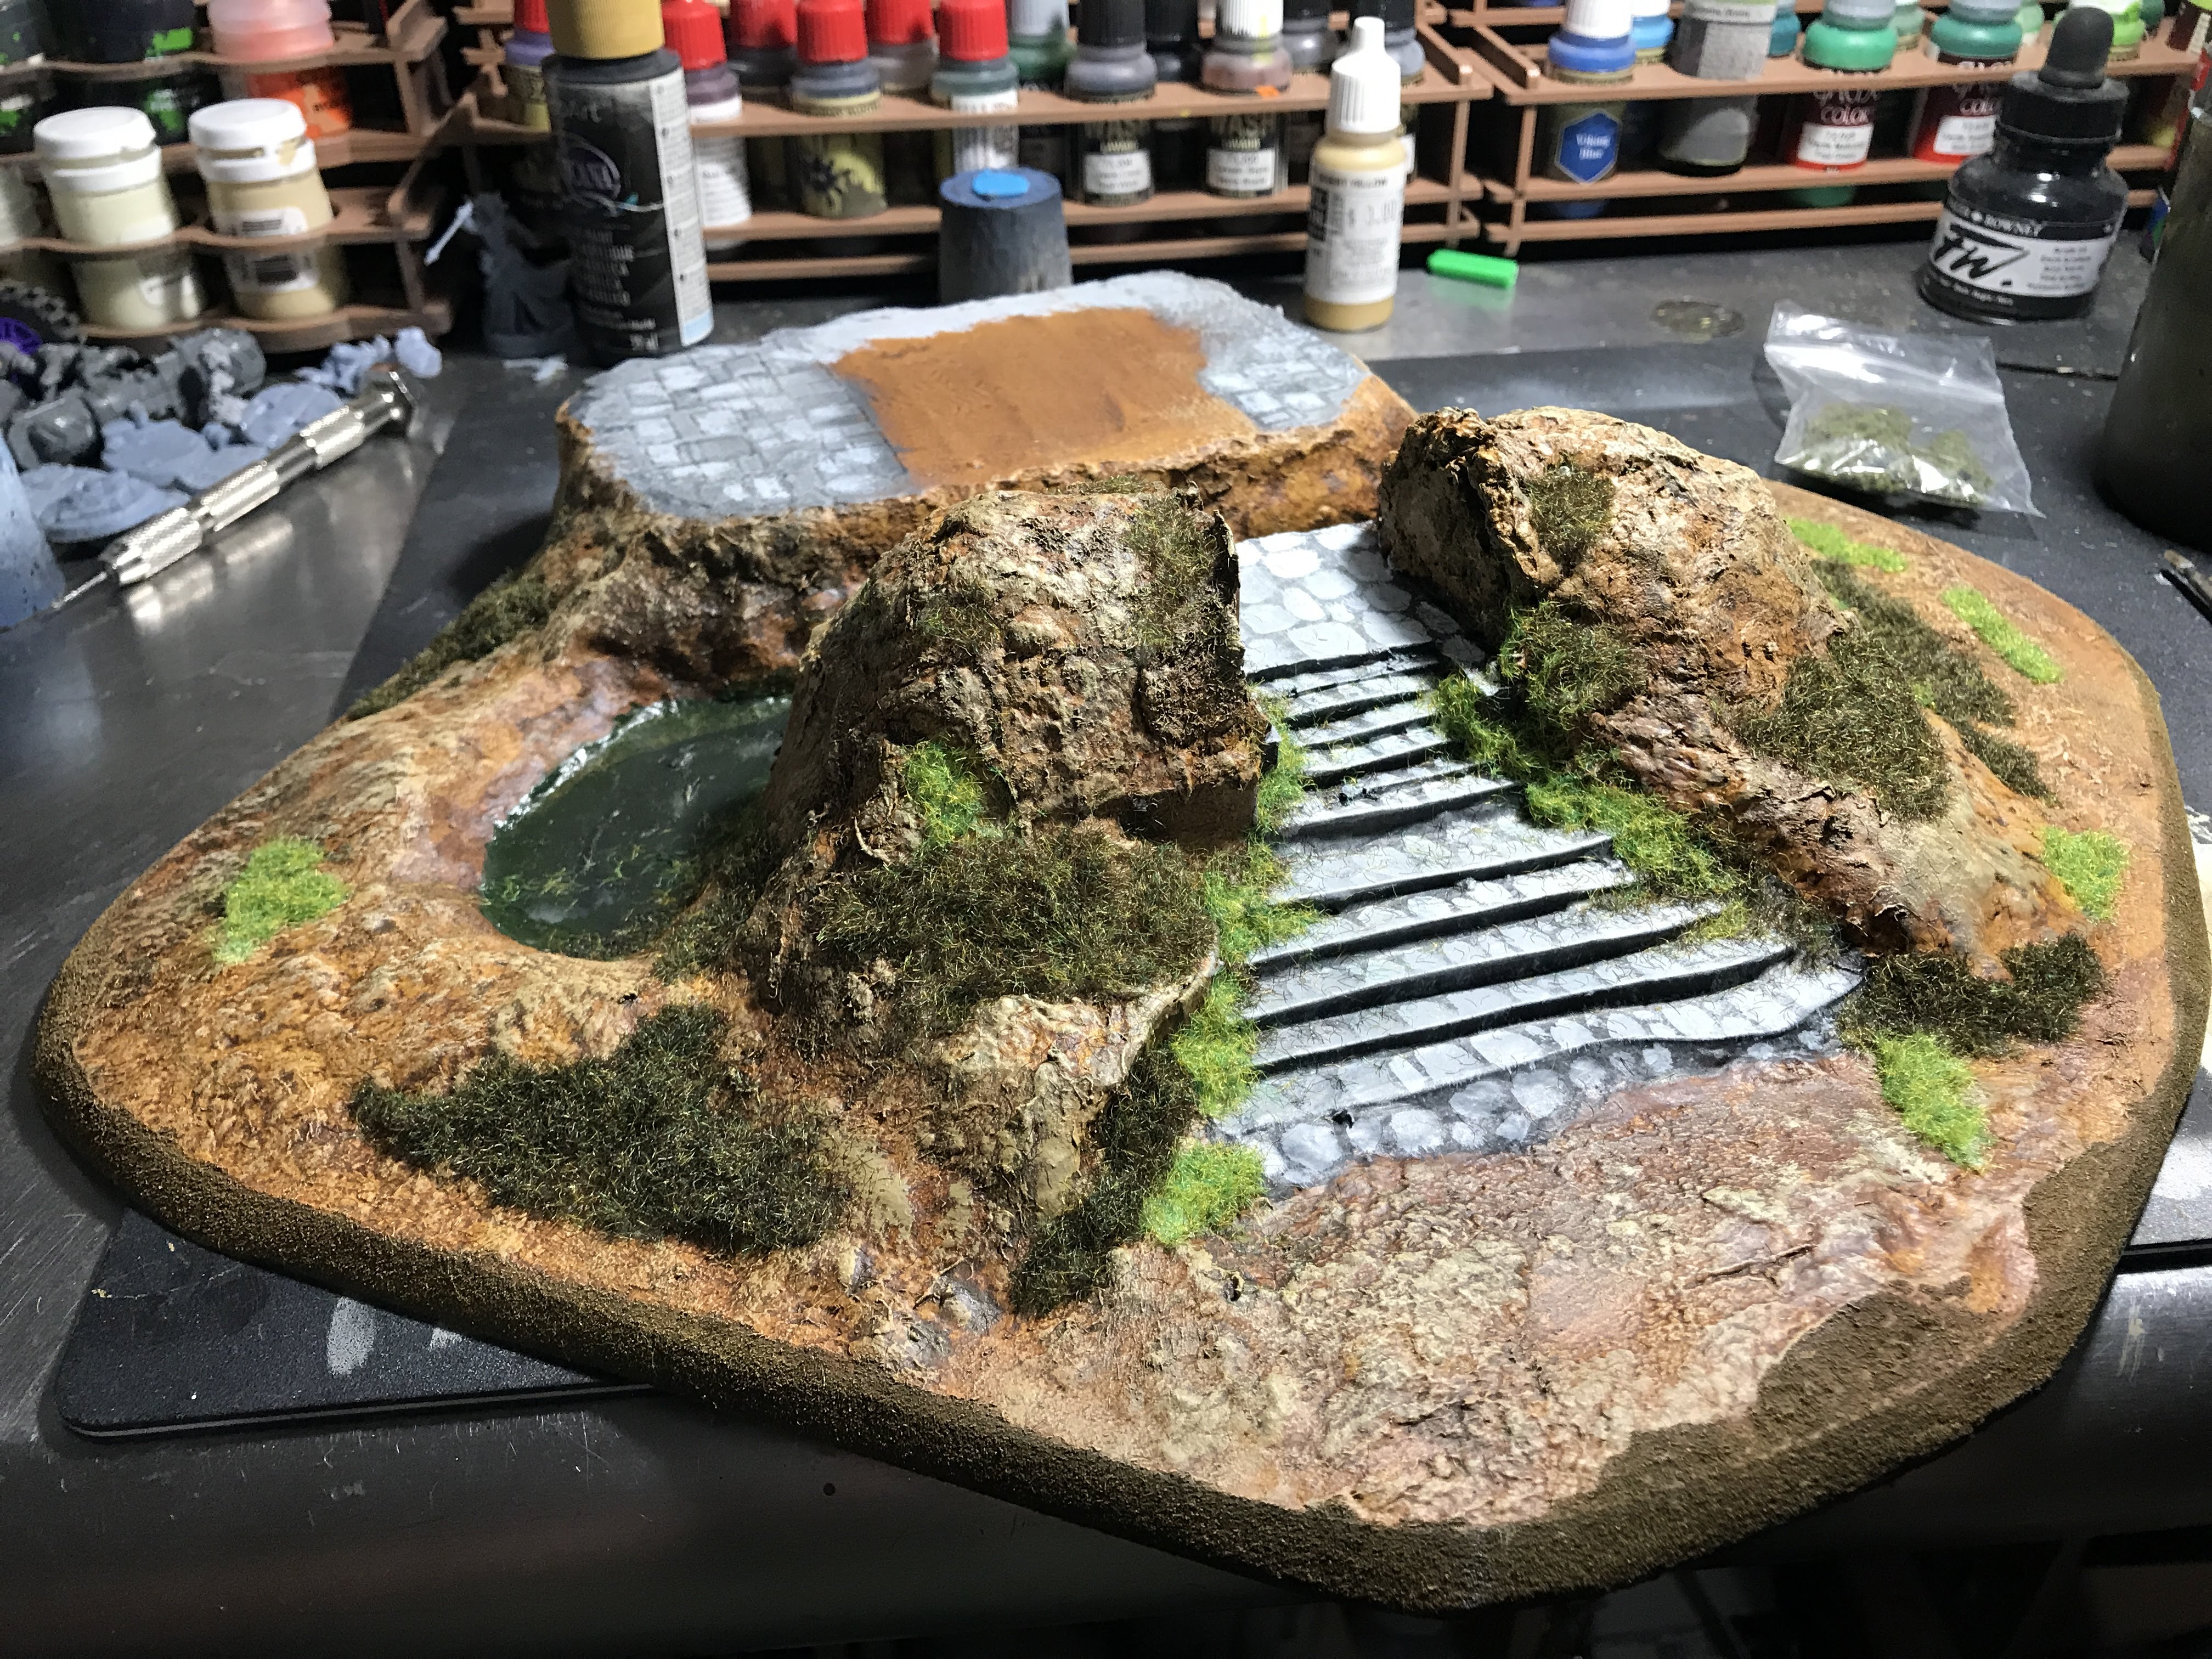
Color blocking is done, so now it’s time for flock. I use a couple of different colors of flocking, and will use some tufts, too. Foliage is never a uniform color or height, right?

img_3547

I took some ground up dried leaves and stuck them to the bottom of the moat with watered down white glue. Shrubbery is the last step here, which has to be glued down using super glue.

img_3548

Next up, it’s time to fill that moat and glue down the building!

Scratch-Build Fantasy Village, Part 4

The bulk of the first building is done, but it was looking kind of sad on its own. This here project was in pretty dire need of some elevation. Lucky me, there is quite a bit of MDF just hanging out in the garage looking for a project connection!

img_3497

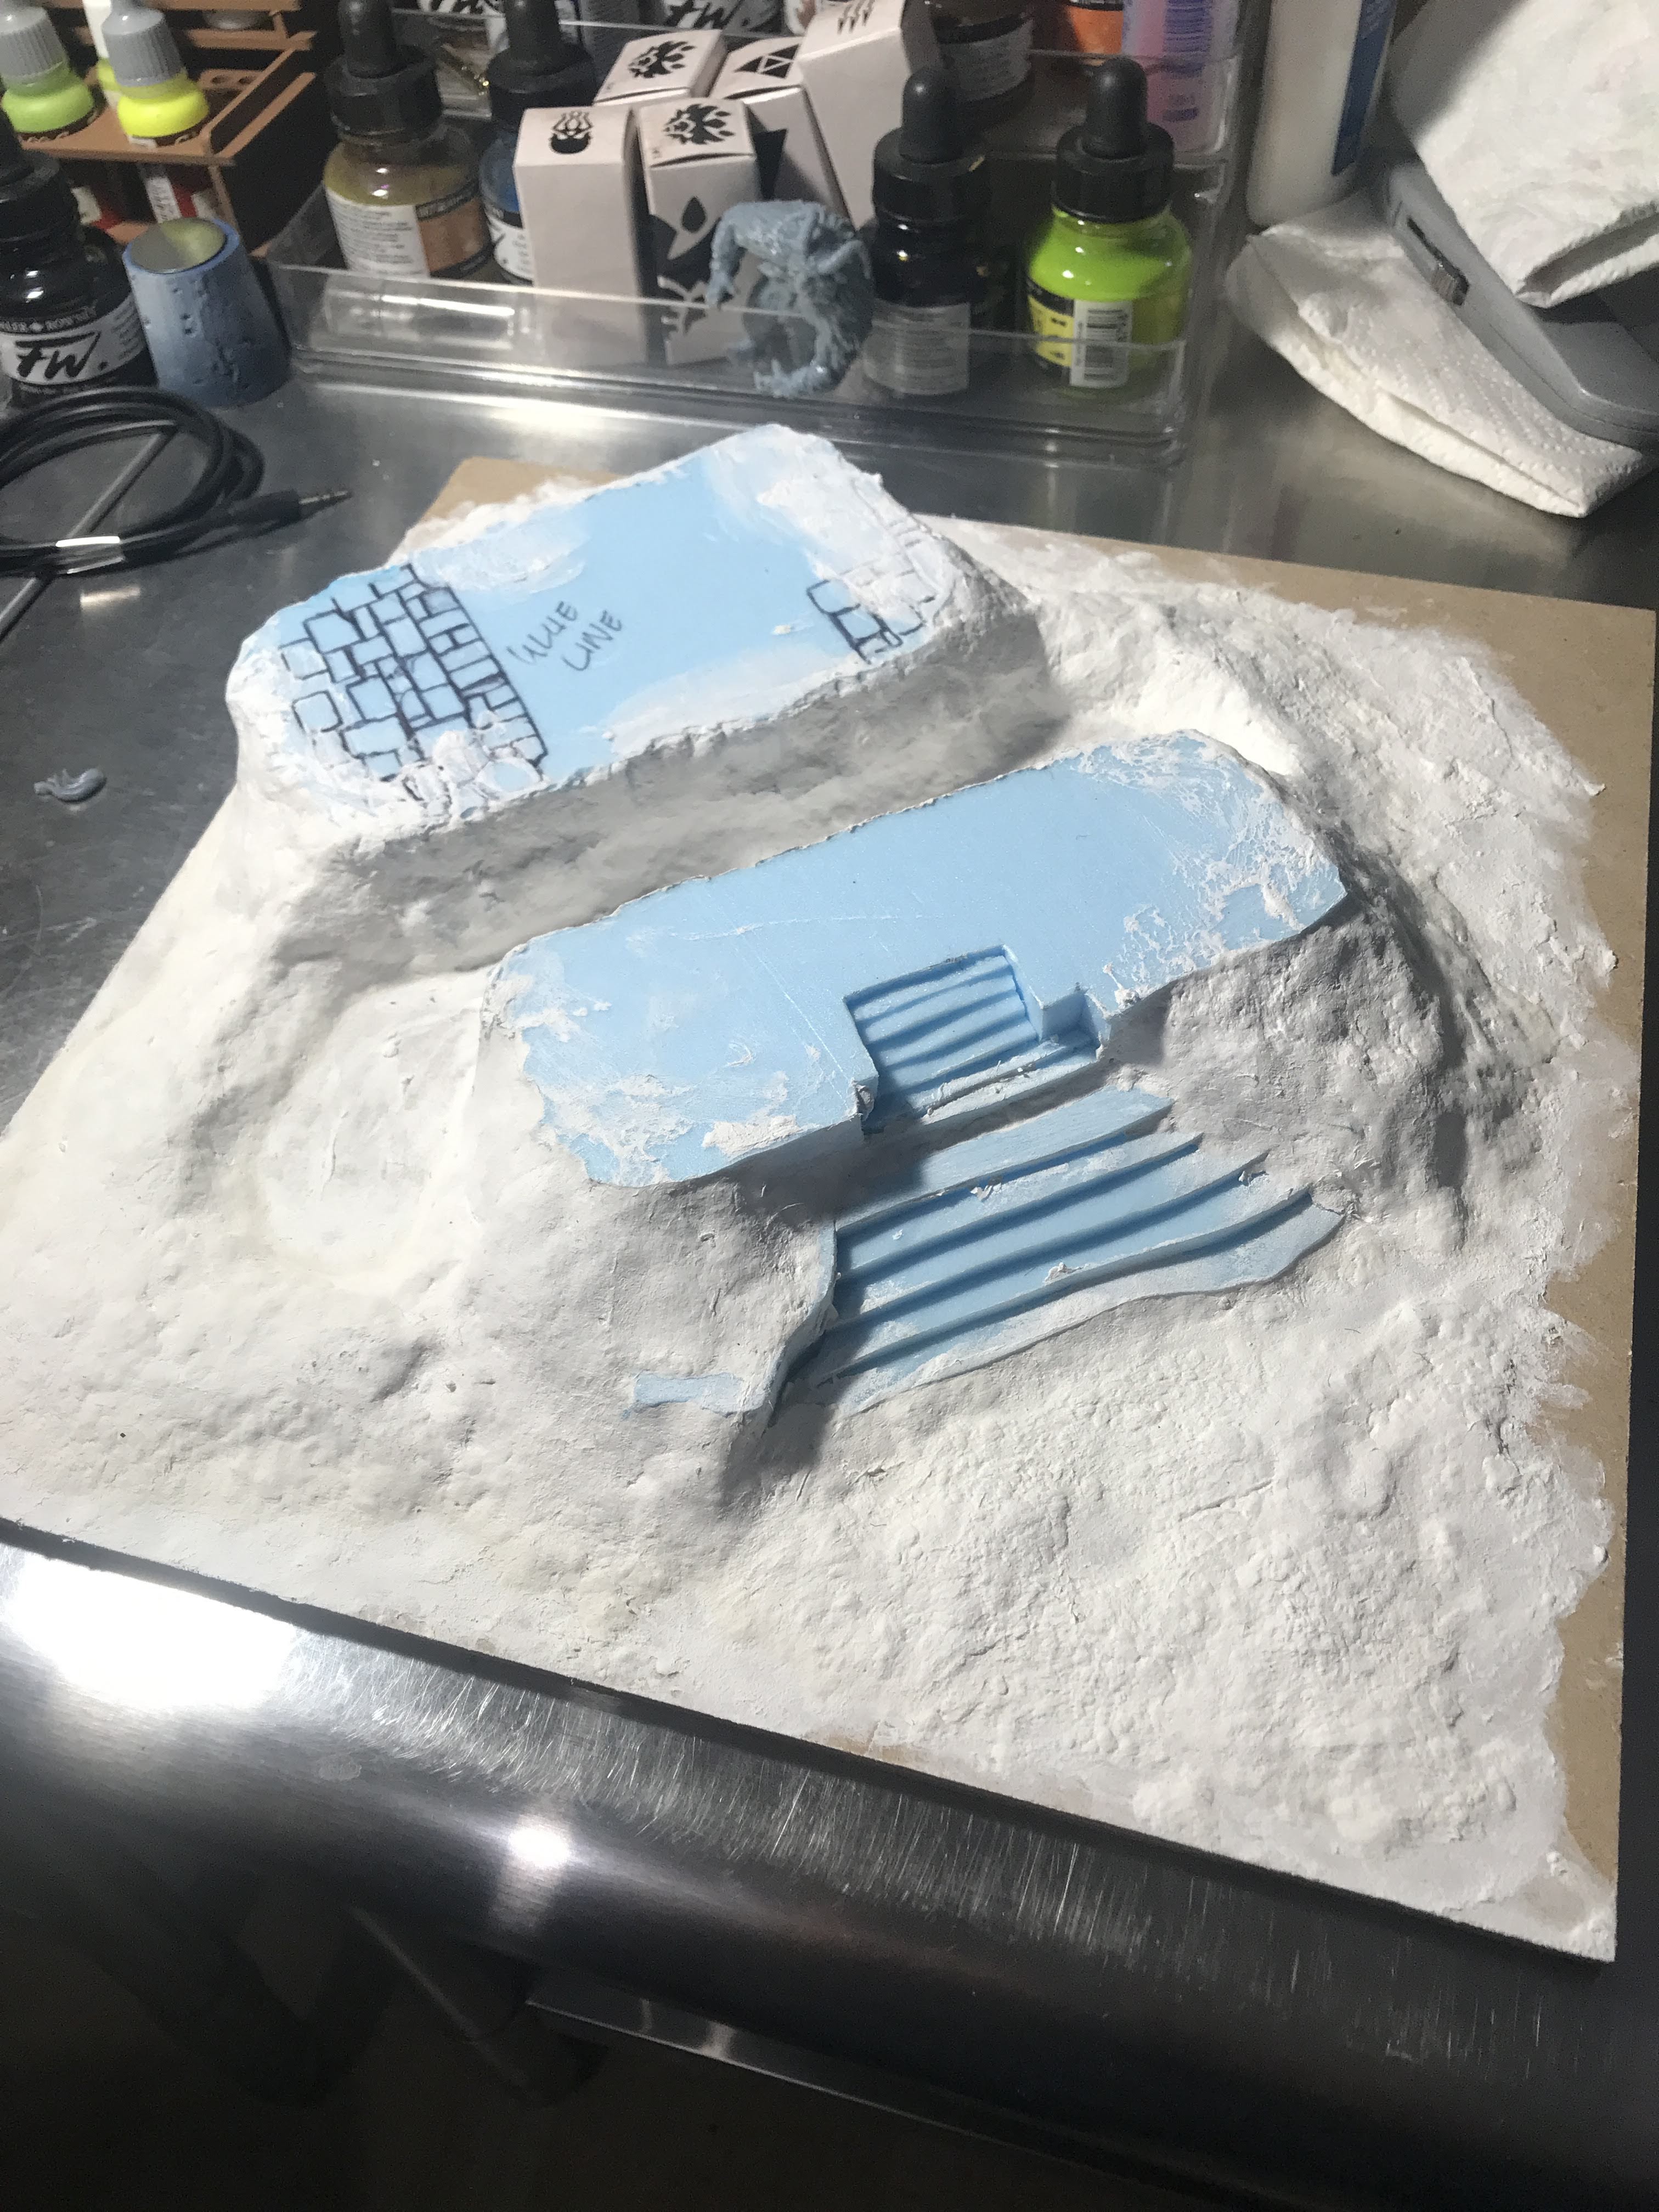
First things first, I cut some blocks of blue insulation foam with my trusty Proxon foam cutter. Then I cut a deep recess into one of those blocks, and cut up the recess to make some narrow stairs. I used a ballpoint pen to carve in some stone detail.

img_3539

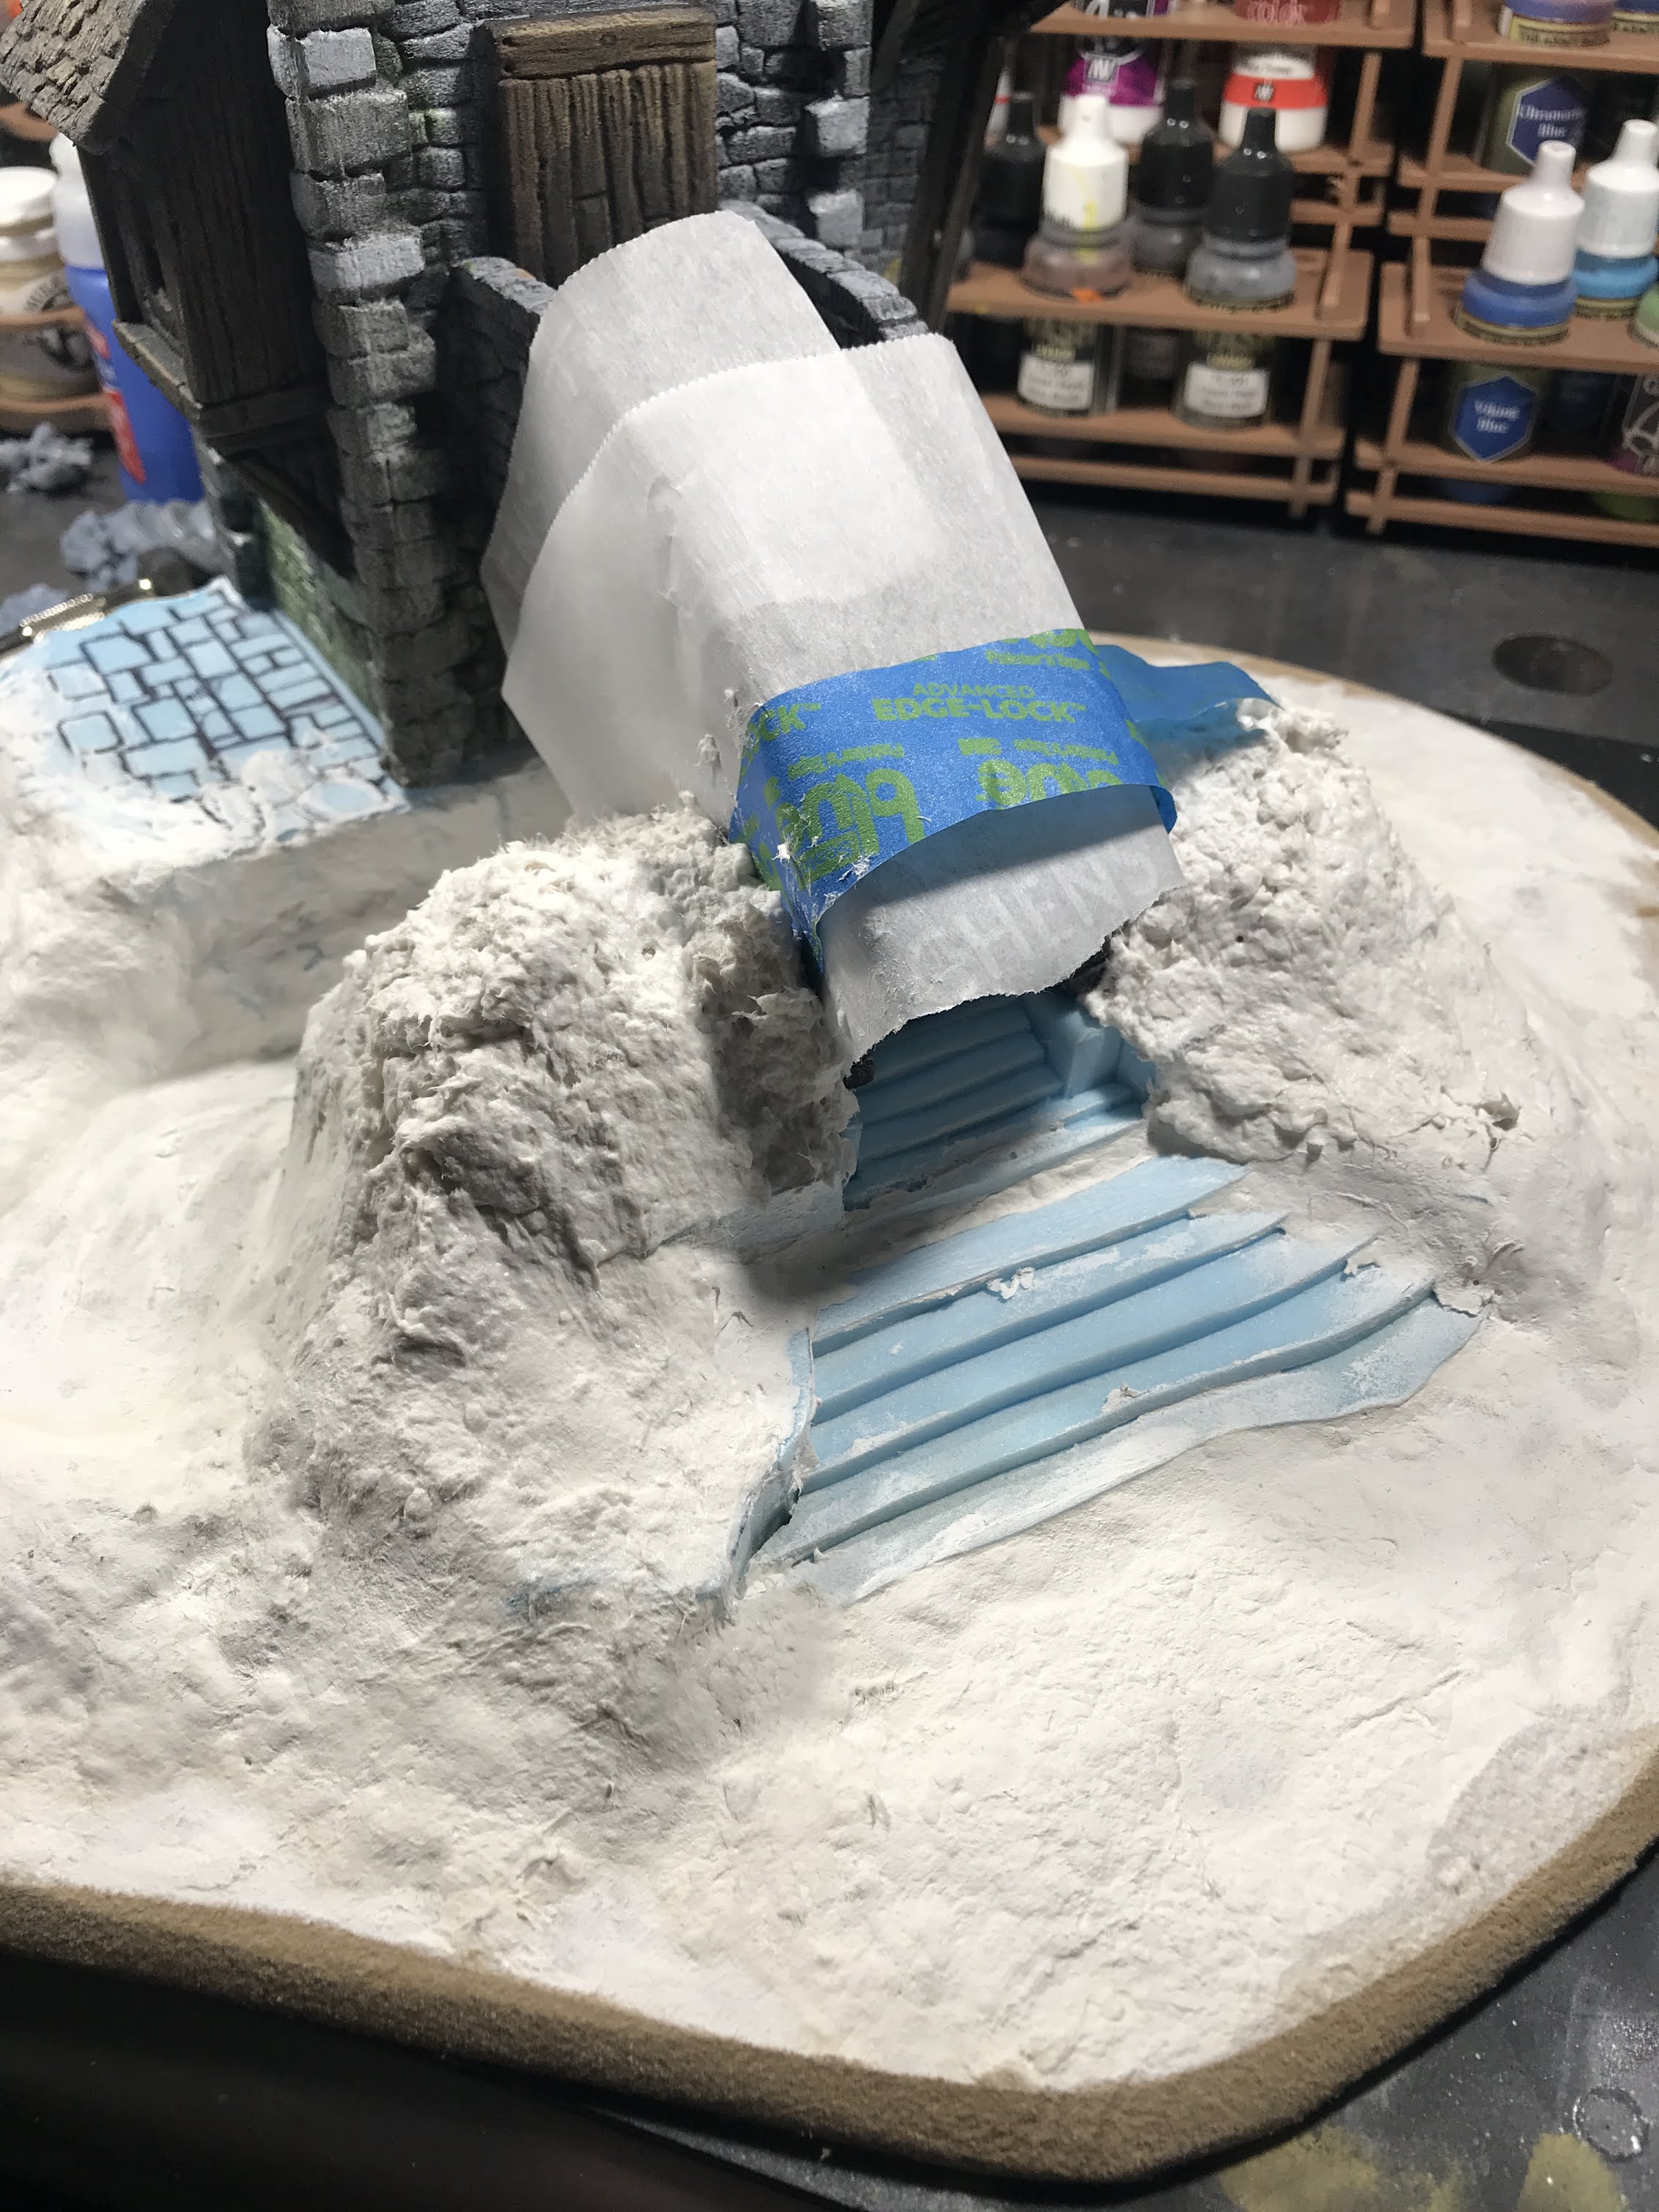
I place used the building to make sure that the separate blocks were far enough apart, and glued them down to the MDF. Then it was time to use some Celluclay to bulk out the base to make the whole thing look like mounds of earth.

img_3540

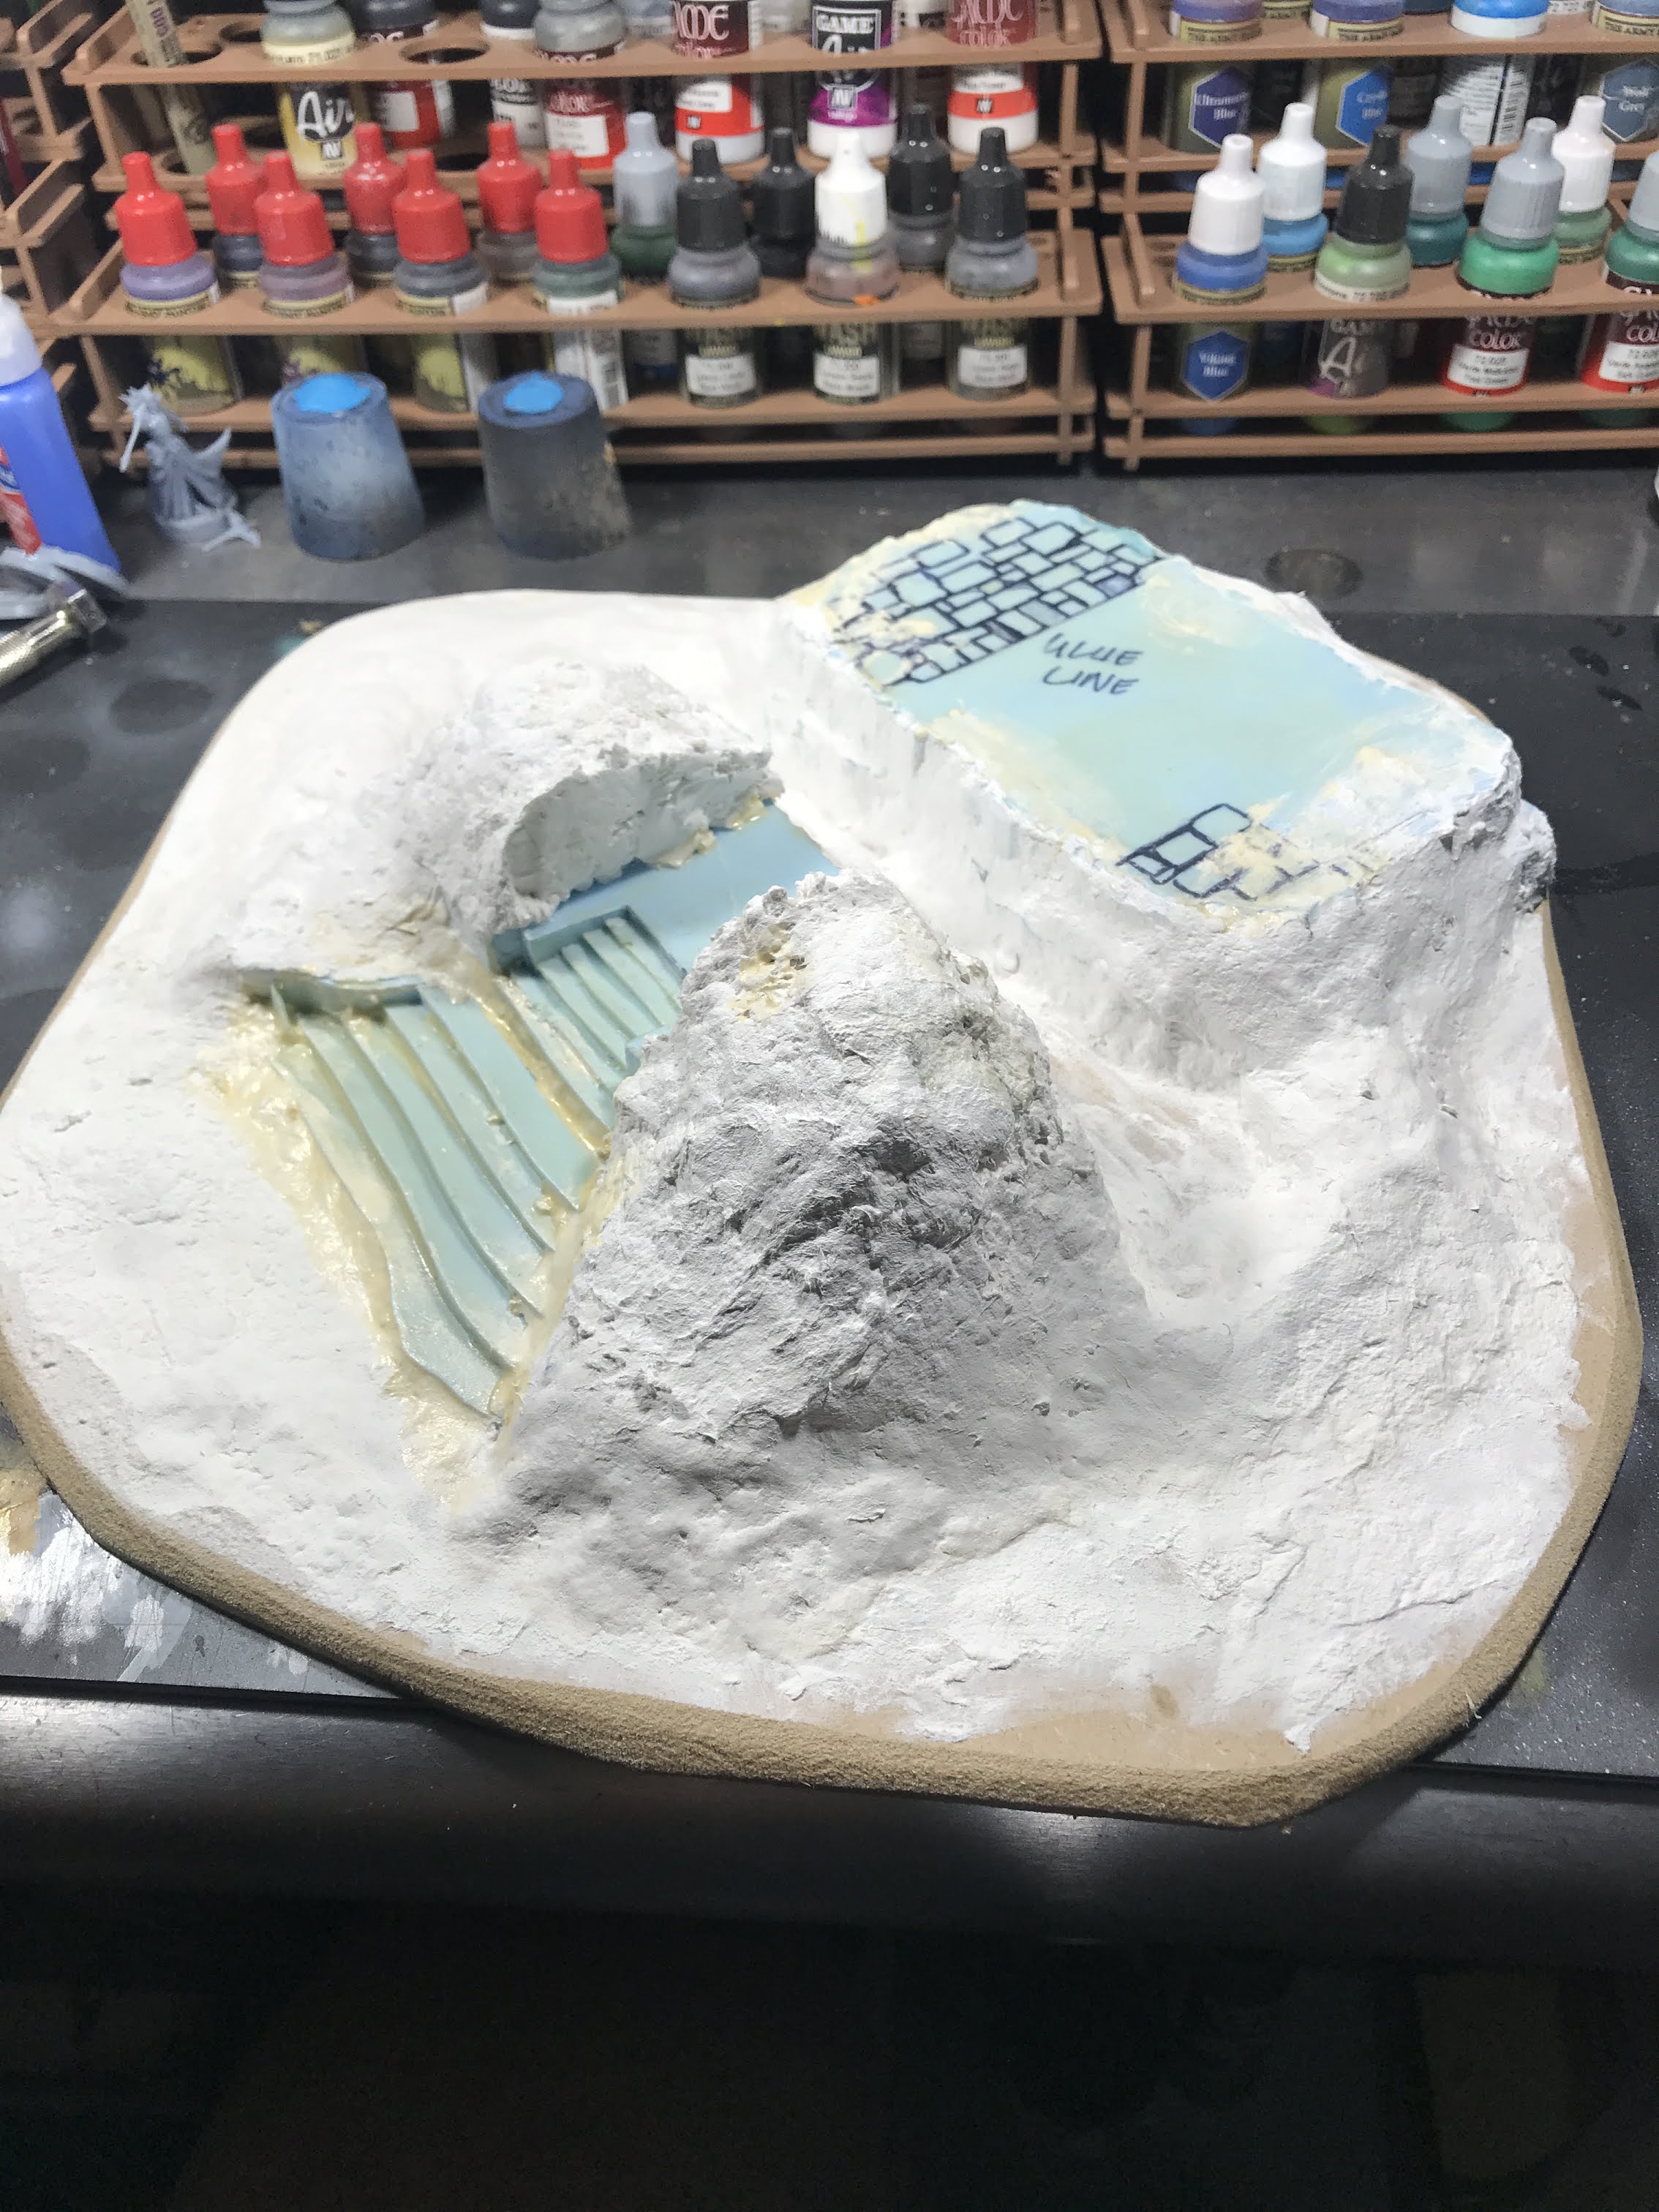
Next, I shaped the MDF with a saw and a small detail sander. Once I got the shape down, it was time to build up some more earthen mounds around the stairs leading to the tower.

img_3544

Now to wait for everything to dry, and then get some paint down on this!