One of the cooler aspects of owning a 3D printer is seeing something you love from a great sculptor, buying the file, and several gooey hours later, holding your new mini in your hot little hands.
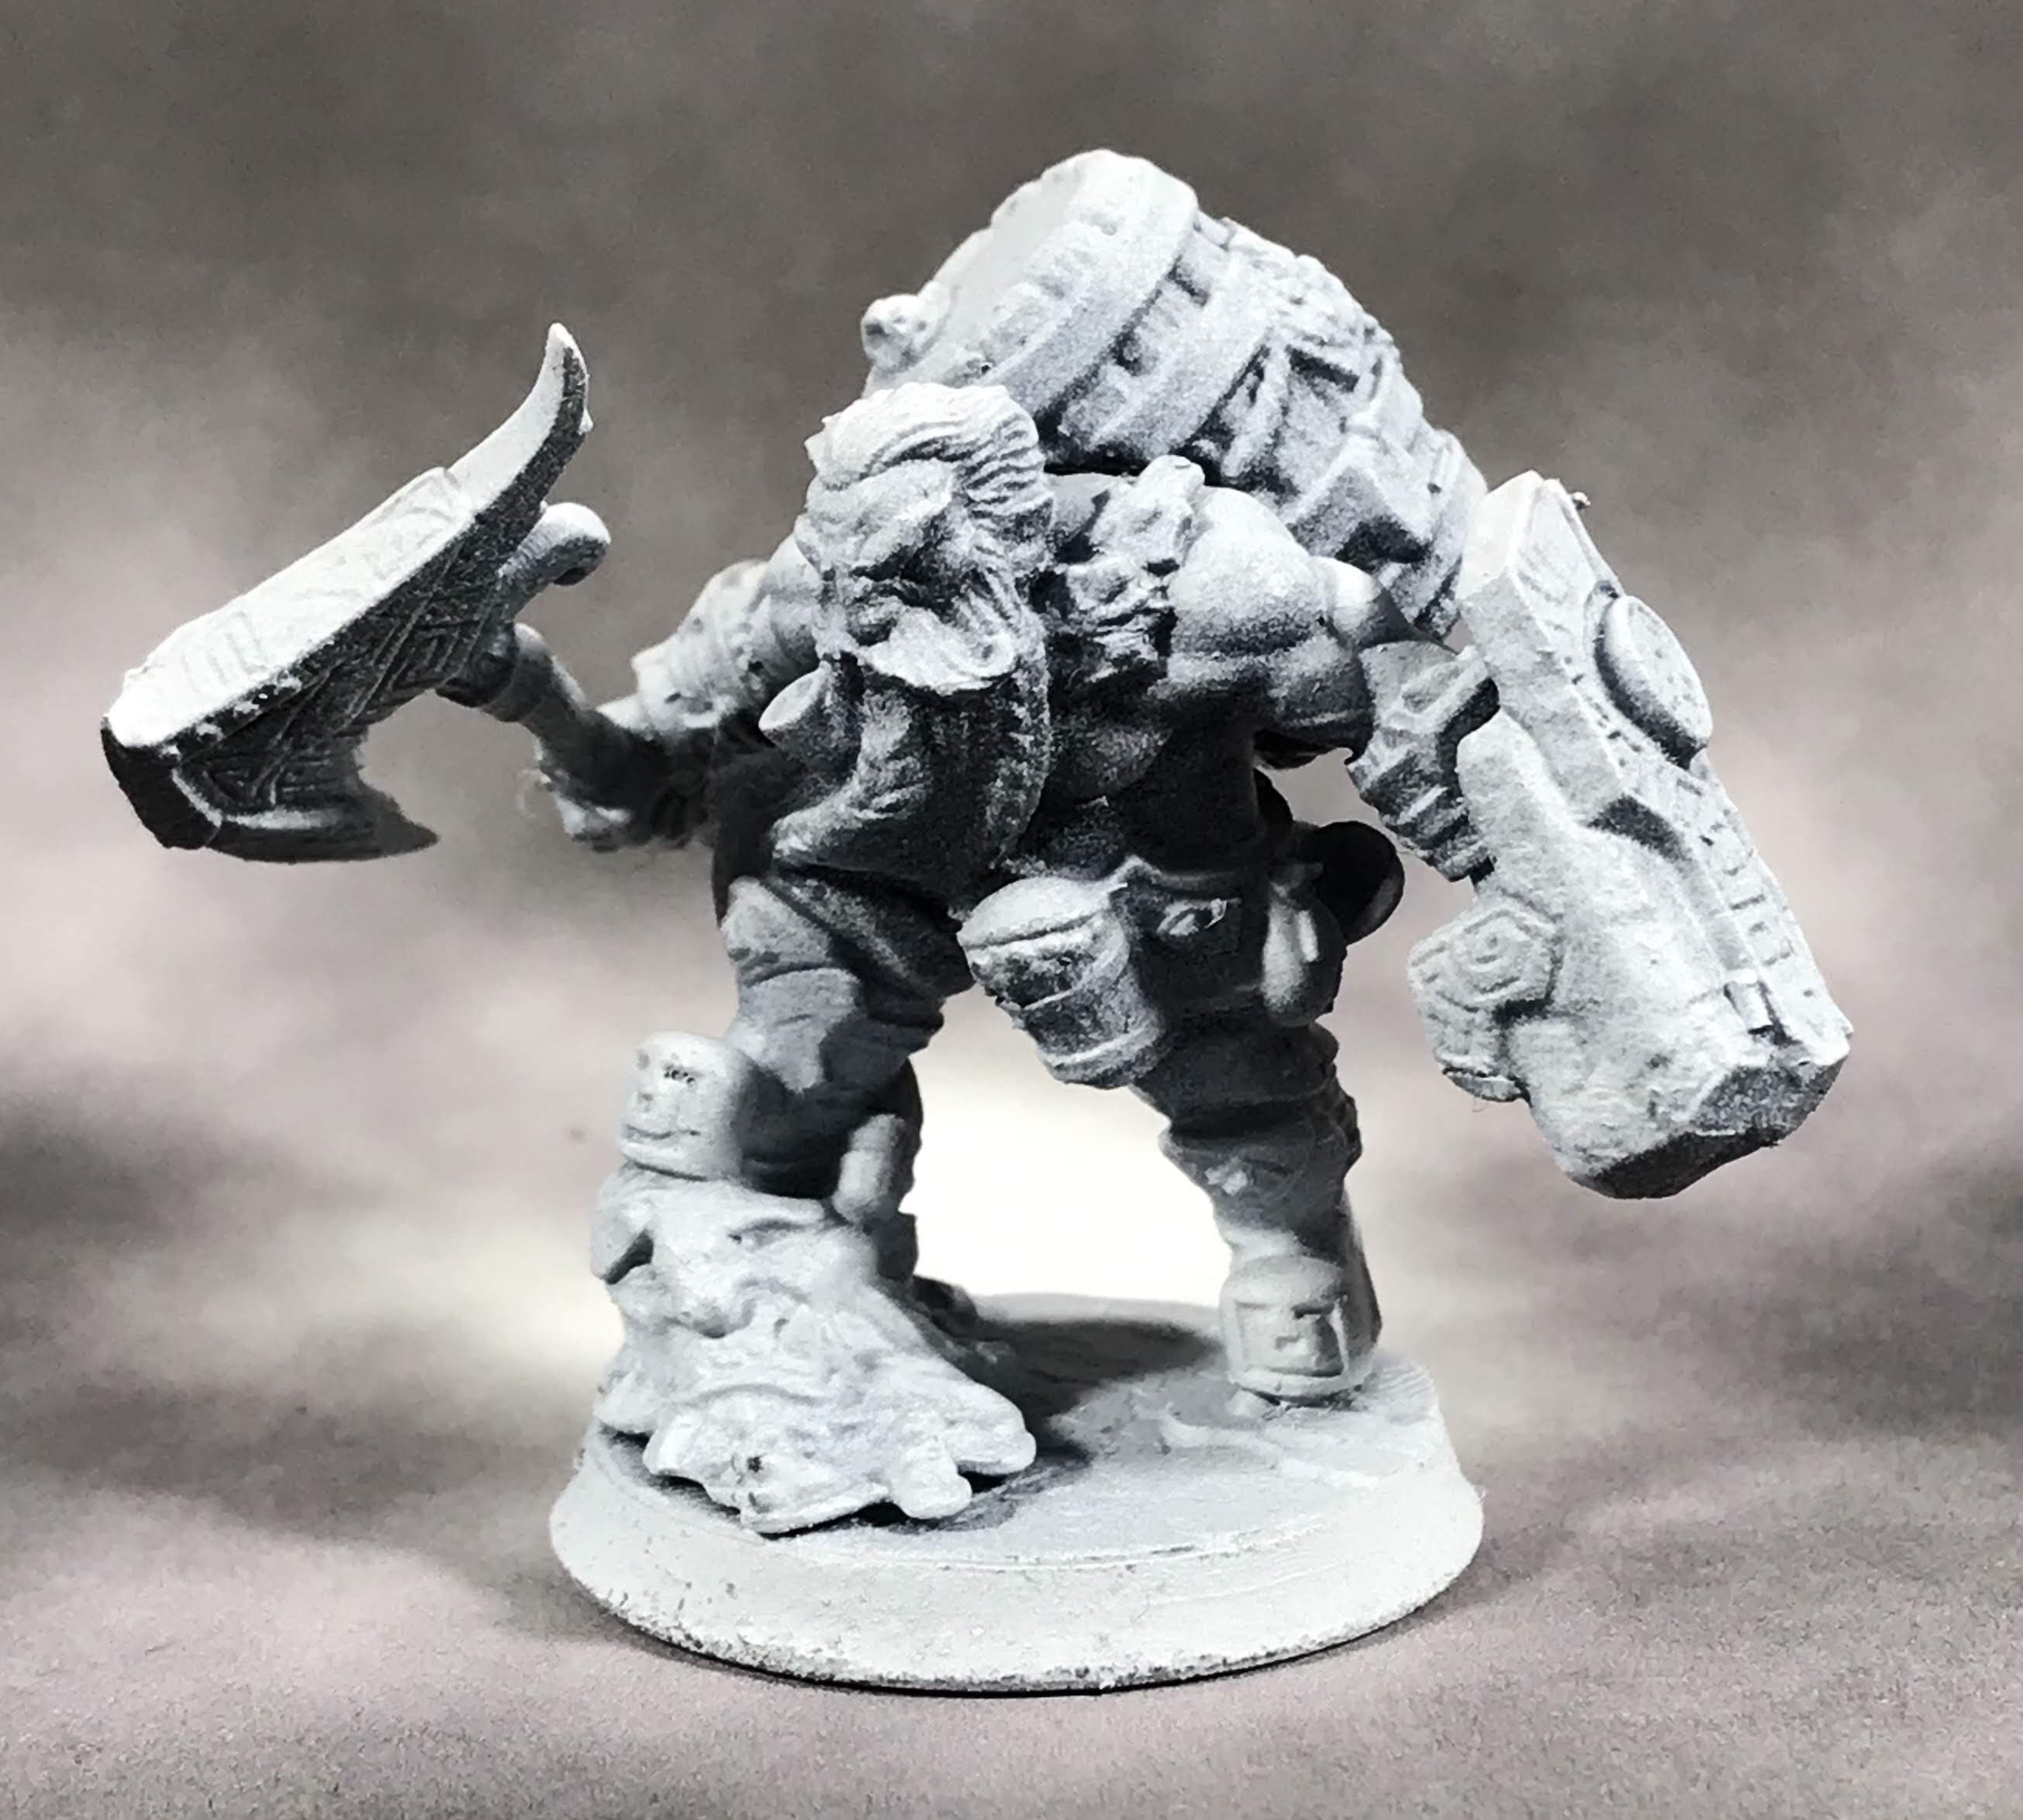
One of my favorite companies out there right now is Artisan Guild. The sculpts are gorgeous, with tons of character and expression. The Ogres and Dwarves are neck and neck in my heart right now, but Gronk Boomshot here pushes things over the top.
Peg leg? Check. Bandana? Check. Loincloth barely covering his booty? Checkity check. He’s the whole package.
I also wanted to play with skin tones here, so there is a bit of blue in the shading, and a lot of pinks and reds on his facial skin. A true delight to print AND paint!
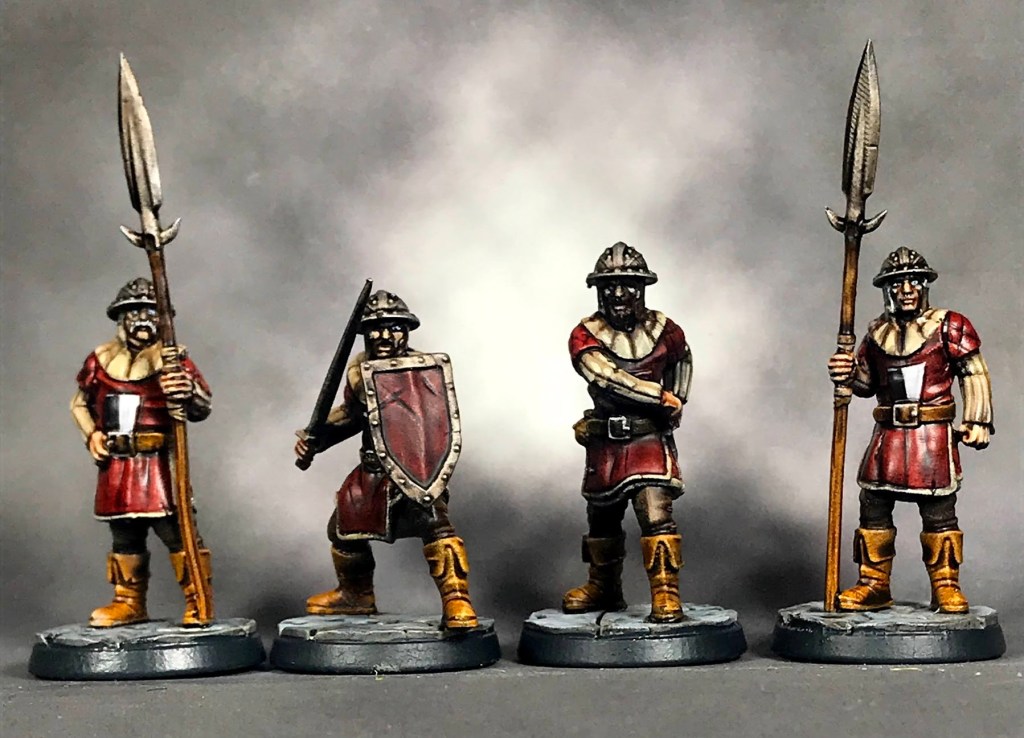
My quest to find the perfect town guards came to an end this month. The awesome sculptor that runs Tytan Troll Miniatures on Patreon has been knocking out some amazing sculpts to print this month. They remind me a lot of the guard in the Diskworld books, so I really didn’t have a choice.
The first batch of four printed up in under 4 hours, cleaned up beautifully, and were a blast to slap a quick paint job onto!
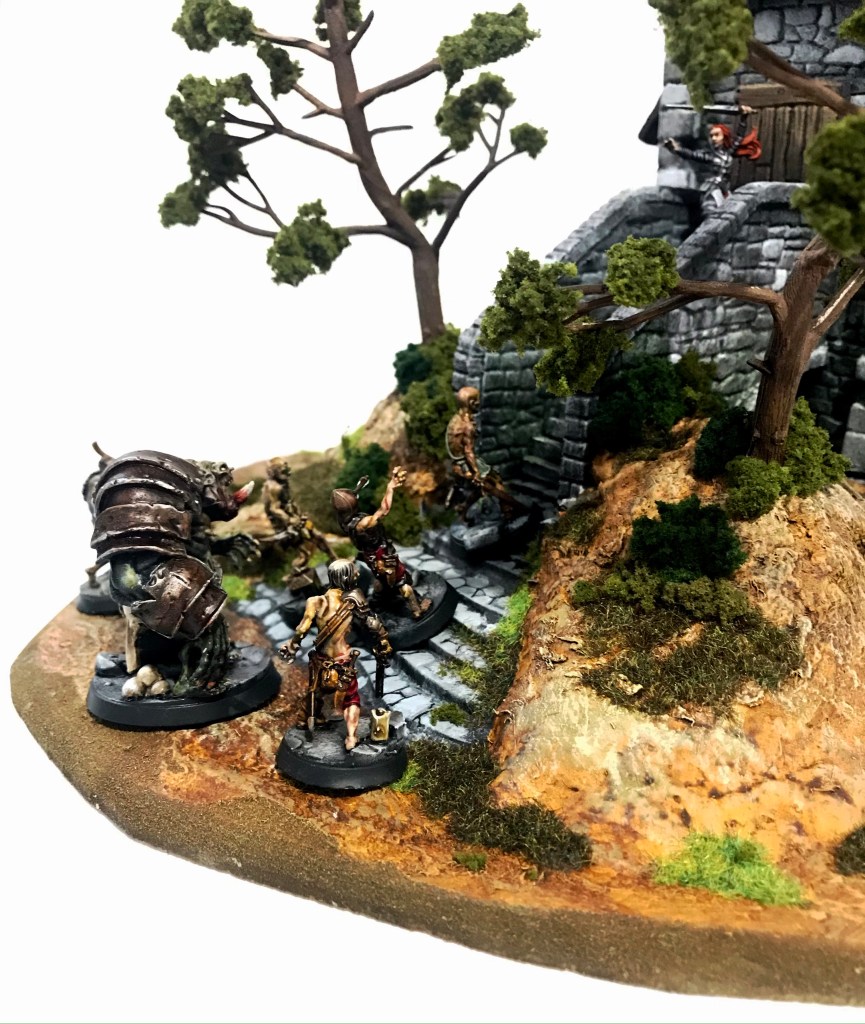
I plan on using them to replace the villagers in my first Rangers of Shadow Deep game, with my Rangers investigating an eerily quiet barracks instead of a village.
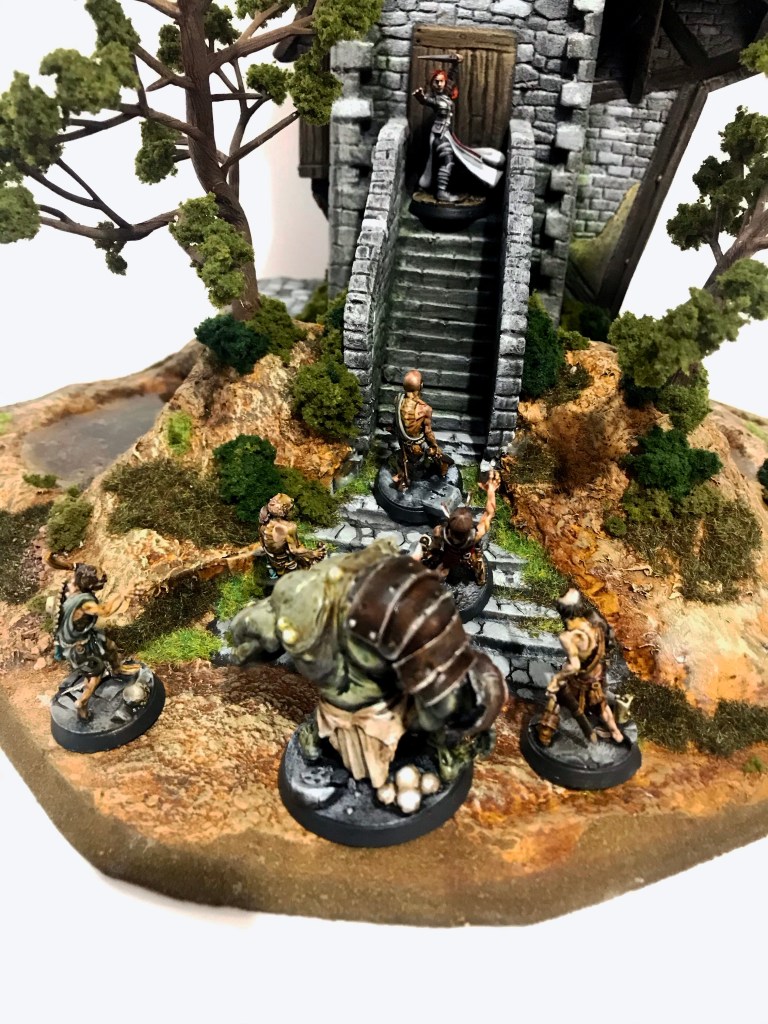
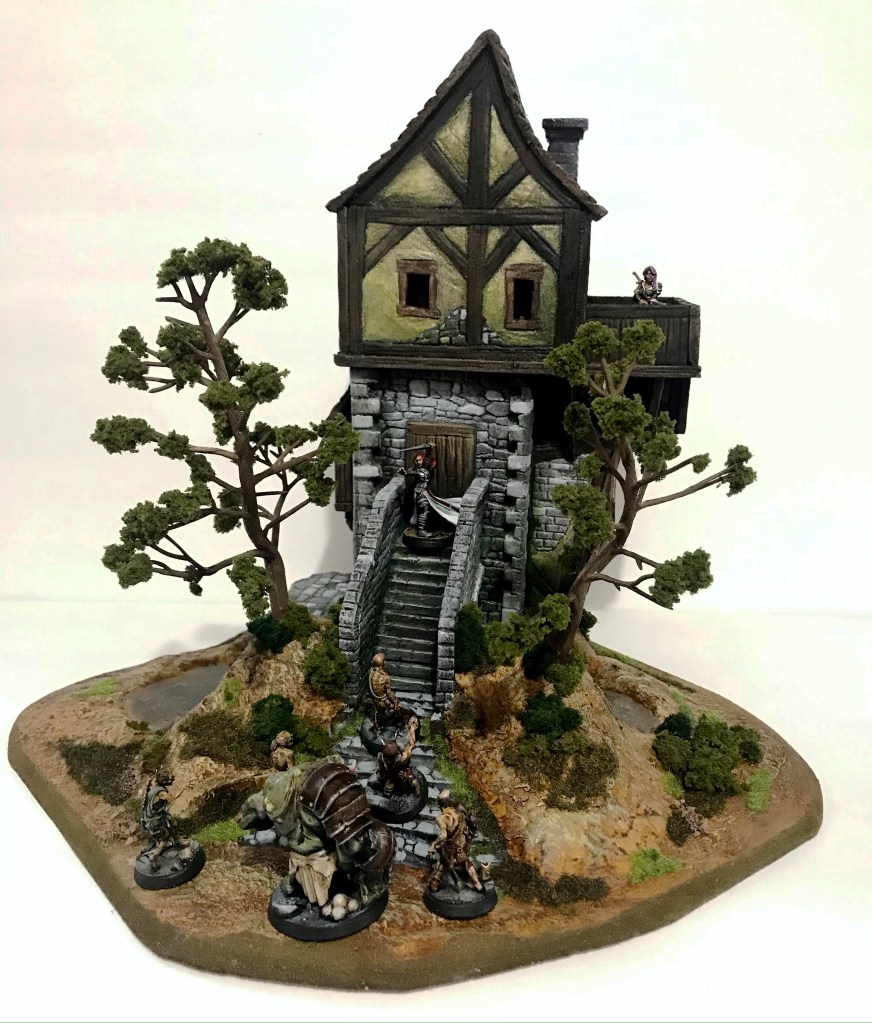
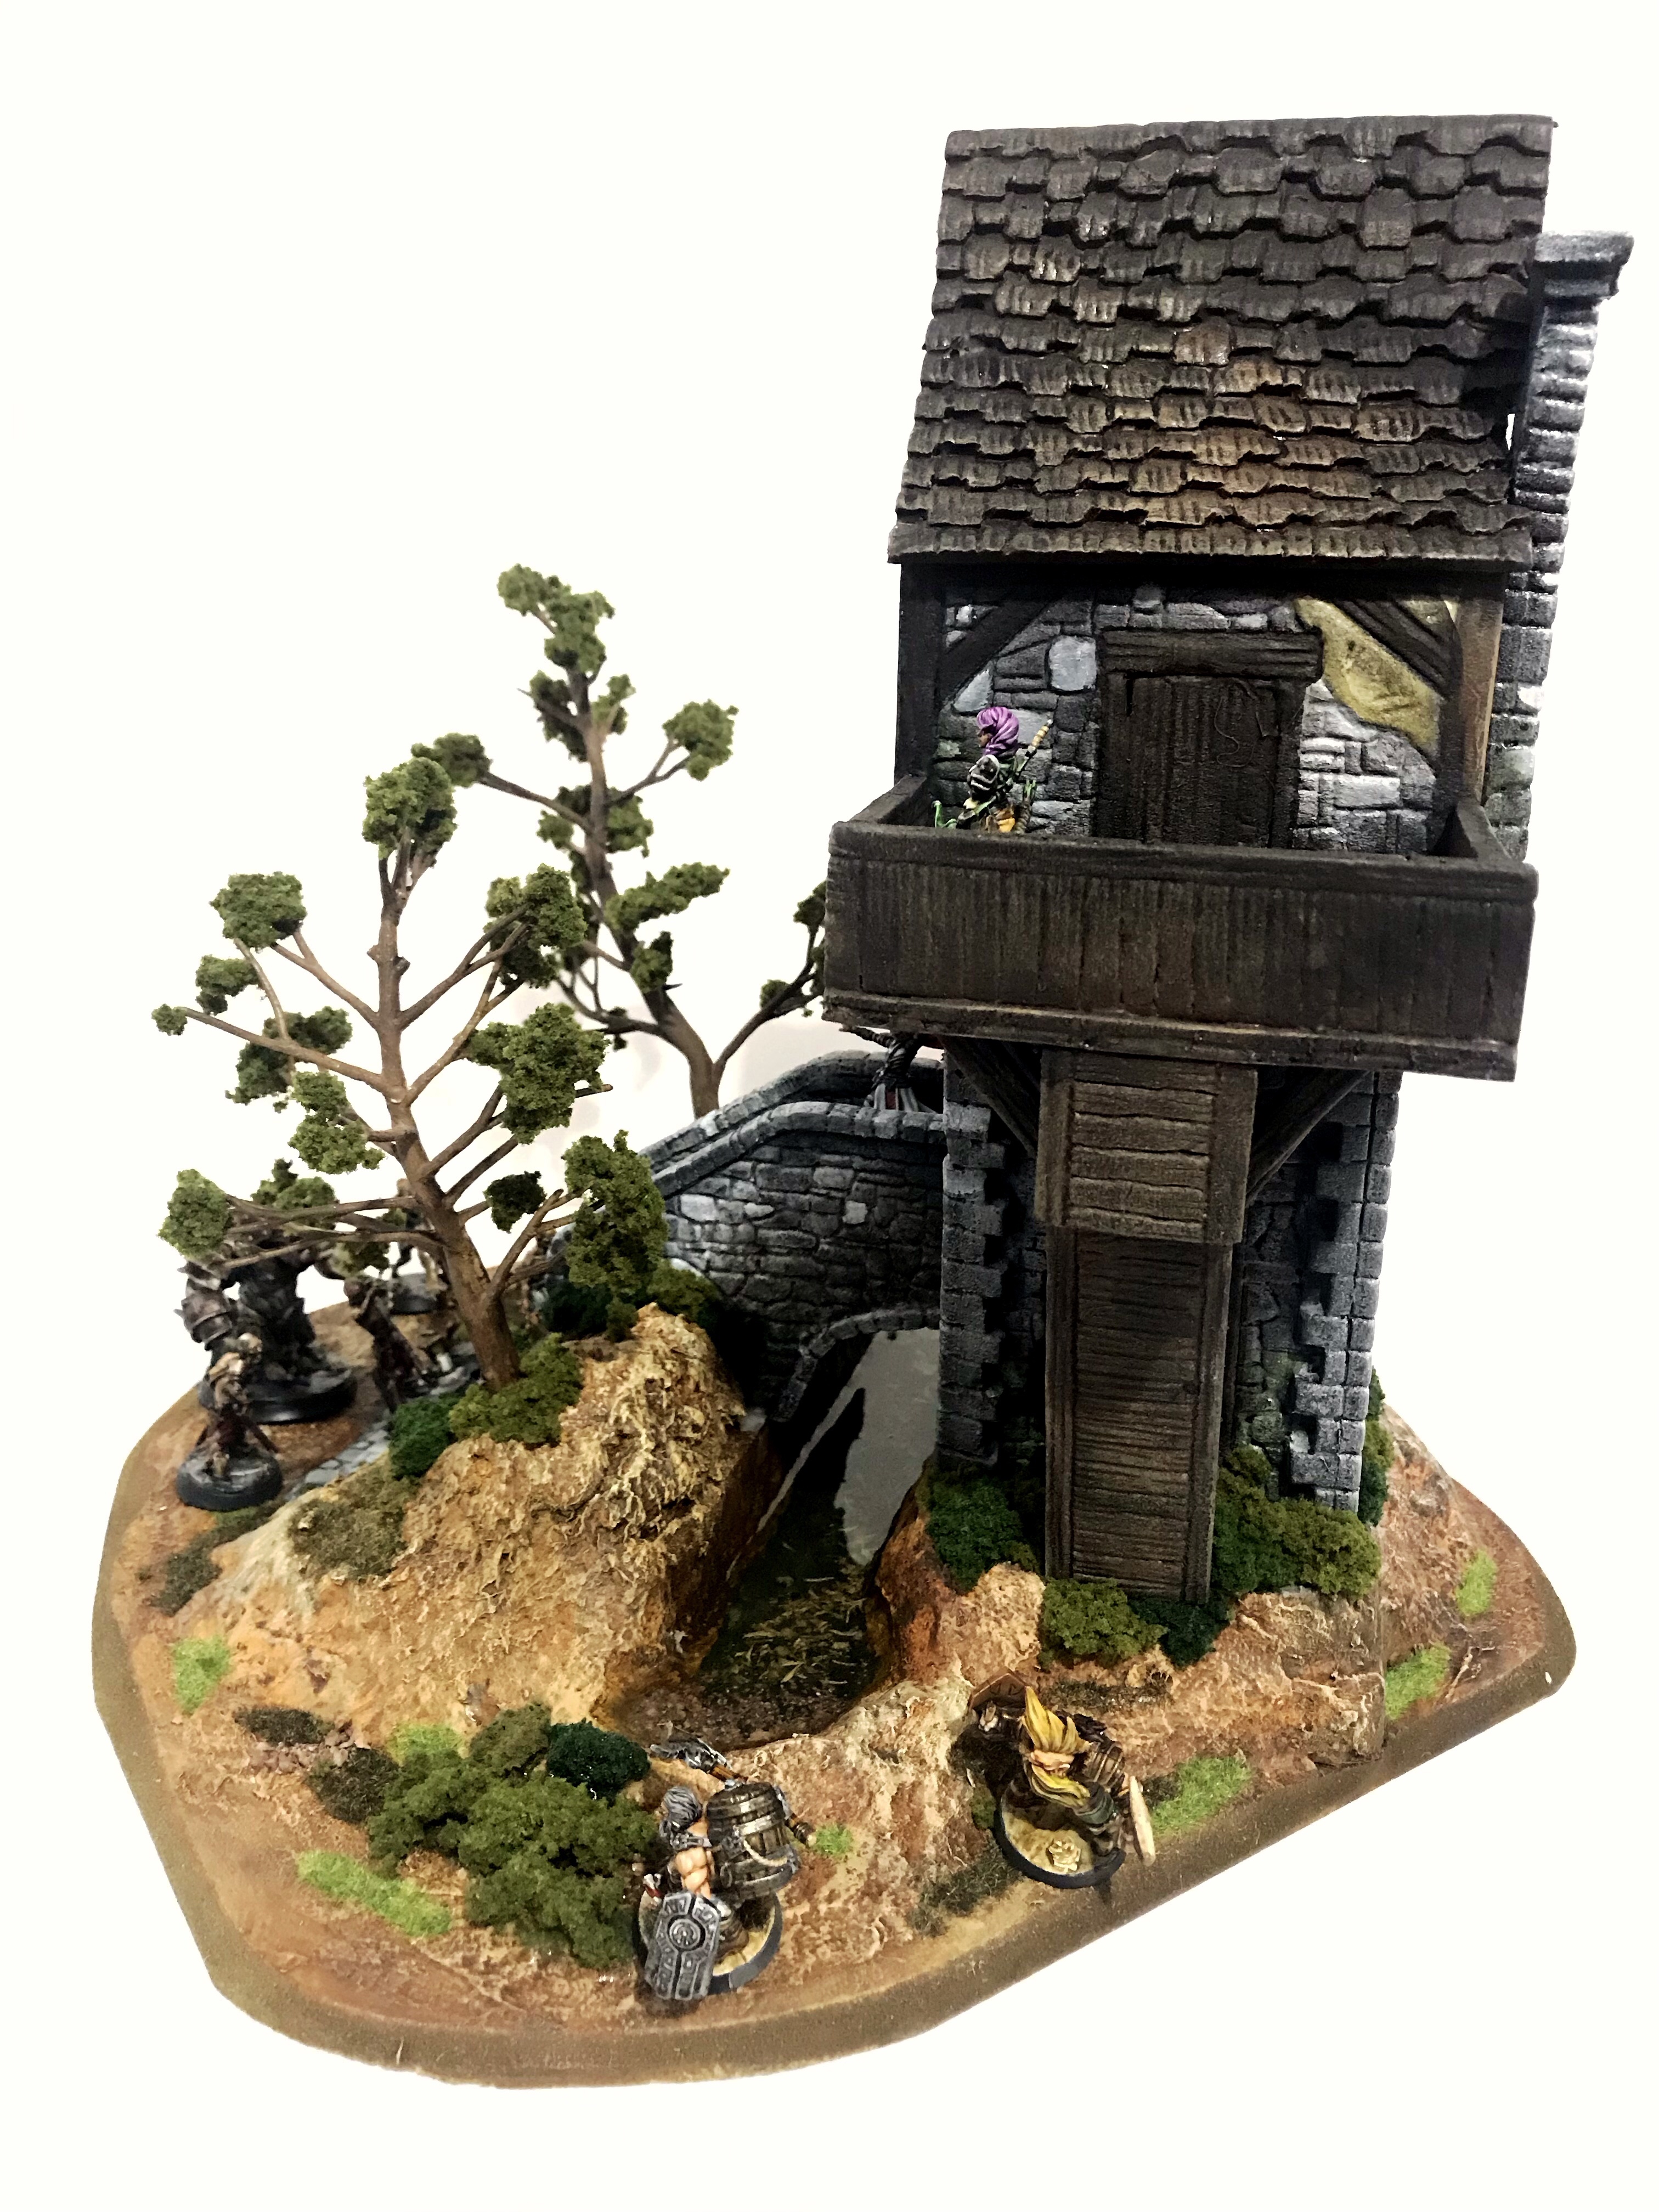
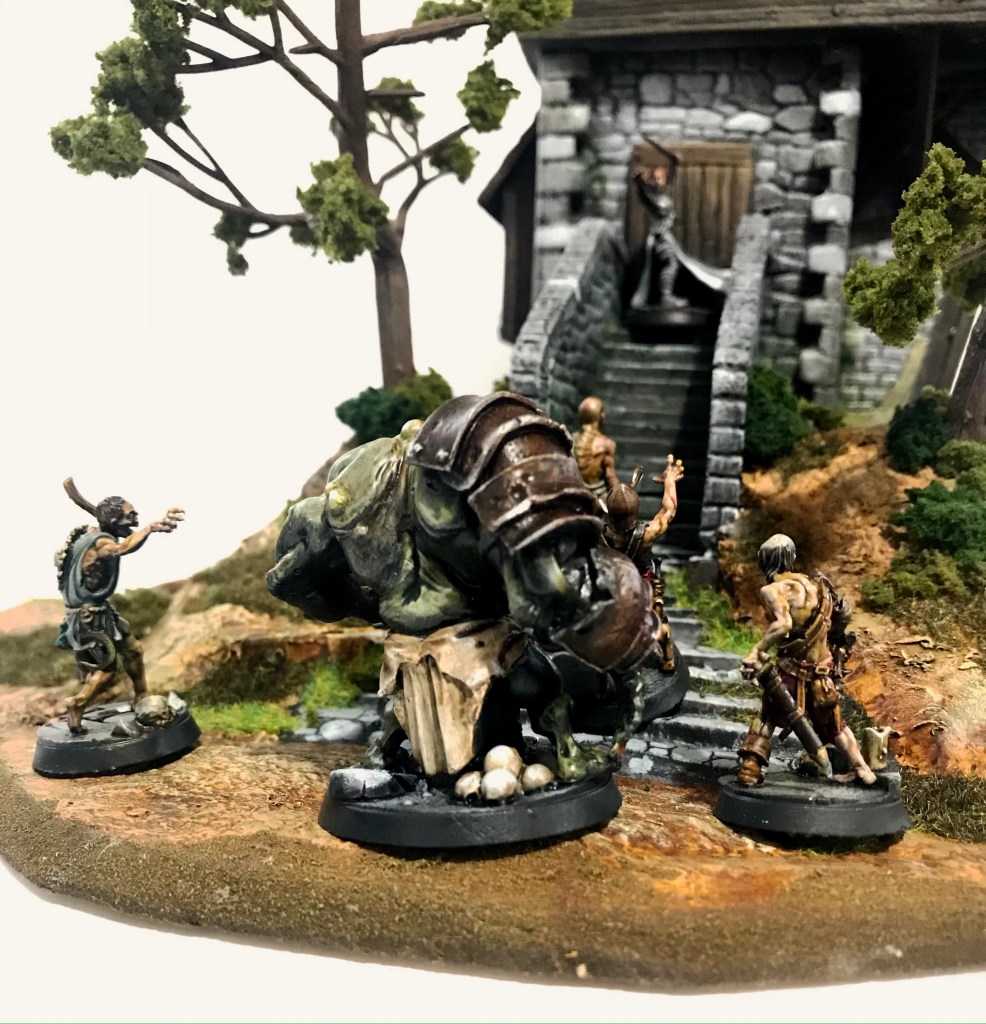
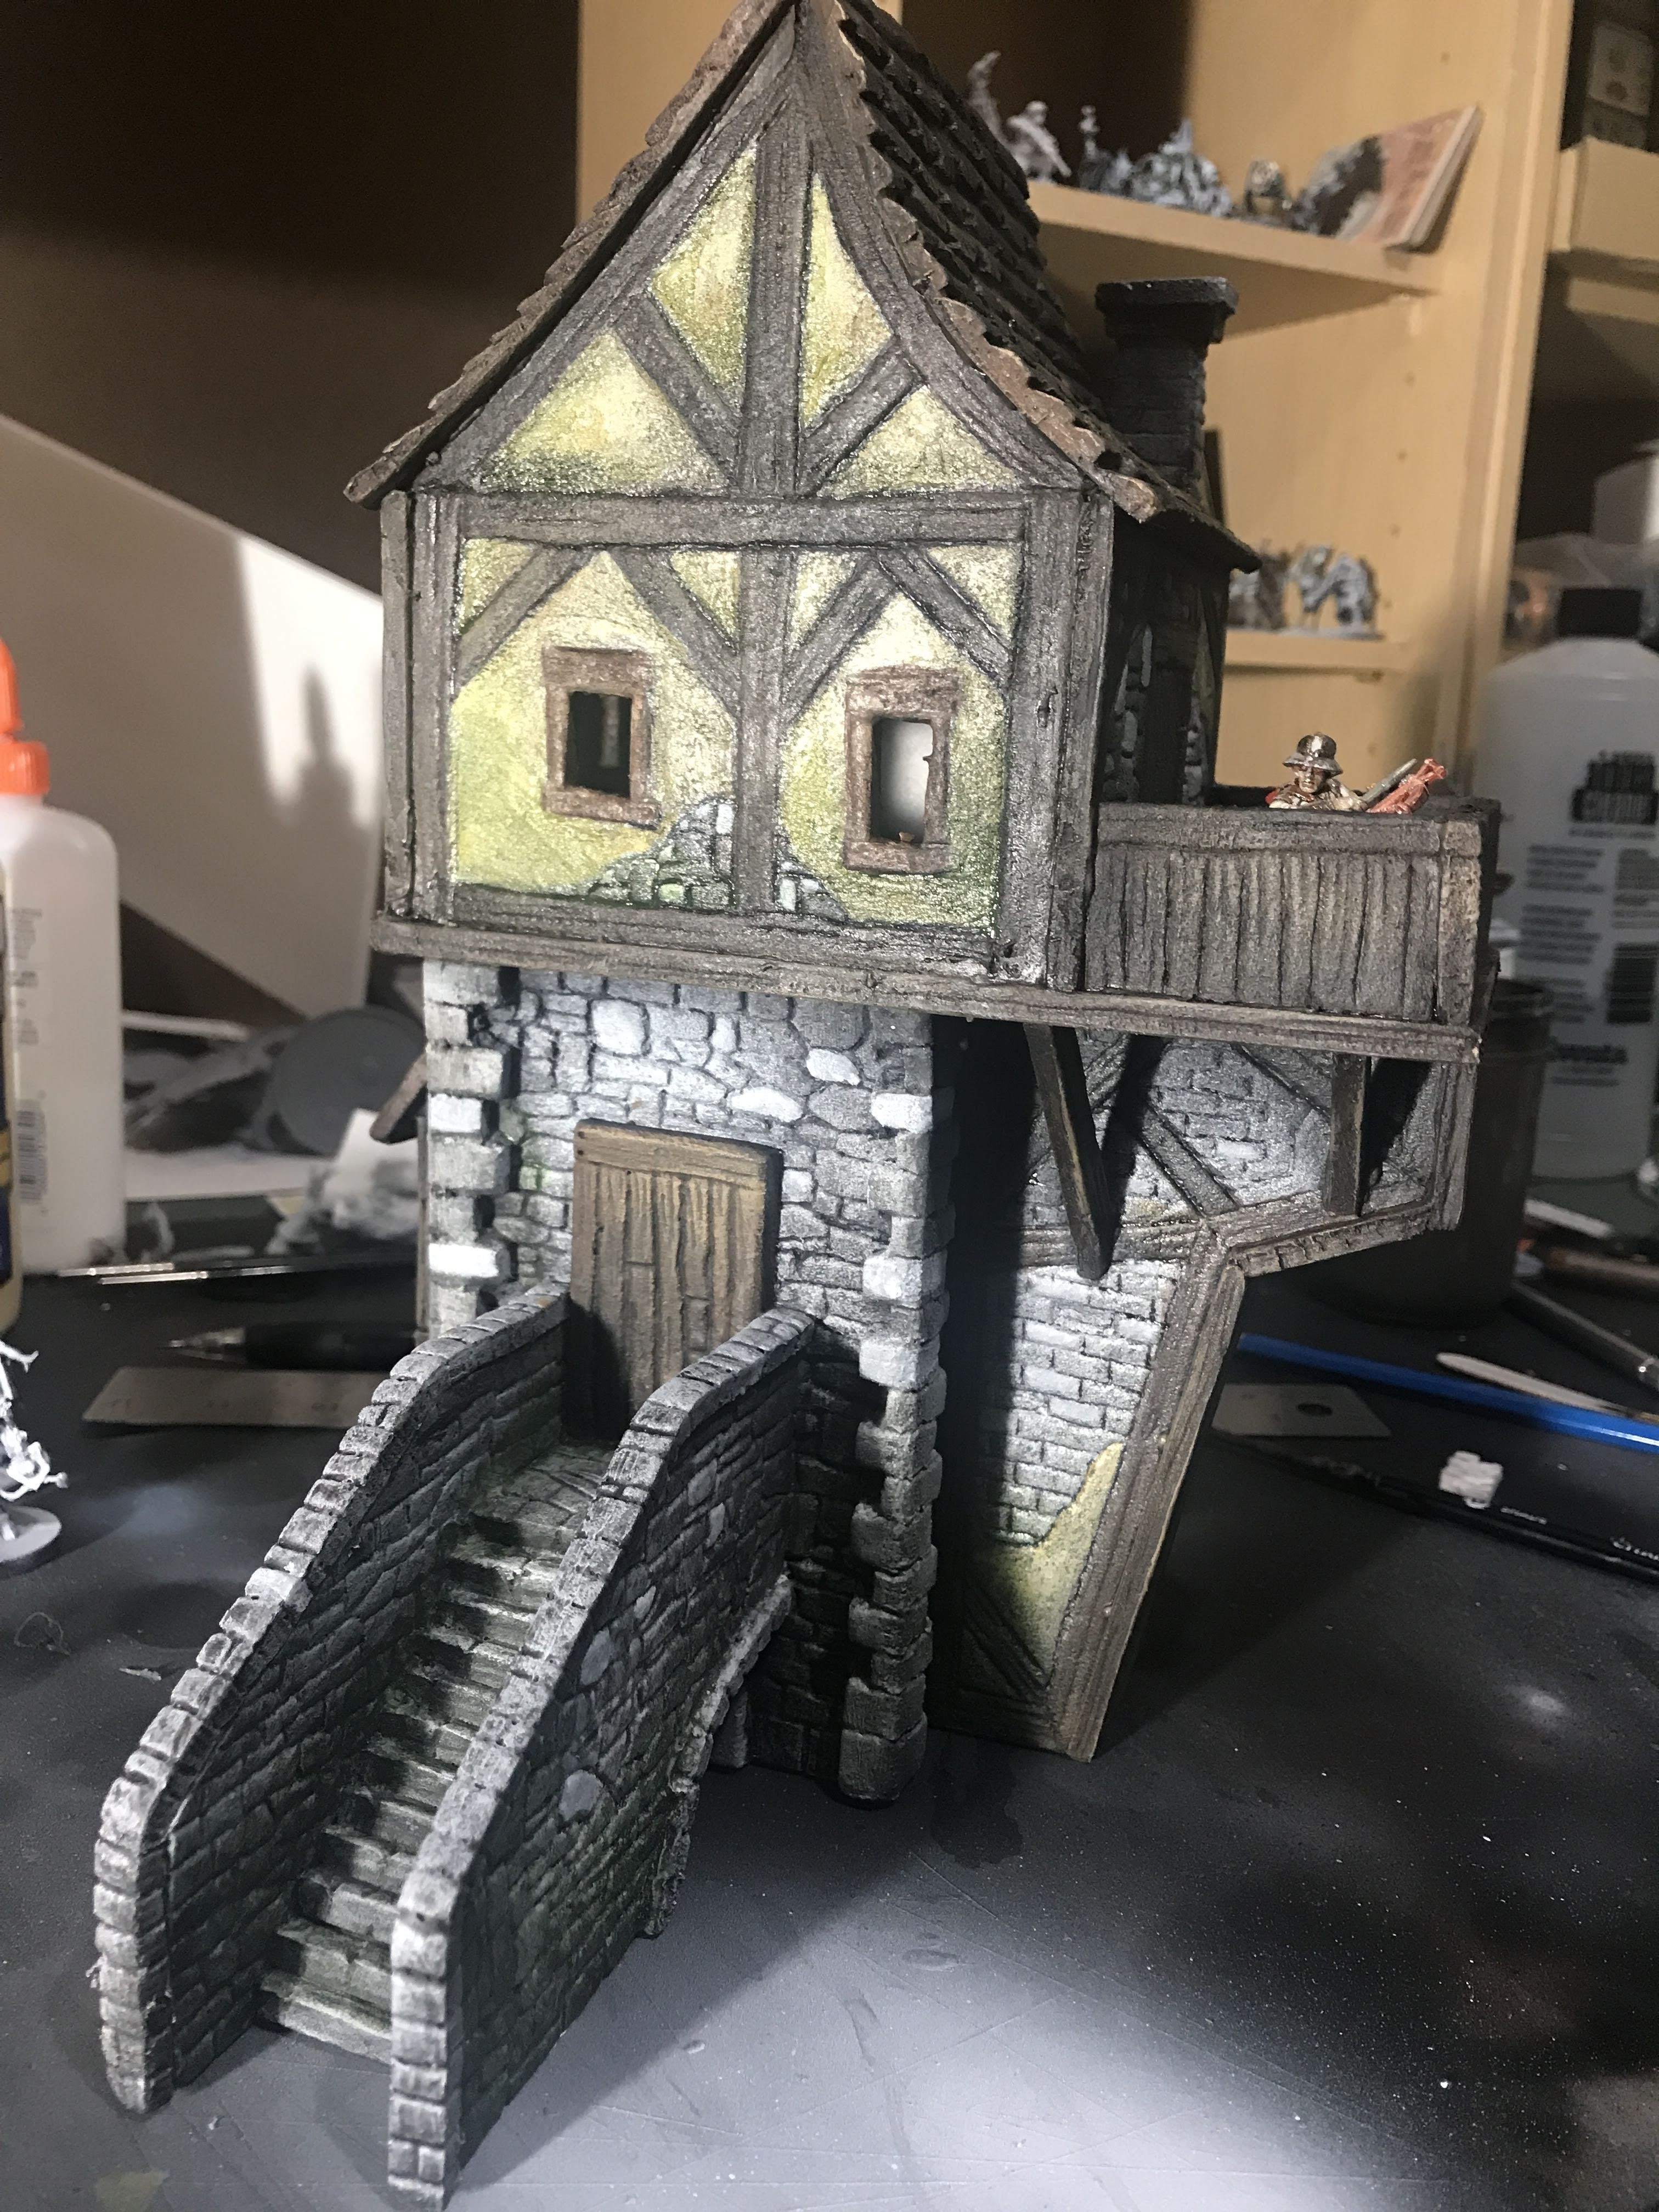
The first building is finally finished, and I could’nt be happier with how it turned out!
After the flock and shrubbery was secure, I added a couple of plastic railroad trees that I was able to twist in extremely twisty ways by soaking them in boiling water.
The rest of the piece was just a matter of concealing joins and gaps with shrubs.
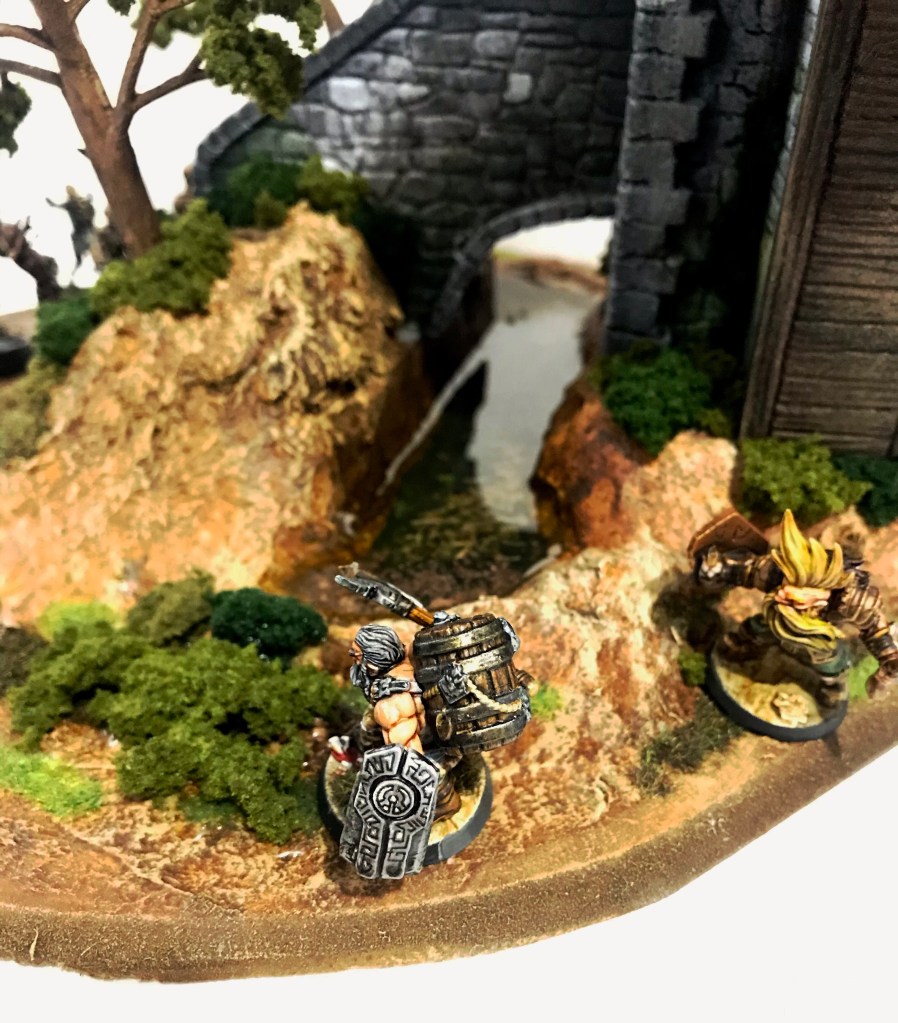
After all of the flock was set, I poured clear resin into the moat for a water effect.
It’s a really fun piece, and will make for a thematic center-point for my games!
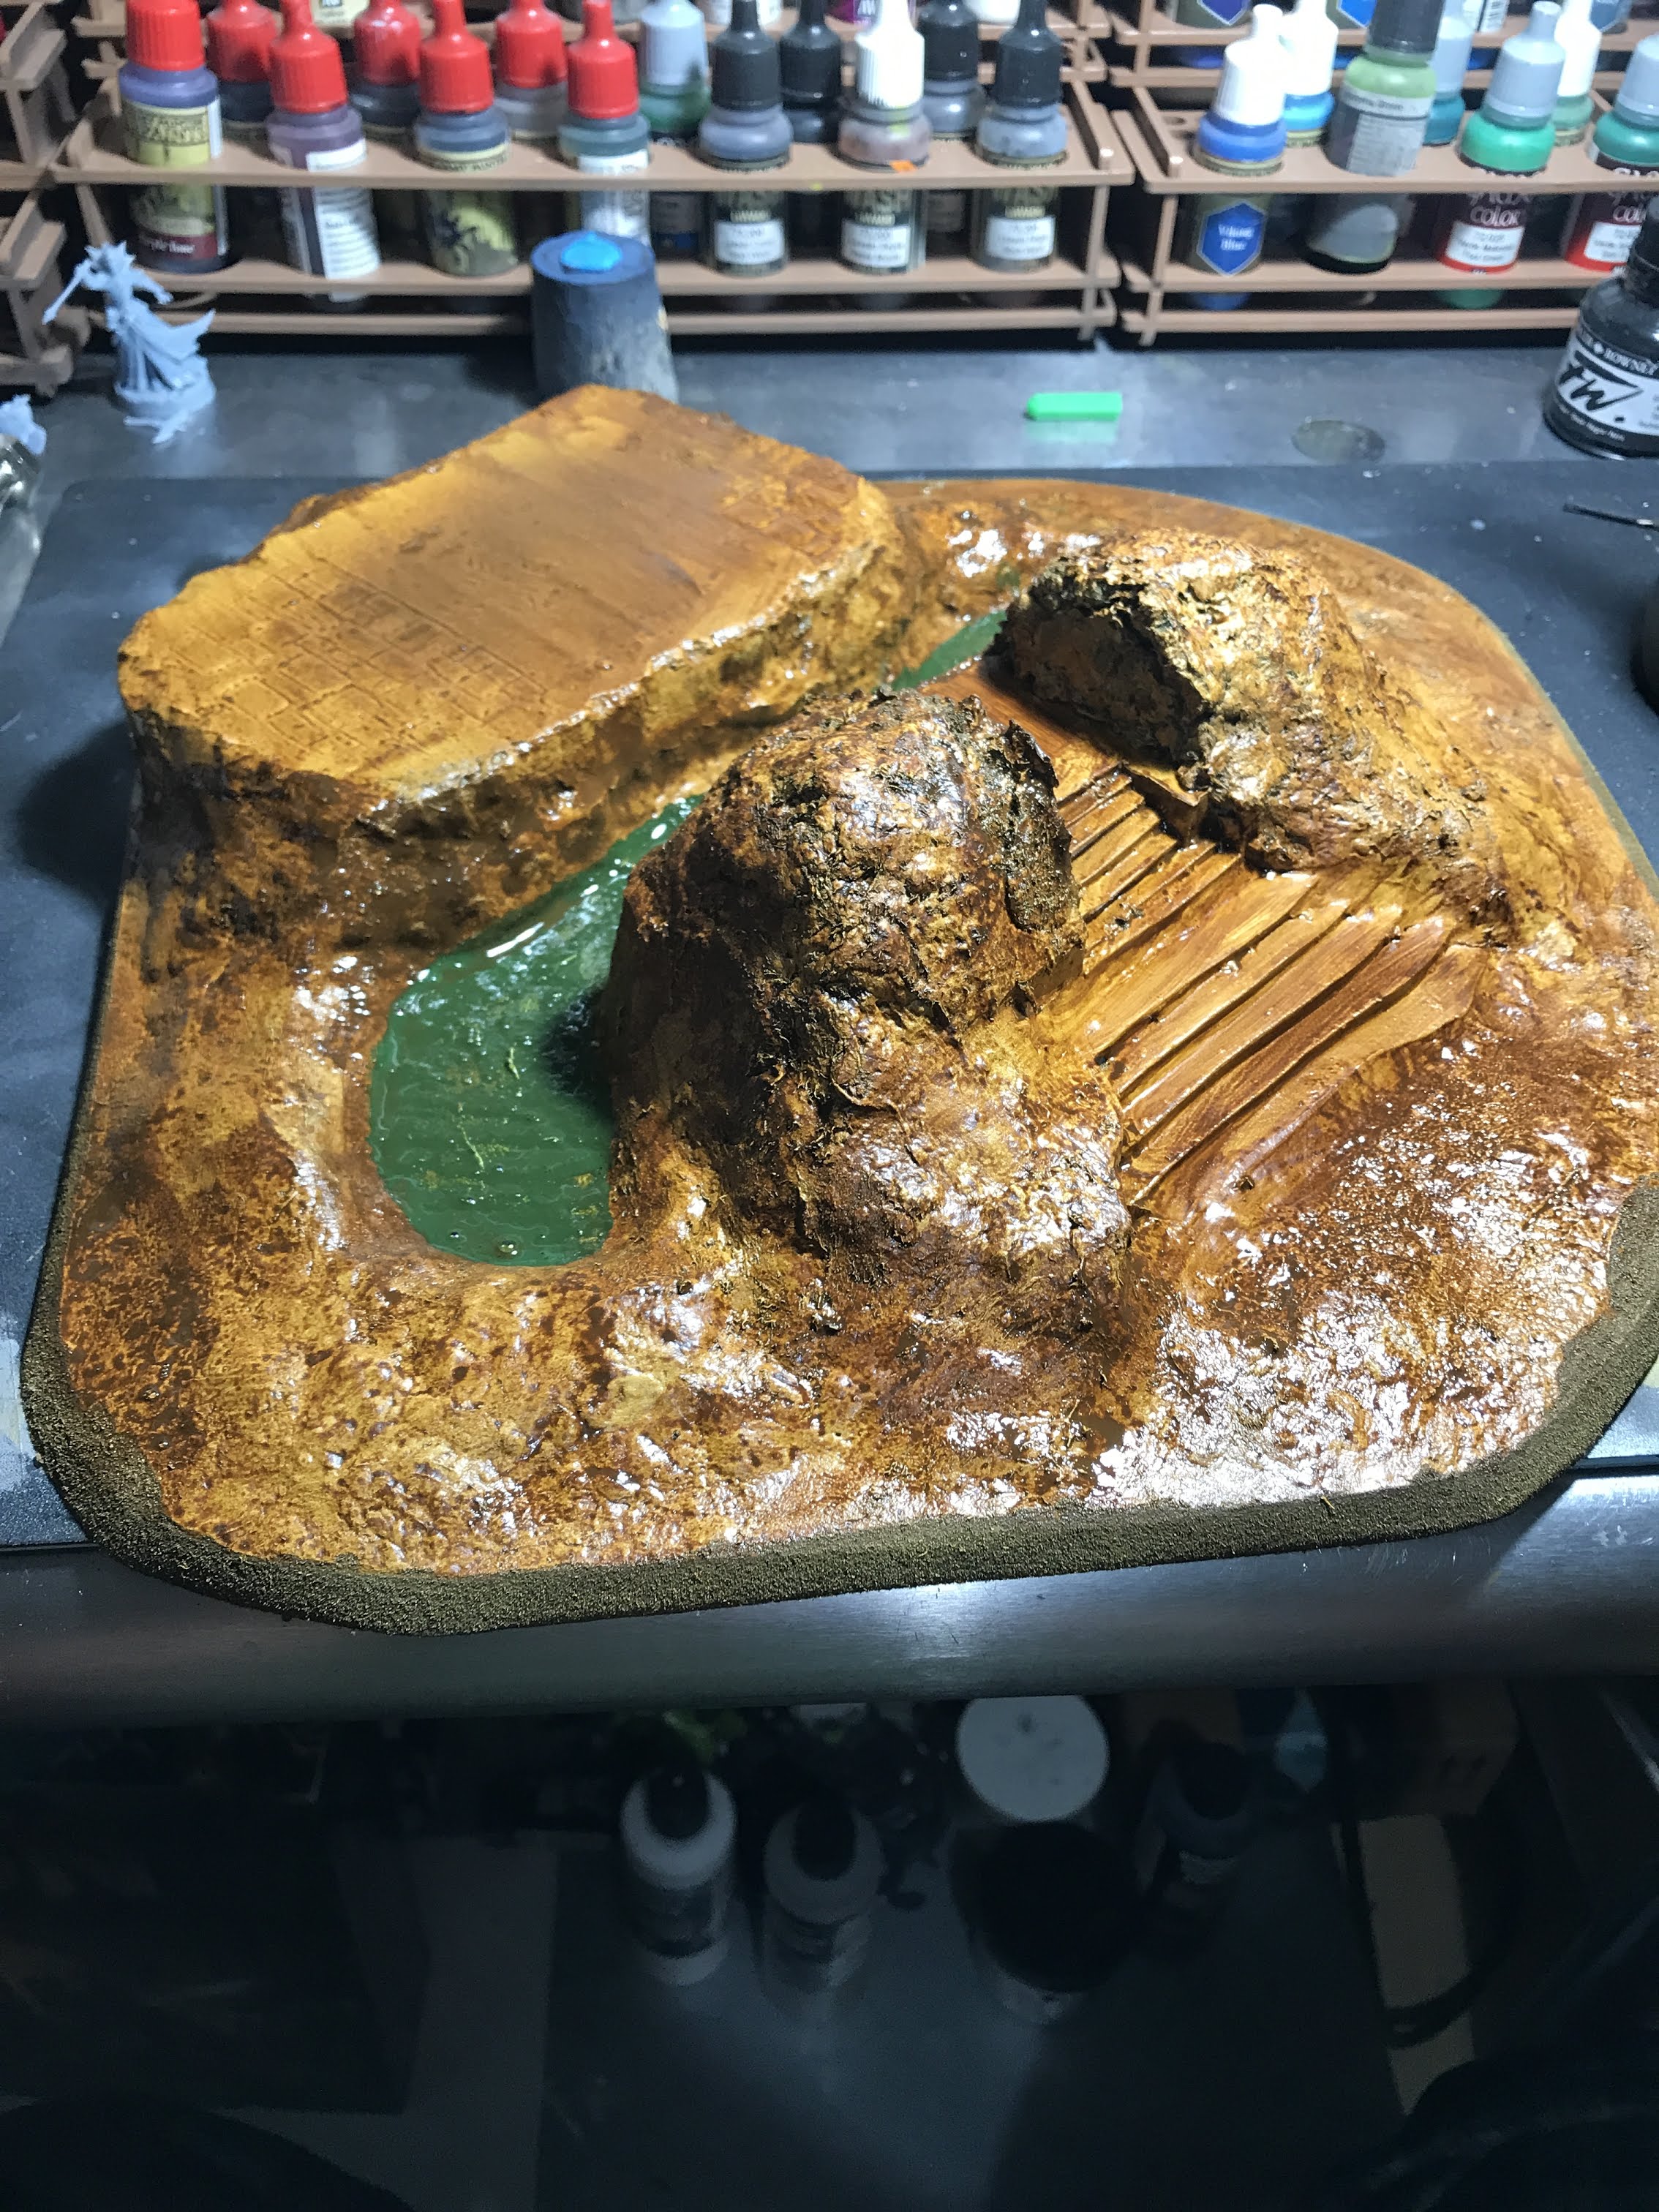
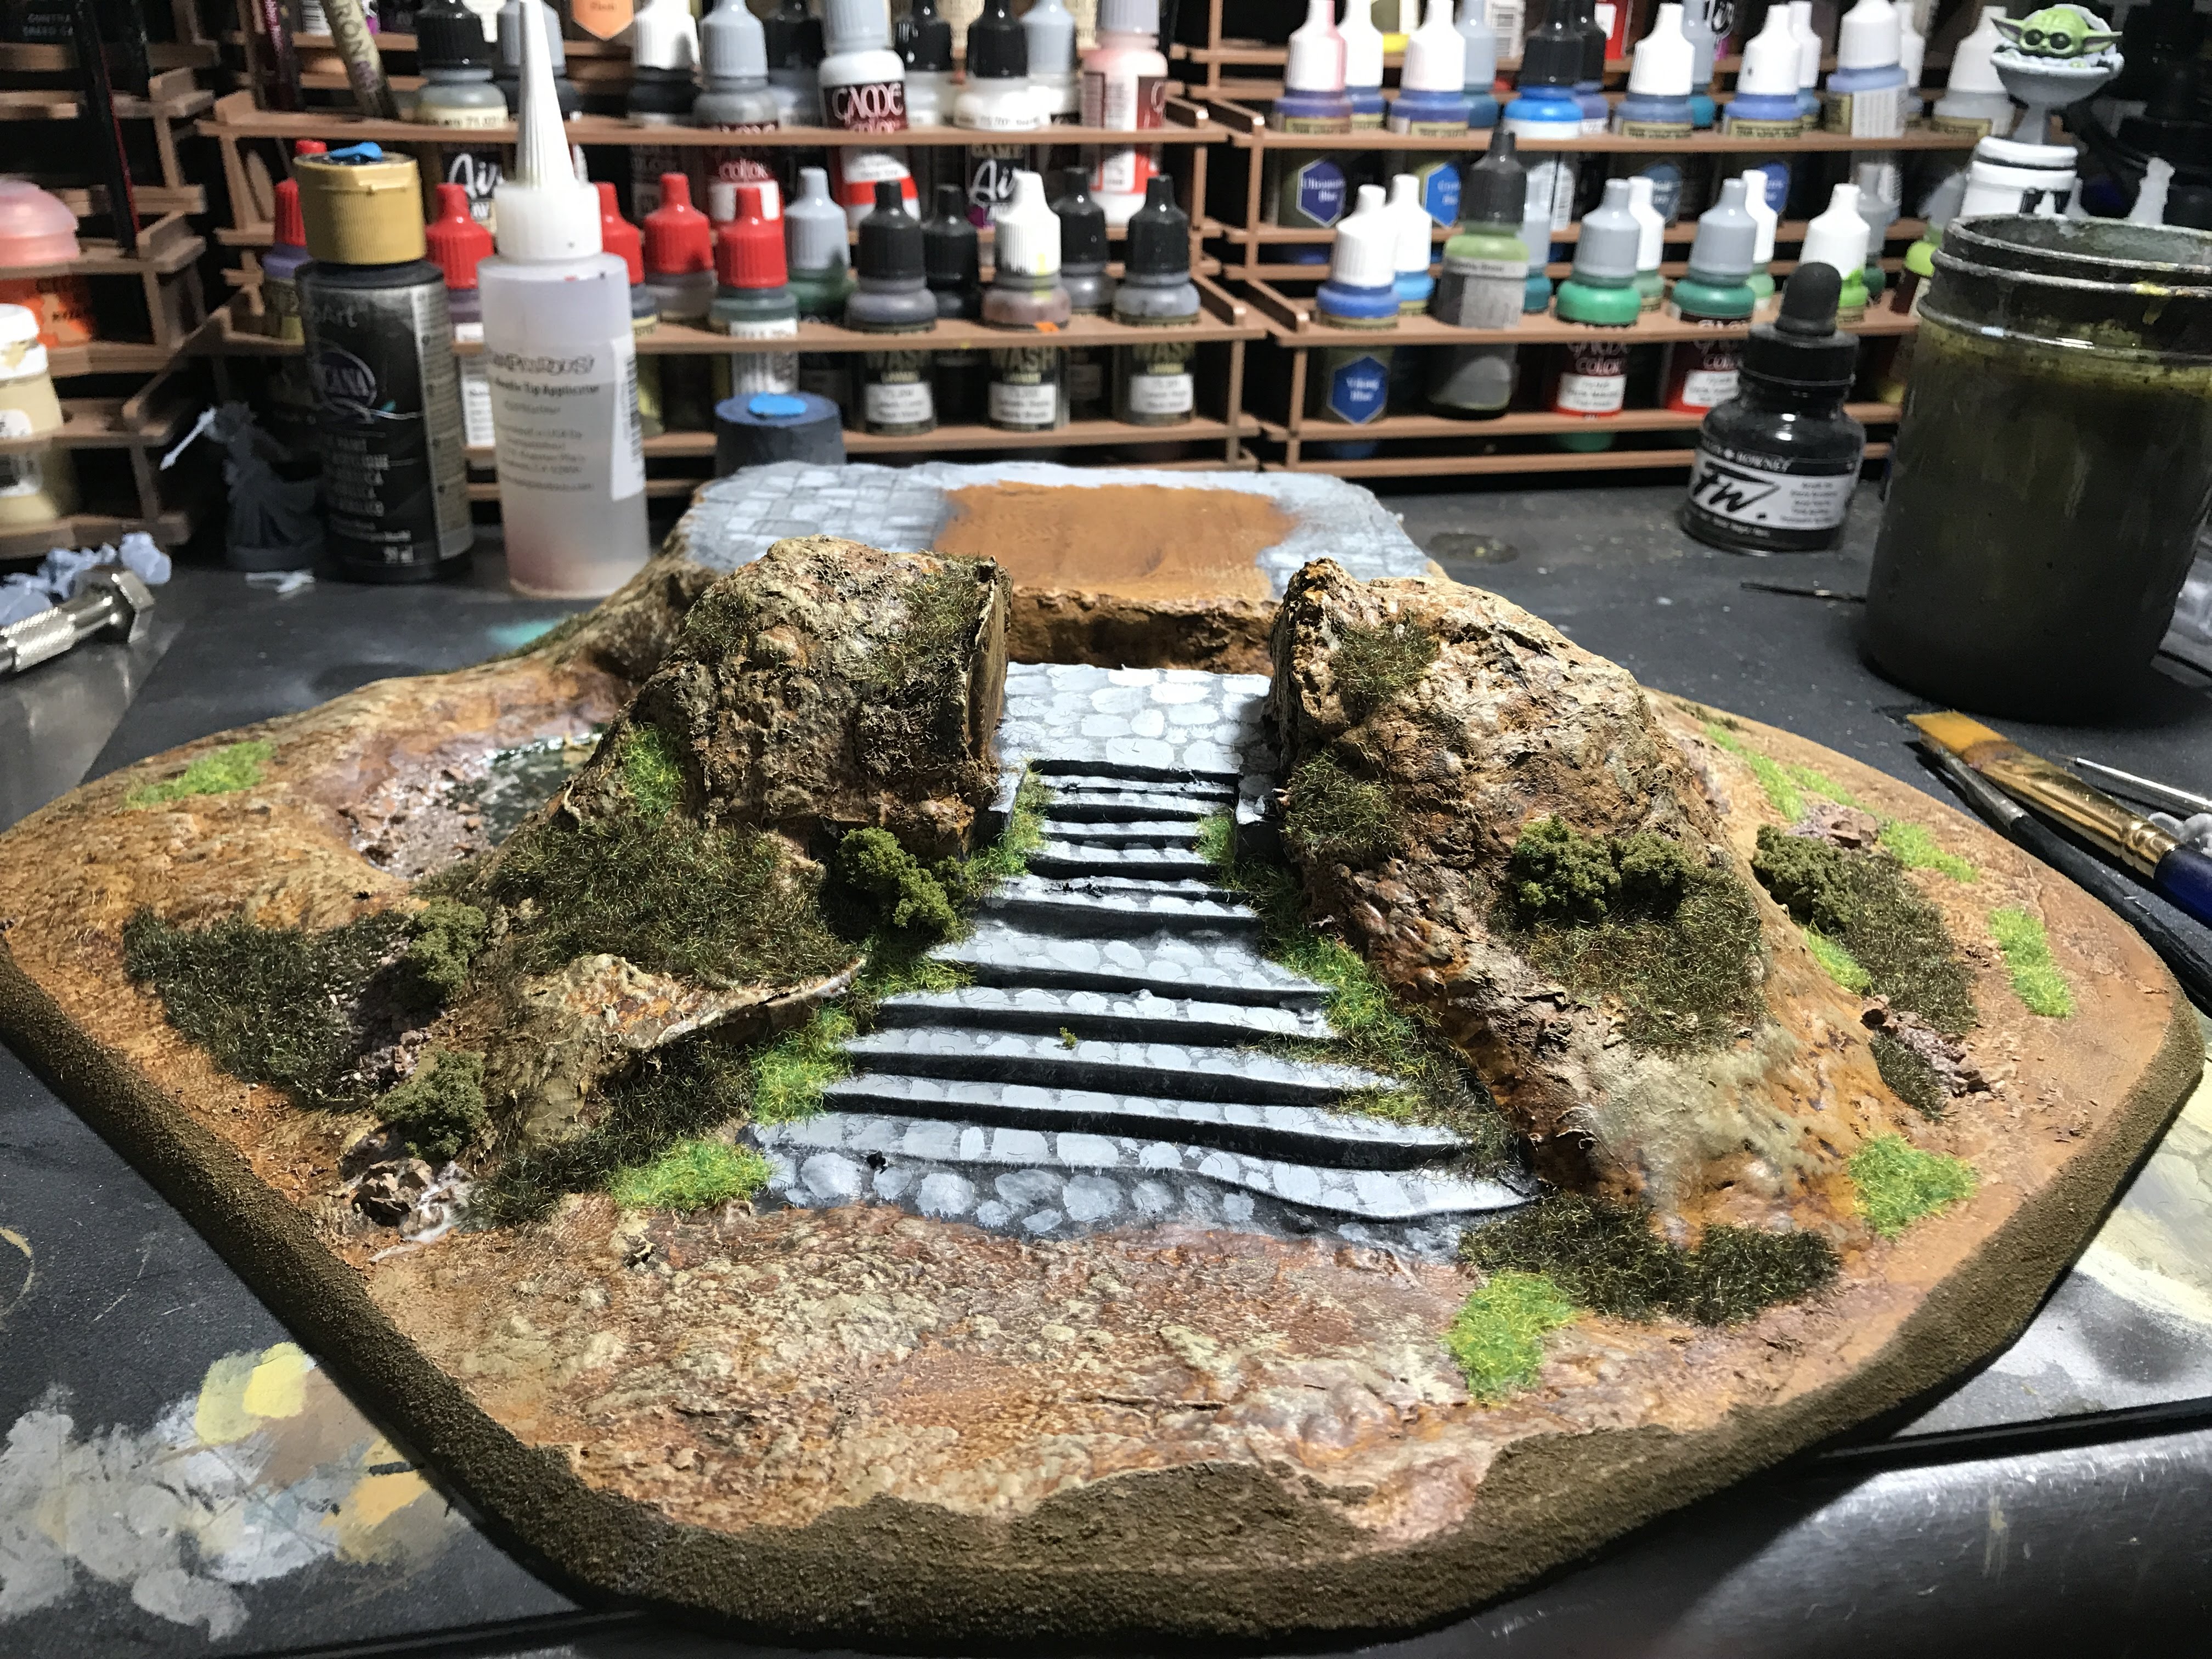
Things start to come together quick at this point in a project! Now that the base is dry, I brushed on a solid coat of cheap brown acrylic craft paint. This is about the only thing that I use cheap craft paint on– it’s perfect for this kind of job!
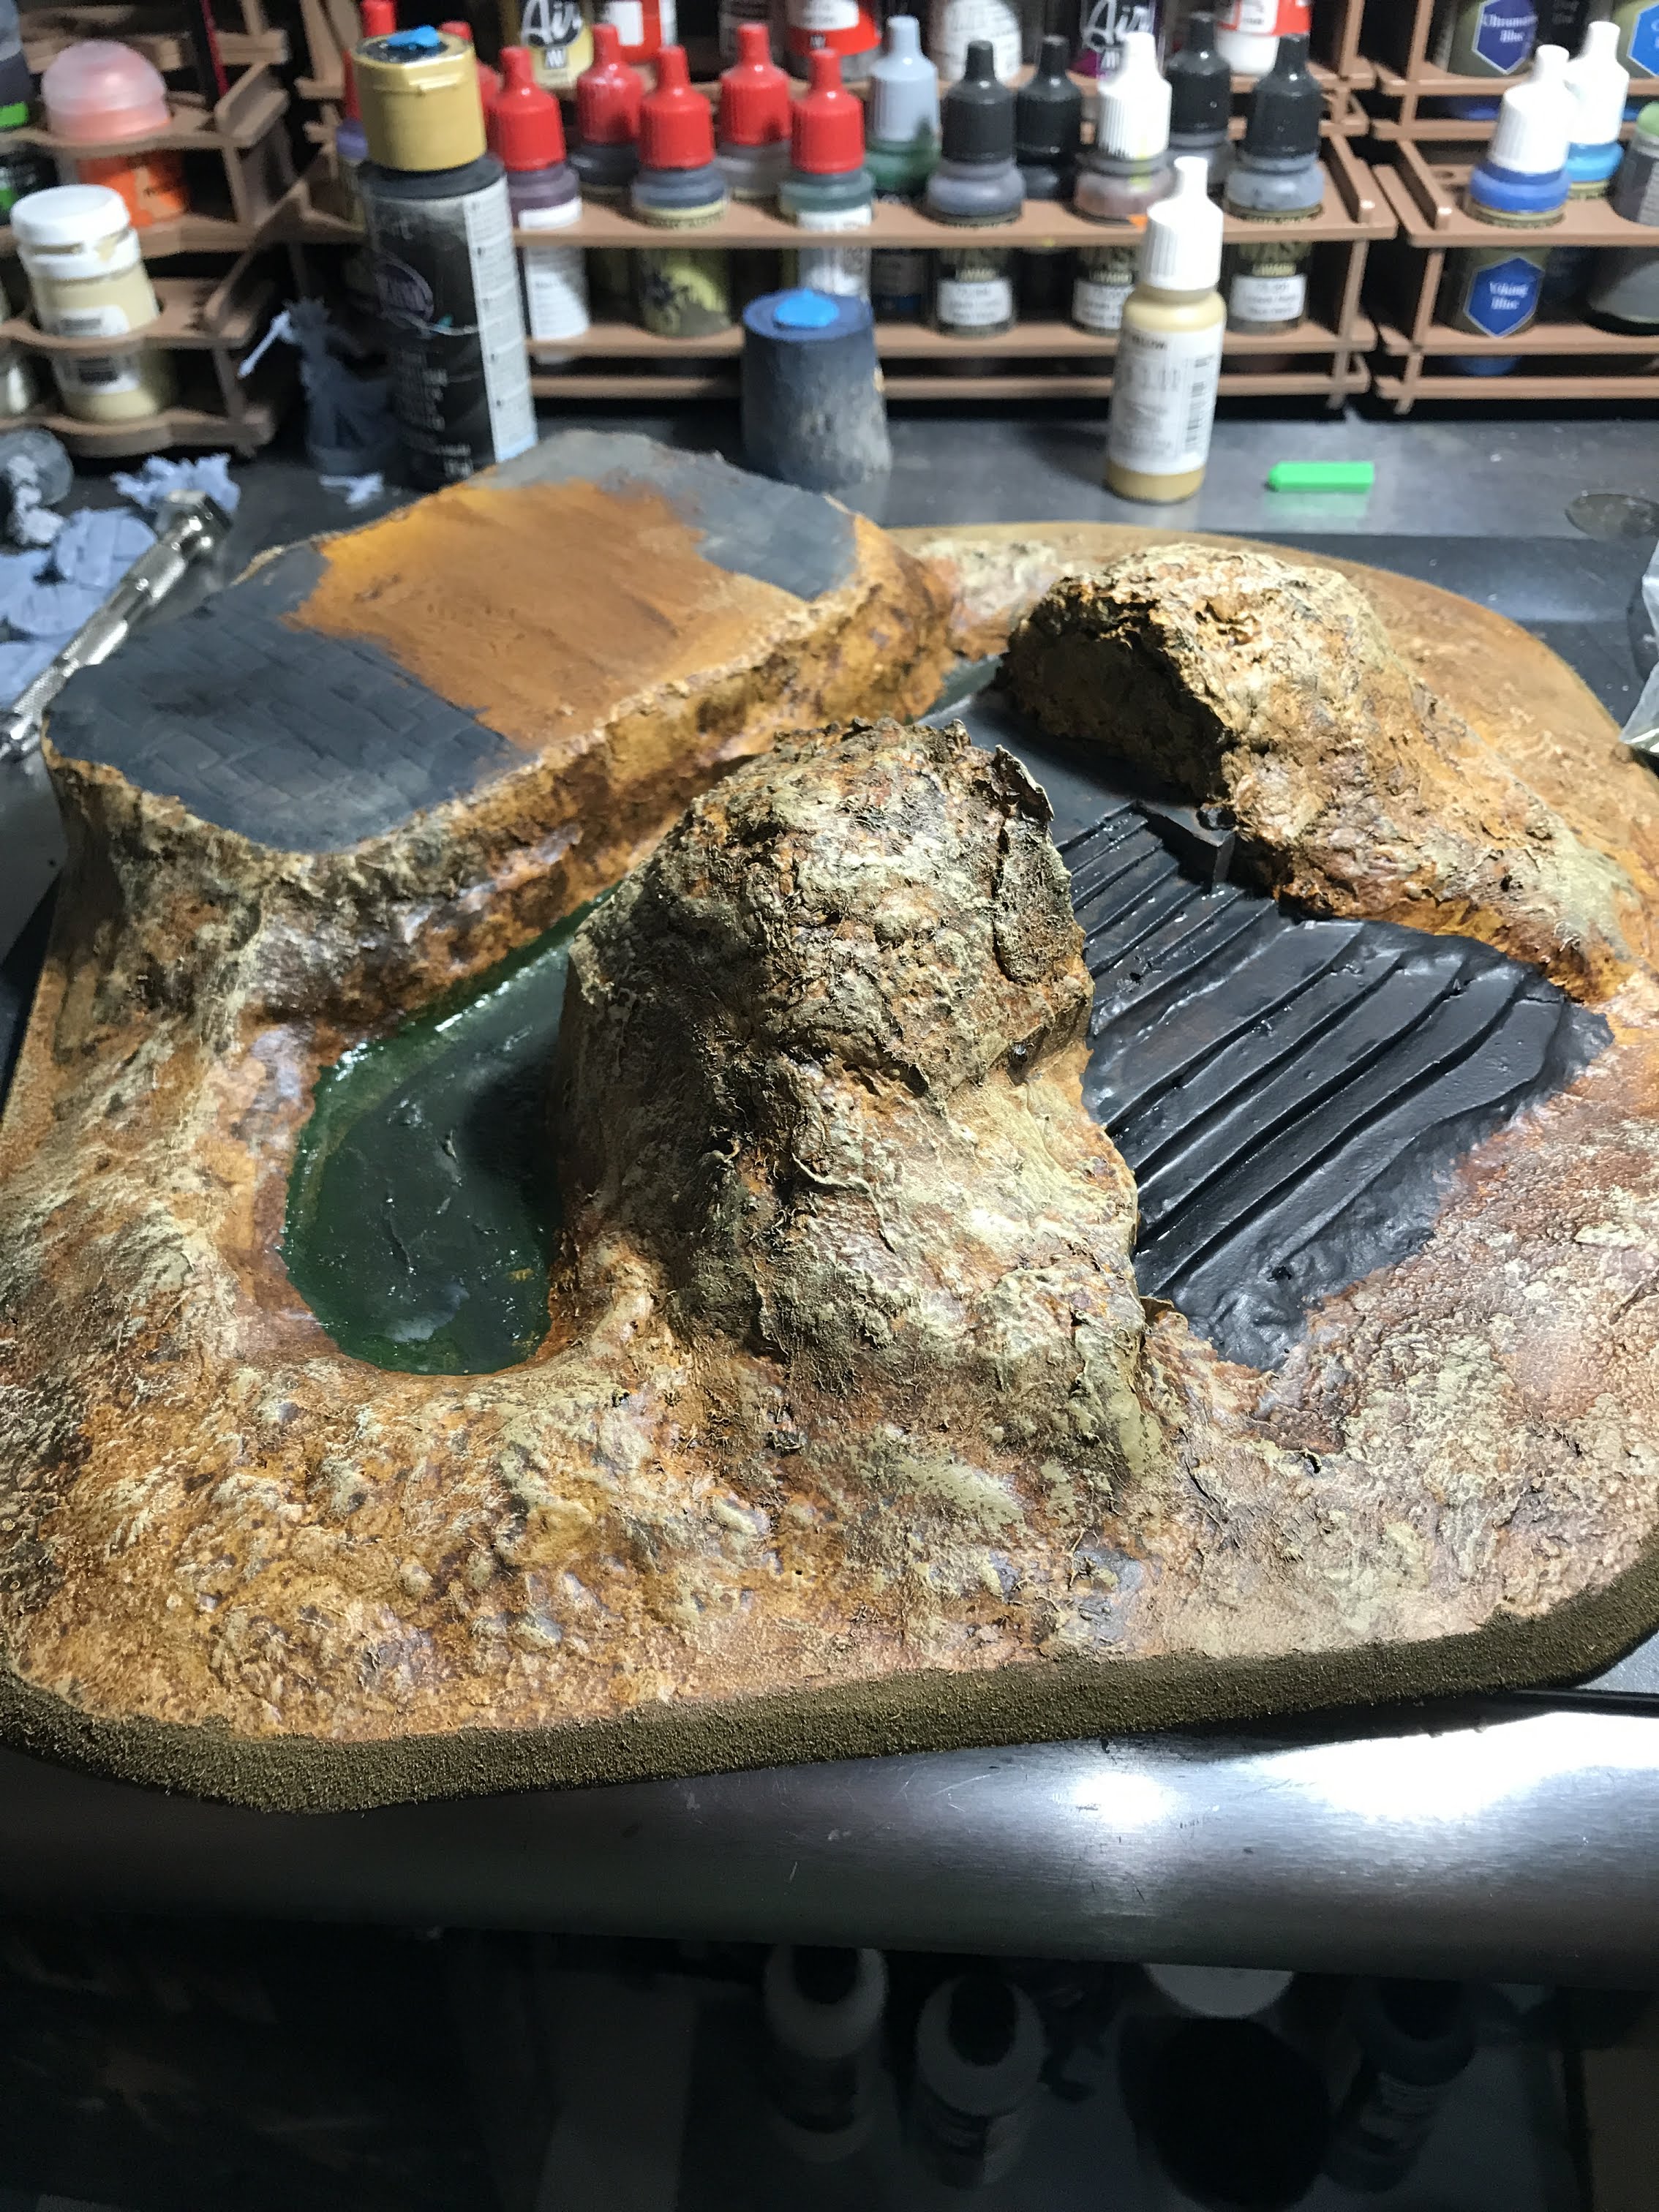
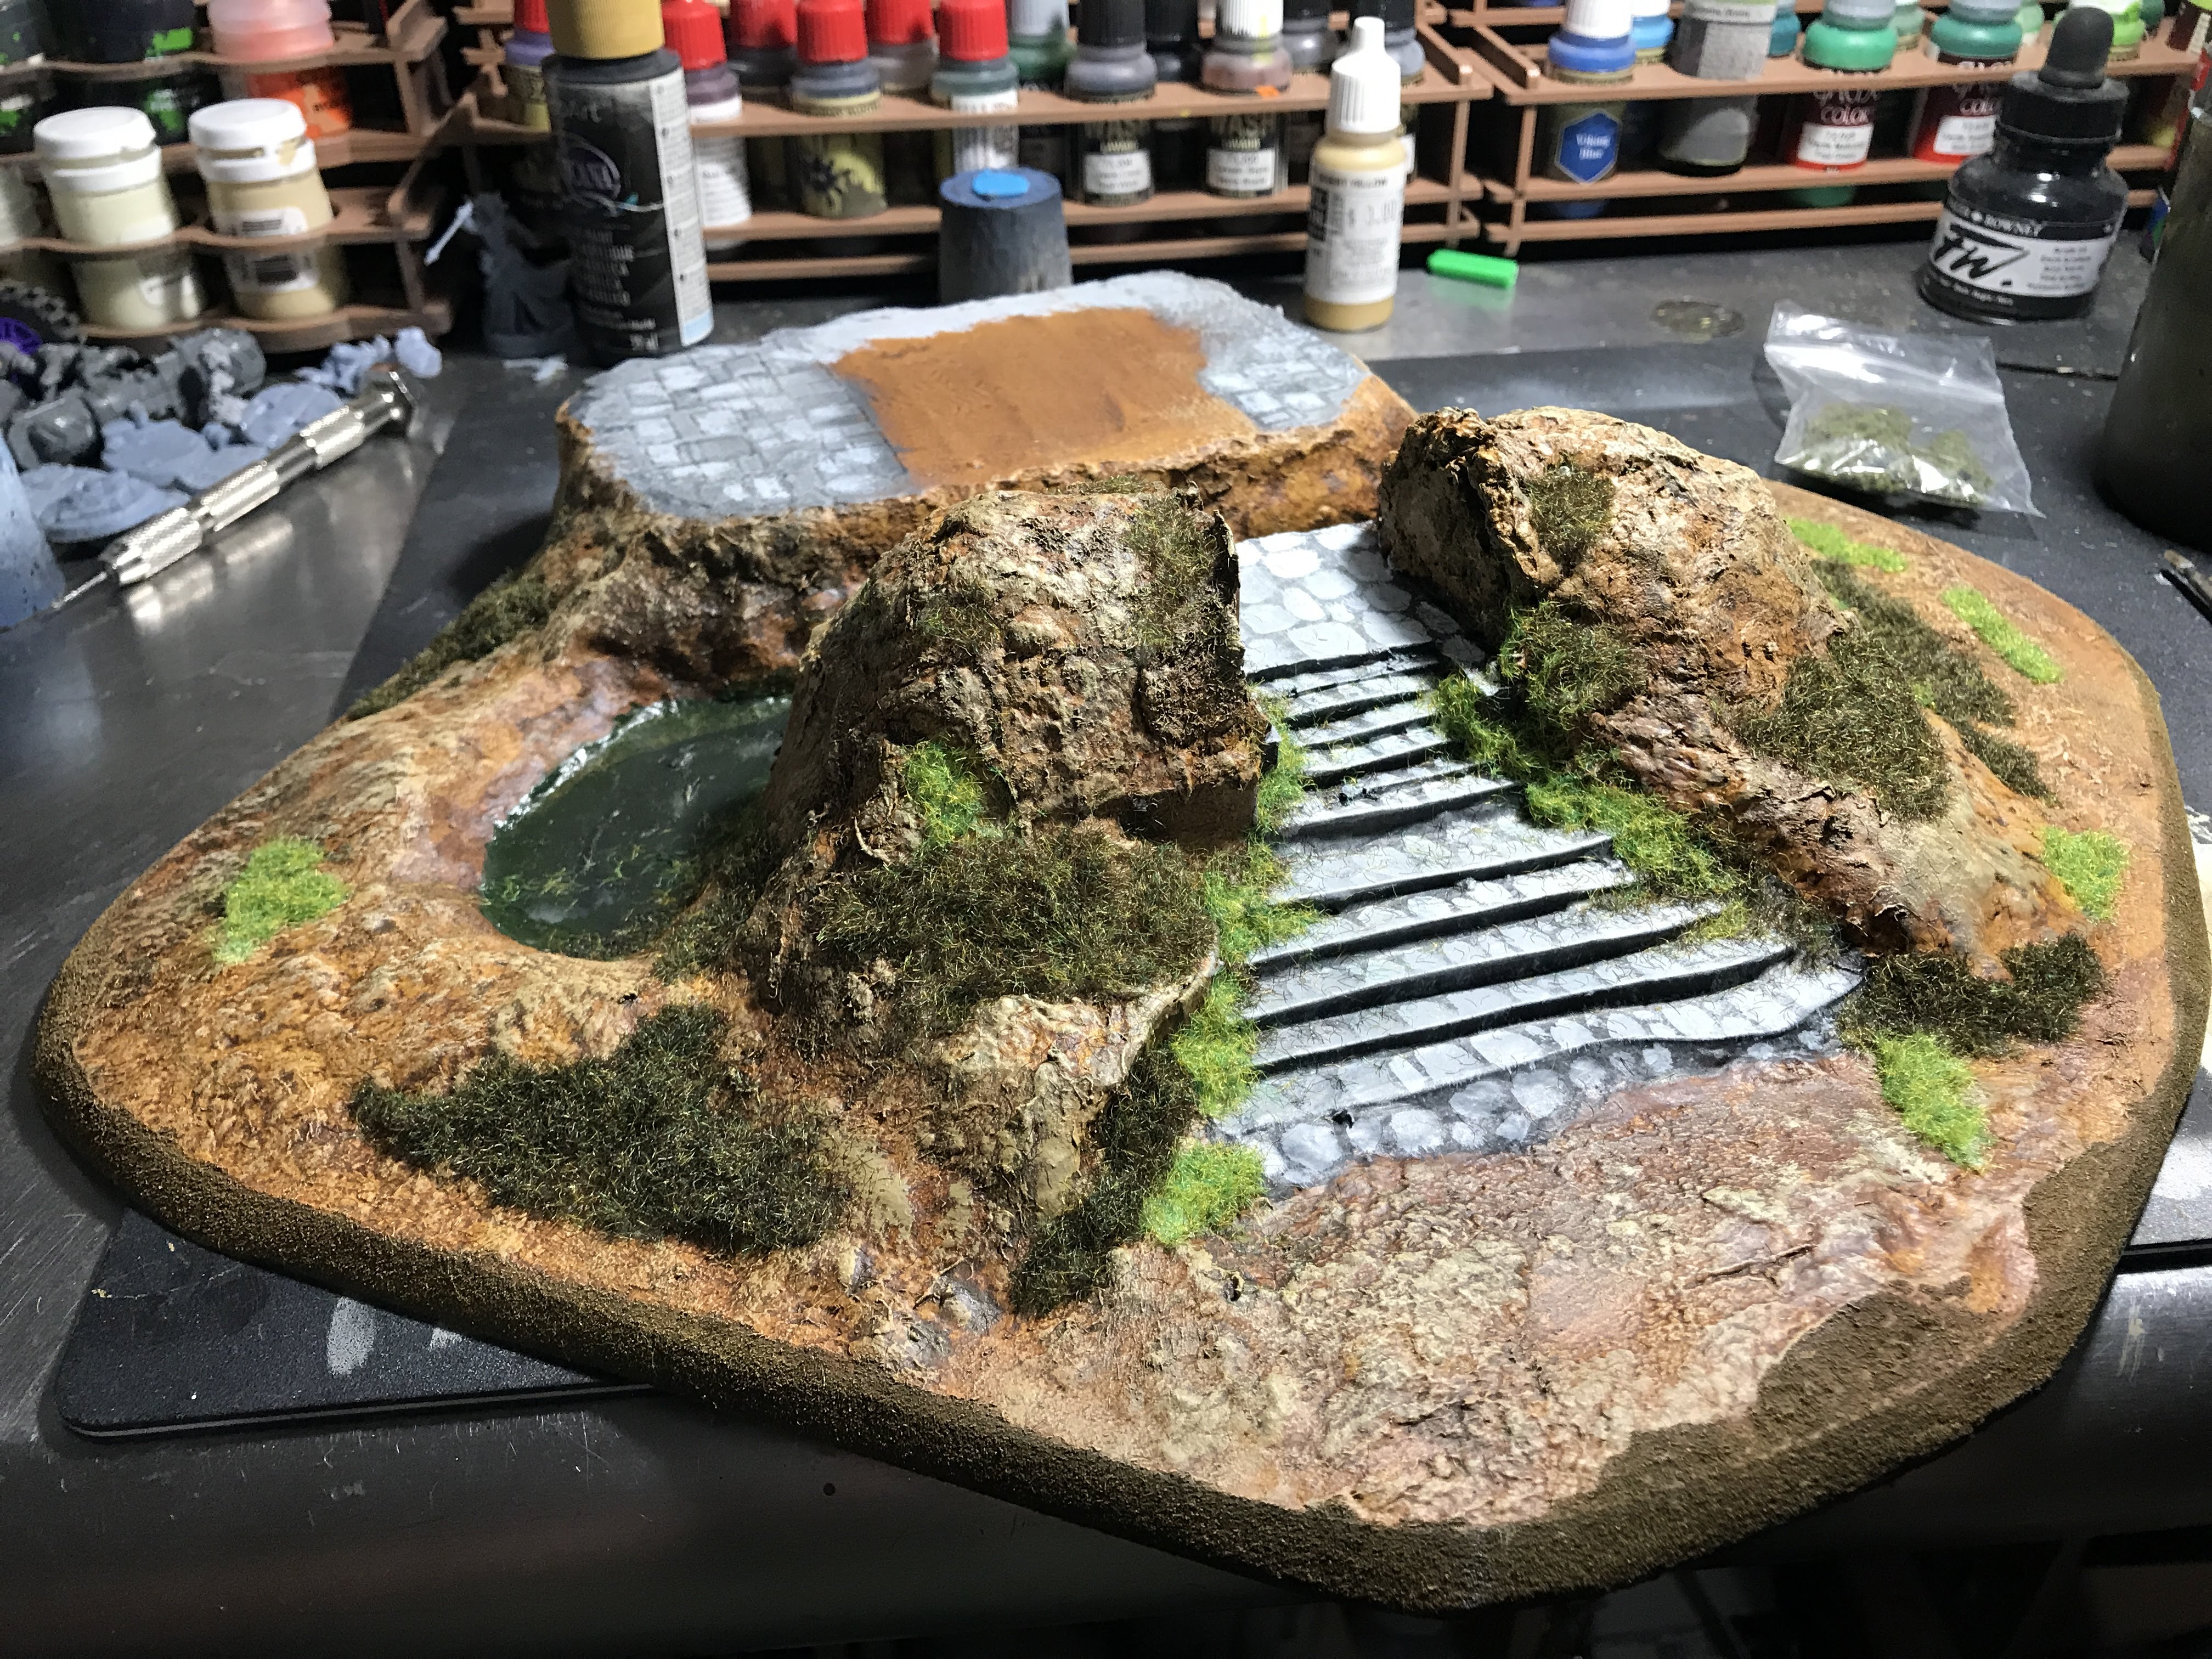
Now that the base color is down, a couple of dry-brush passes bring the base closer to what I’m looking for. I also paint in a layer of green for the moat, which will get filled with clear resin later. The stone work that I carved in earlier gets a coat of grey paint, which will get some highlights and shading later.
Color blocking is done, so now it’s time for flock. I use a couple of different colors of flocking, and will use some tufts, too. Foliage is never a uniform color or height, right?
I took some ground up dried leaves and stuck them to the bottom of the moat with watered down white glue. Shrubbery is the last step here, which has to be glued down using super glue.
Next up, it’s time to fill that moat and glue down the building!
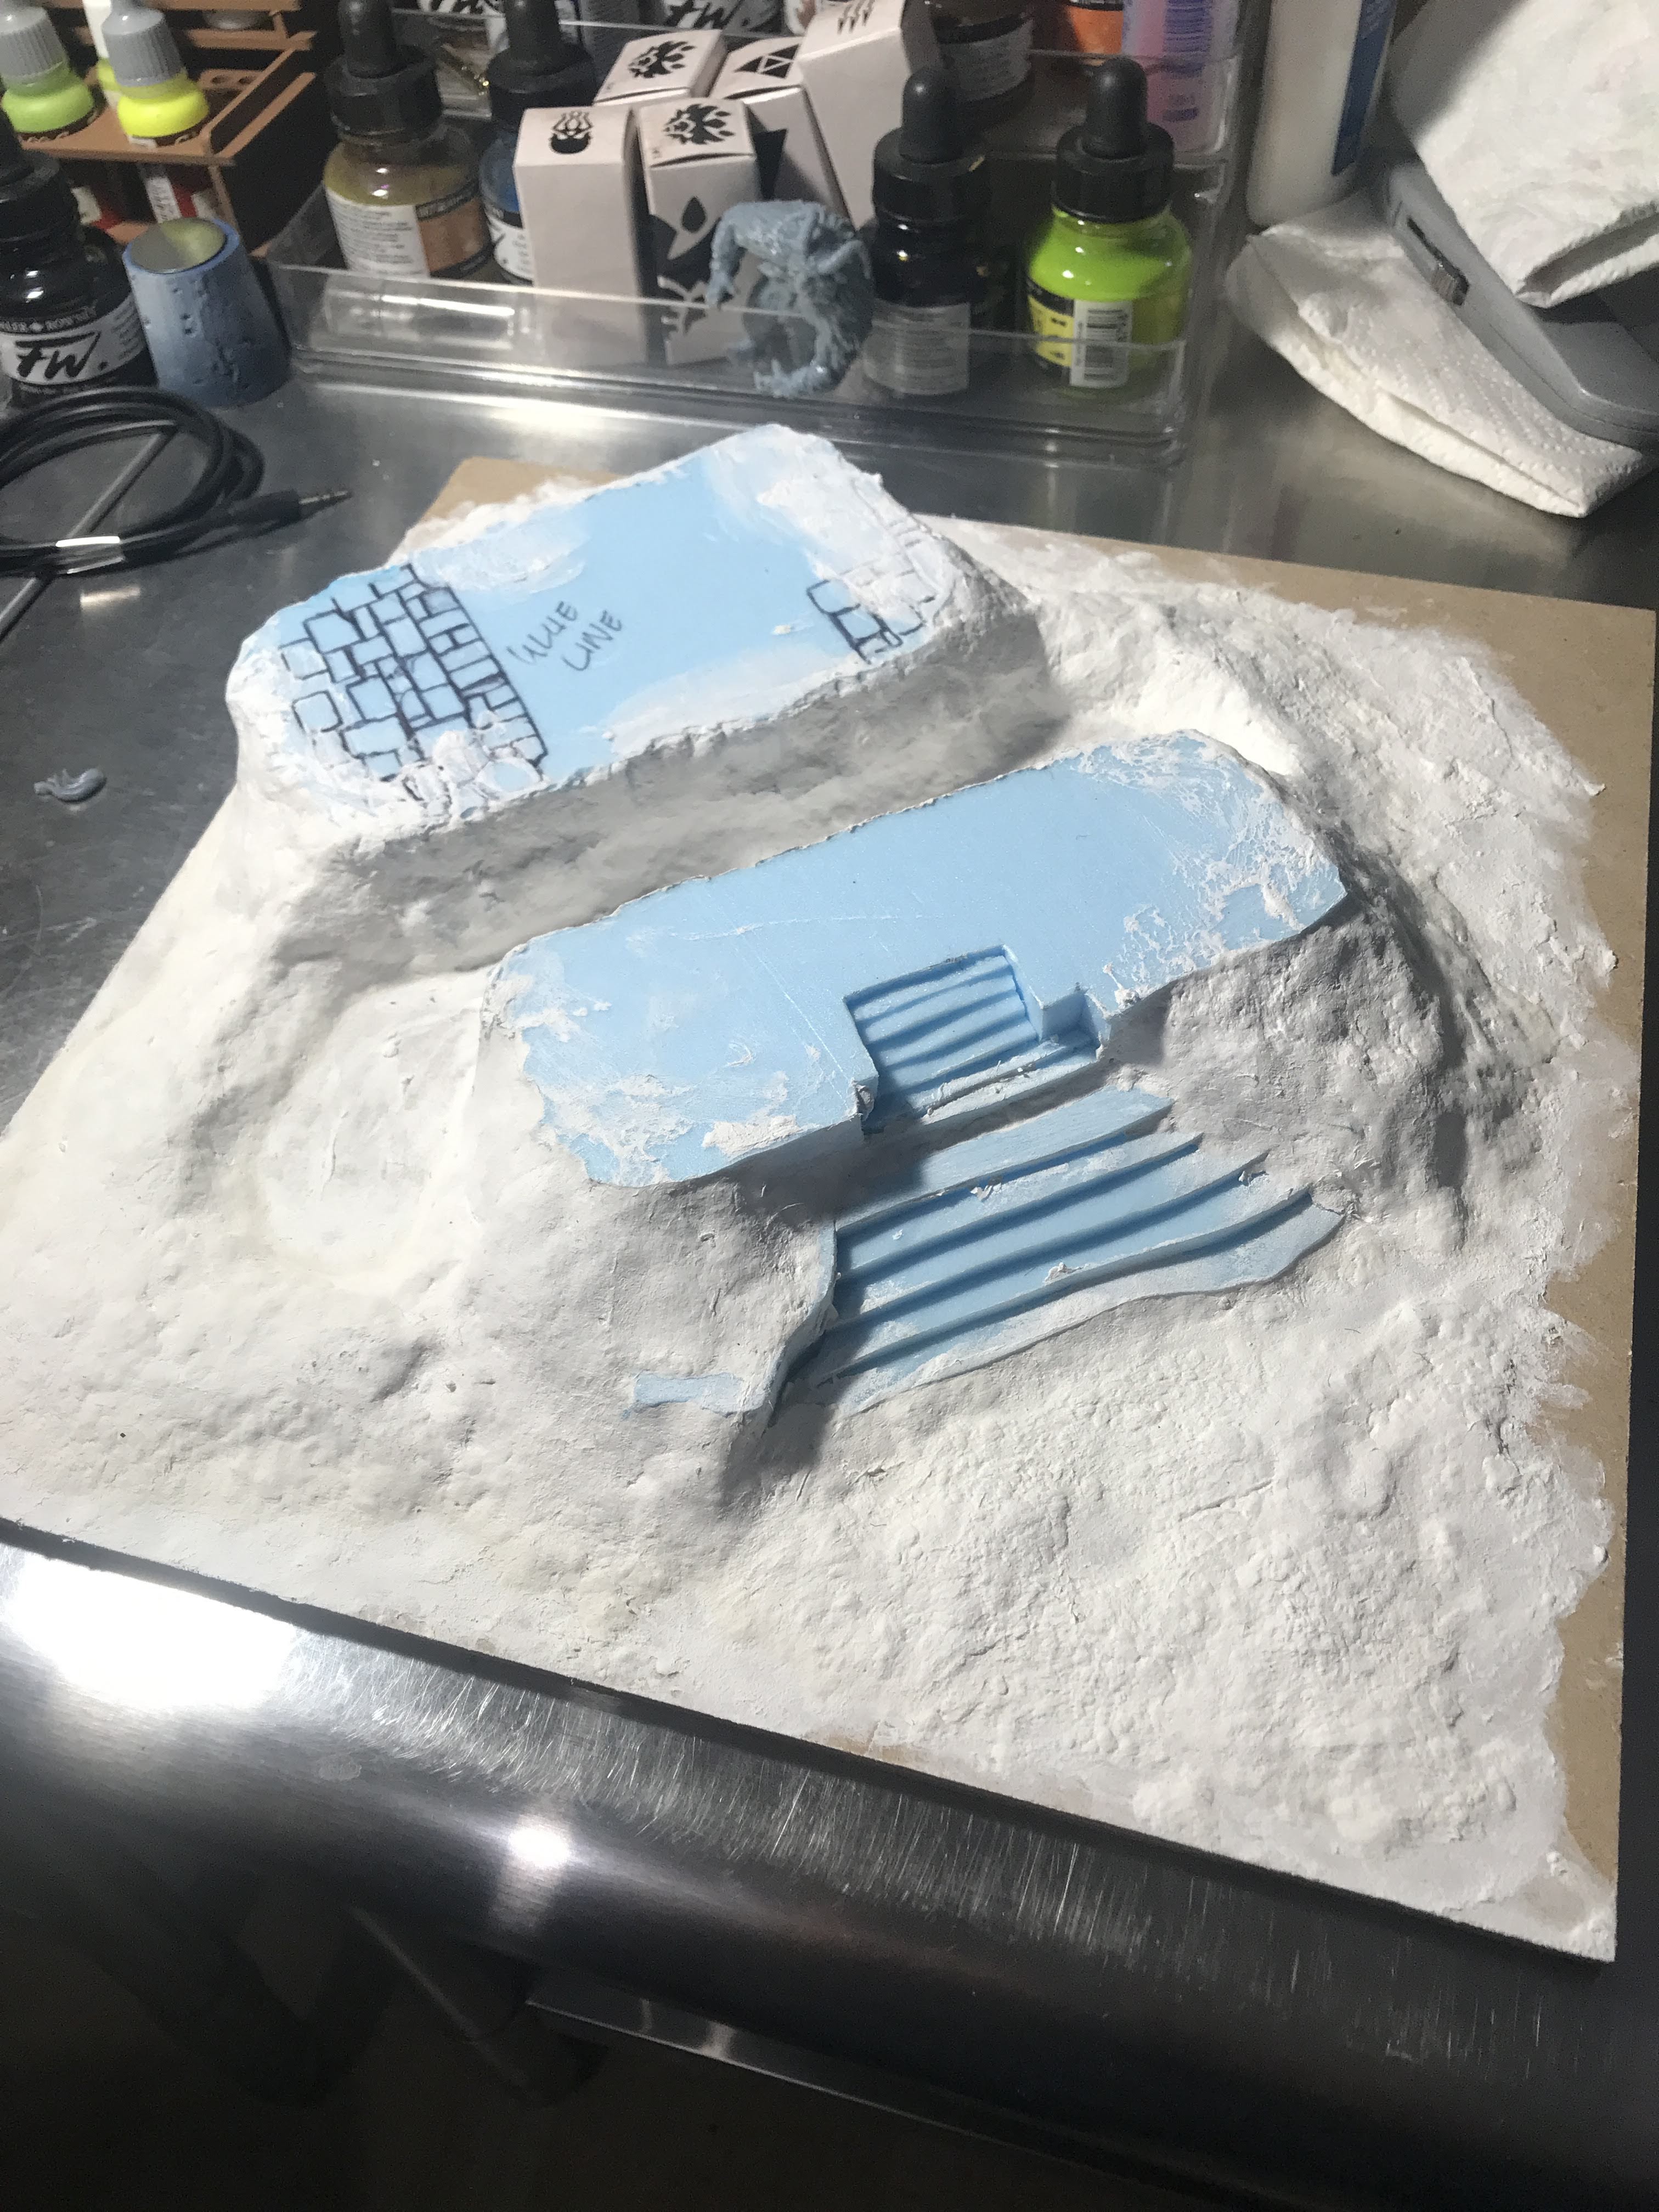
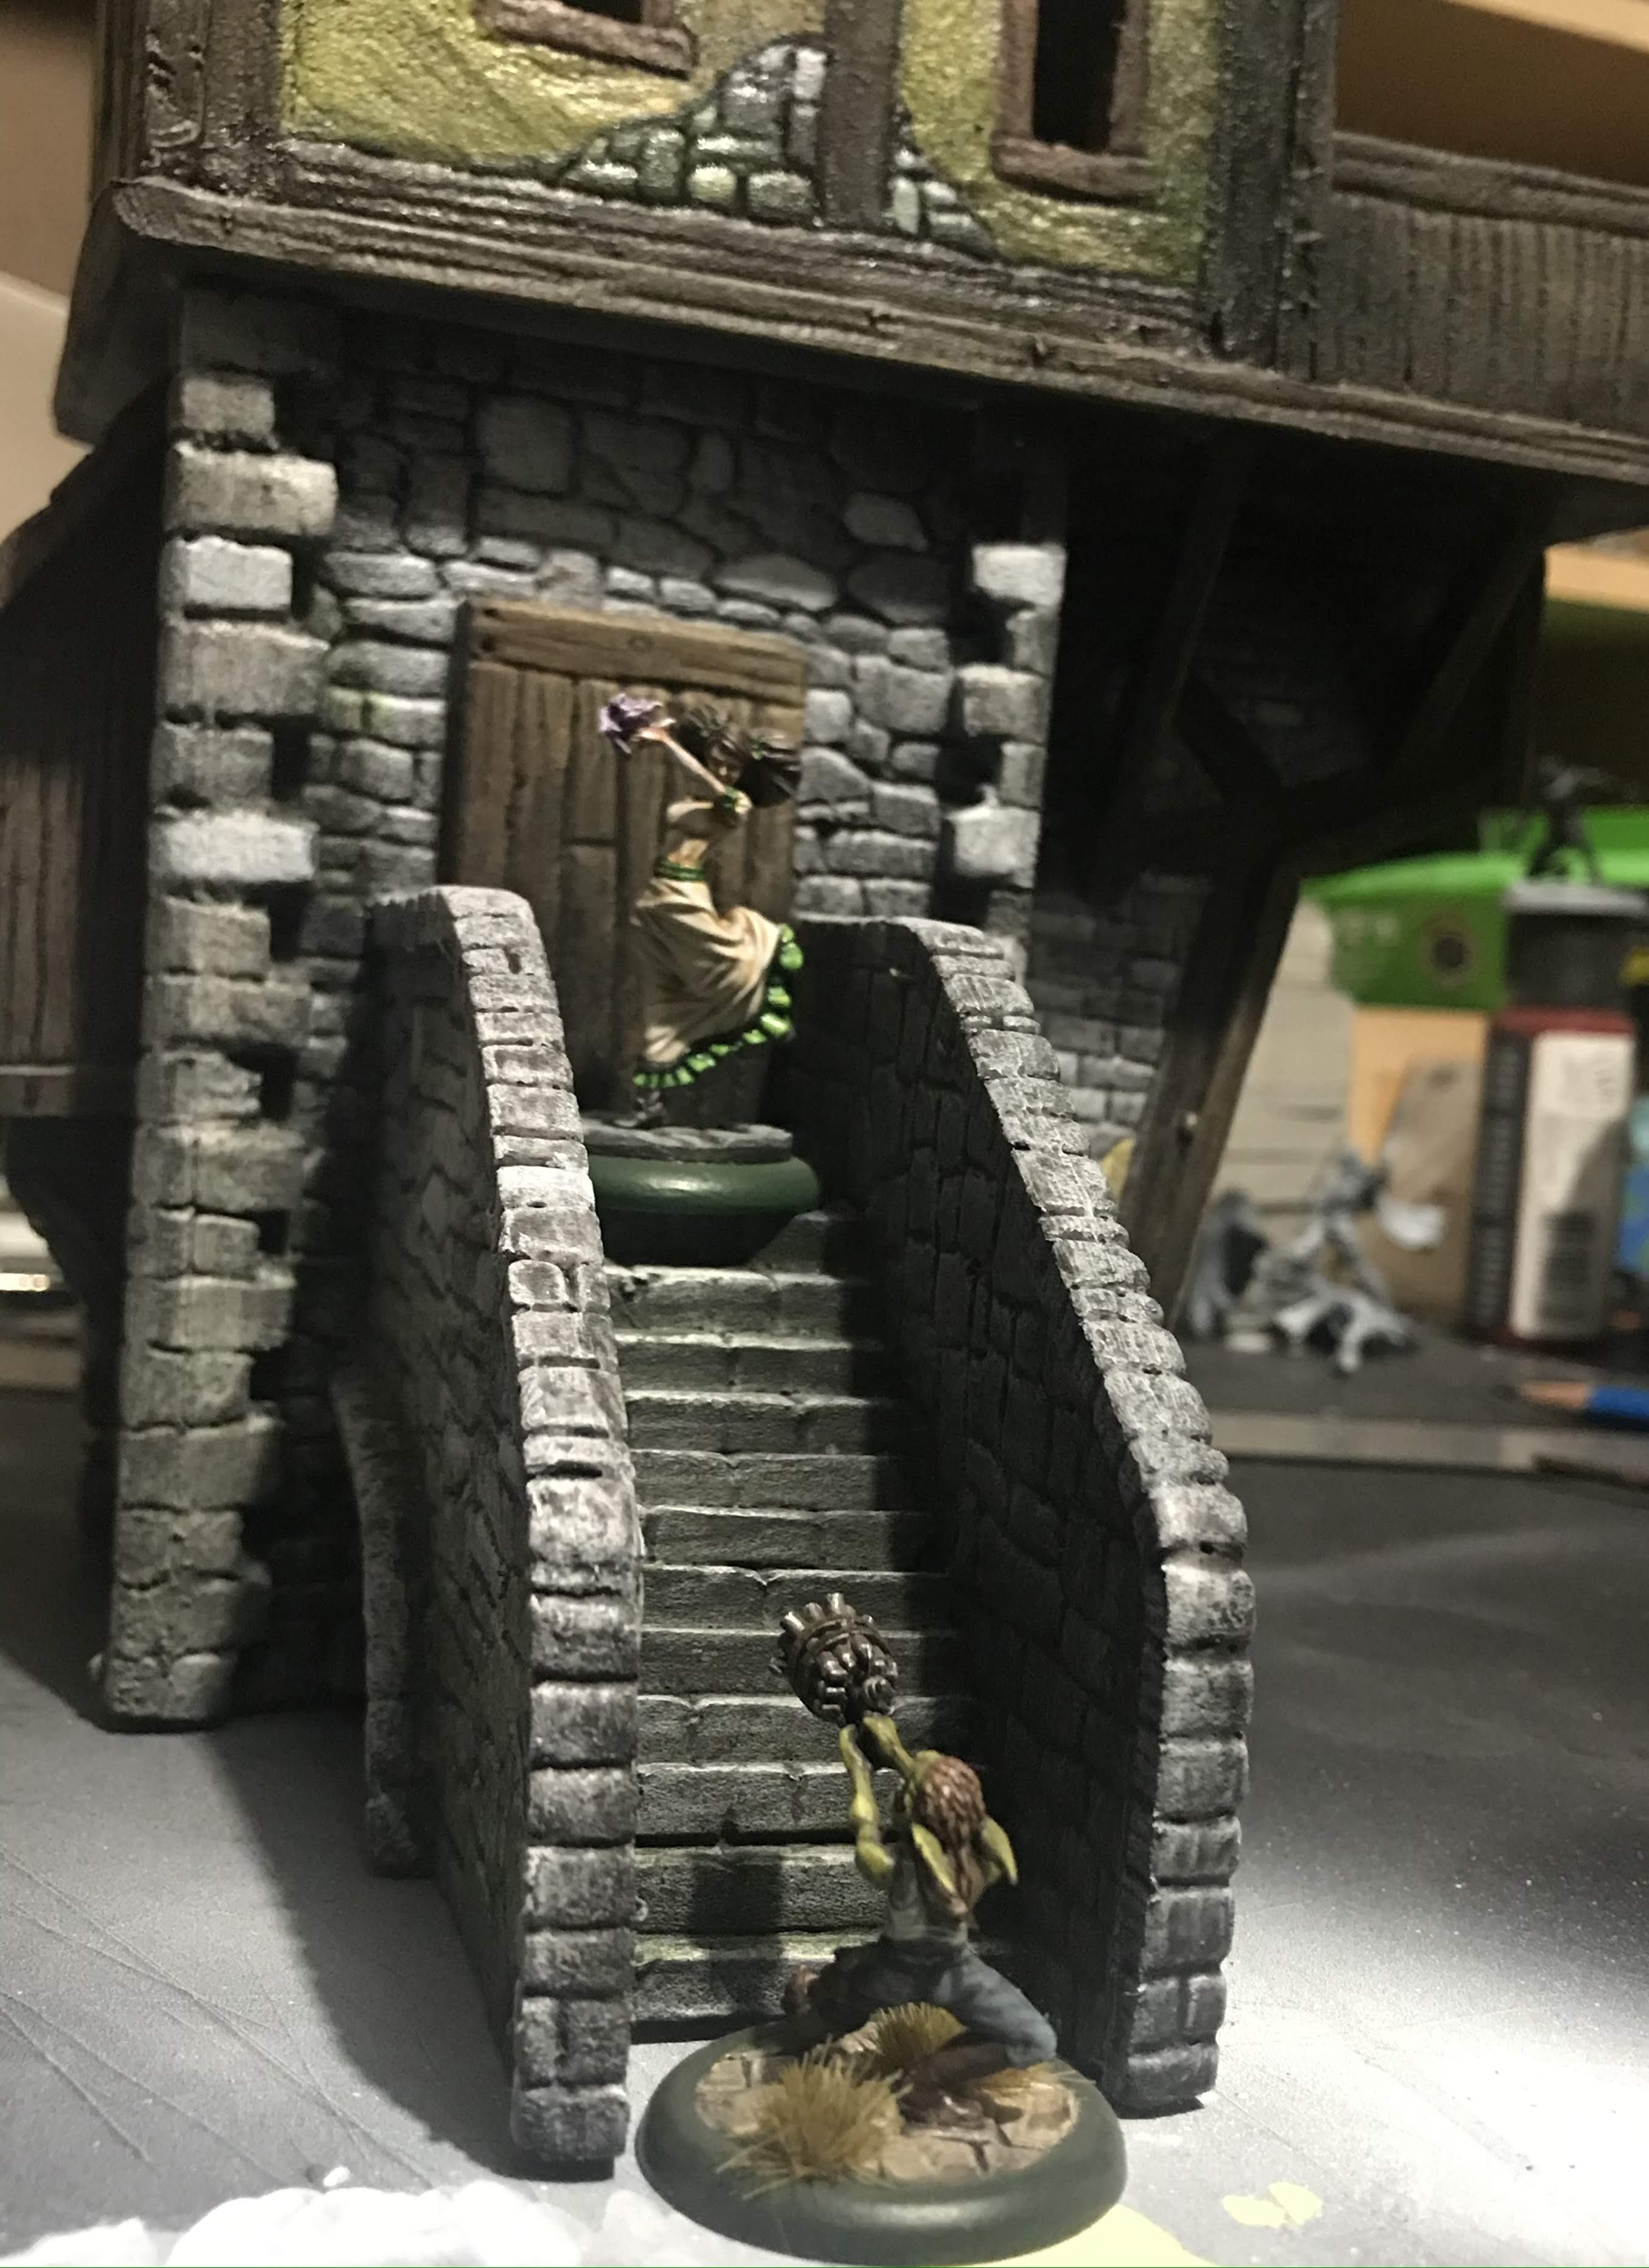
The bulk of the first building is done, but it was looking kind of sad on its own. This here project was in pretty dire need of some elevation. Lucky me, there is quite a bit of MDF just hanging out in the garage looking for a project connection!
First things first, I cut some blocks of blue insulation foam with my trusty Proxon foam cutter. Then I cut a deep recess into one of those blocks, and cut up the recess to make some narrow stairs. I used a ballpoint pen to carve in some stone detail.
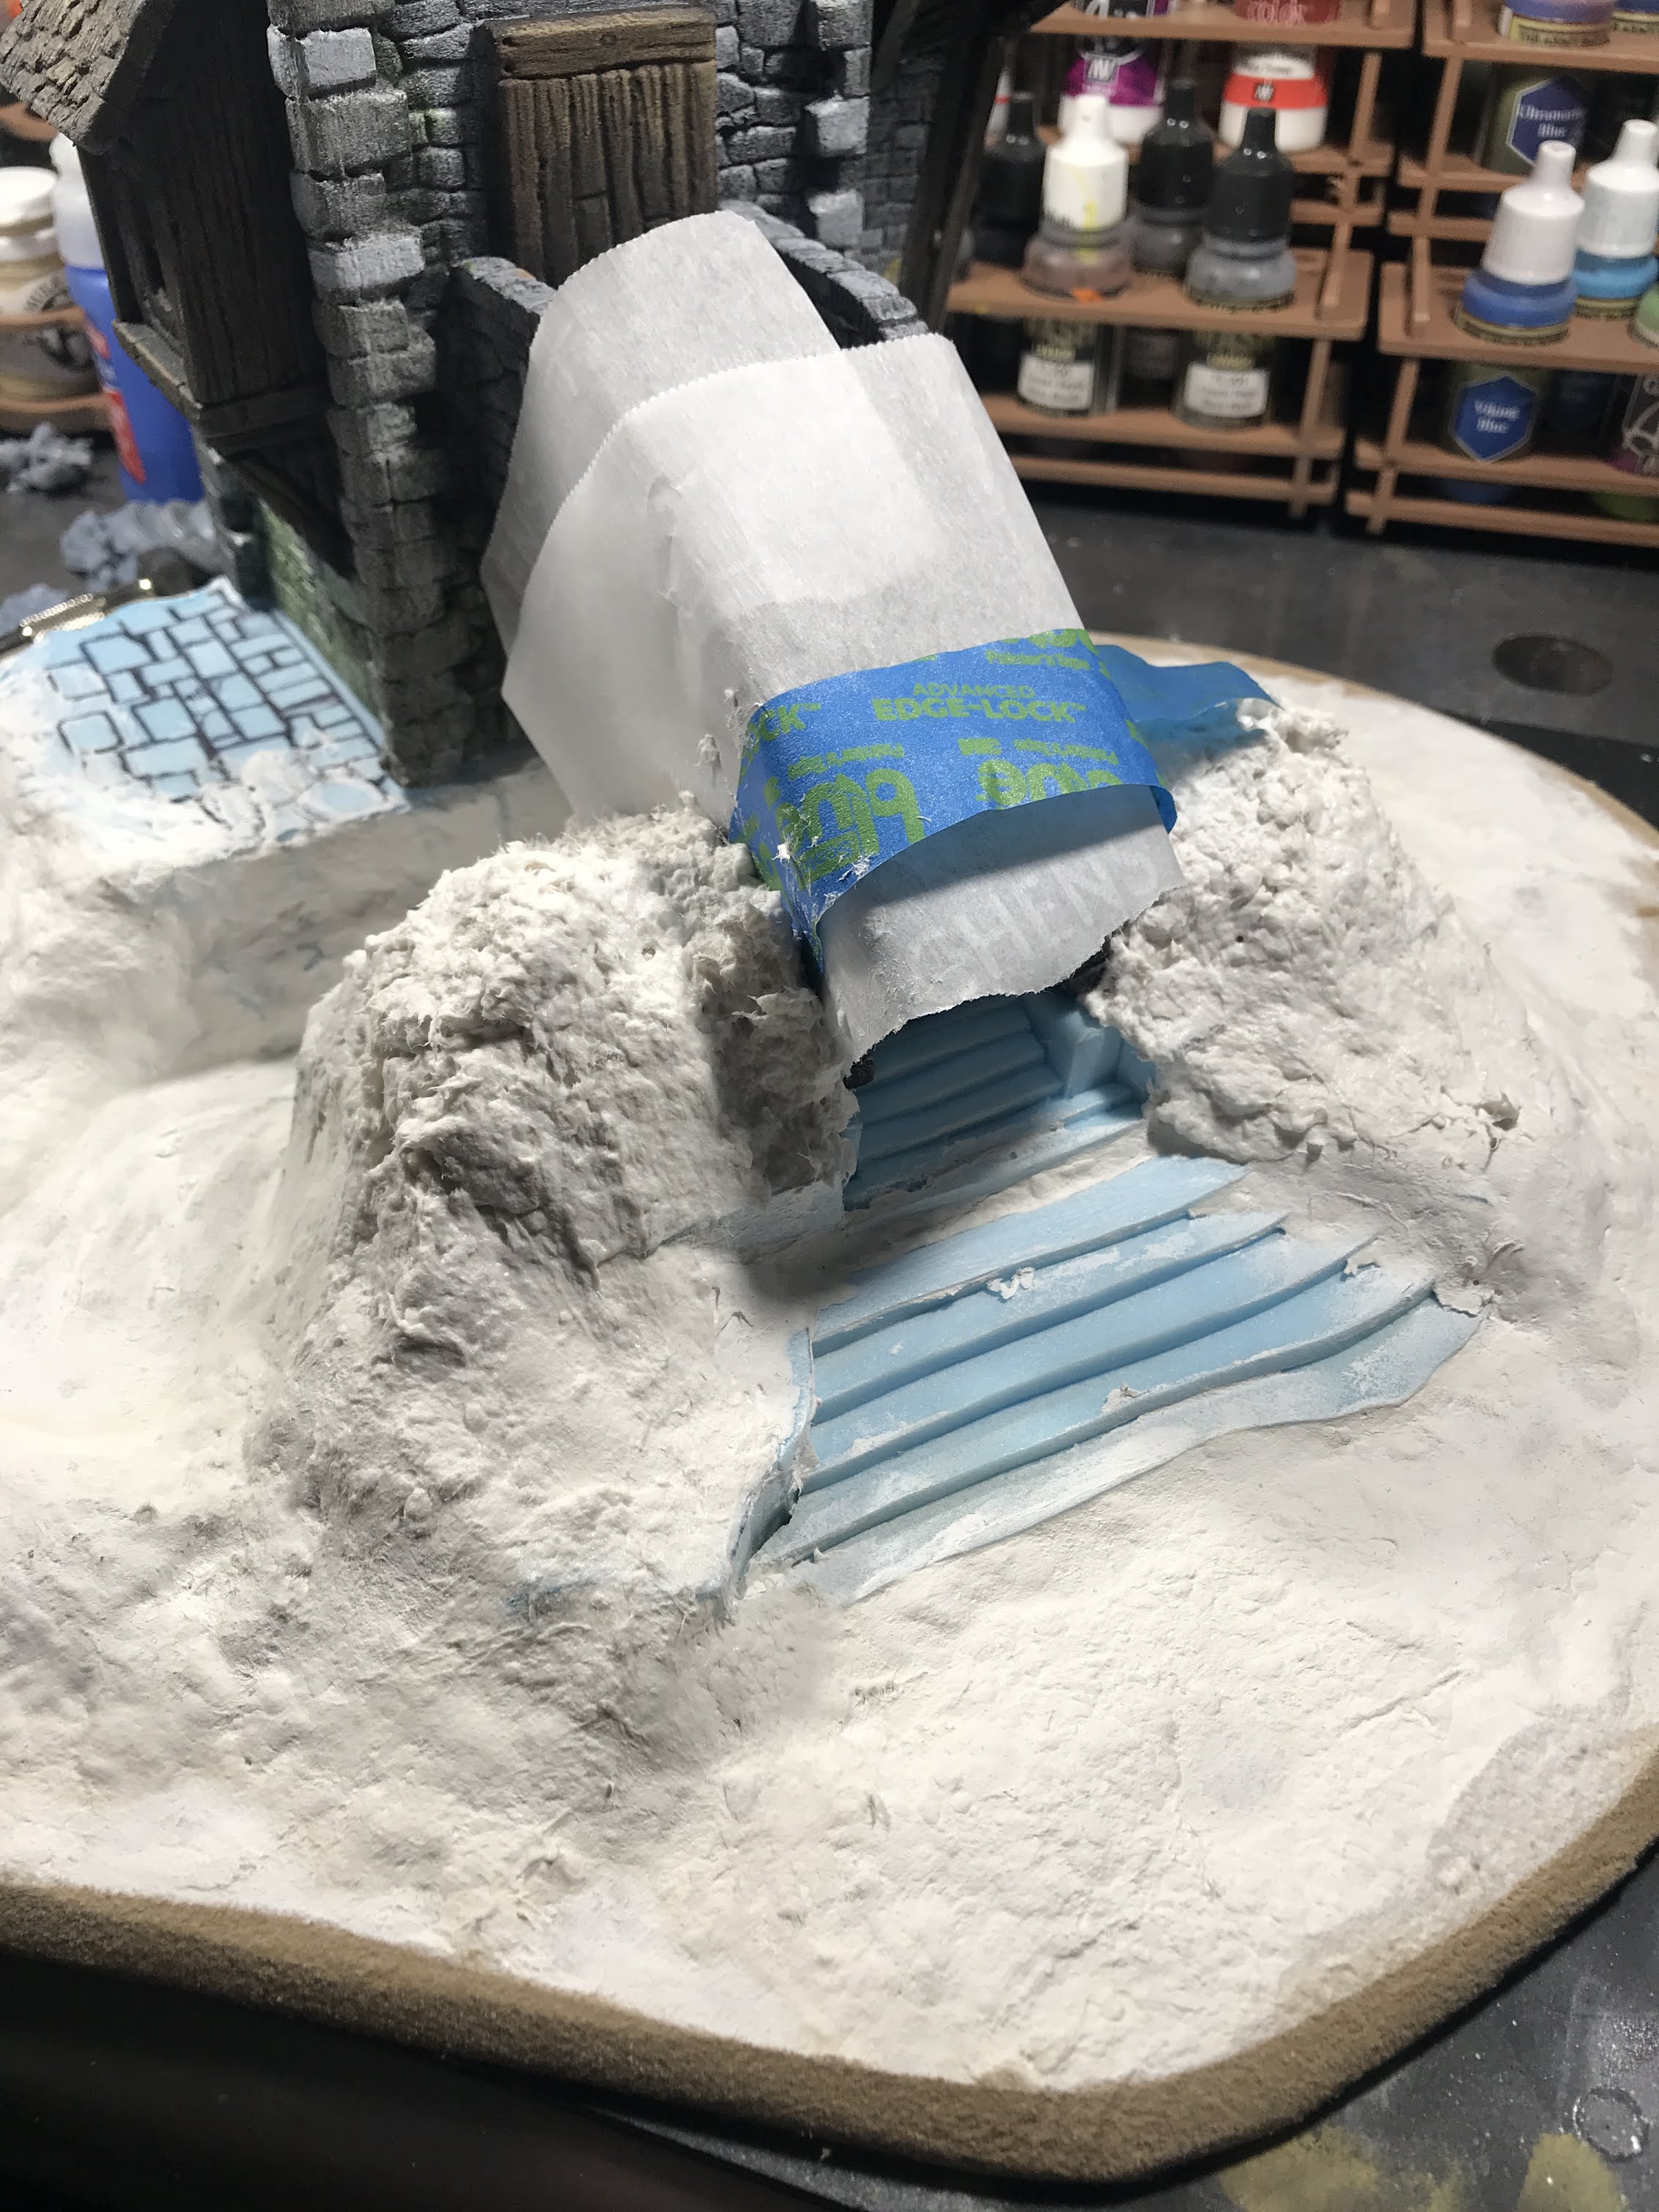
I place used the building to make sure that the separate blocks were far enough apart, and glued them down to the MDF. Then it was time to use some Celluclay to bulk out the base to make the whole thing look like mounds of earth.
Next, I shaped the MDF with a saw and a small detail sander. Once I got the shape down, it was time to build up some more earthen mounds around the stairs leading to the tower.
Now to wait for everything to dry, and then get some paint down on this!
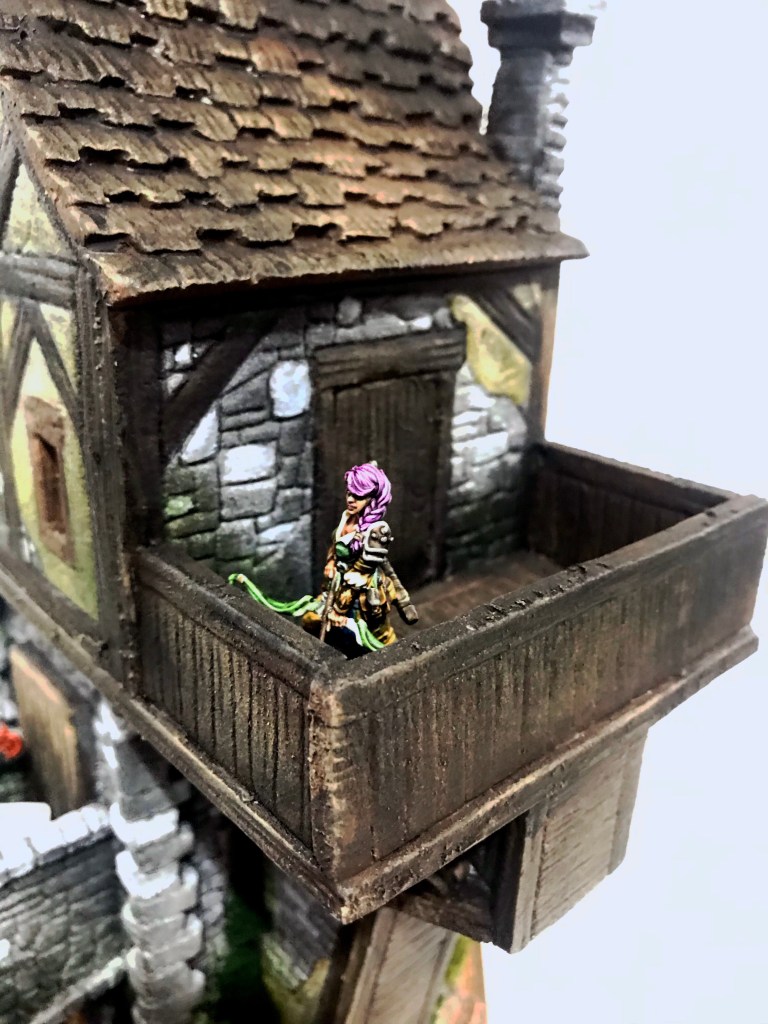
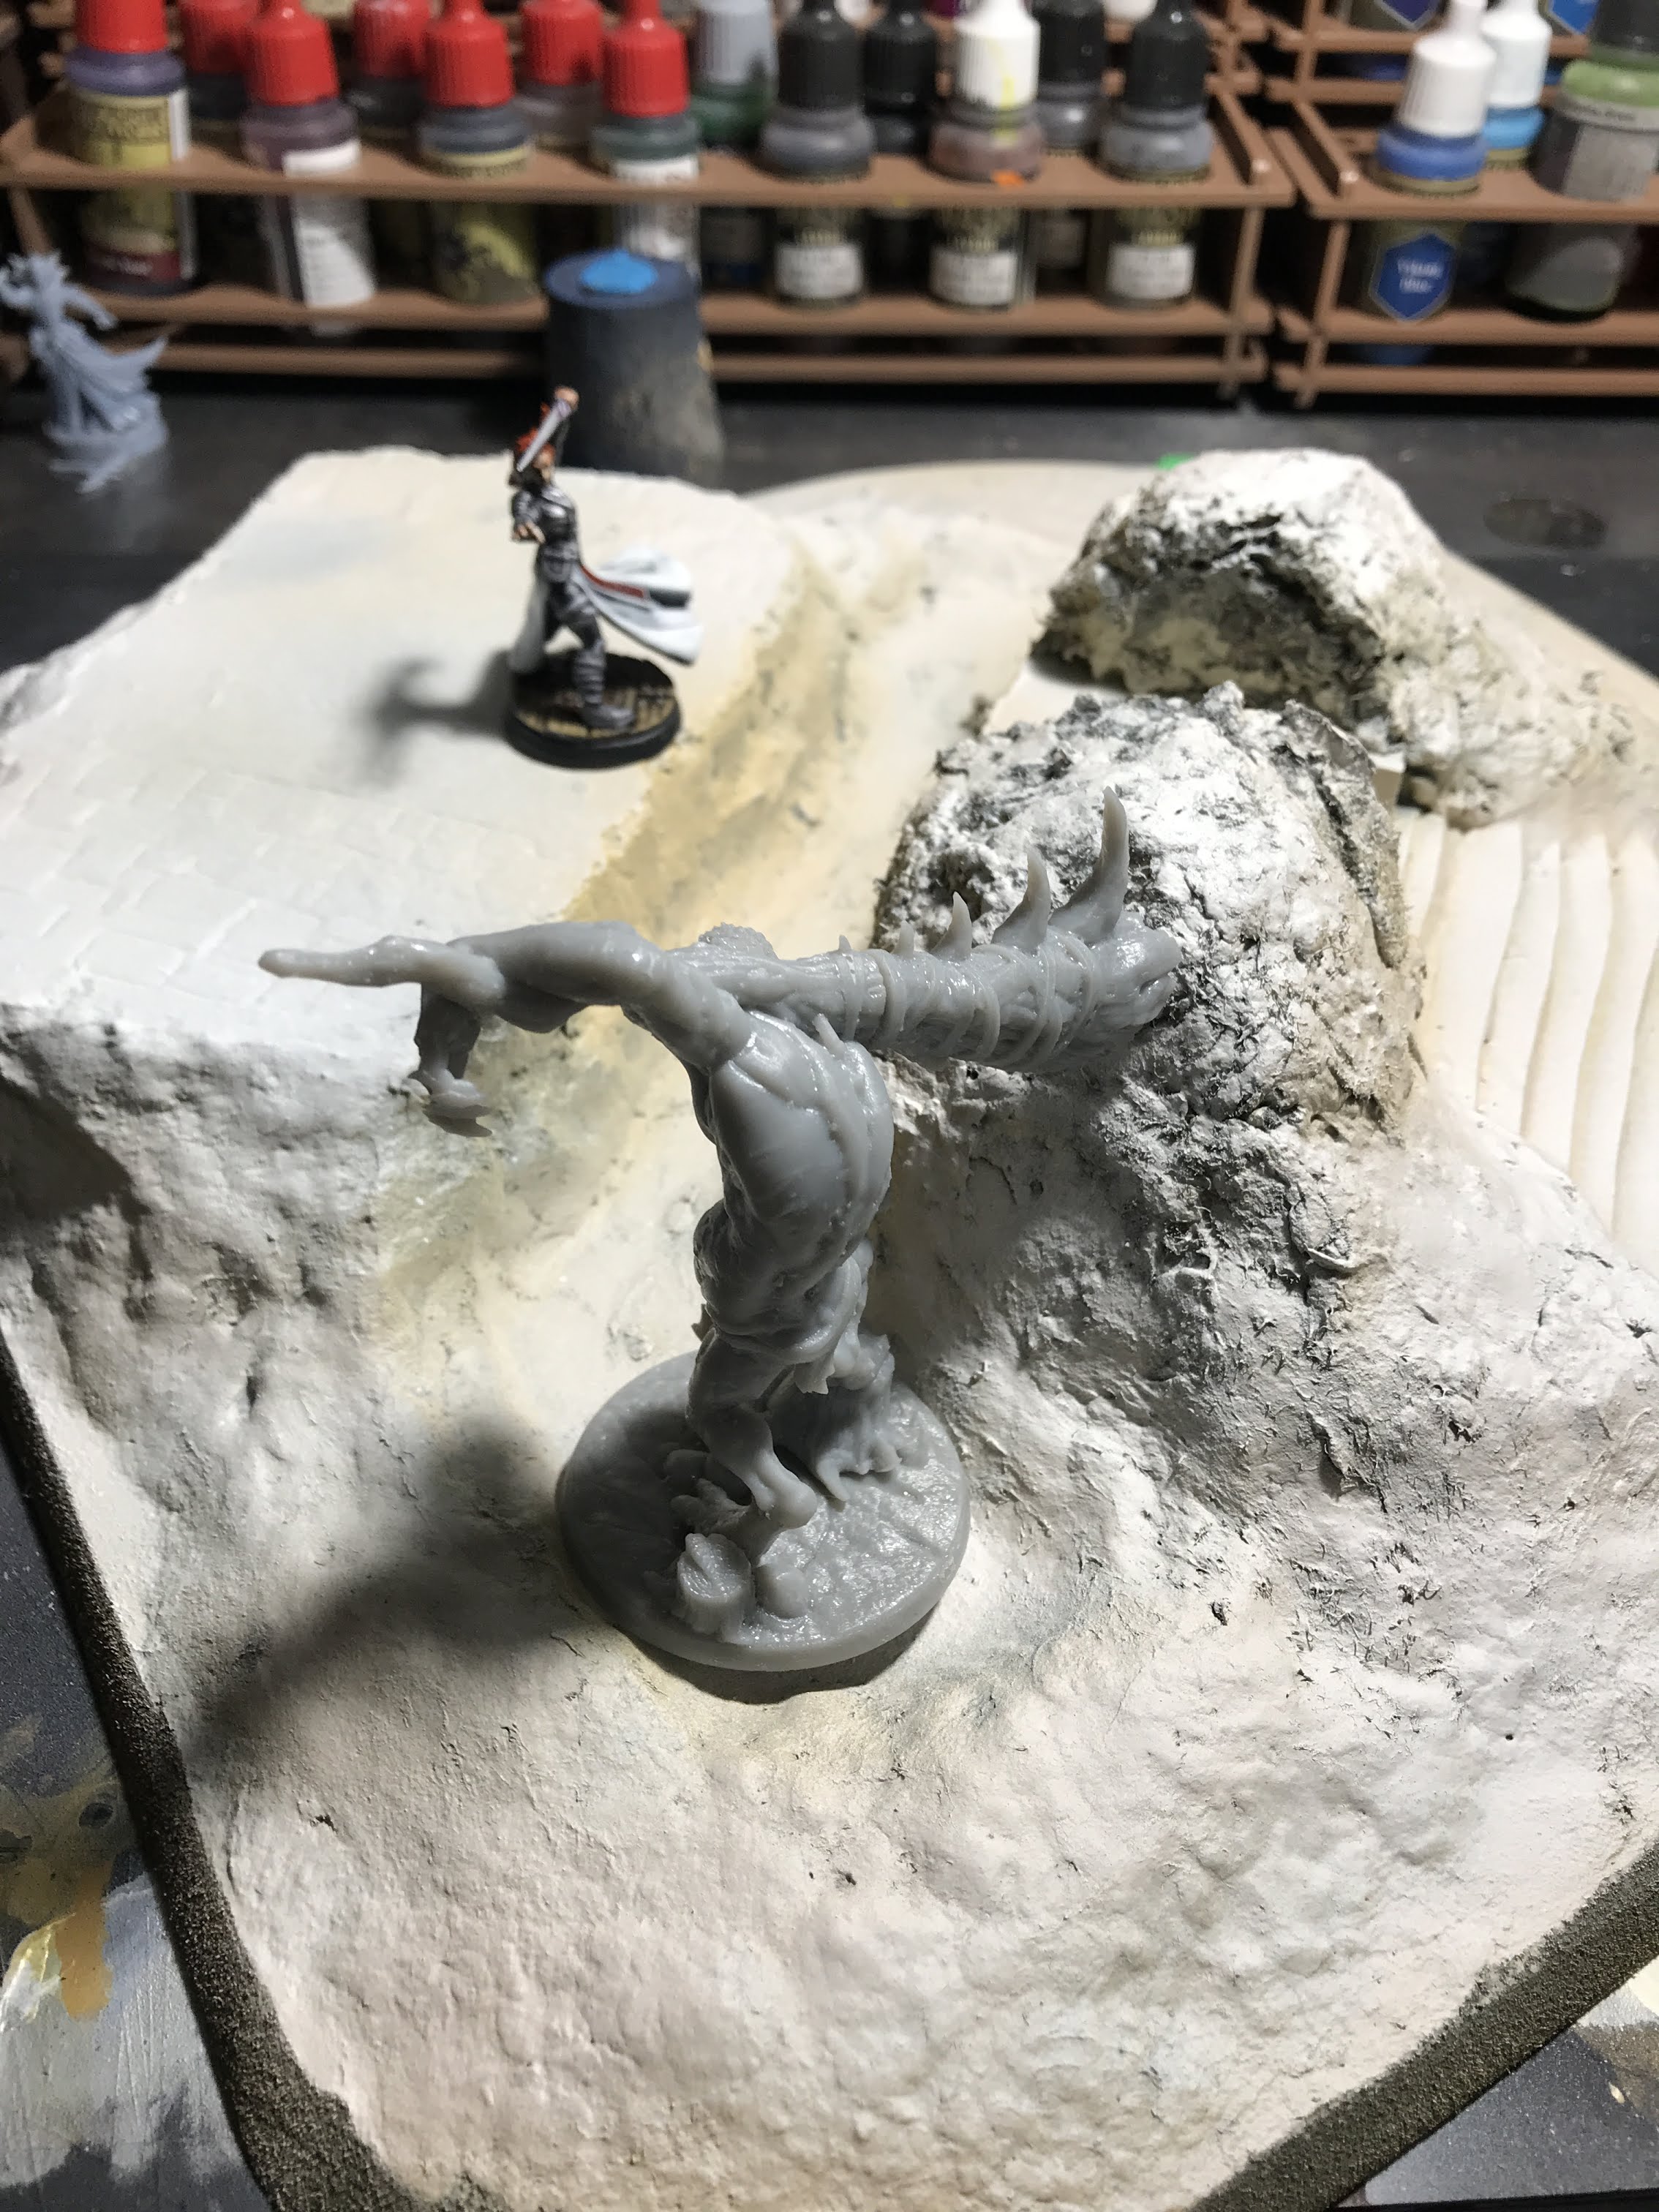
Peeps, we have a winner! After quite a bit of soul searching, I have selected the Ranger that I will be using for my Rangers of Shadow Deep campaign. Drumrolls are not necessary right now, we’re in the middle of a pandemic and loud, repetitive rhythm might startle a neighbor.
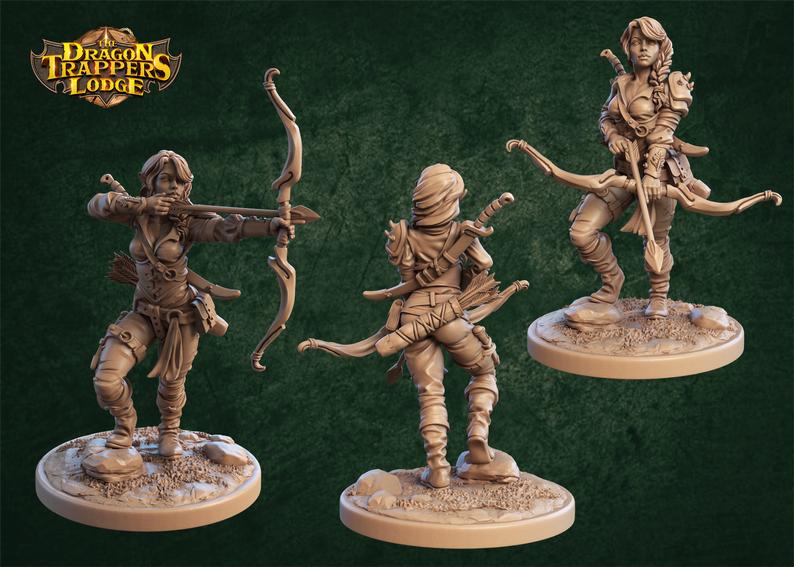
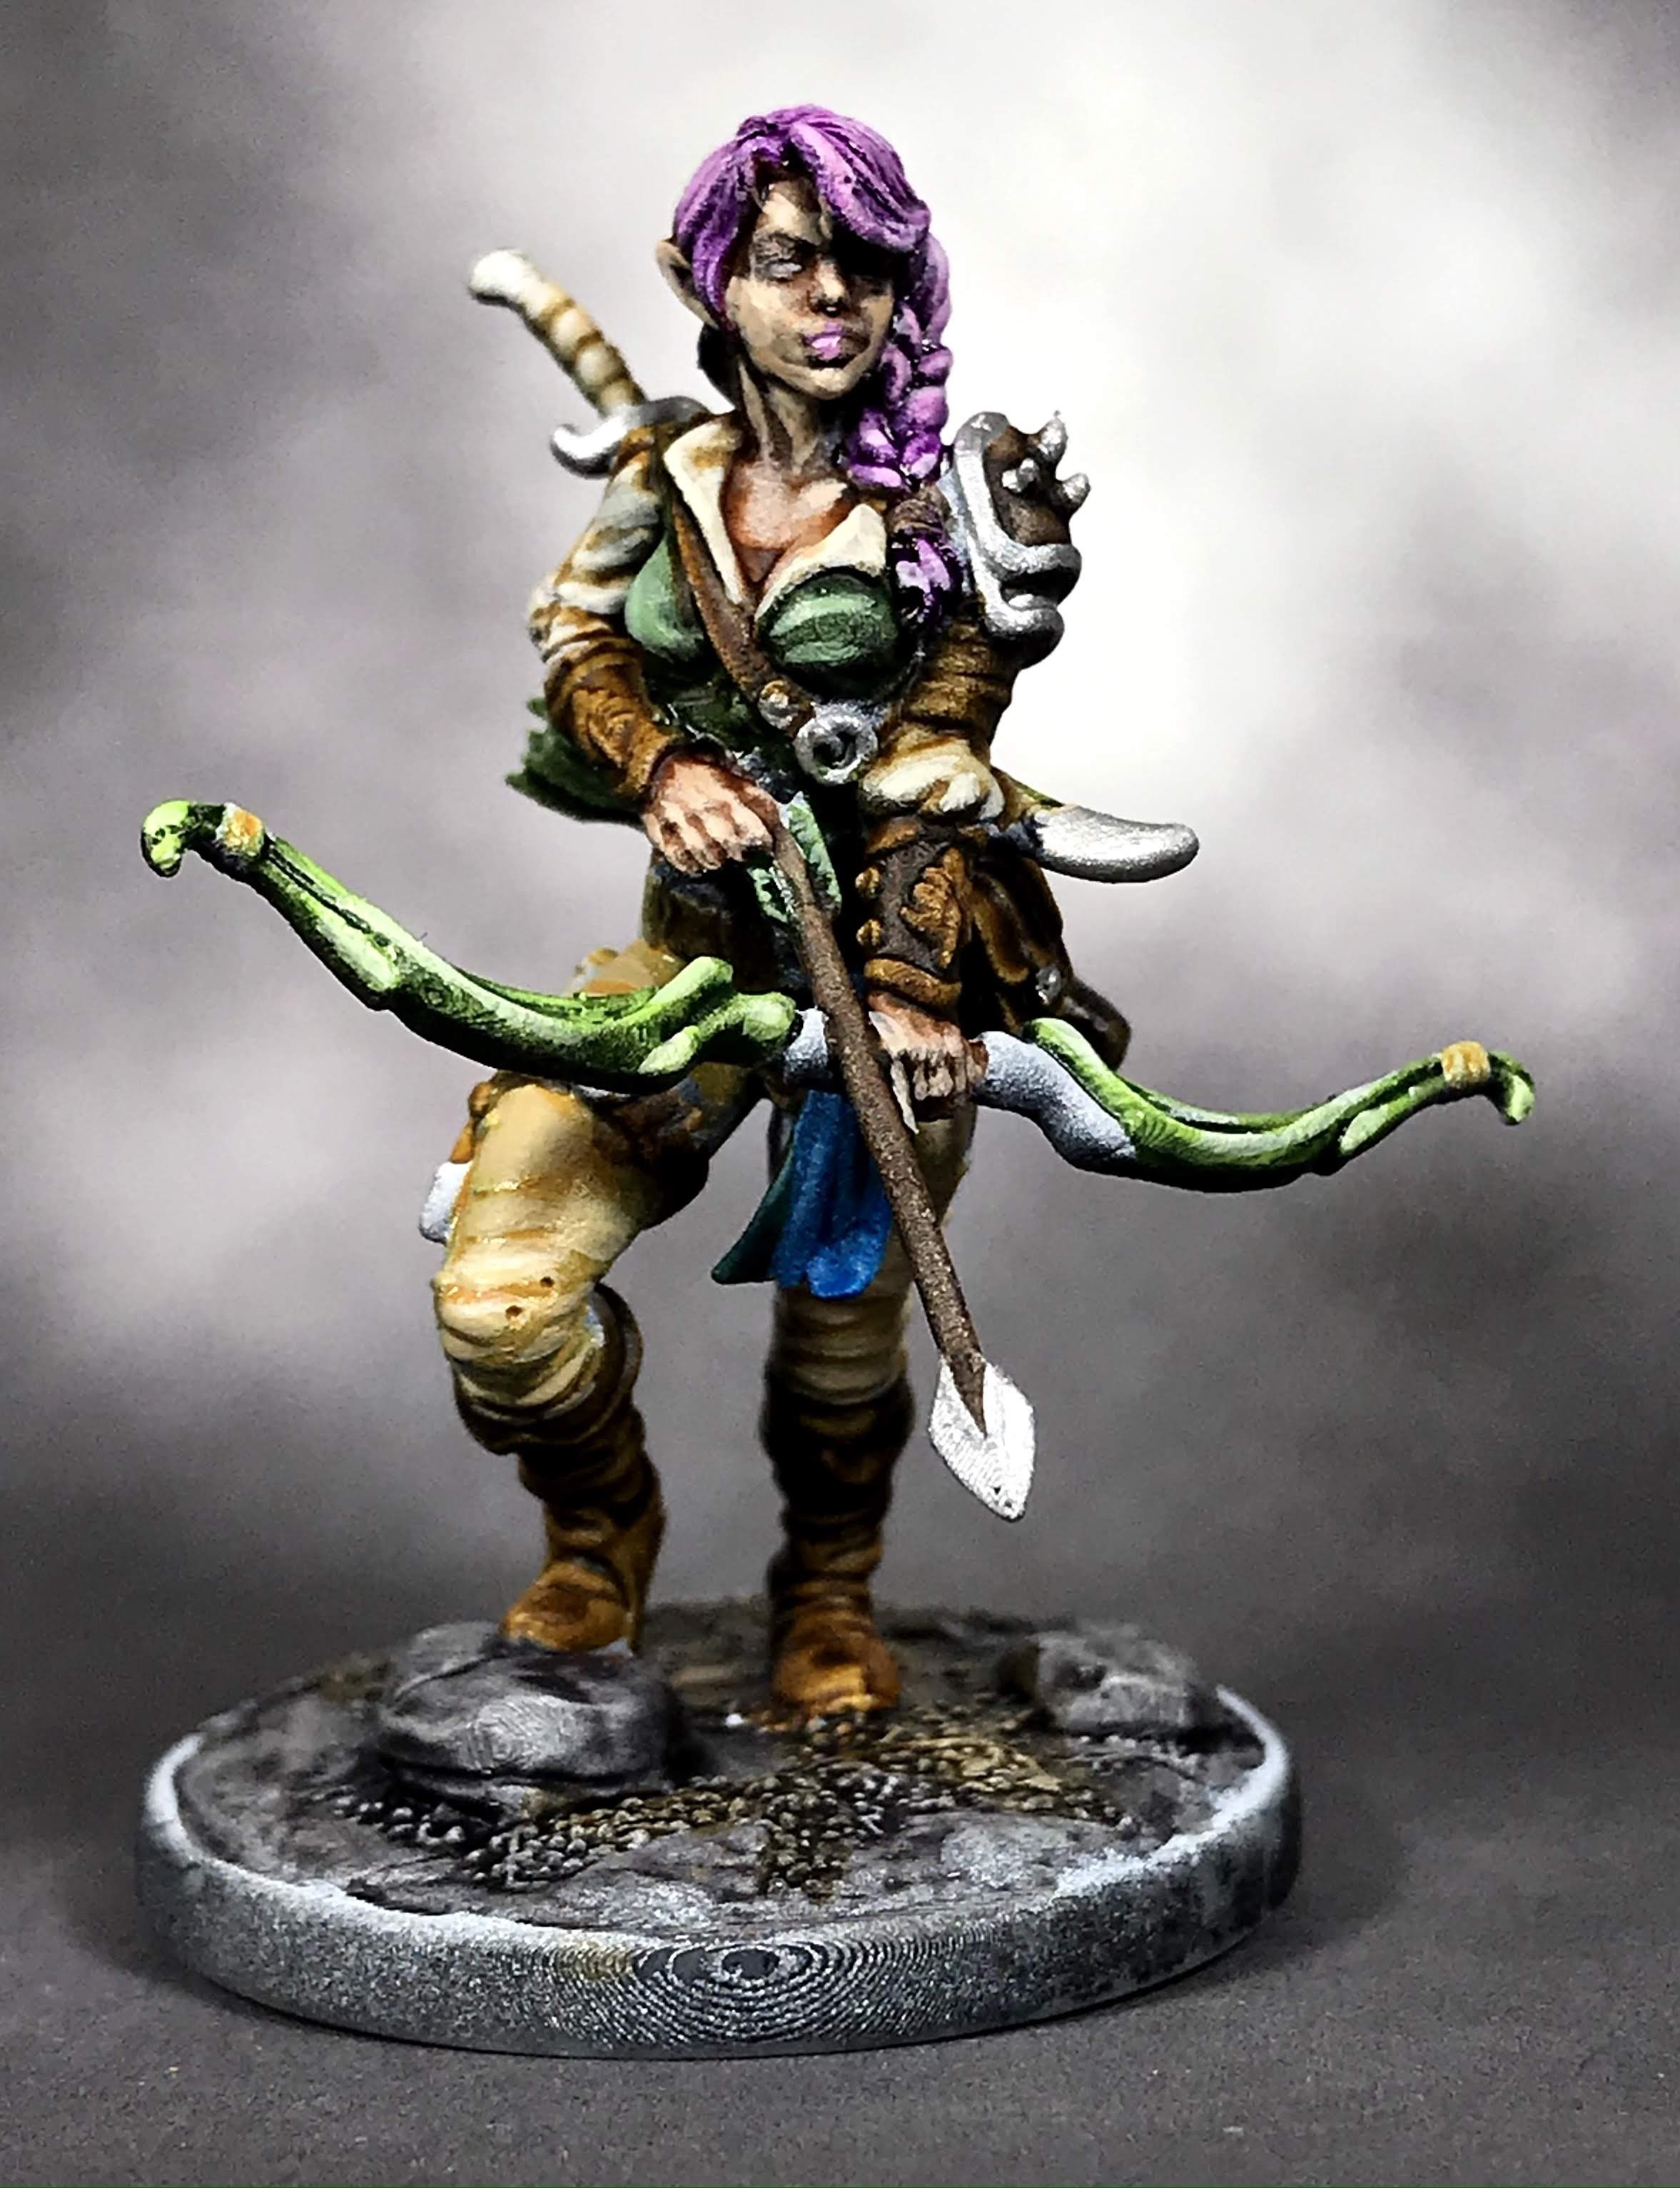
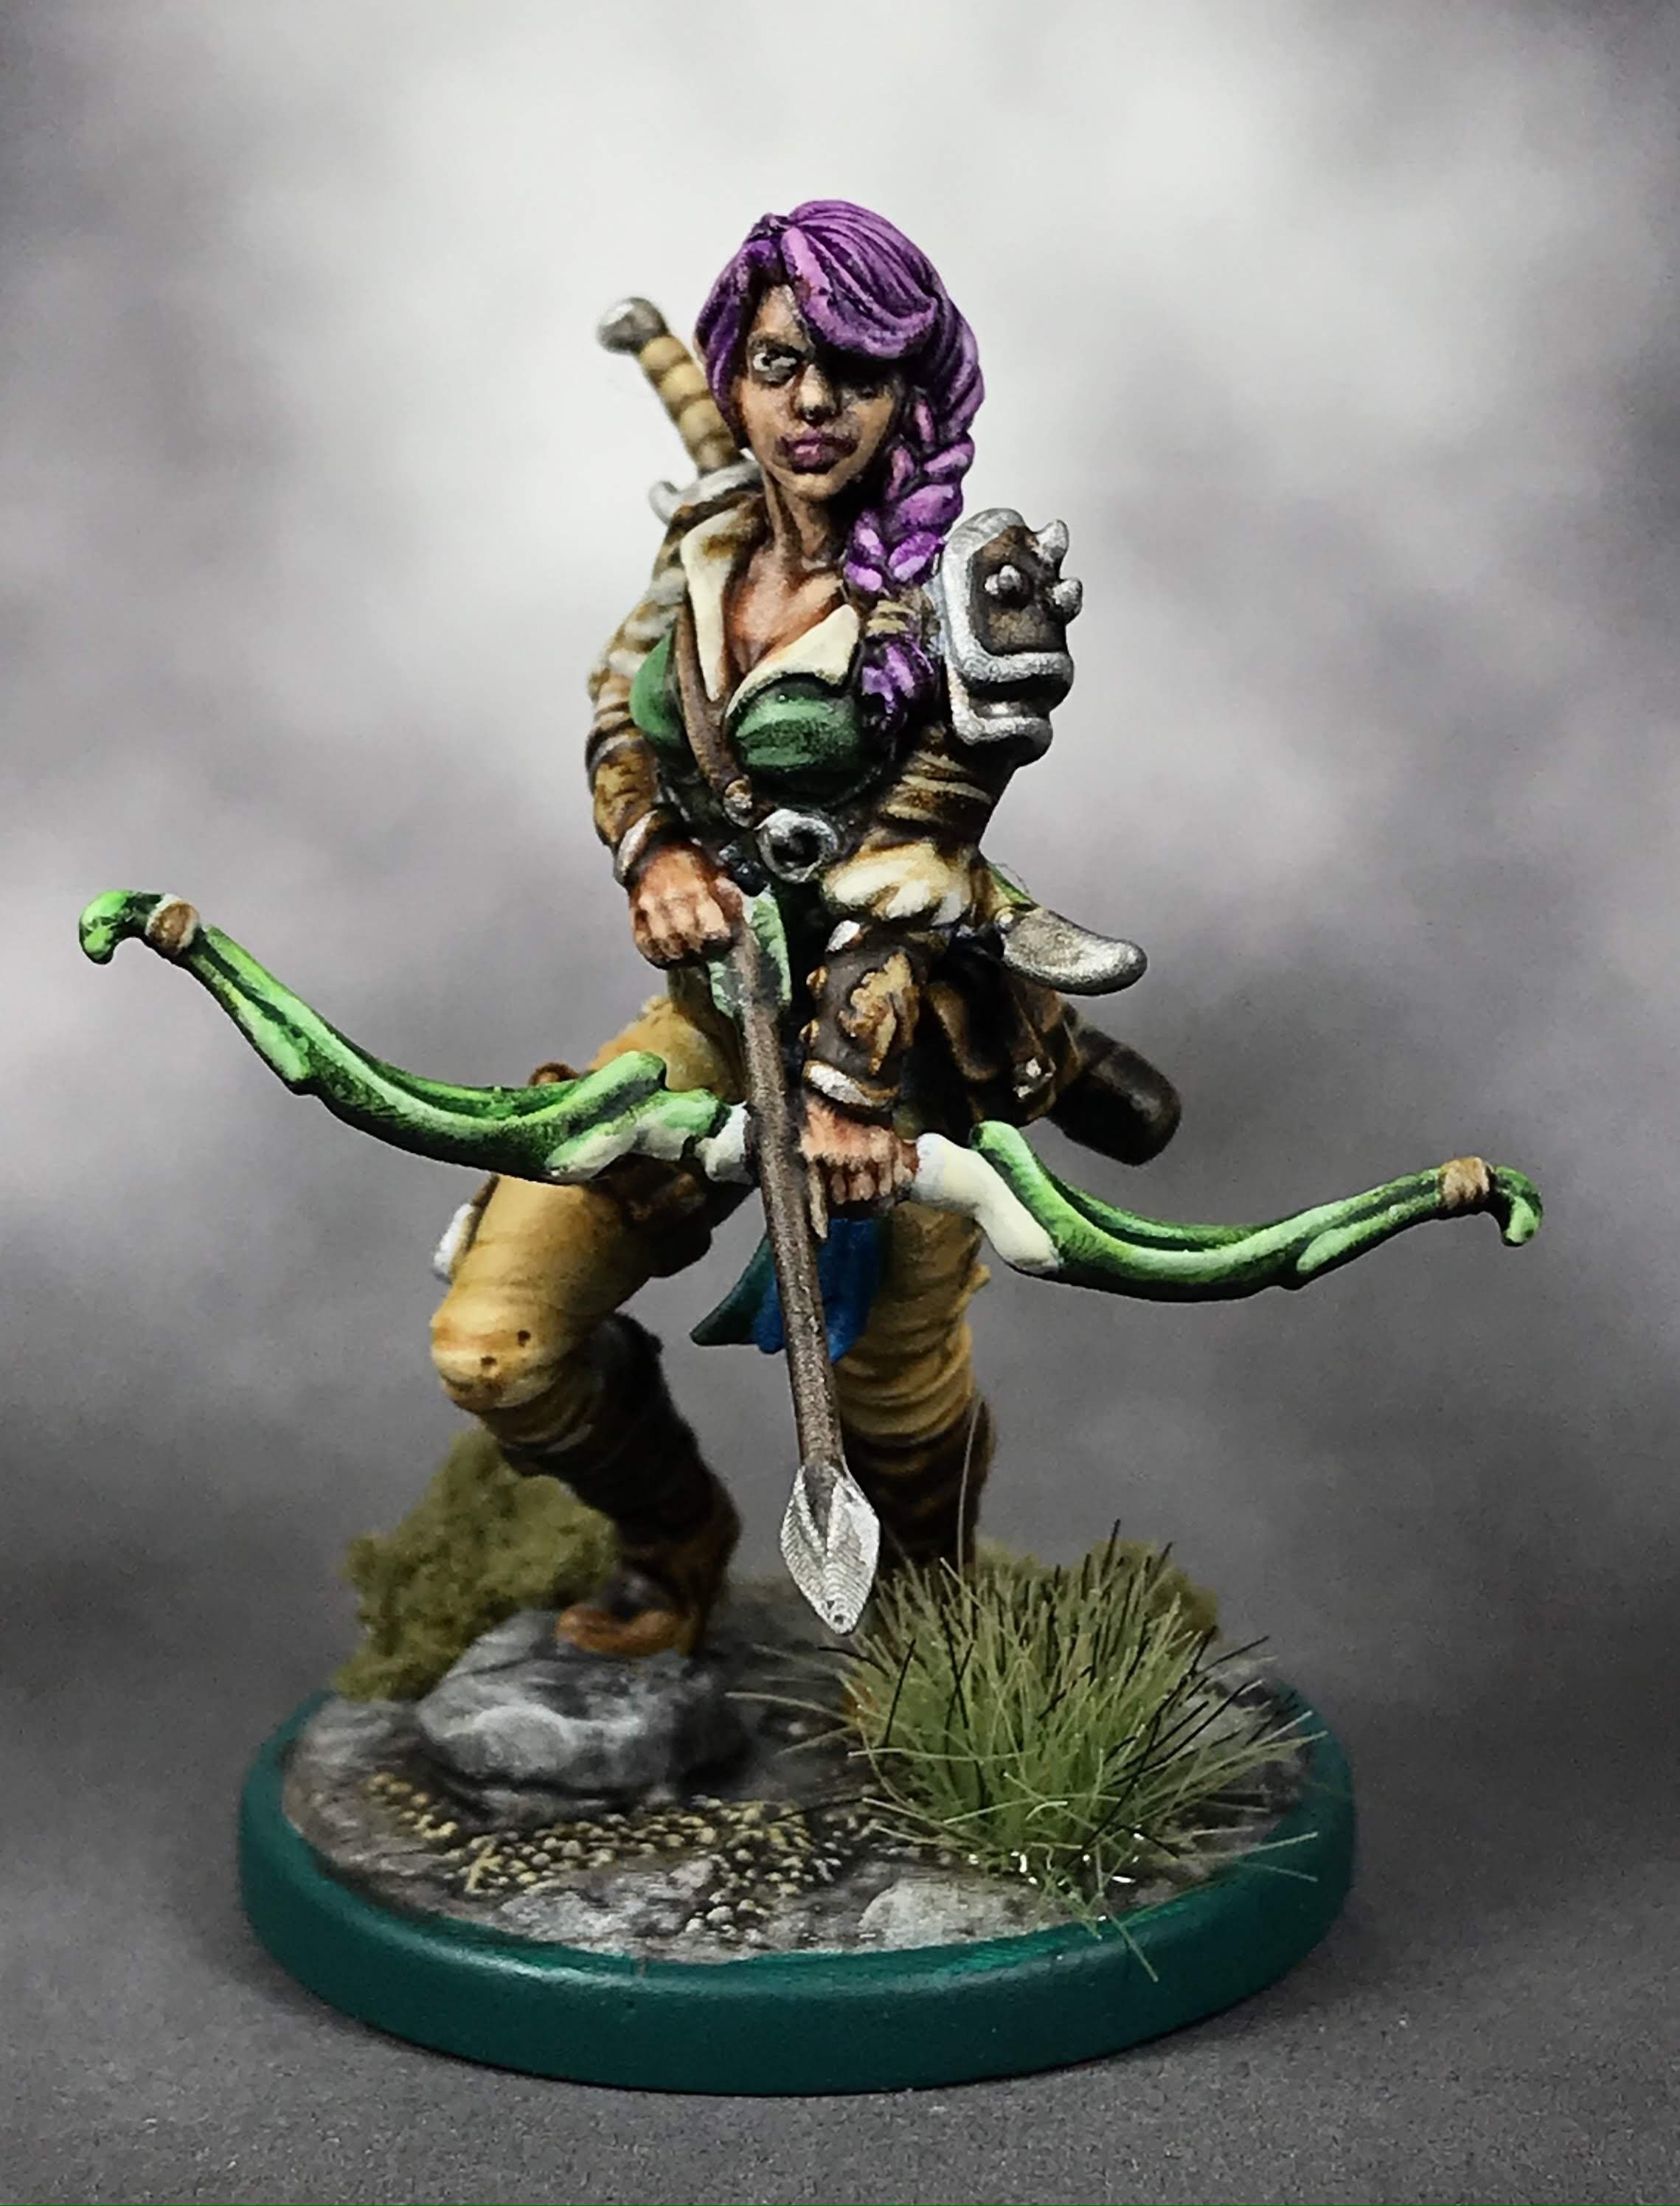
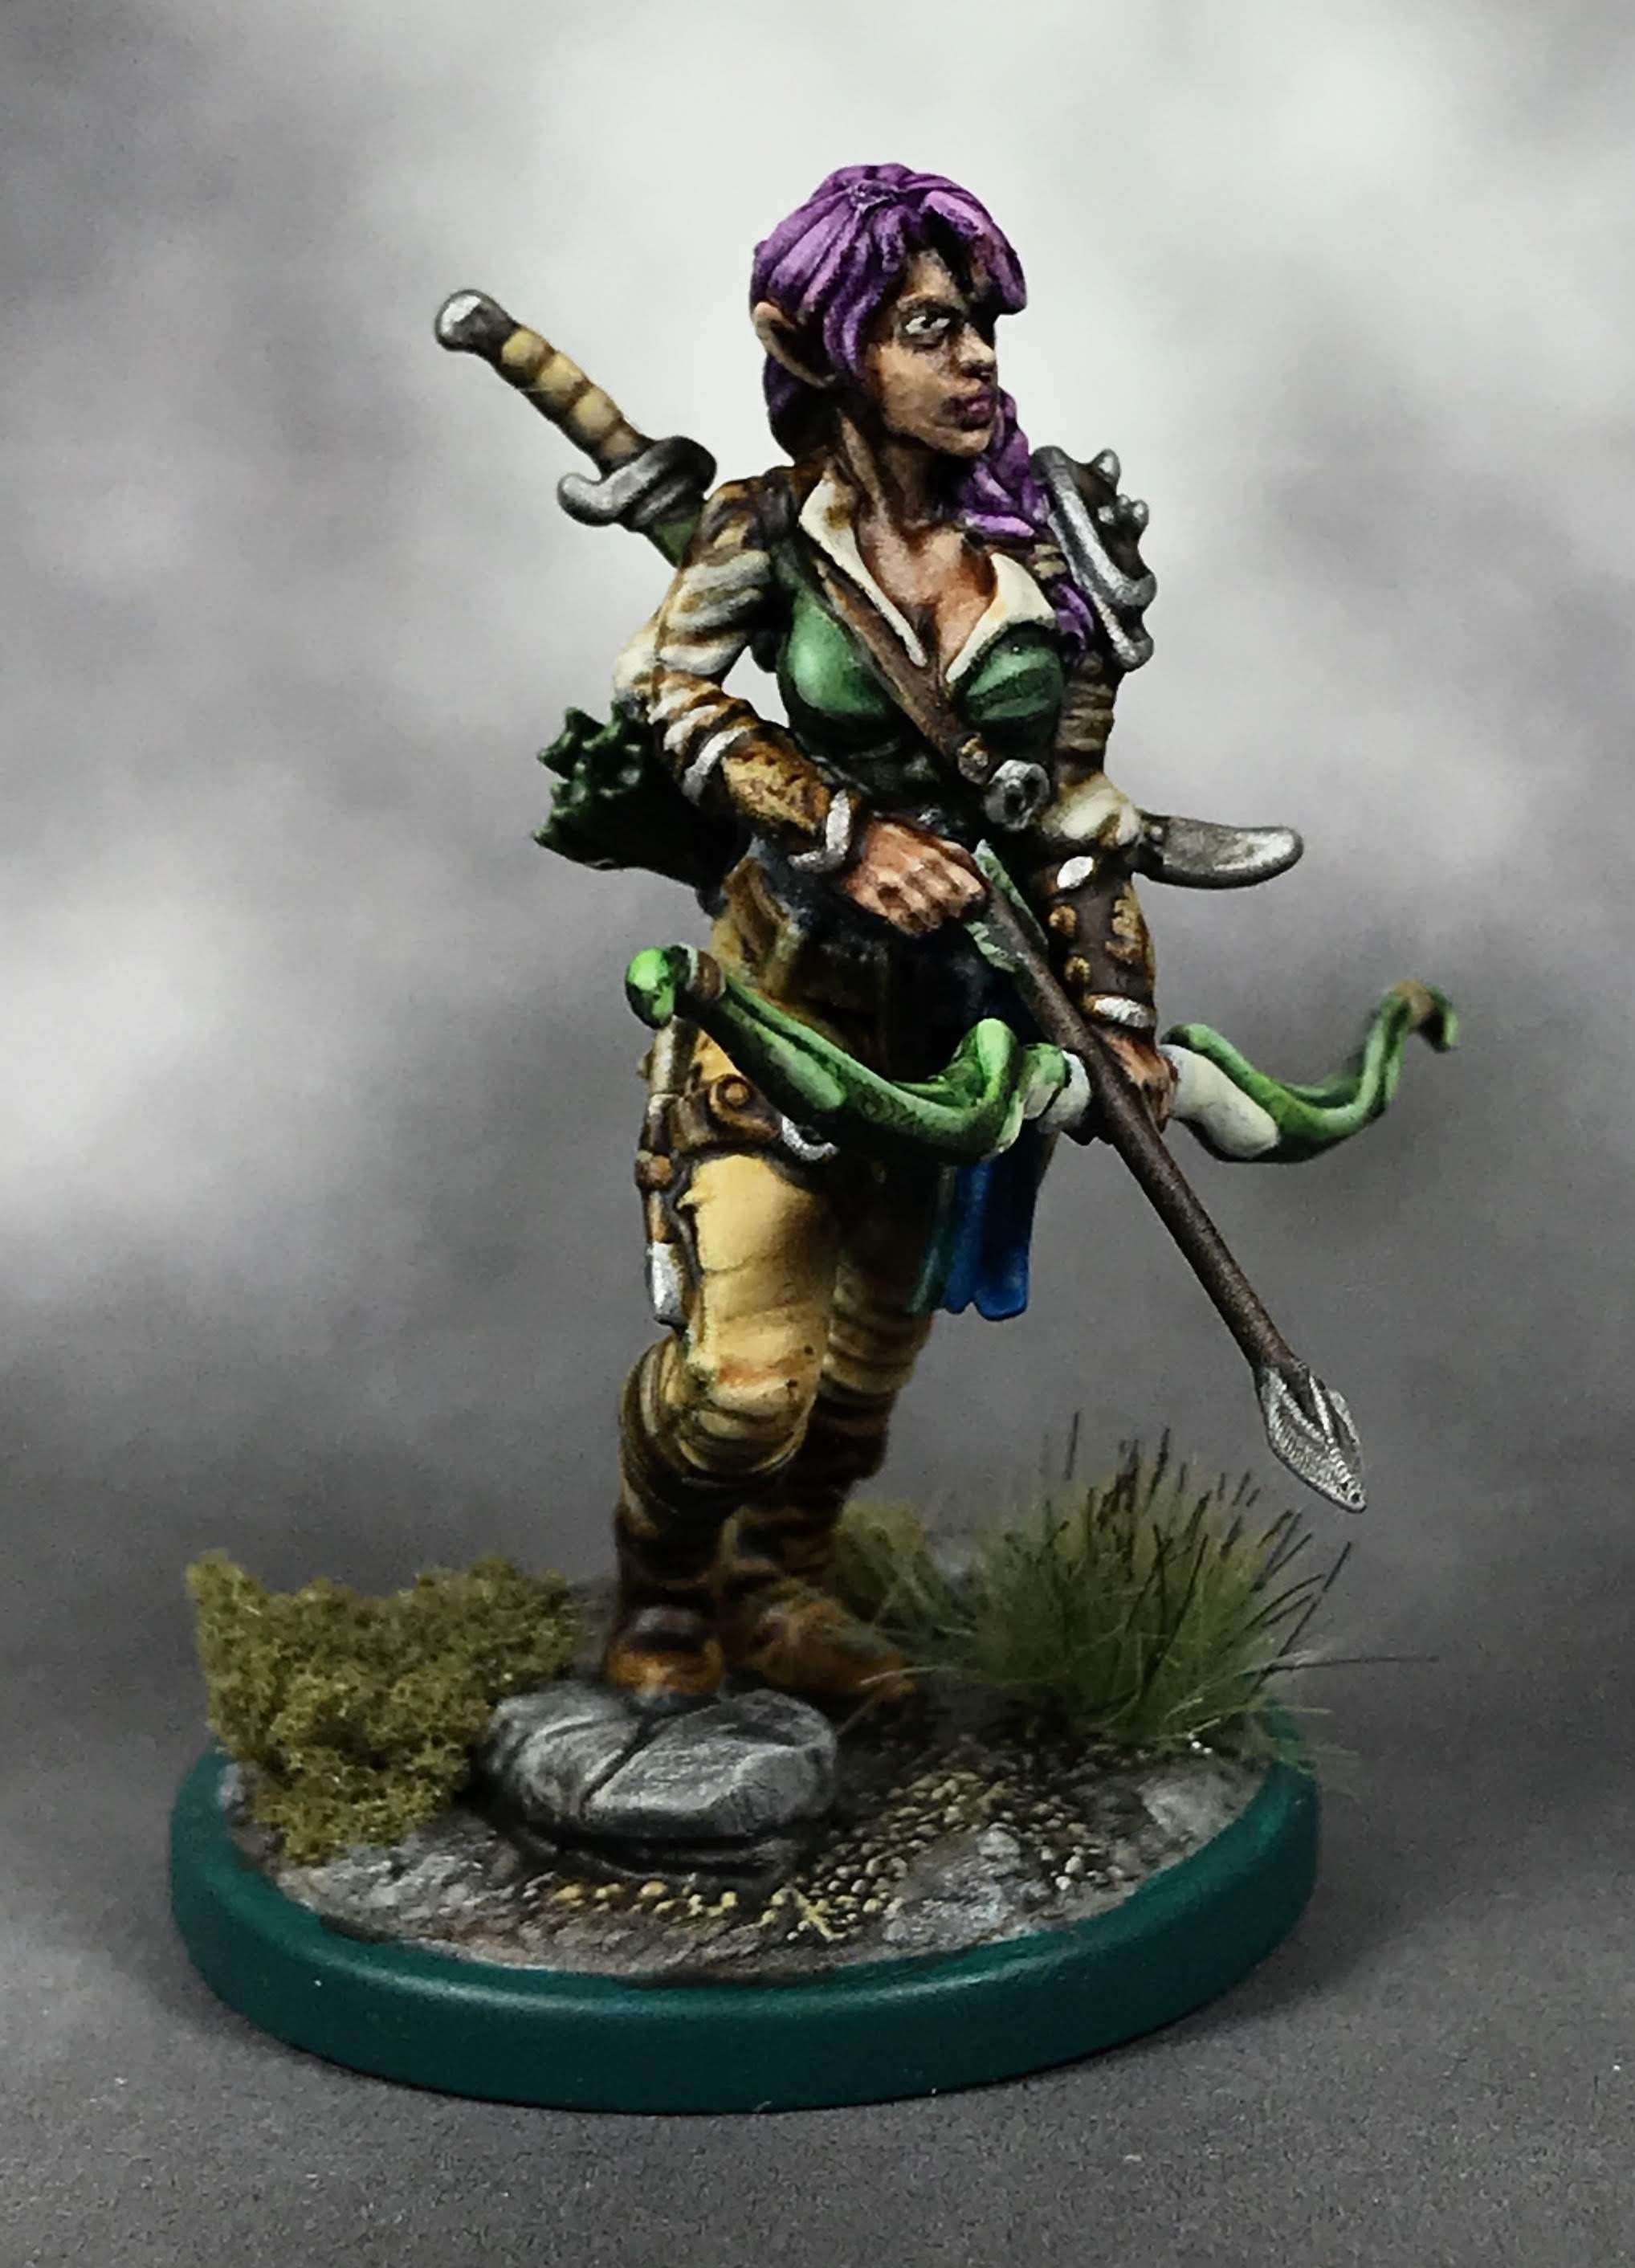
I went with the Lila the Wood Elf Ranger model from The Dragon Trapper’s Lodge. This company releases a great range of figures, each with a main character on foot and mounted, as well as a dragon. The whole range is pretty cool, and very thematic.
Now that my printer is back up and running, I plugged the supported STL file into my slicer software with another five zombies on the build plate, and three some odd hours later, Lila was done!
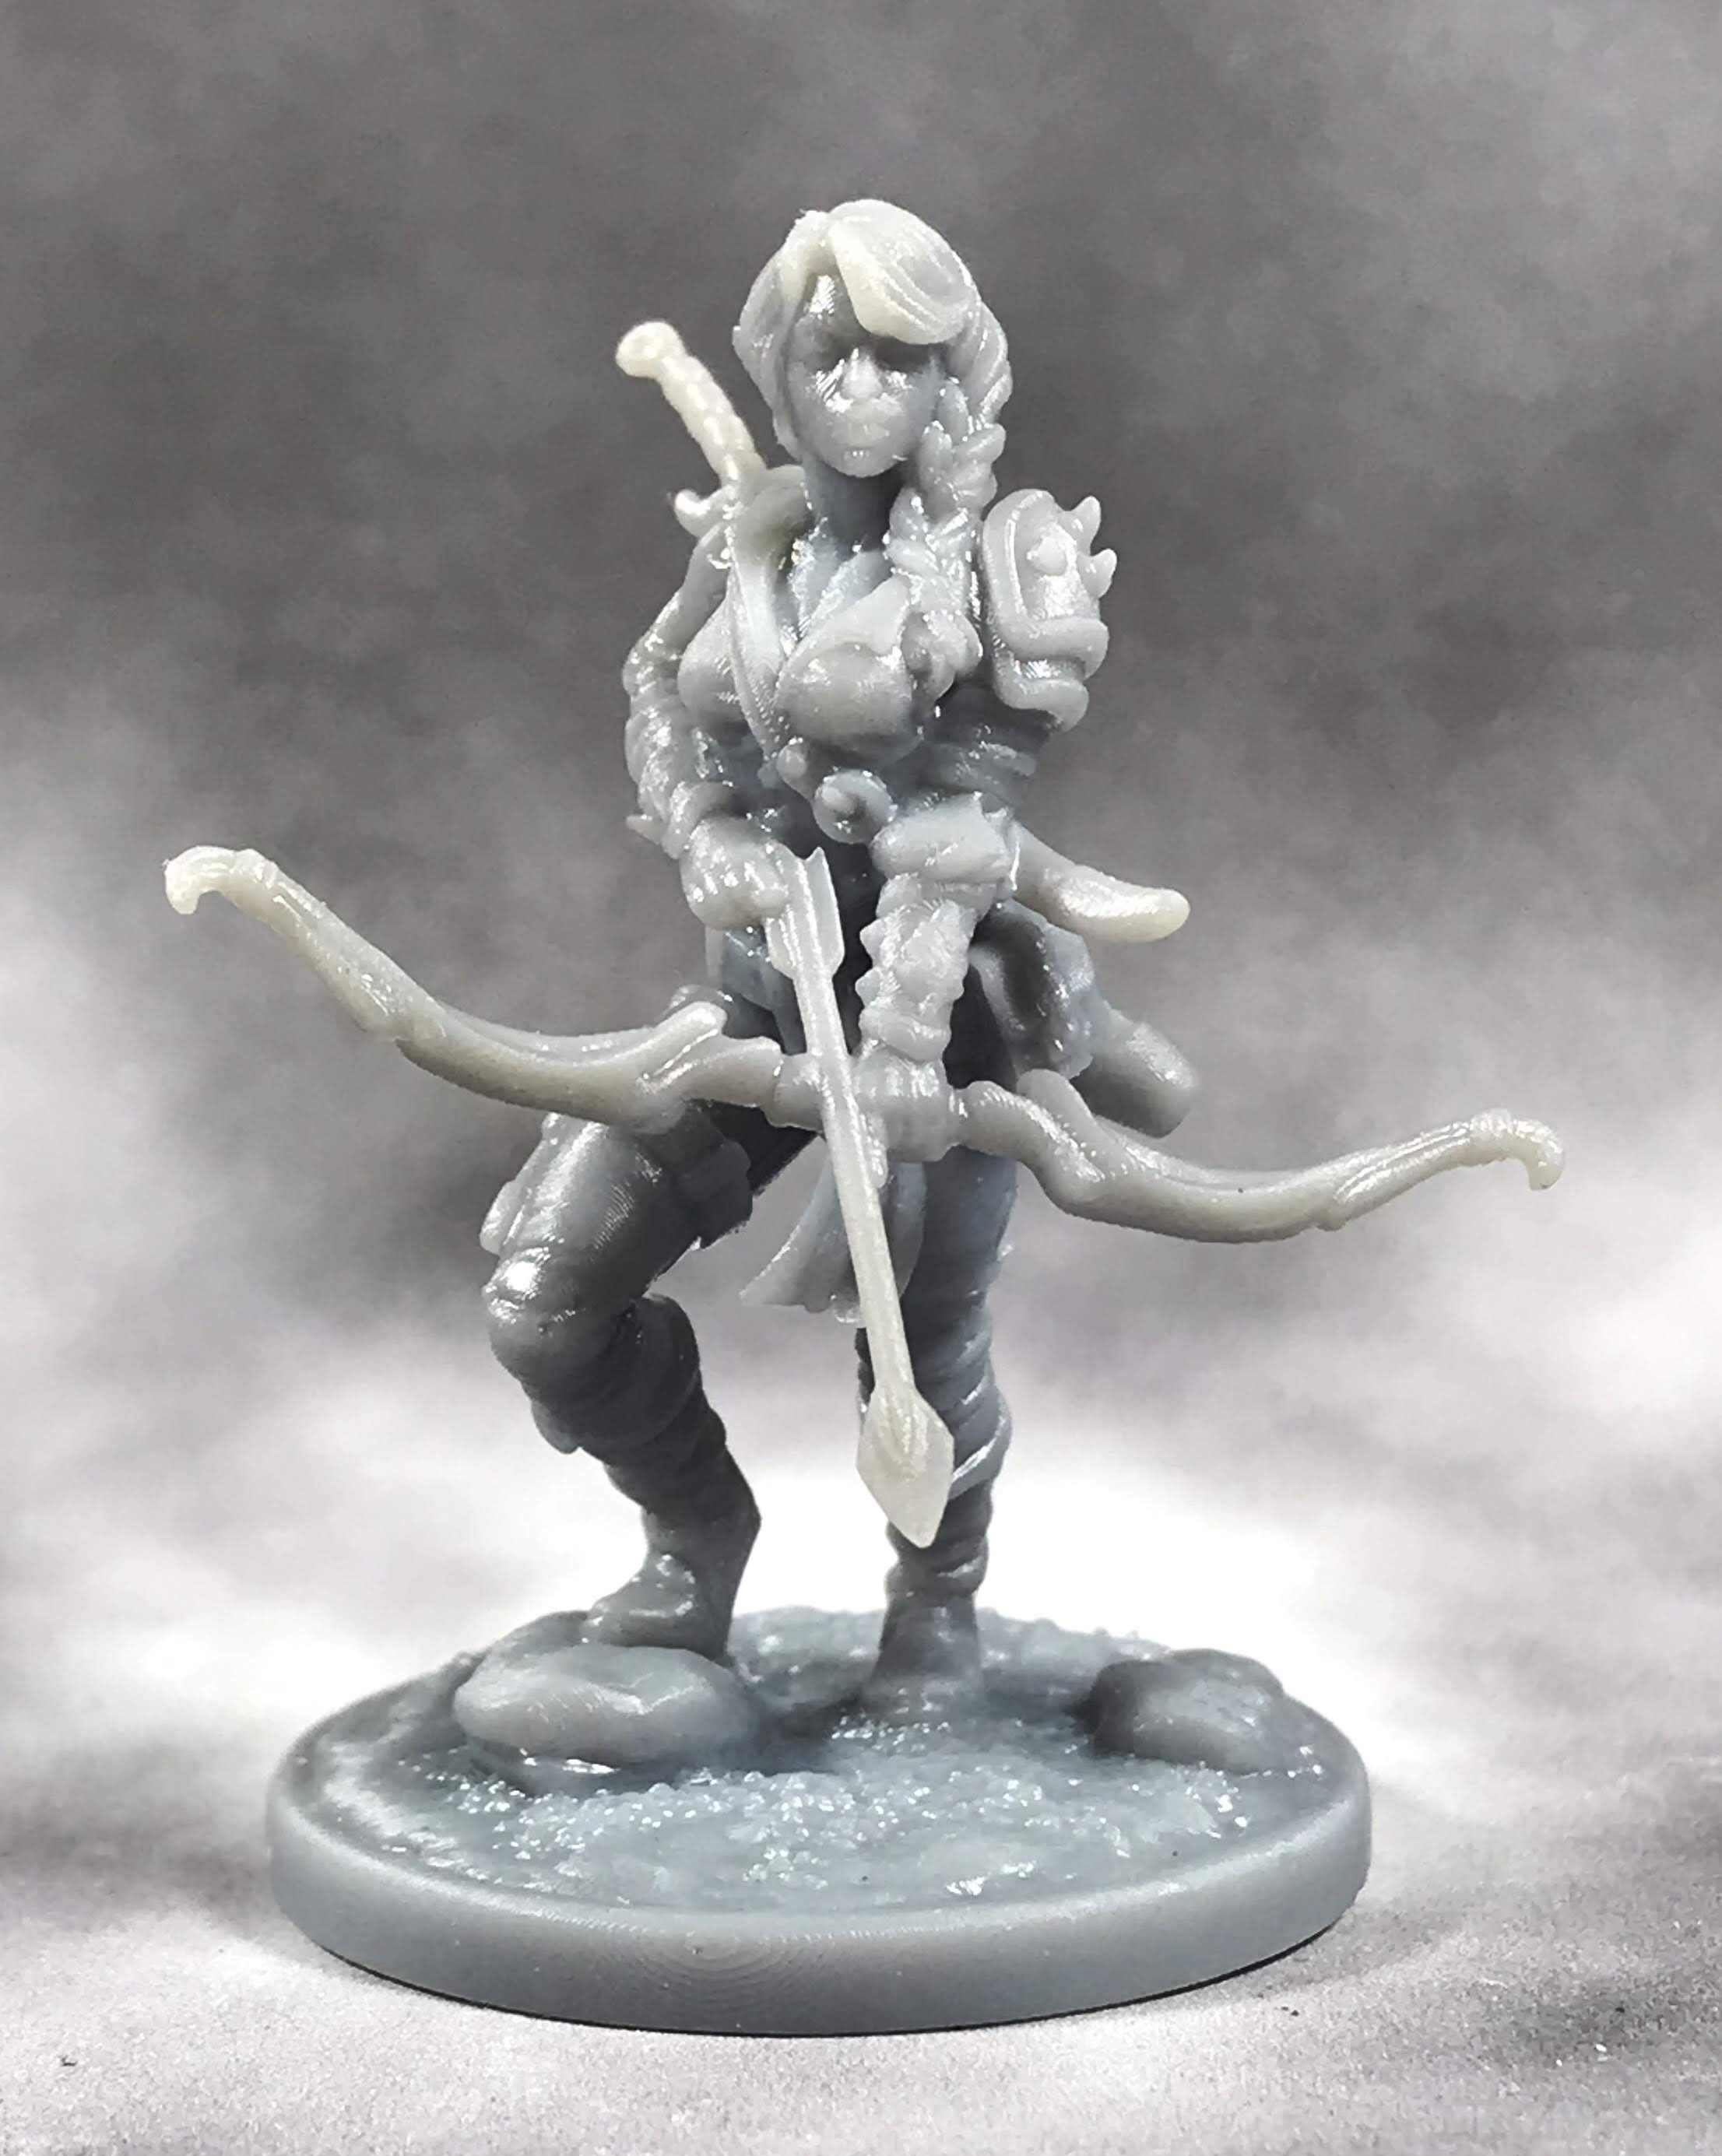
Once she got a UV cure, I went over the model with a black primer in the airbrush, then added a zenithol highlight with white. For those of you who don’t know, the zenithol highlight allows you to see your highlights and shadows before you even commit paint to the model.
After the highlight, my first color pass went down using Citadel Contrast paints and Daler Rowney inks. This lets me get color on the whole model quickly, but at the cost of having to be really careful afterward. Contrast rubs off of models pretty easily, so use a paint stand and try not to touch the model with anything but your brush.
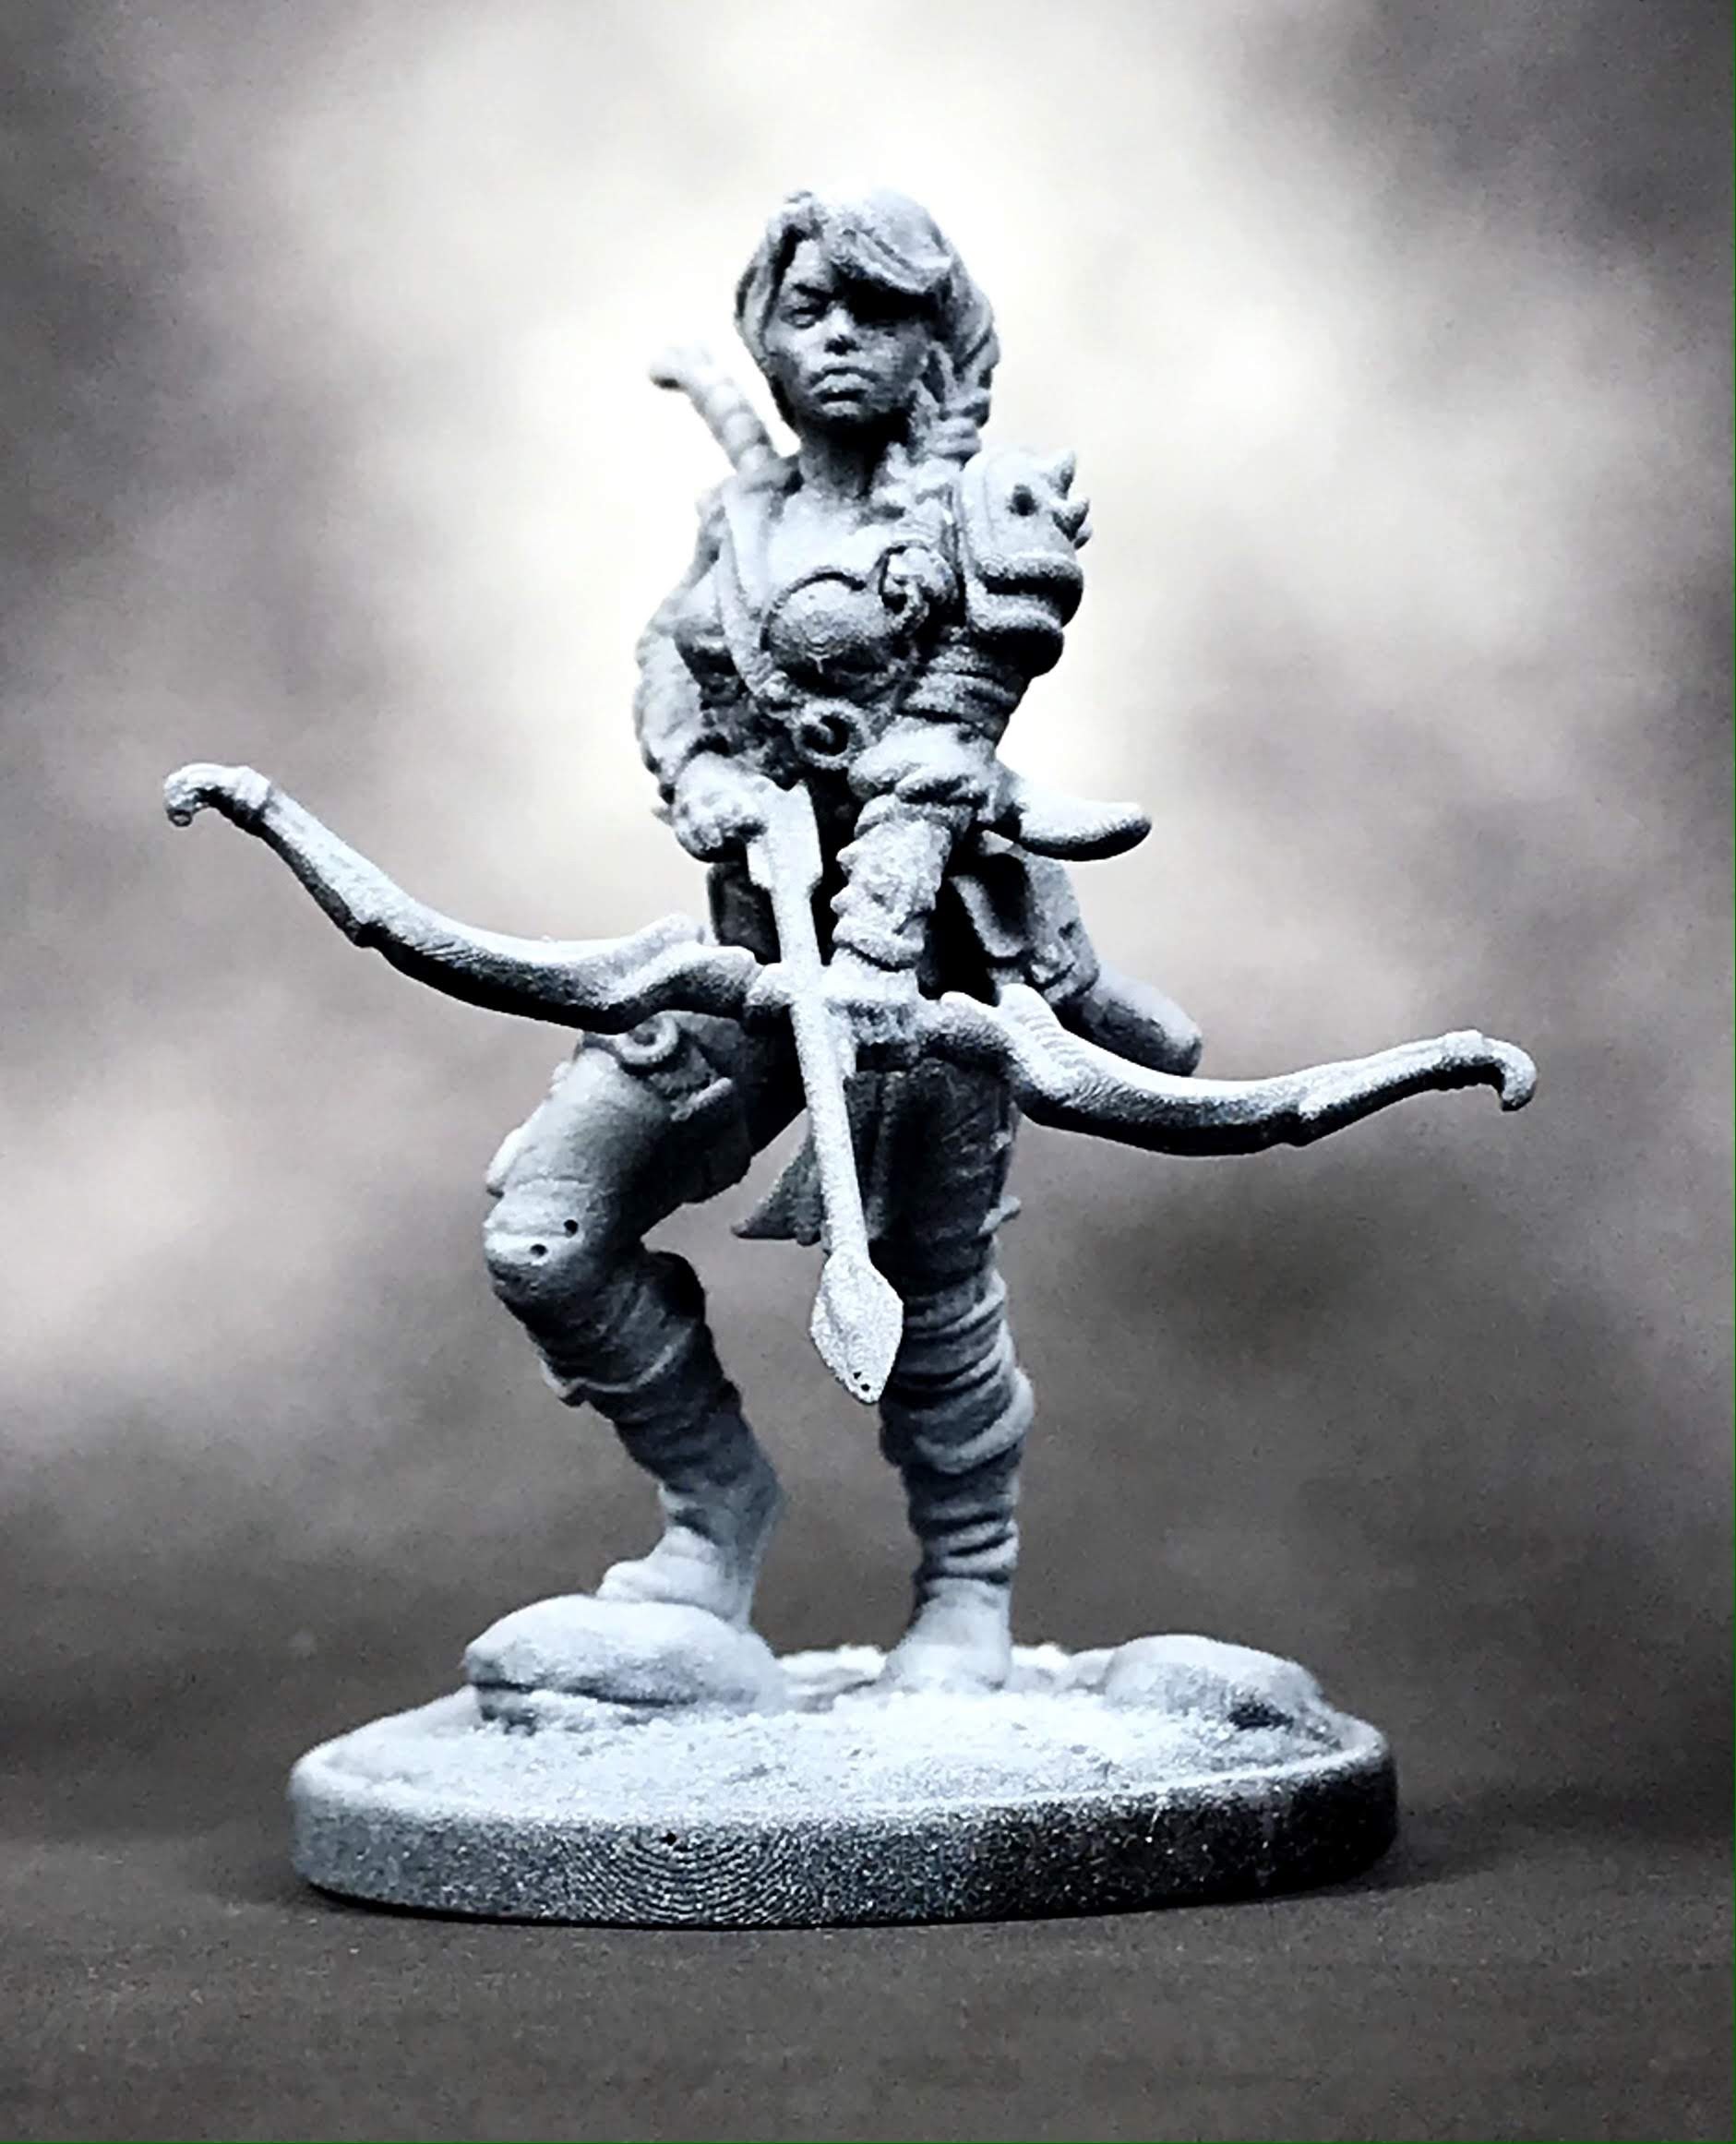
The next step is the highlight pass, where I go over all of the main colors with lighter shades of paint. I use Vallejo airbrush paints for this, since the pigment count is higher, which lets you get more done in less time.
After the highlights dry, I use a combination of citadel shades either straight out of the bottle or diluted with acrylic based floor polish, depending on how strong of a shading effect I am after.
Using this technique has been a pretty tried and true process for me, and has taken me the better part of 20 years to perfect. Before Contrast Paints came into the picture, I was using inks diluted with acrylic medium, and I only stumbled across zenithol highlighting about 8 years ago! It’s been a long process, but at this point I can get a figure like this one knocked out in about an hour.
Which means if I did nothing but paint, I could get the pile of shame painted up in about 400 hours…
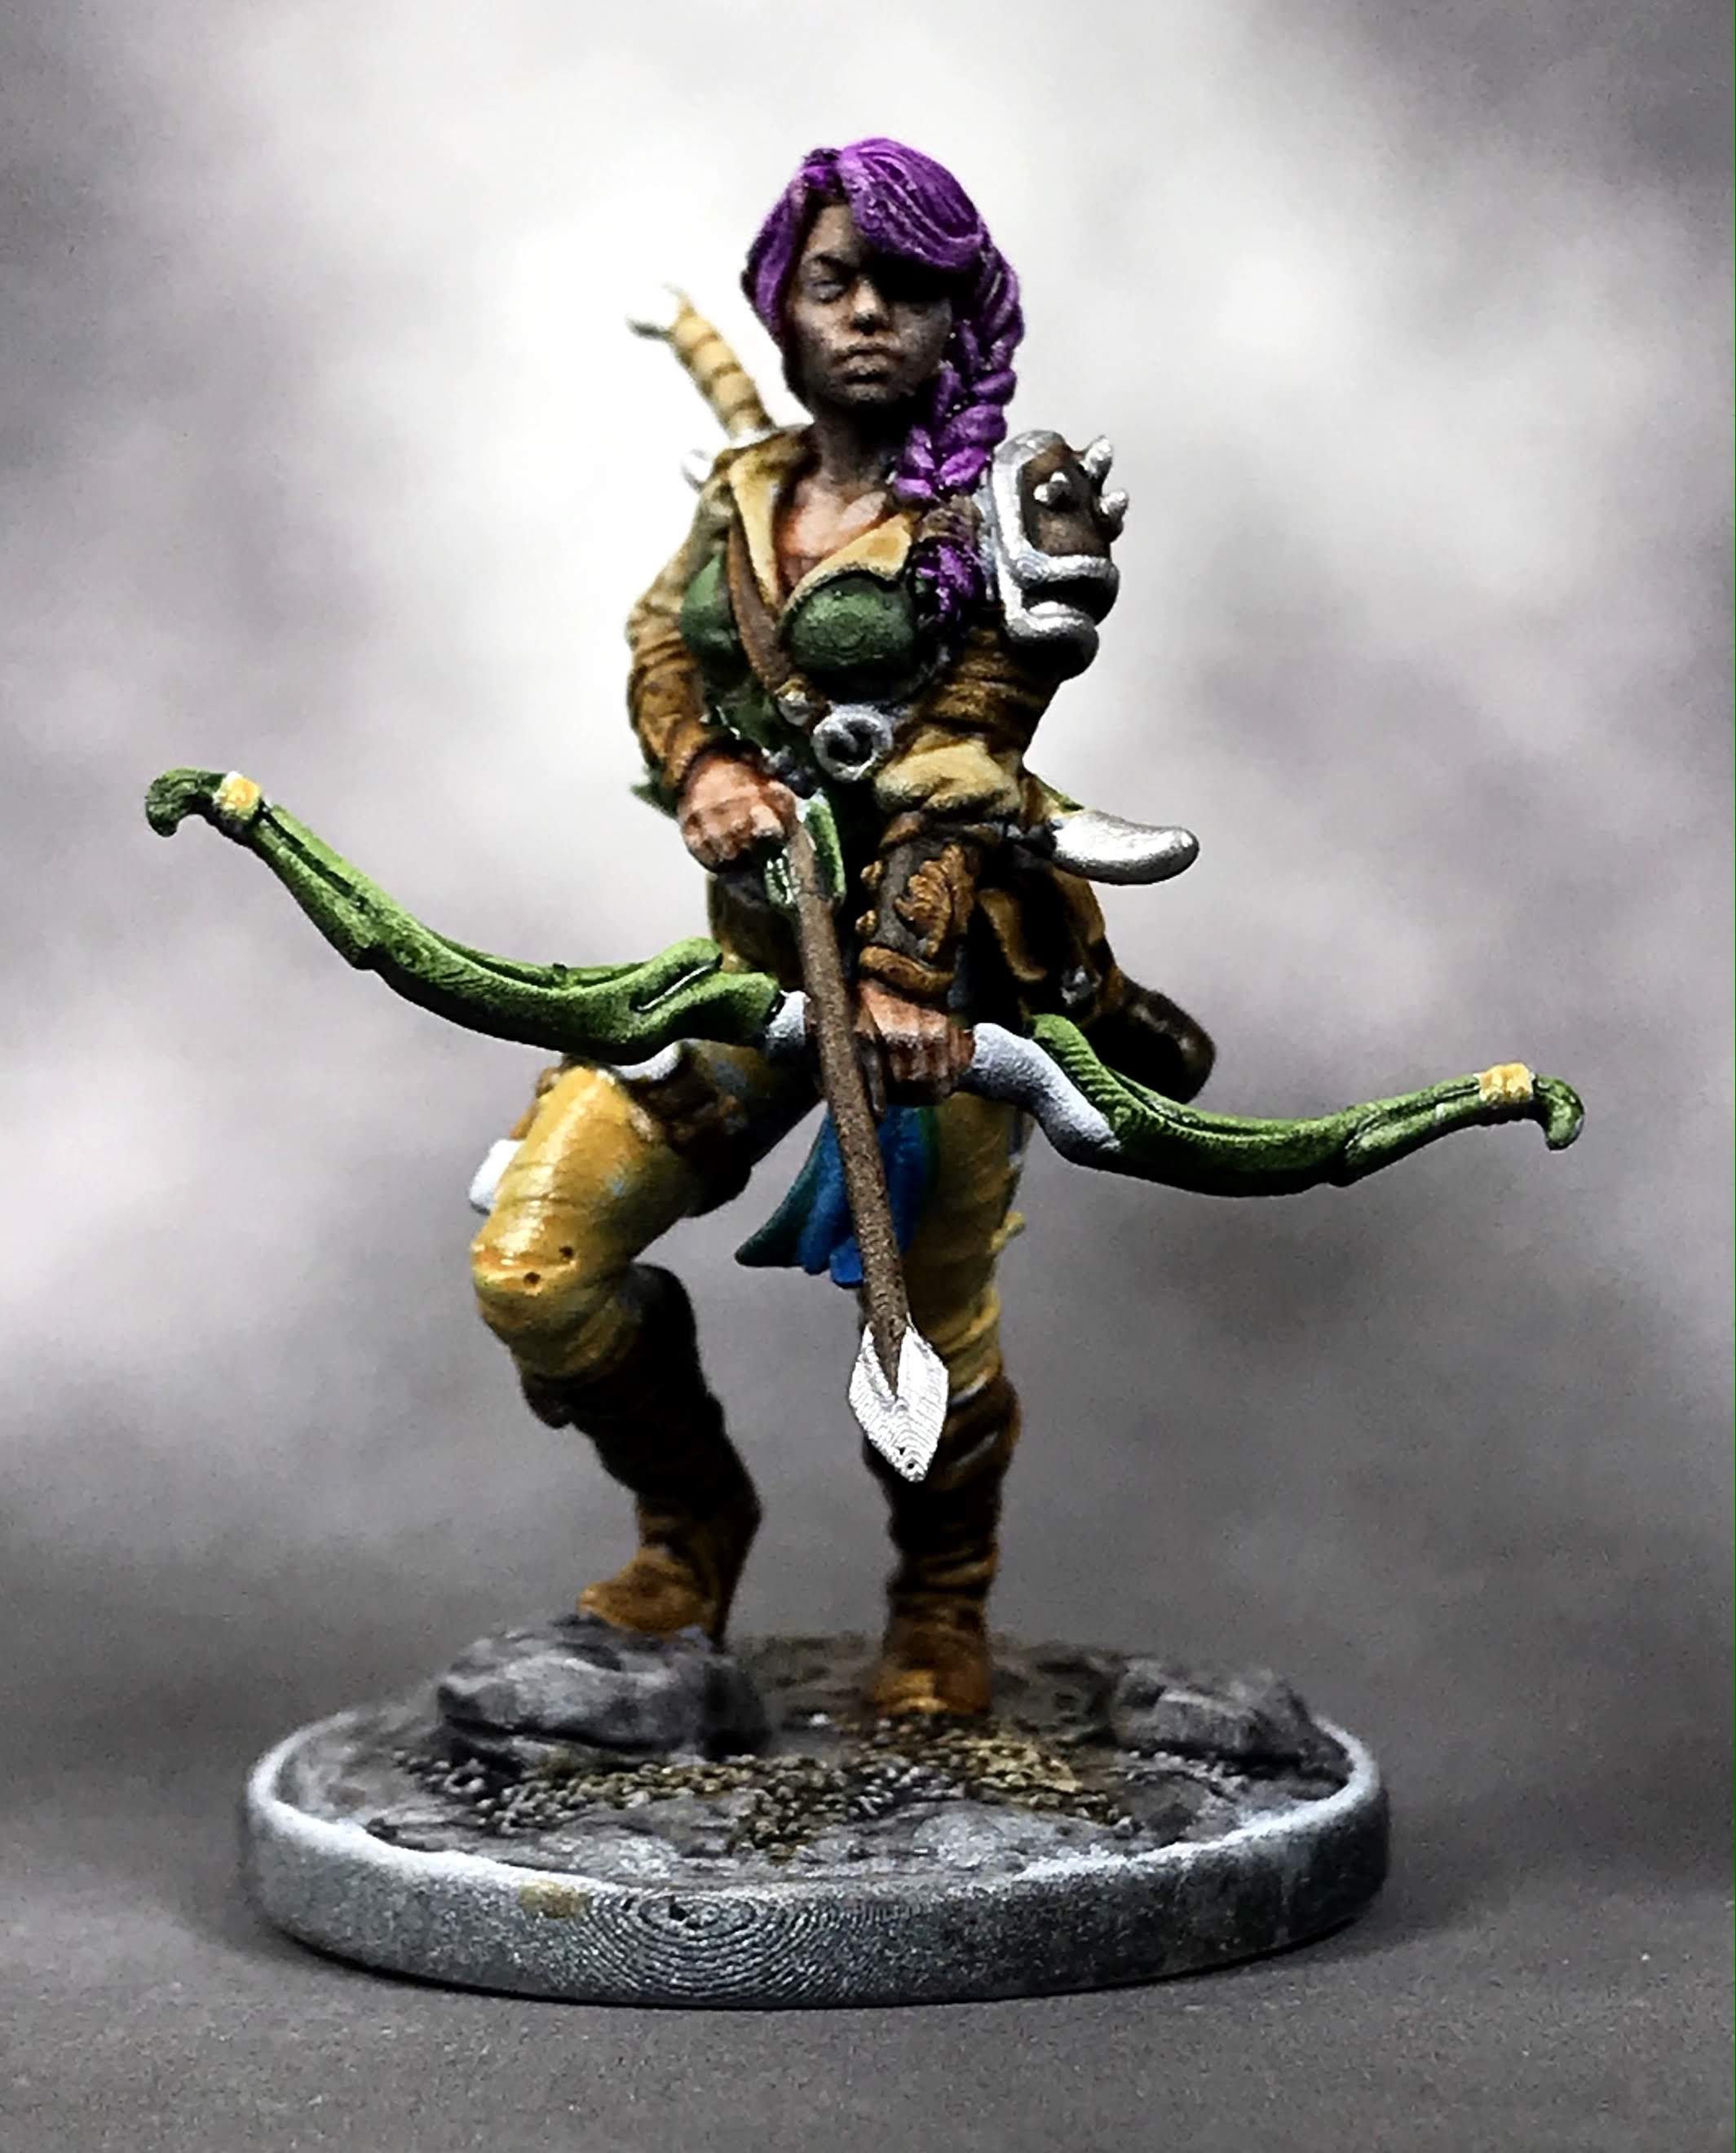
It won’t win any awards, but it’s a damned good table top quality that will make me real freaking happy to play a game with!
I think I’ll keep her name as Lila, I just need to come up with a cool last name, and get her stats together! One step closer to my first game of Rangers of Shadow Deep!
If you have a cool last name for an Elf Ranger in mind, leave it in the comments!
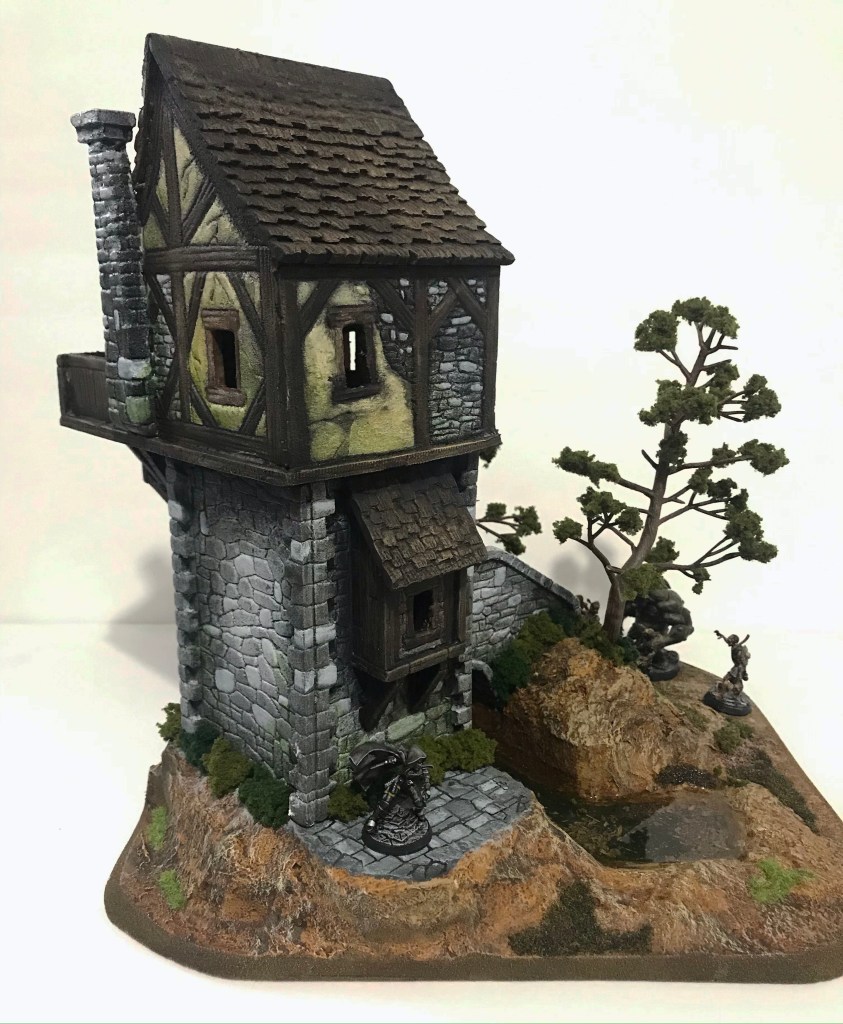
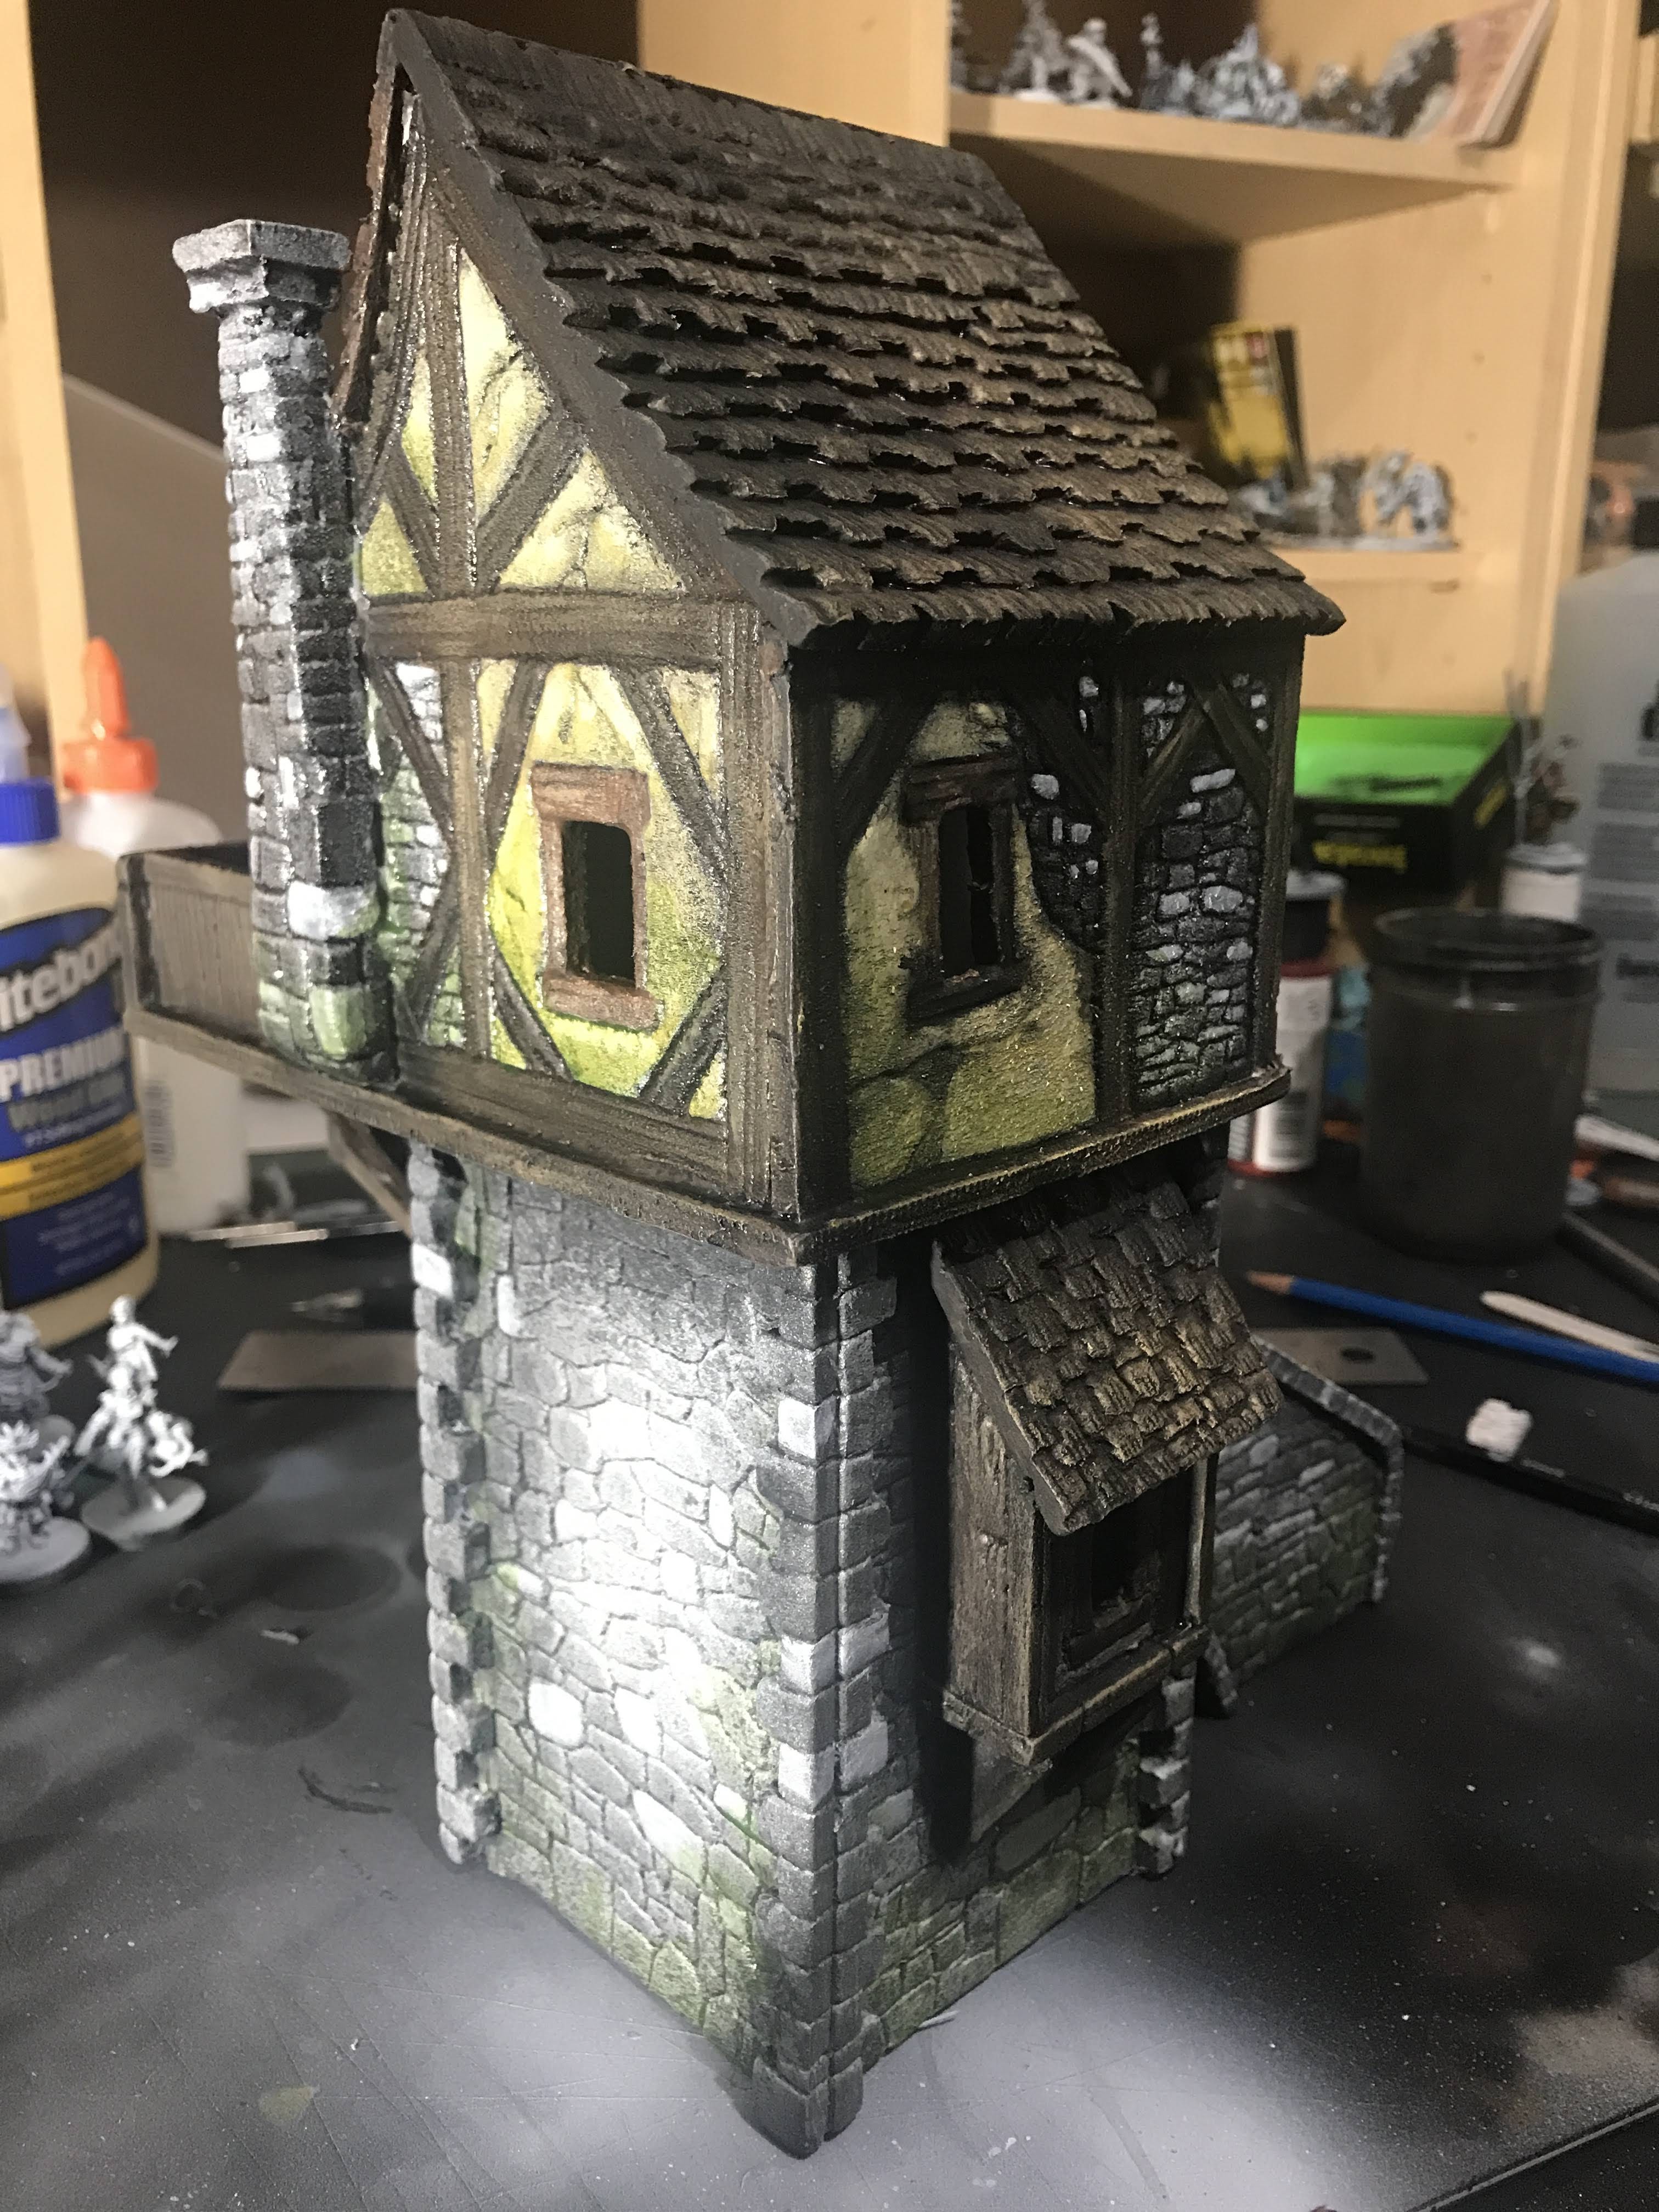
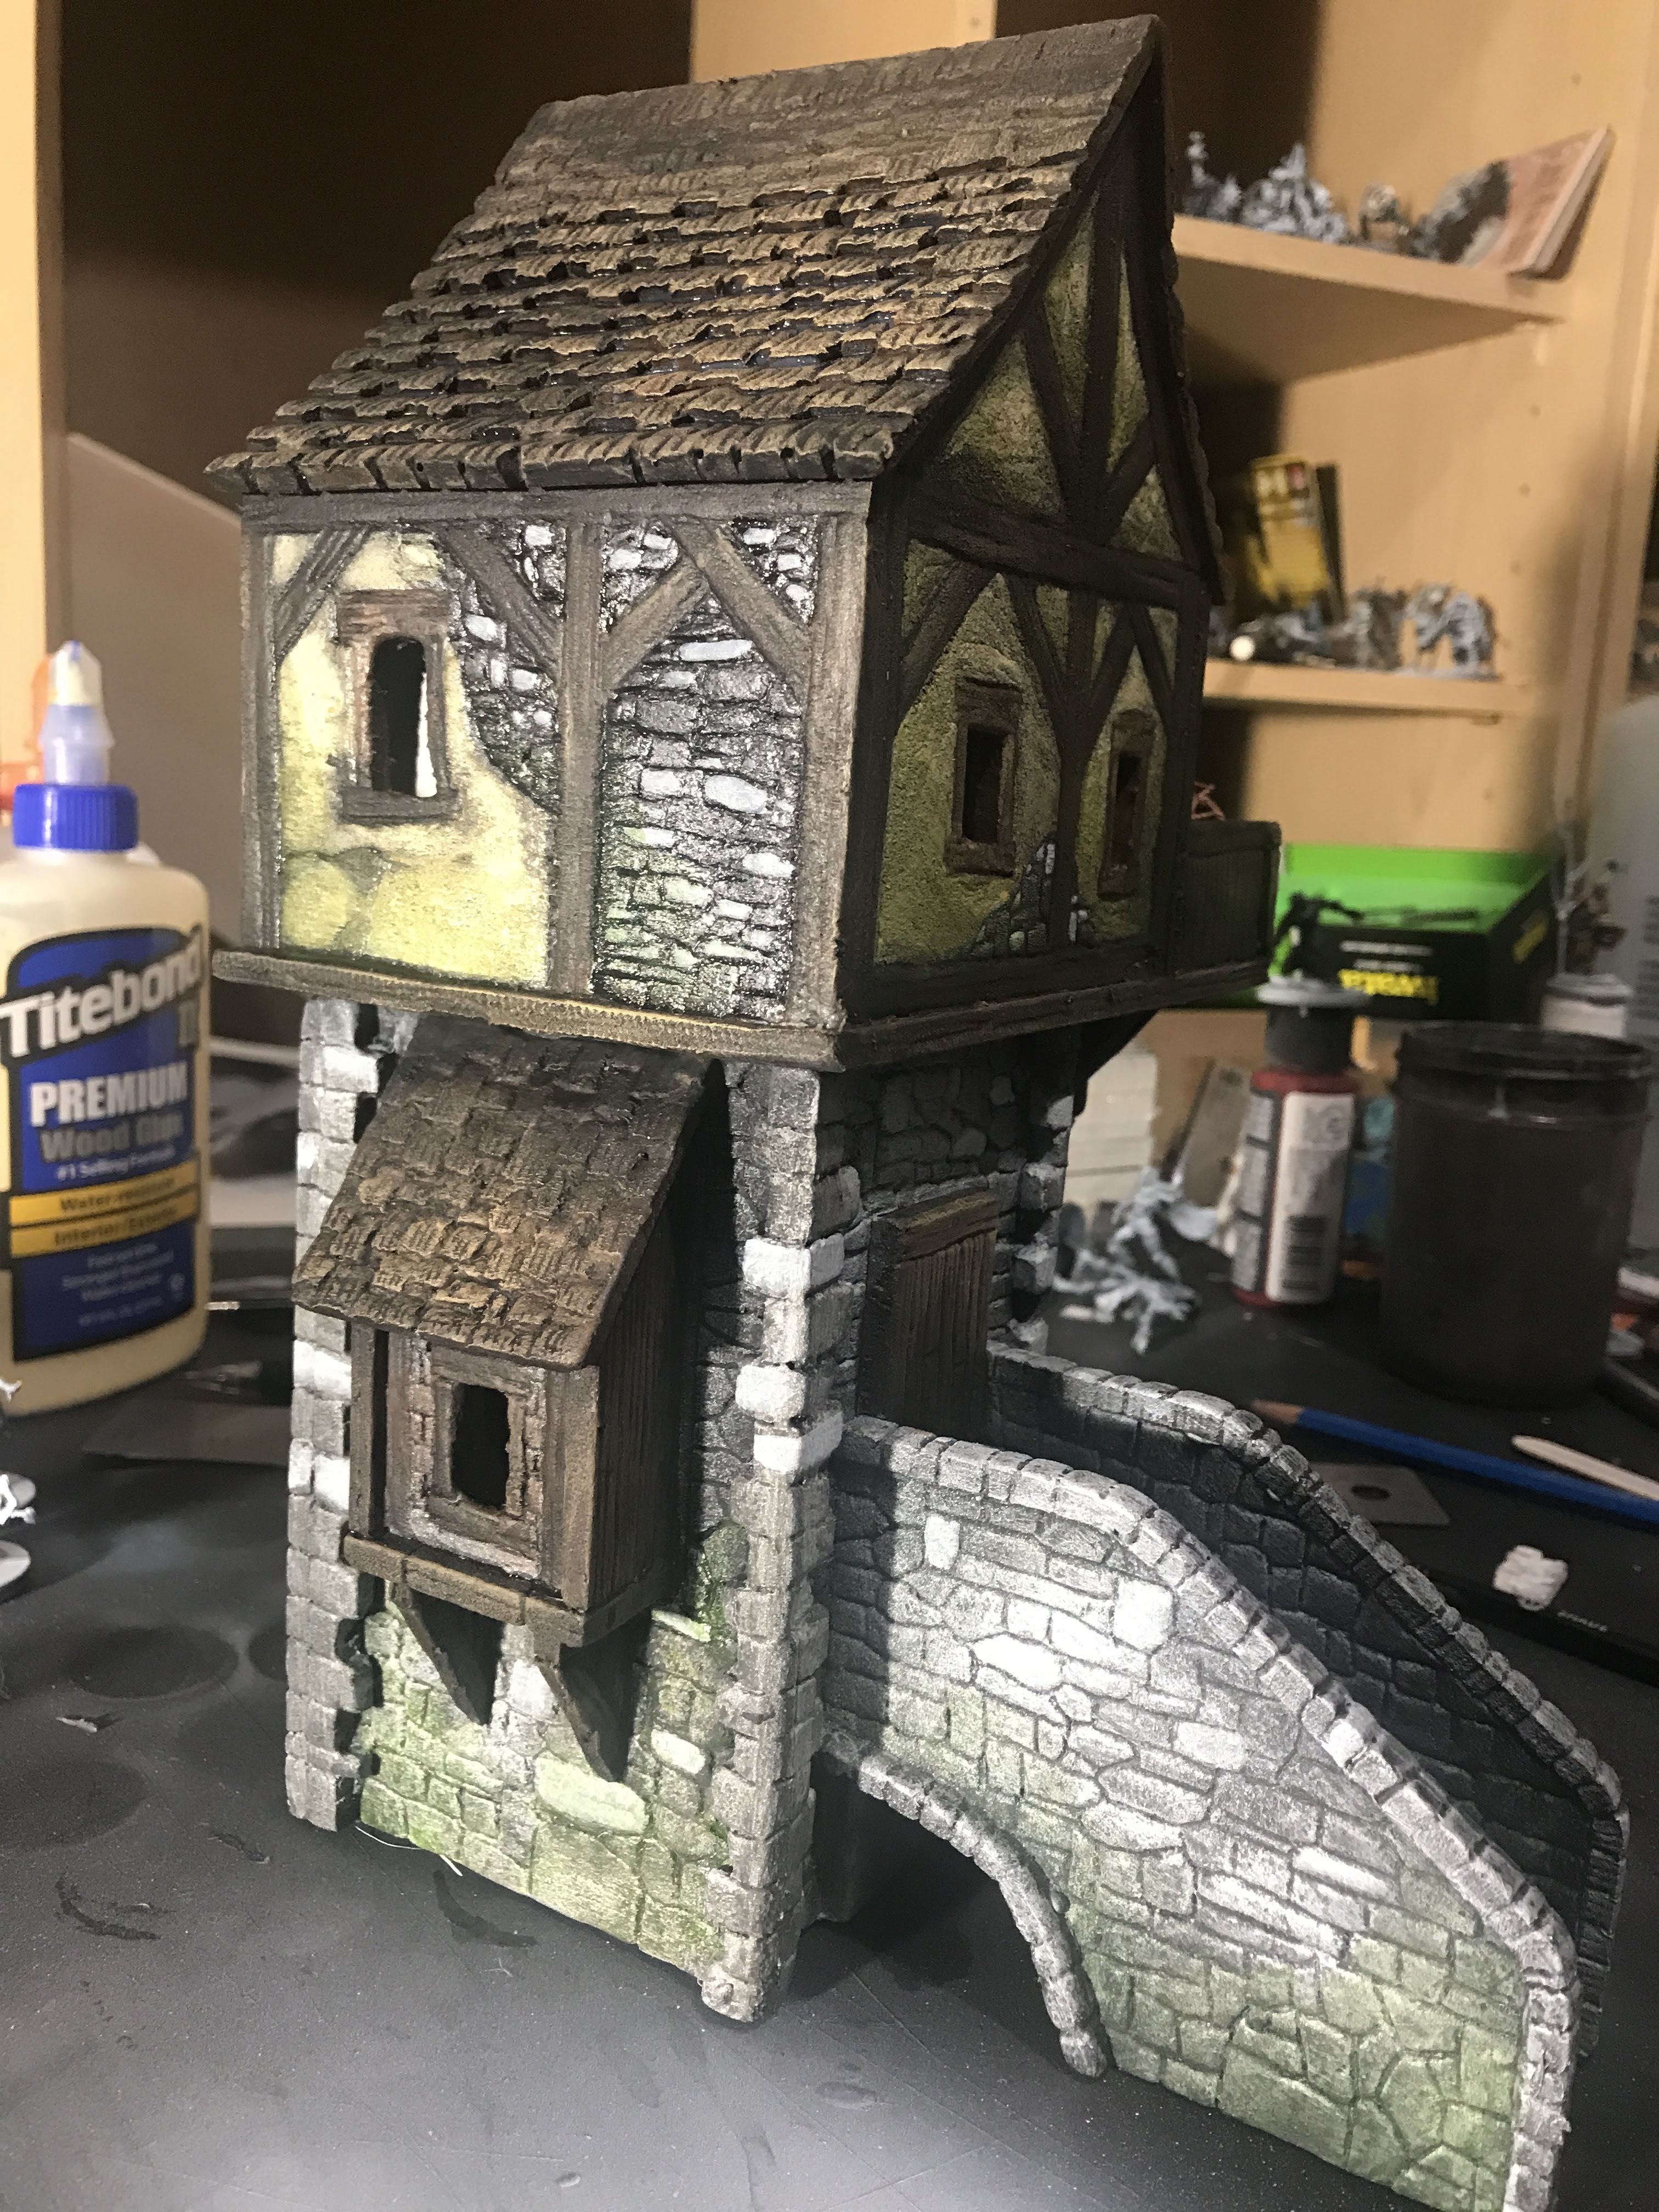
After the tower was sealed in a couple of coats of wood glue and black paint, it was time to get some color on the tower!
I blocked in most of the major color areas with my airbrush, then went to town with a cheap wash made of equal parts black acrylic, brown acrylic, and clear acrylic medium.
After the first coat of wash dried, I went through with a light dry brush over the whole model. This helped bring out a lot of the raised details.
Then I picked out some individual stones to paint lighter colors, and added some wood grain to the timbers. Then everything got another series of washes, with either a moss green with clear acrylic, or Payne’s Grey with clear acrylic. This aged everything up a bit, and added a more lived-in feeling to the model.
Something this big and cool looking needs a base to tie it all together, so that will be the next step in the project!
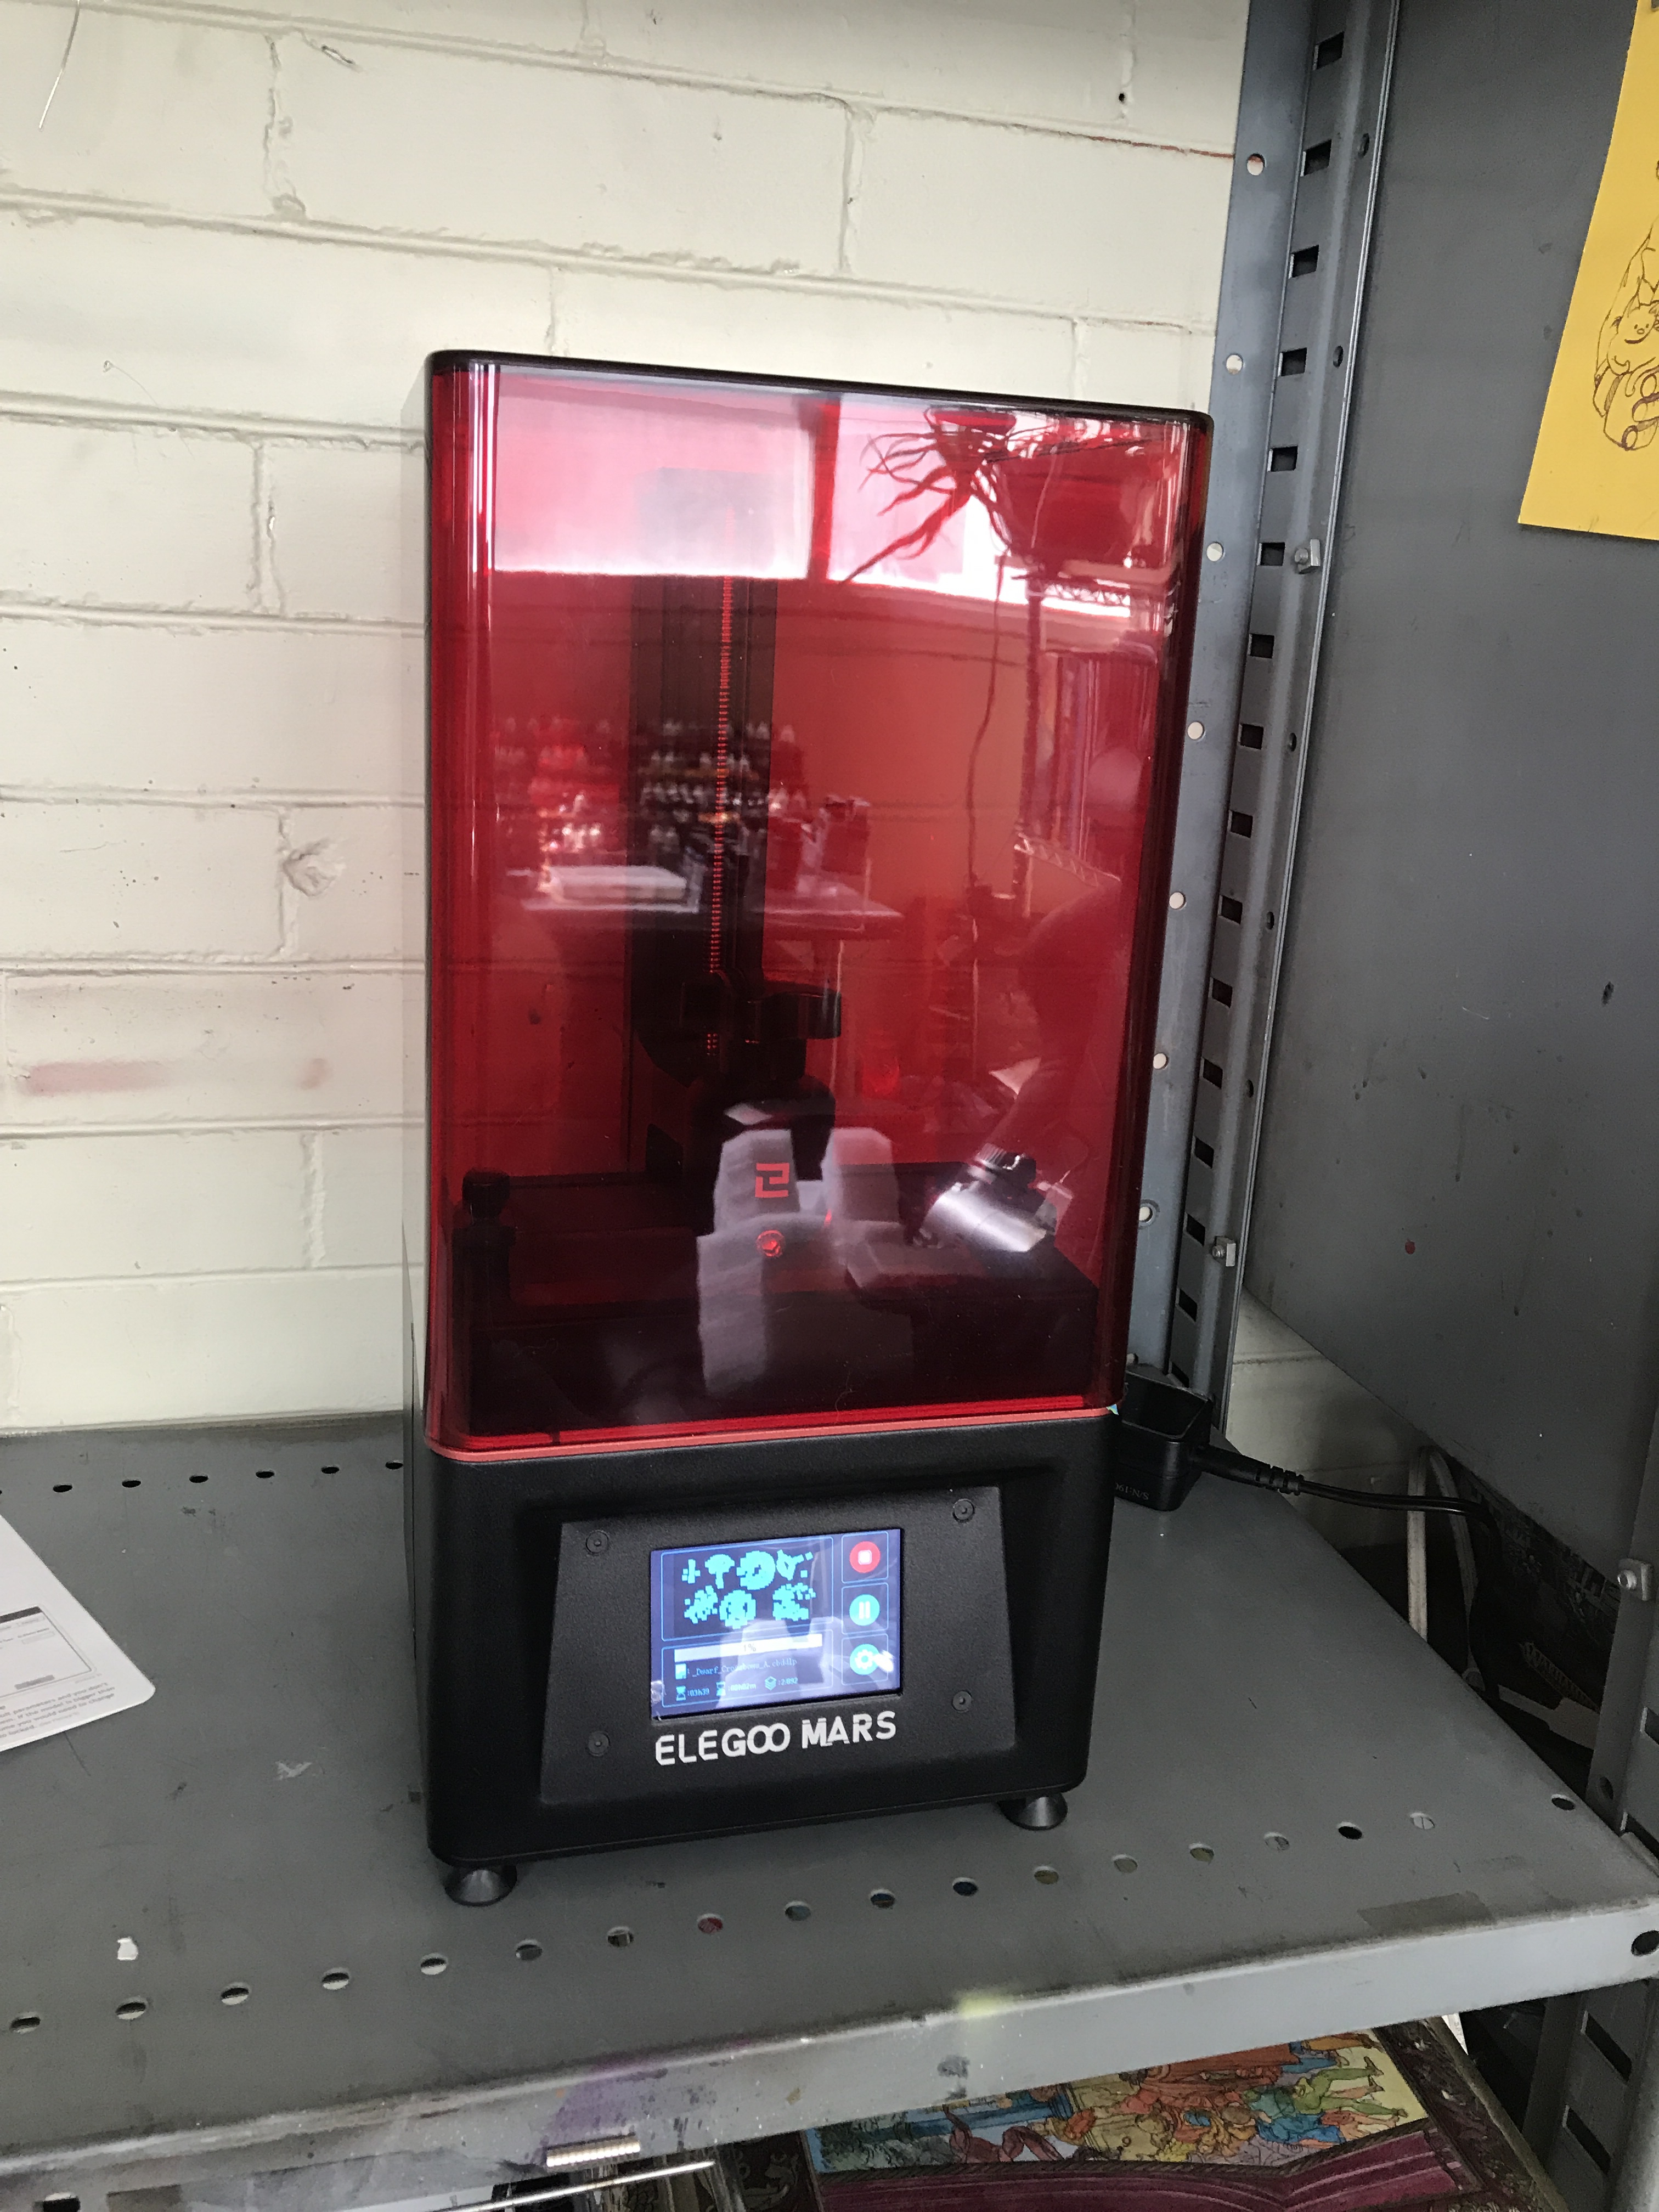
On April 10th, my hobby world changed in an interesting way when my new Elegoo Mars 3D resin printer showed up at my house. I had been debating the purchase for over six months, but I had a pretty good bonus, the bills were paid, and I decided to jump in.
The first week was pretty rough, with a lot of failed prints and hard lessons learned. I finally got my settings dialed in, found a good little heater to keep the resin liquid in our chilly April weather, and managed close to 3 dozen fantastic prints. So many cool minis joined my collection, and I joined 3 cool printing communities to celebrate and share pics of our amazing prints.
Successful Print #1, Gino the Dwarf from Artisan Guild
Then, the unthinkable happened. About a week ago, I noticed a weird hole appearing in some of my mins, like someone had drilled a hole through them. It was baffling. I hopped on one of the 3D communities, and some really cool people broke the news to me gently.
Pope Blobulba from Artisan Guild
My LCD screen was burning out.
I had only had the printer for 3 weeks, and while it had already paid for itself easily, I wasn’t ready to pay to get it serviced. I contacted Elegoo directly, a really patient customer service rep walked me through a diagnosis, and yep. The LCD was fried.
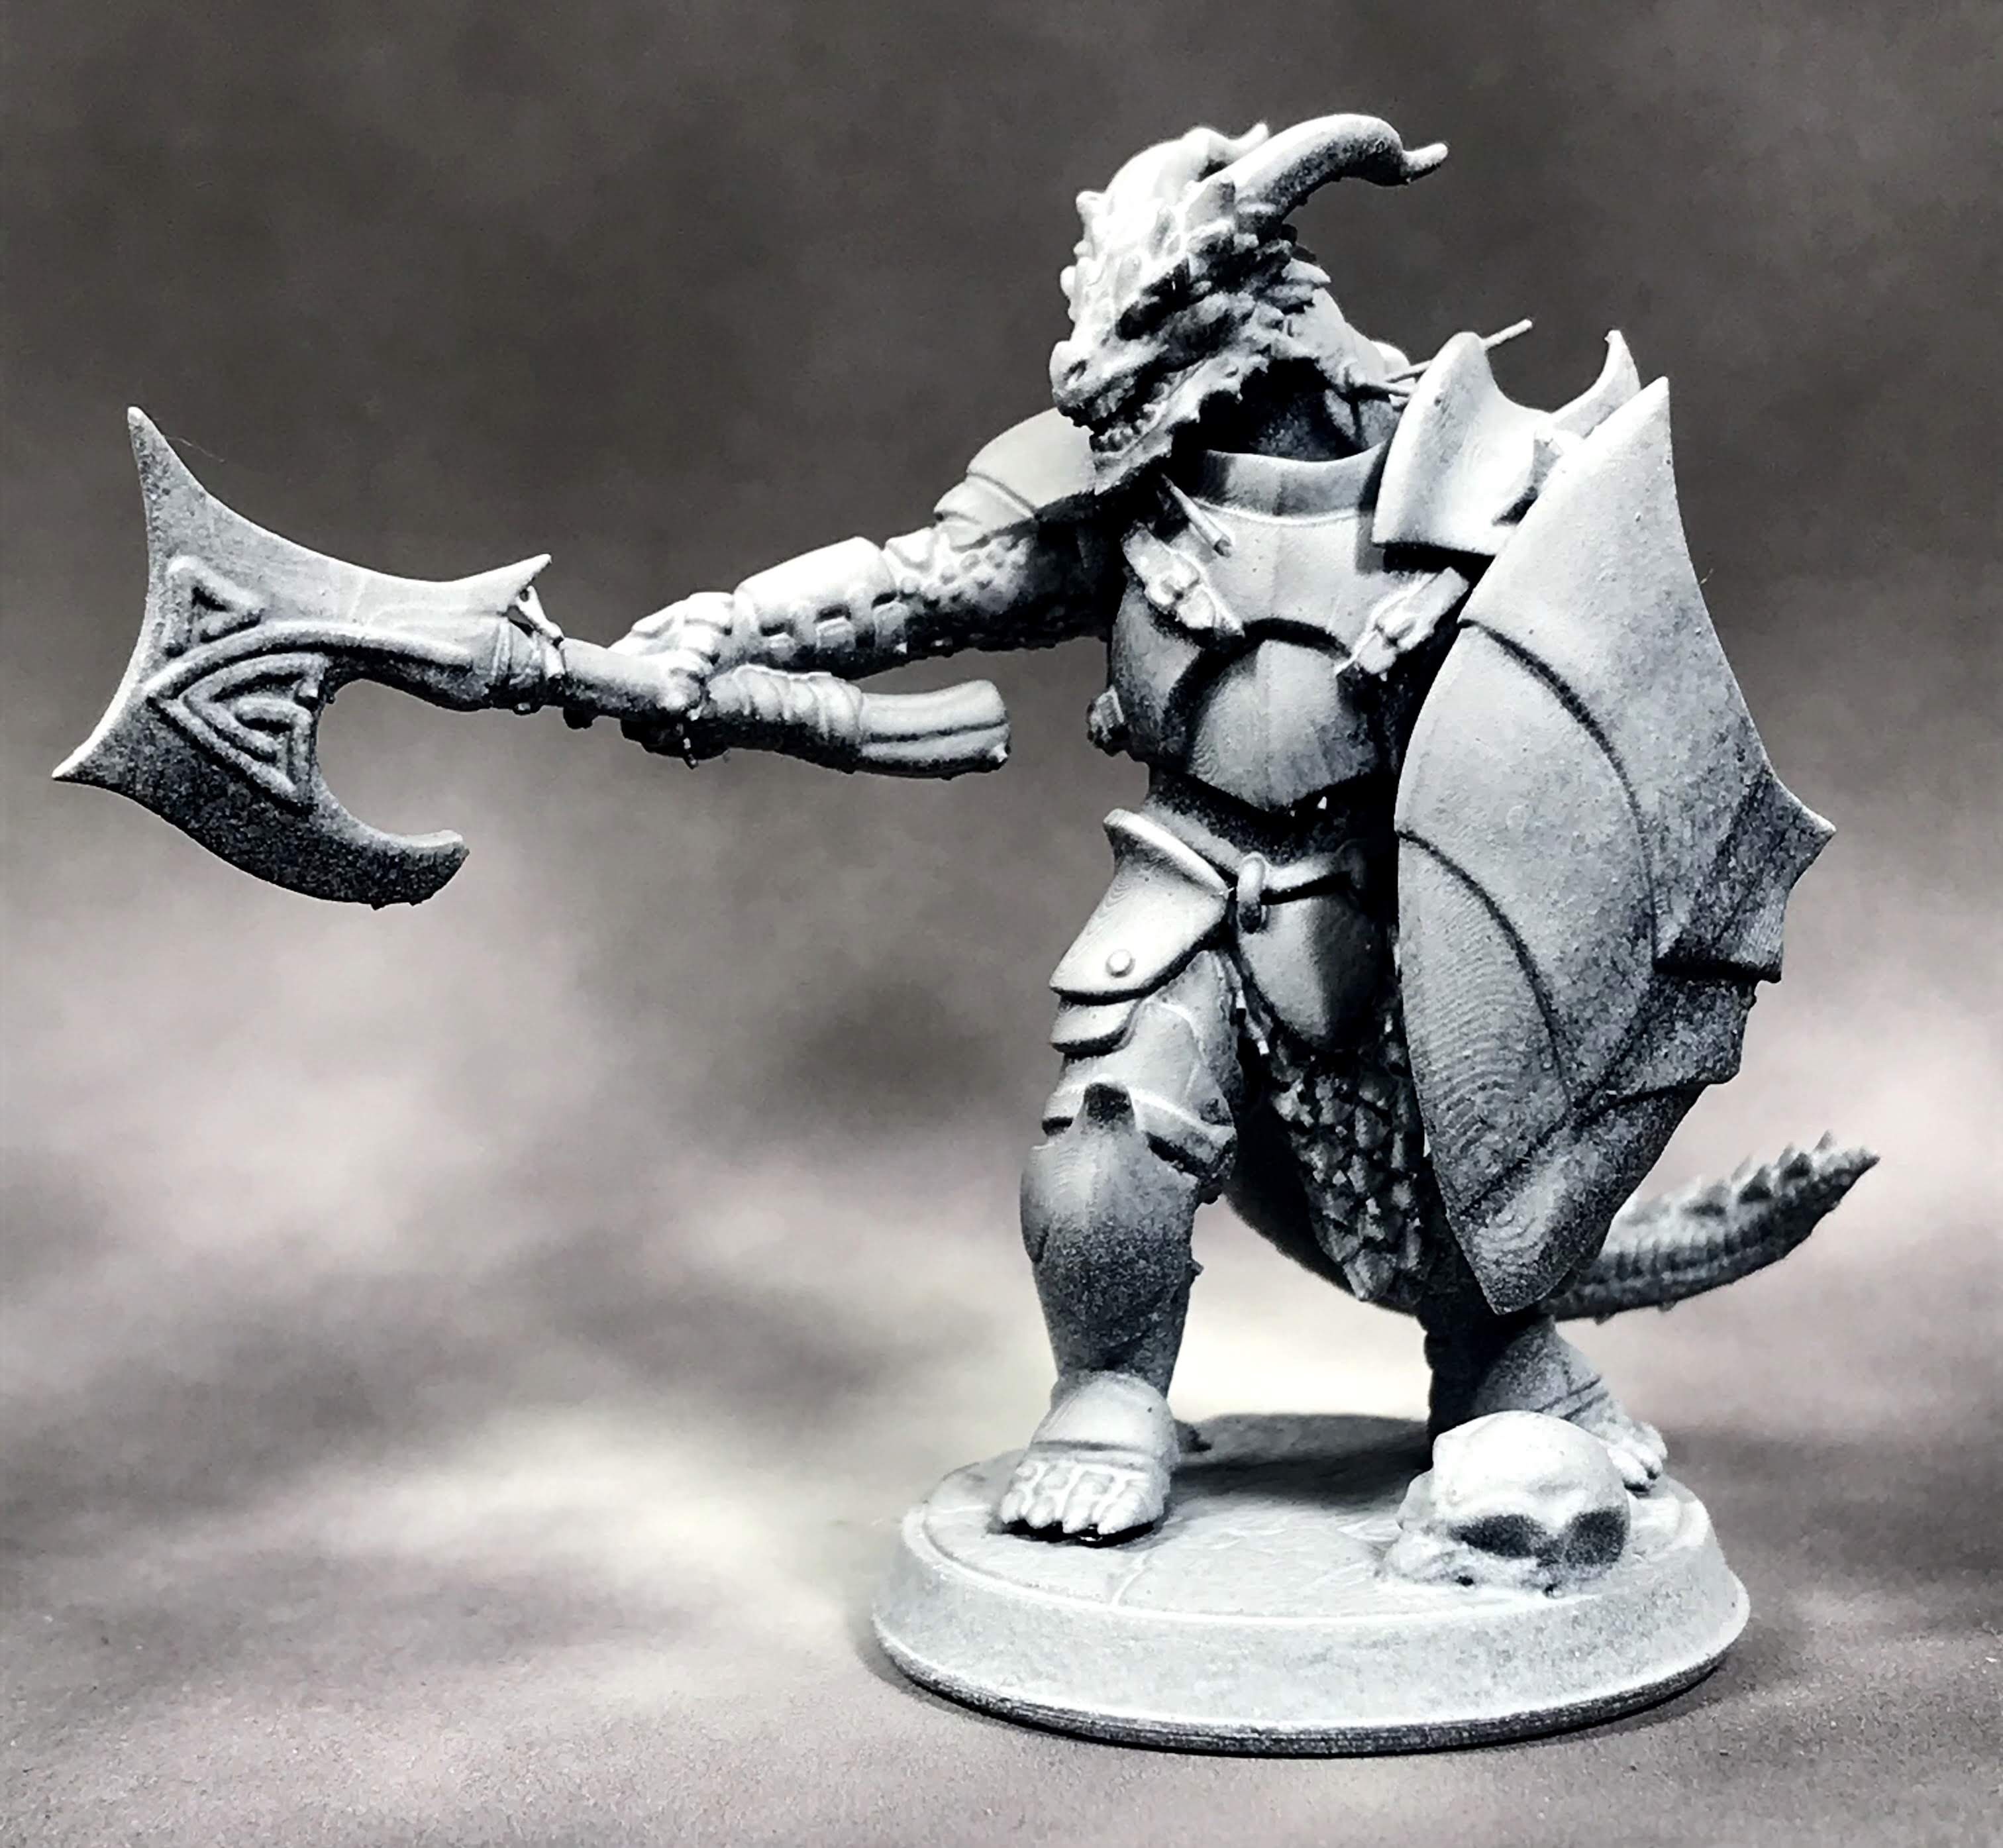
Dragonborn Hero from Titan Forge
I was told a replacement part would come, and that it would take two weeks to get to me. I resigned myself to painting some of the finished models, and settled in for my two week wait.
That two weeks was three business days. My replacement screen arrived Monday afternoon, and after work I settled down to watch a YouTube video from Elegoo on how to change the LCD screen.
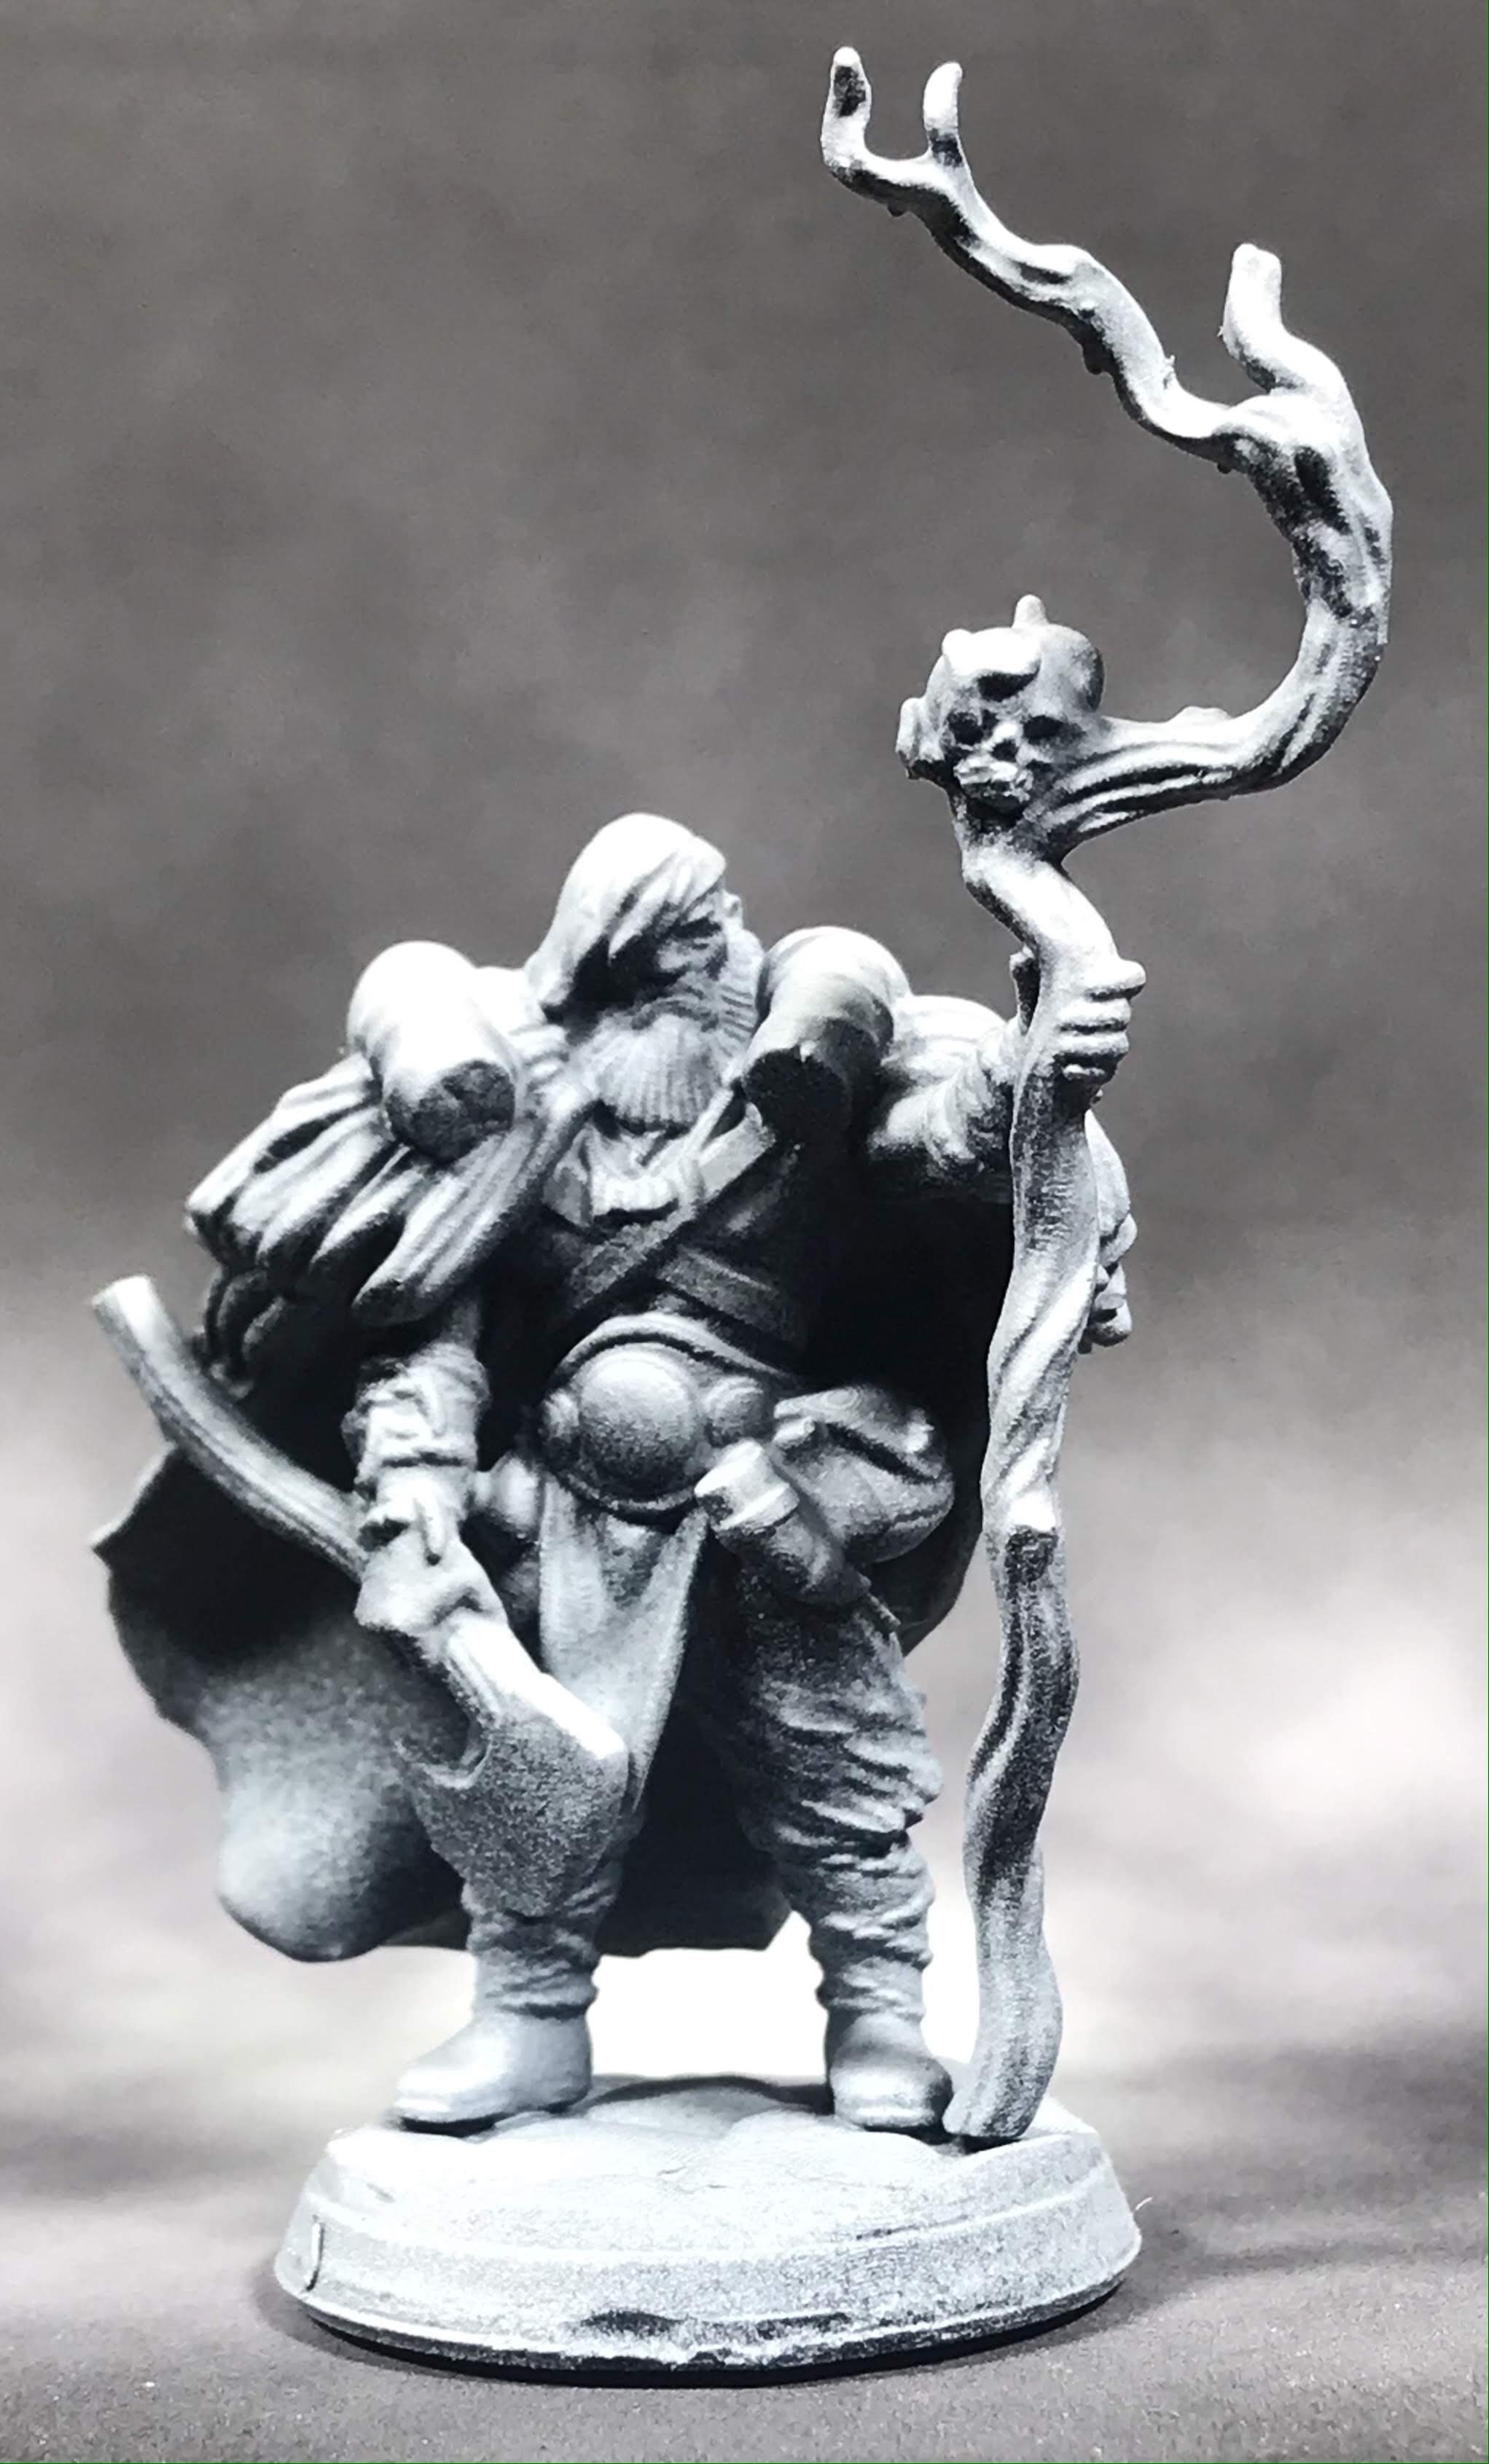
Druid Hero from Titan Forge
The video showed a fairly complicated procedure, but I figured if I took notes, I could get through it. Then the video switched to motherboard model B, and it was just a couple of swapped out relays. Then motherboard model C came up, and it was literally one quick swapped out relay, pop out the old screen, and replace it with the new one. Connect the relay, and test your settings.
I have a motherboard model C.
The whole procedure to replace my LCD screen took less than 10 minutes. That’s pretty staggeringly cool in my book!
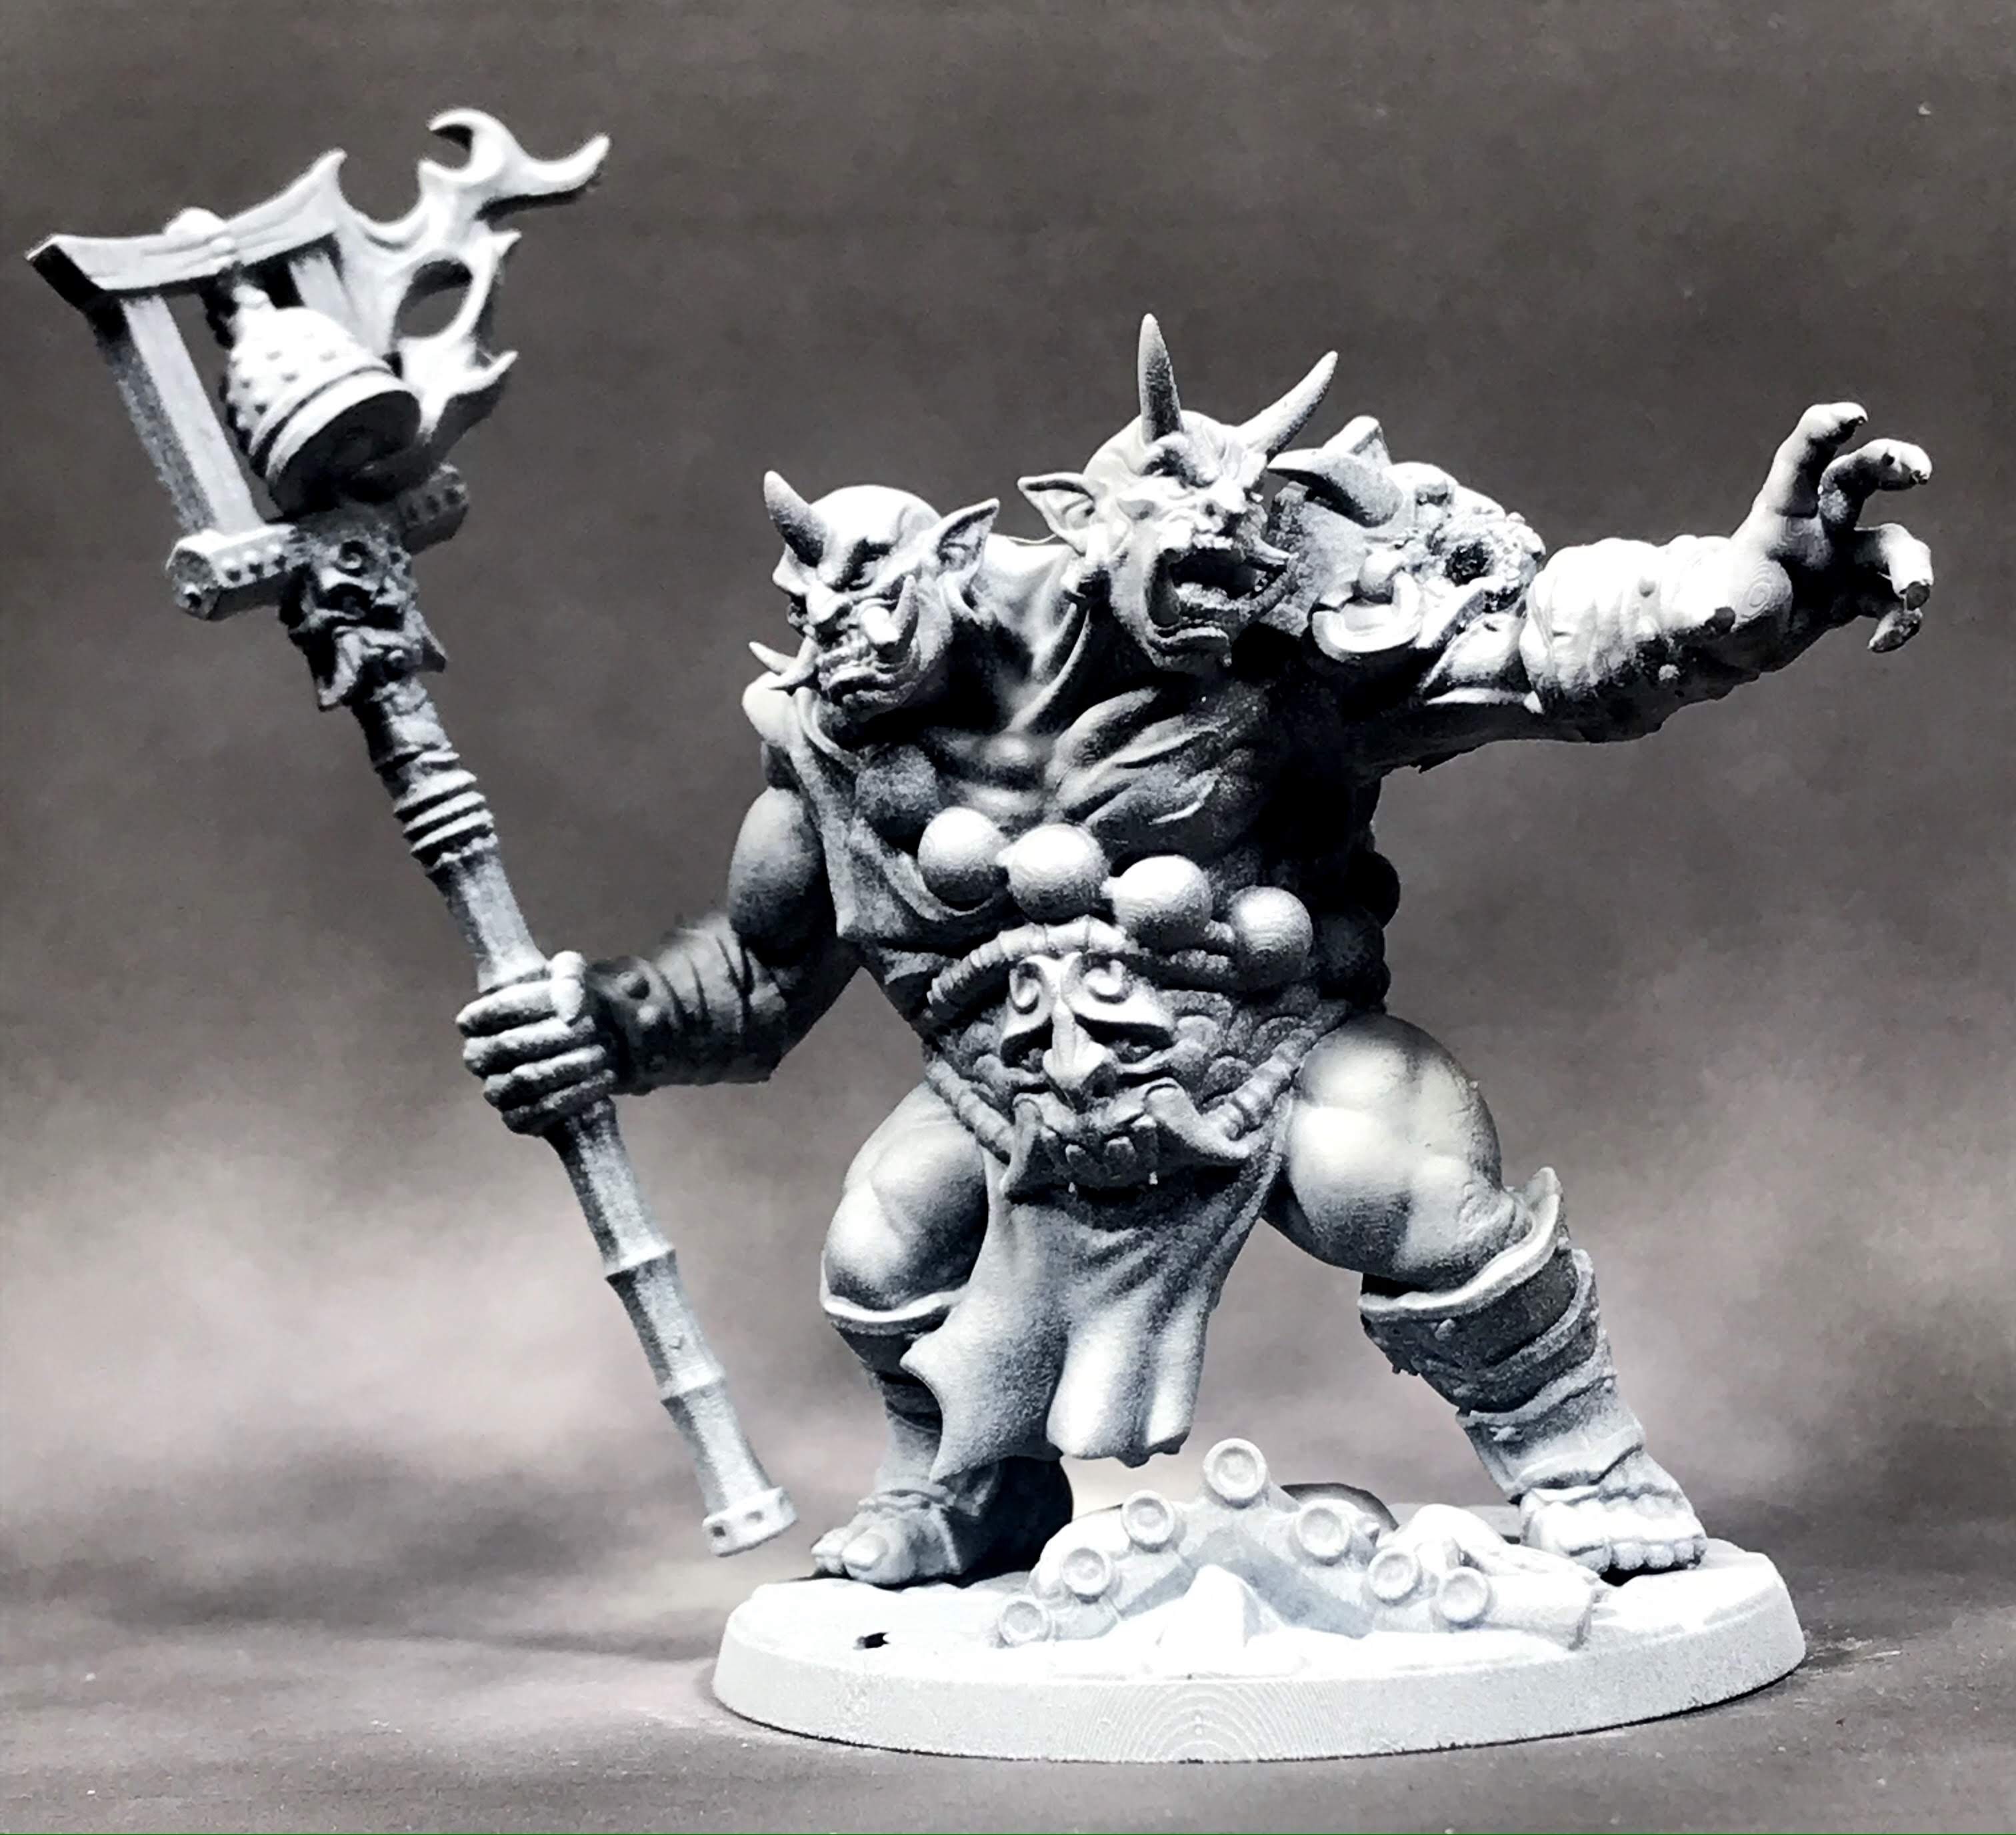
Ogre Mage from Artisan Guild
I ran the diagnostic, and everything came up aces. Tomorrow, I am printing up my Ranger and a whole slew of zombies! My enthusiasm for the Elegoo Mars really went up a couple notches today.
I can’t wait to get more prints ready to paint, and get my Rangers of Shadow Deep on!
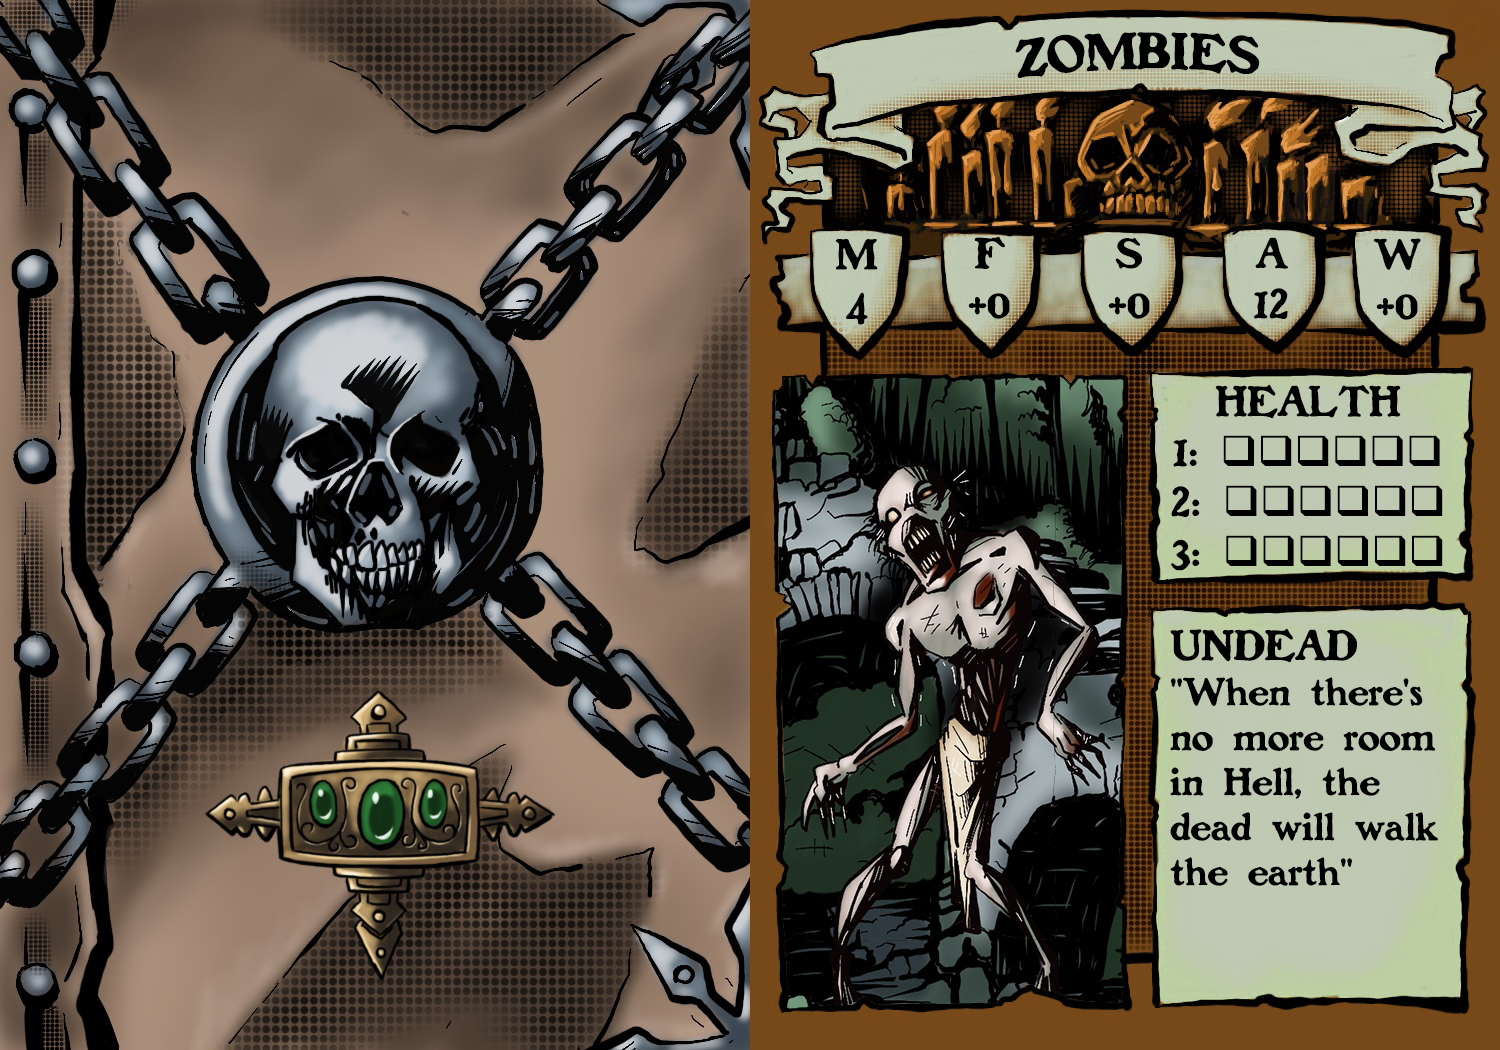
The first entry in my Beastiary art for fantasy games, here is a quaint shambler, full of hungry thoughts for thinky bits. I have also included a card for Frostgrave that will allow tracking for up to three slackjaws.
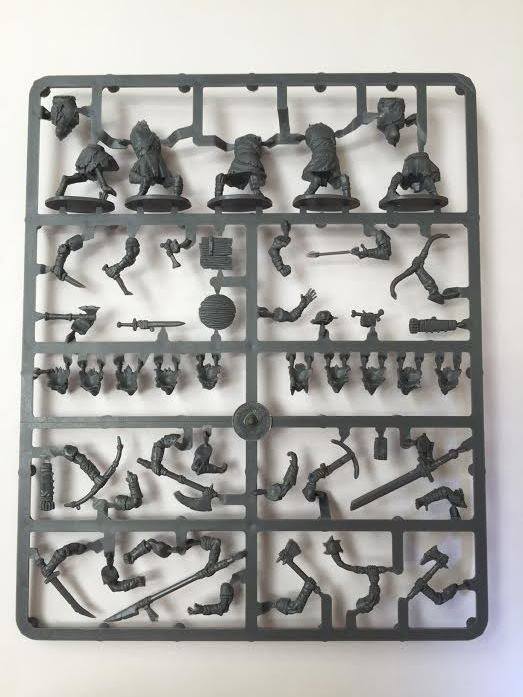
The first set of Frostgrave minis I picked up was the multi-piece plastic kit from Northstar Miniatures. I have always been a sucker for multi part miniatures, and for $35 you get 20 little beasties to build and paint. That’s a really good value, and you get a lot of hobby time for the money!
My first gnolls just weren’t cutting it for me, though. You can see the paint job on the banner at the top of the page. They look fine, but something was missing. I was watching Planet Earth last week, and it dawned on me; these guys are hyena peeps, and hyenas have masks. I broke out the paints, and after a couple of hours of work and a few washes, this is how my gnolls look:
Now that’s more freaking like it! The big bruiser with the shield and spear is one of those AD&D cheapo pre-paints, but I like the fig and it can be painted up Real Purdy in very little time. The other 5 pups are from the Northstar kit. I have 15 more doggos to paint, but I’m going to get some color variation in there to break up the band visually.
The Frostgrave gnolls can be ordered at just about any FLGS, or you can contact the awesome peeps at my favorite store, Shiv Games here in Salt Lake City.