TRAGEDY…Averted?

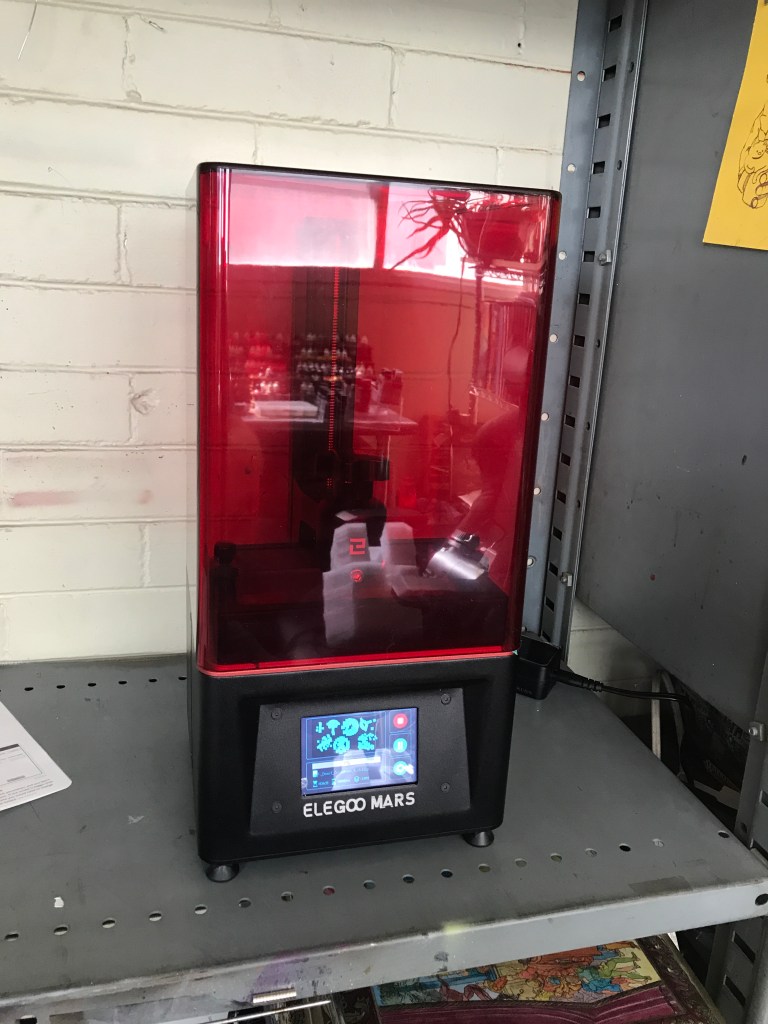
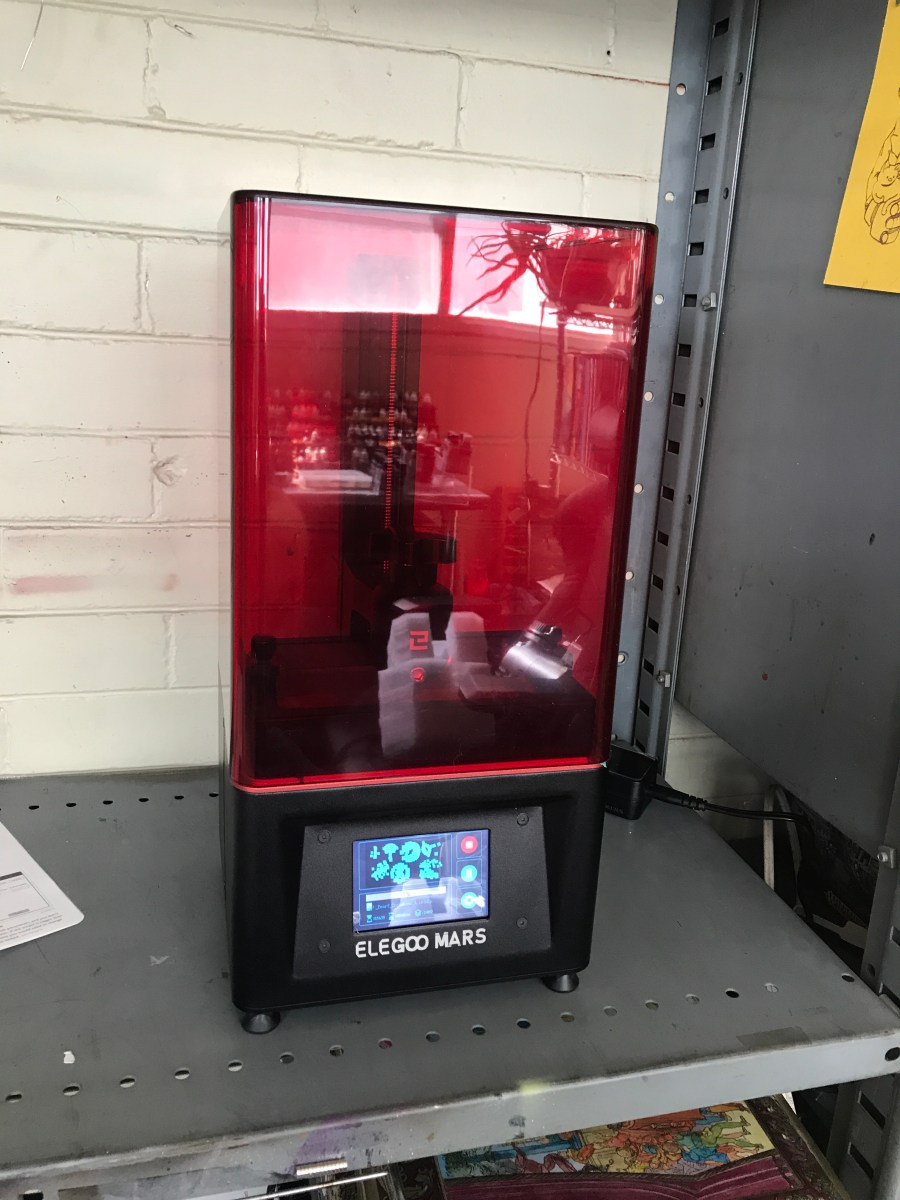
On April 10th, my hobby world changed in an interesting way when my new Elegoo Mars 3D resin printer showed up at my house. I had been debating the purchase for over six months, but I had a pretty good bonus, the bills were paid, and I decided to jump in.

img_3460

The first week was pretty rough, with a lot of failed prints and hard lessons learned. I finally got my settings dialed in, found a good little heater to keep the resin liquid in our chilly April weather, and managed close to 3 dozen fantastic prints. So many cool minis joined my collection, and I joined 3 cool printing communities to celebrate and share pics of our amazing prints.

img_3513
Successful Print #1, Gino the Dwarf from Artisan Guild

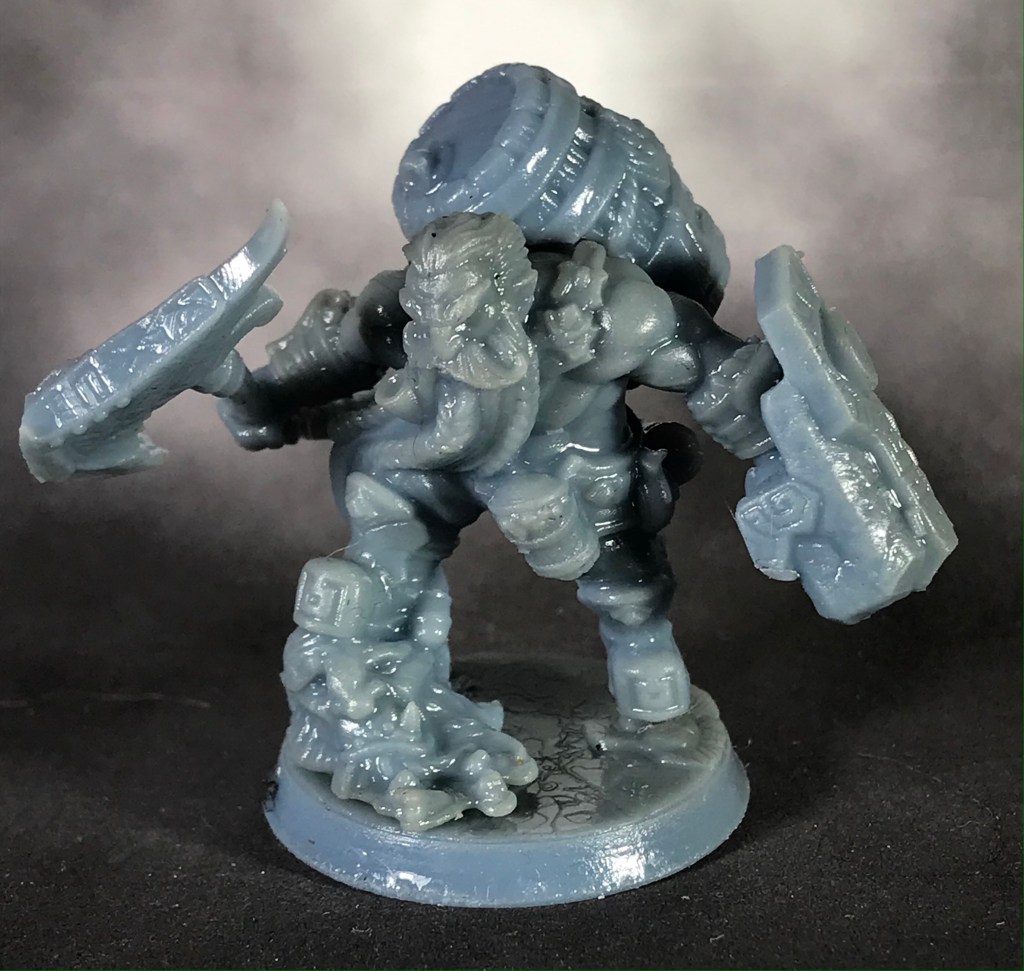
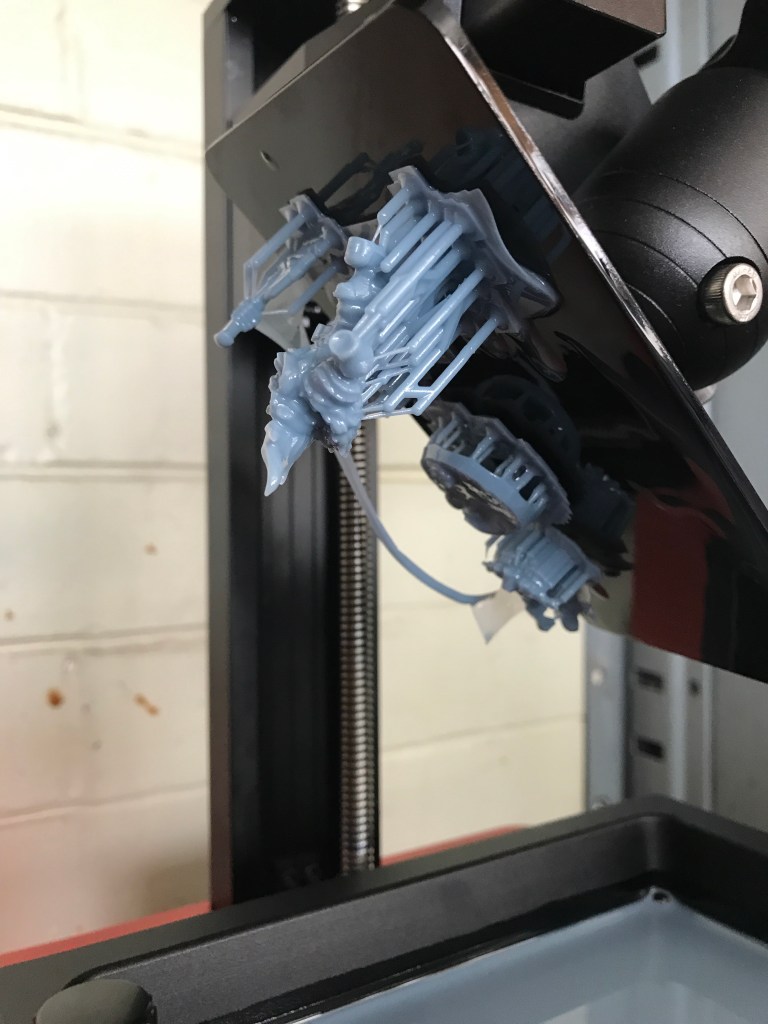
Then, the unthinkable happened. About a week ago, I noticed a weird hole appearing in some of my mins, like someone had drilled a hole through them. It was baffling. I hopped on one of the 3D communities, and some really cool people broke the news to me gently.

img_3514
Pope Blobulba from Artisan Guild

My LCD screen was burning out.

I had only had the printer for 3 weeks, and while it had already paid for itself easily, I wasn’t ready to pay to get it serviced. I contacted Elegoo directly, a really patient customer service rep walked me through a diagnosis, and yep. The LCD was fried.

img_3515
Dragonborn Hero from Titan Forge

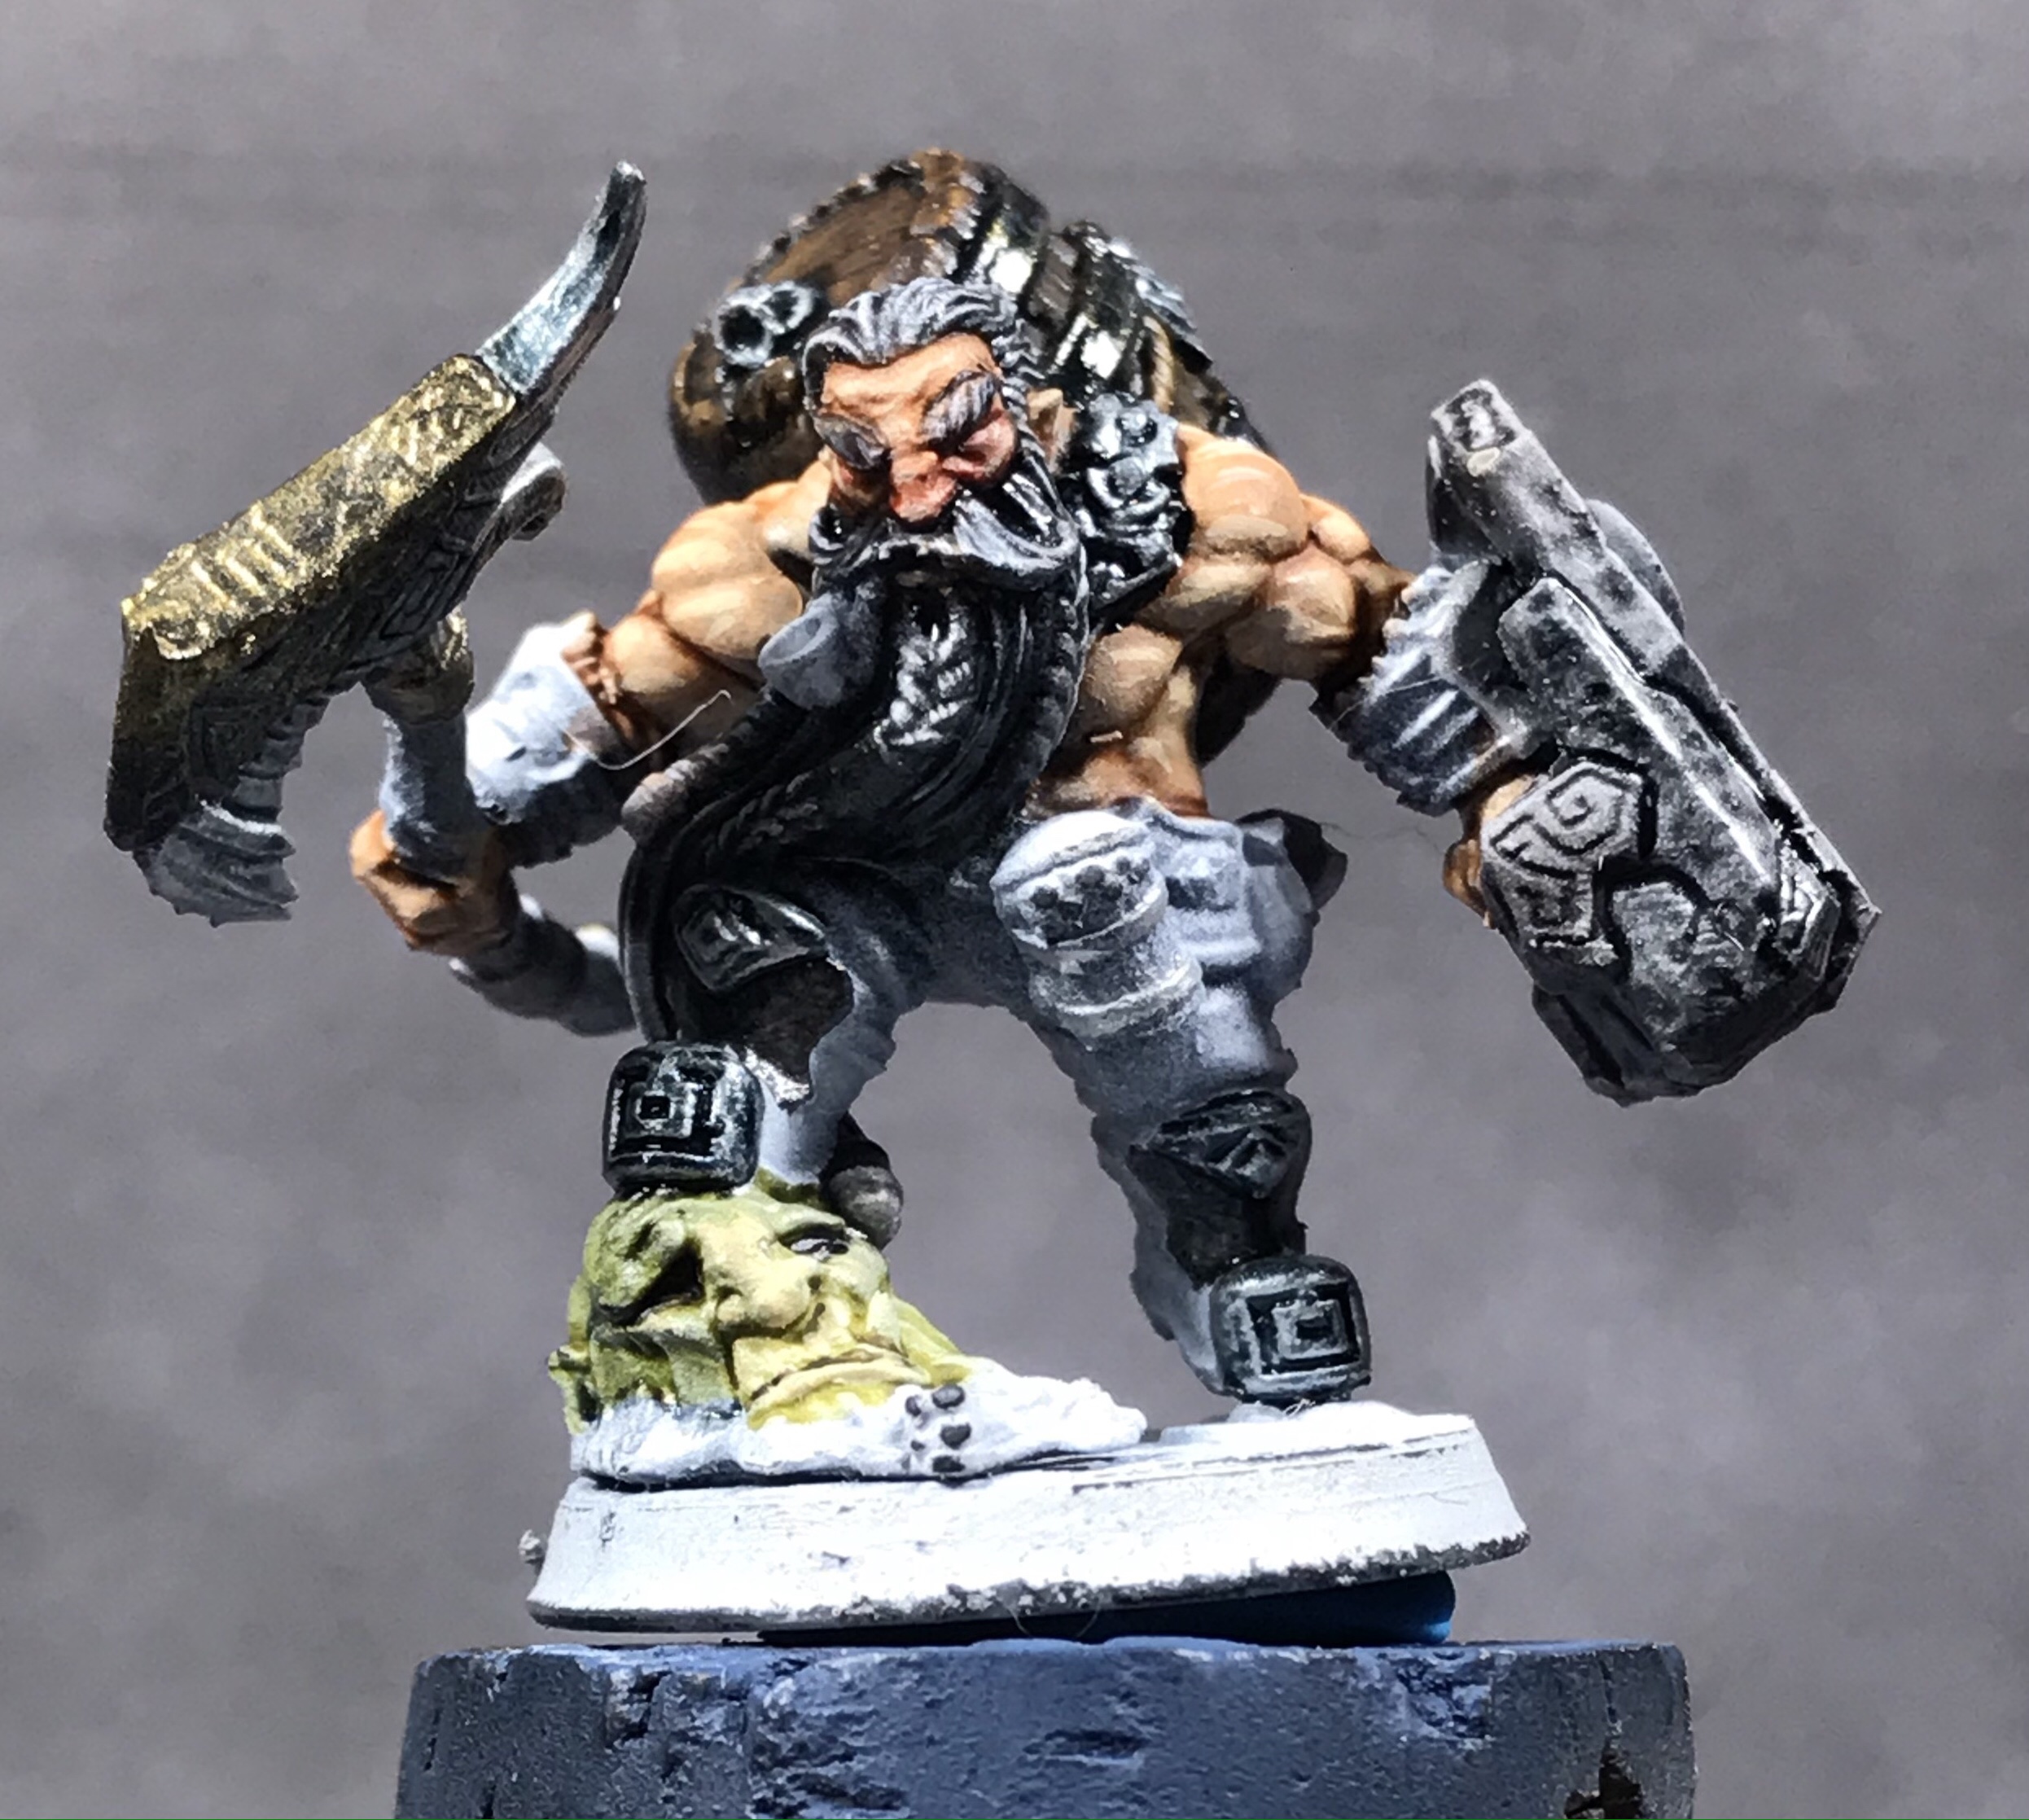
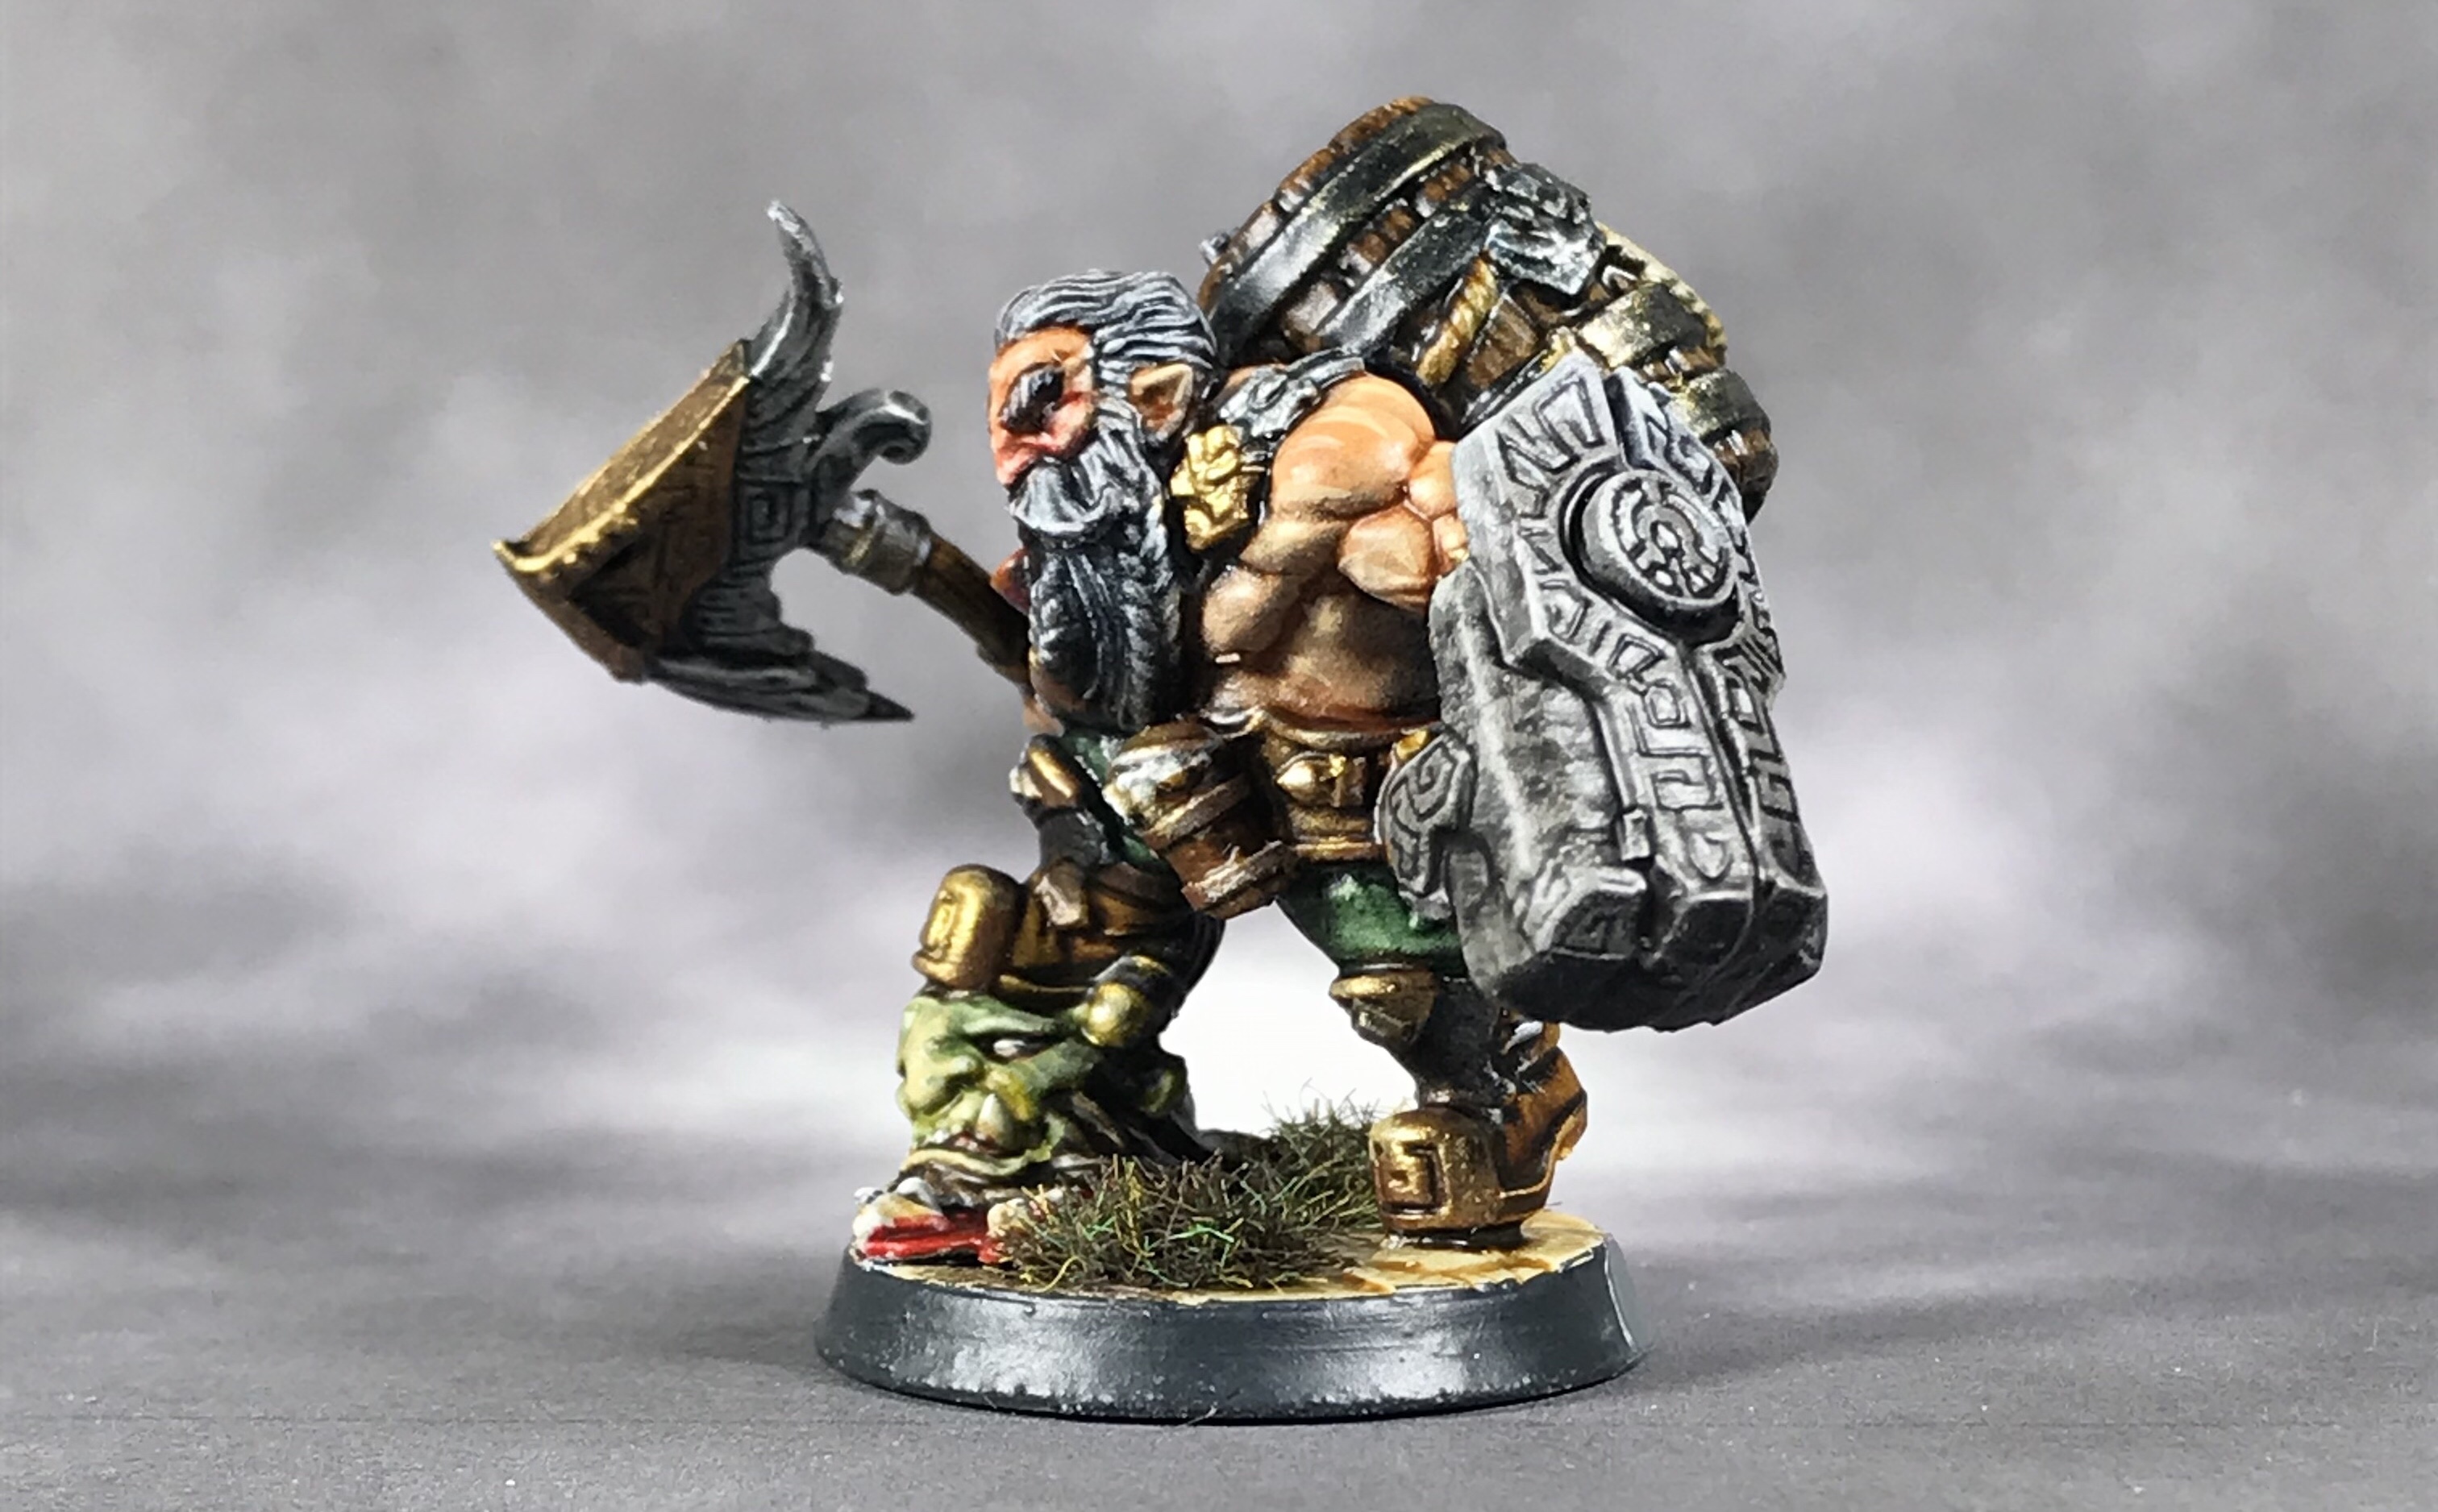
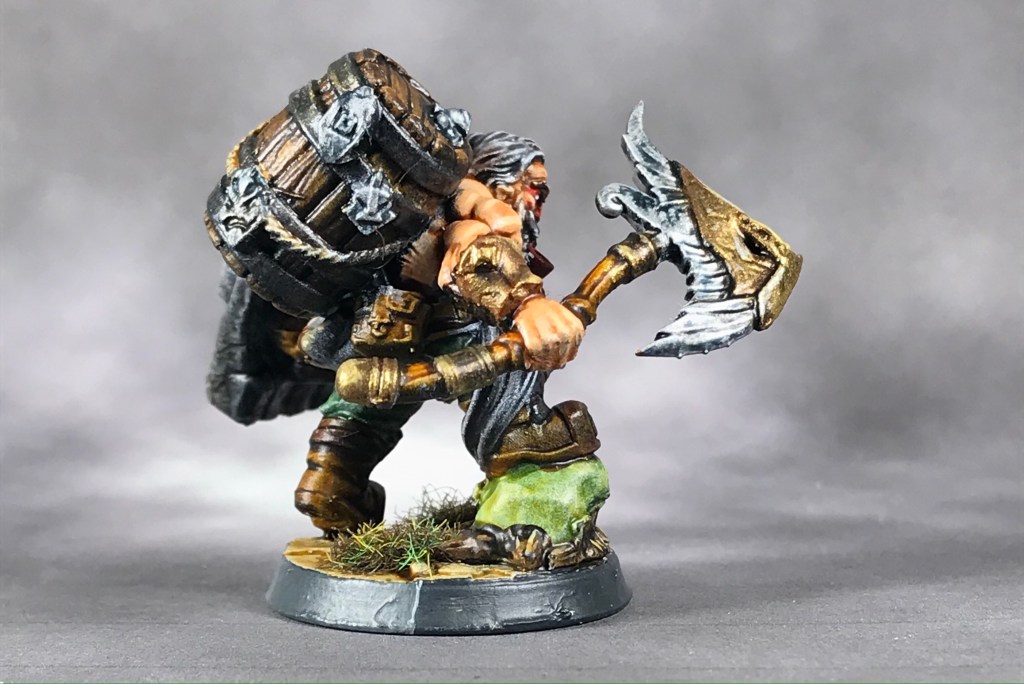
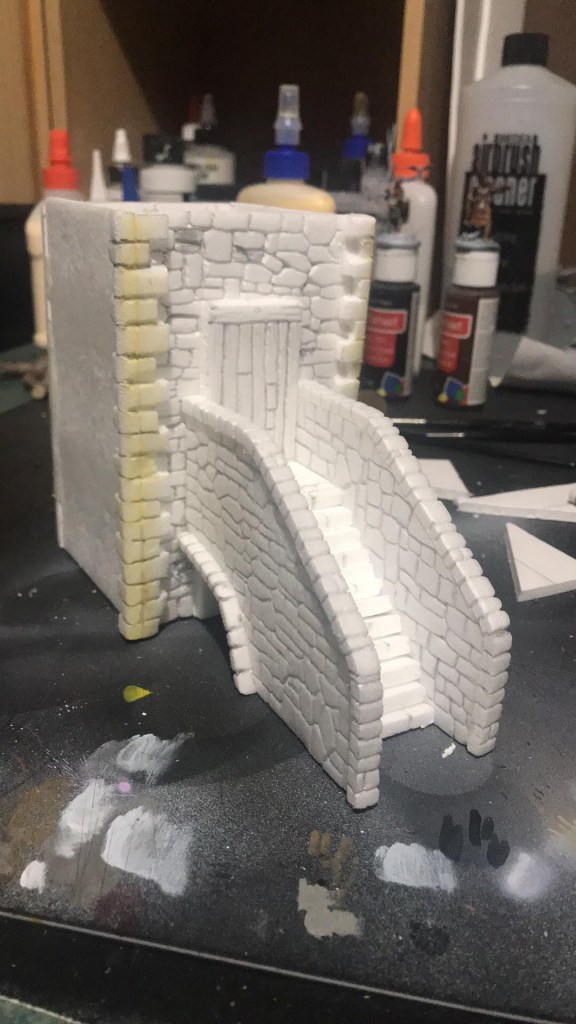
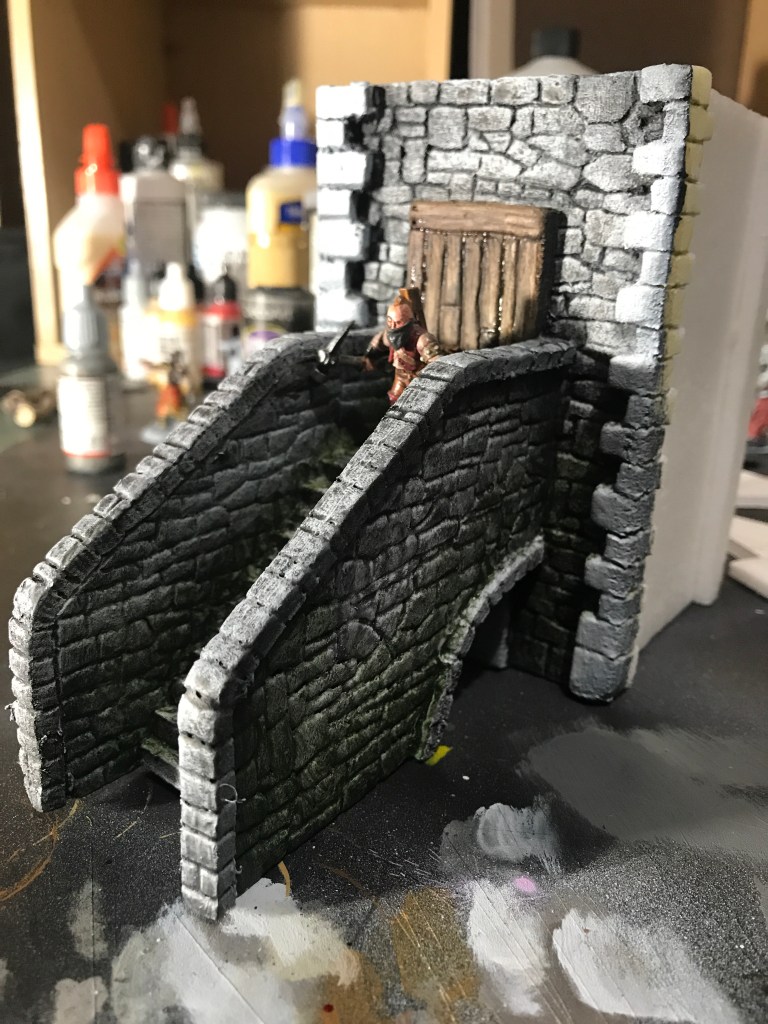
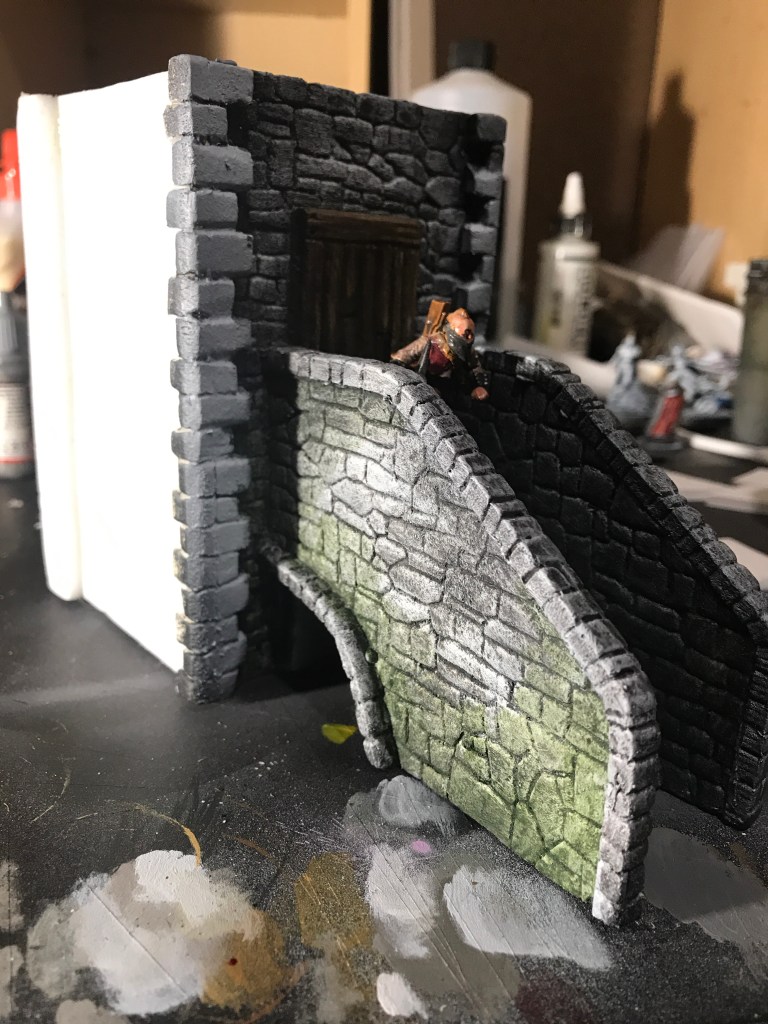
I was told a replacement part would come, and that it would take two weeks to get to me. I resigned myself to painting some of the finished models, and settled in for my two week wait.

That two weeks was three business days. My replacement screen arrived Monday afternoon, and after work I settled down to watch a YouTube video from Elegoo on how to change the LCD screen.

img_3516
Druid Hero from Titan Forge

The video showed a fairly complicated procedure, but I figured if I took notes, I could get through it. Then the video switched to motherboard model B, and it was just a couple of swapped out relays. Then motherboard model C came up, and it was literally one quick swapped out relay, pop out the old screen, and replace it with the new one. Connect the relay, and test your settings.

I have a motherboard model C.

The whole procedure to replace my LCD screen took less than 10 minutes. That’s pretty staggeringly cool in my book!

img_3517
Ogre Mage from Artisan Guild

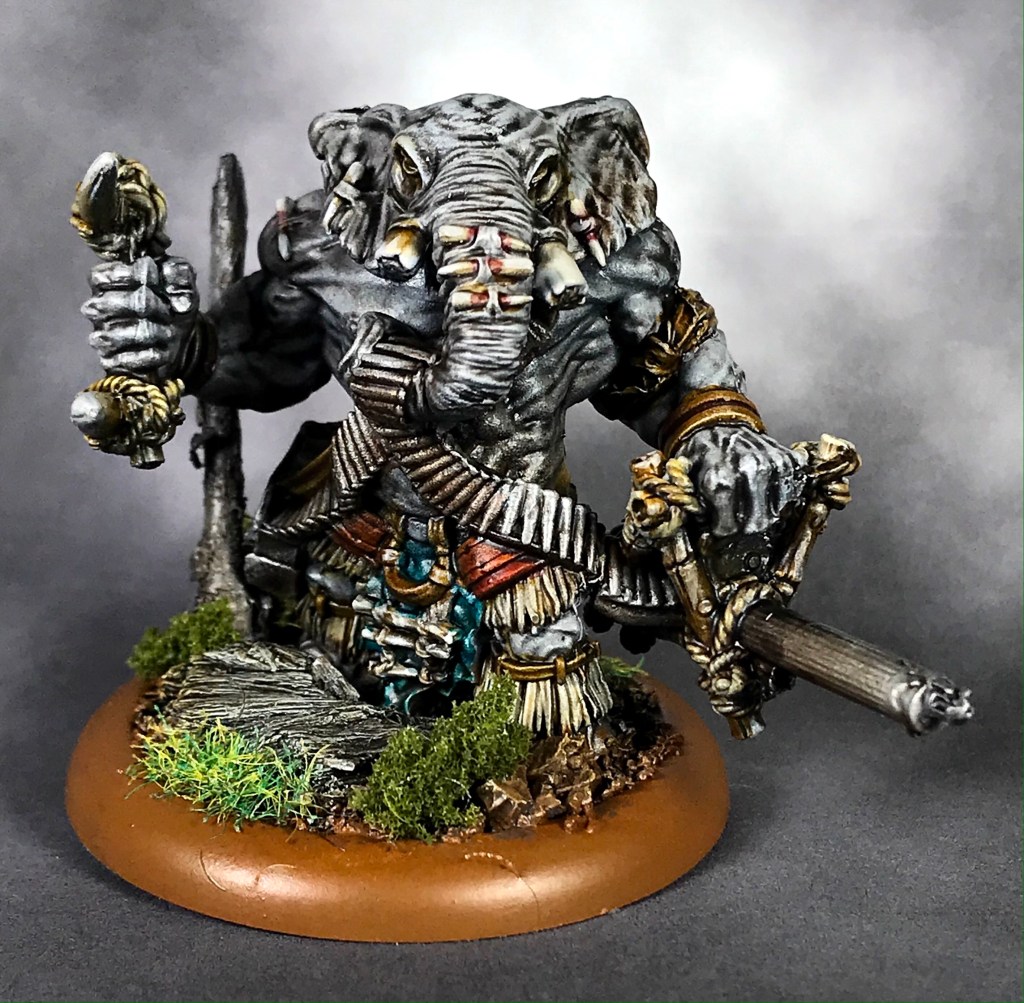
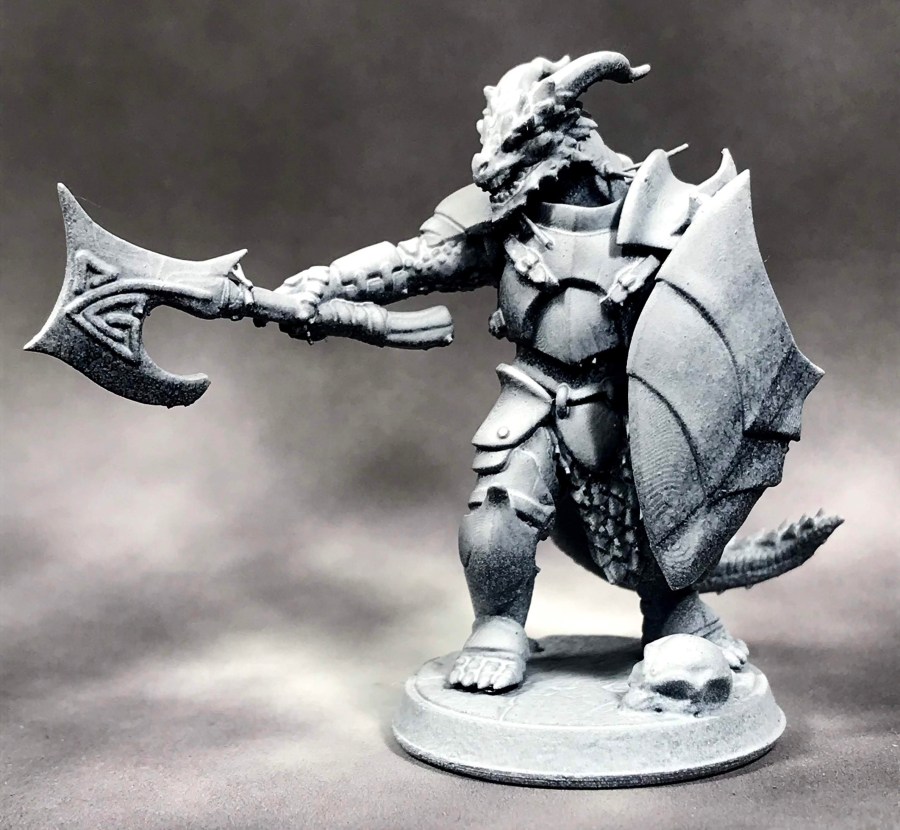
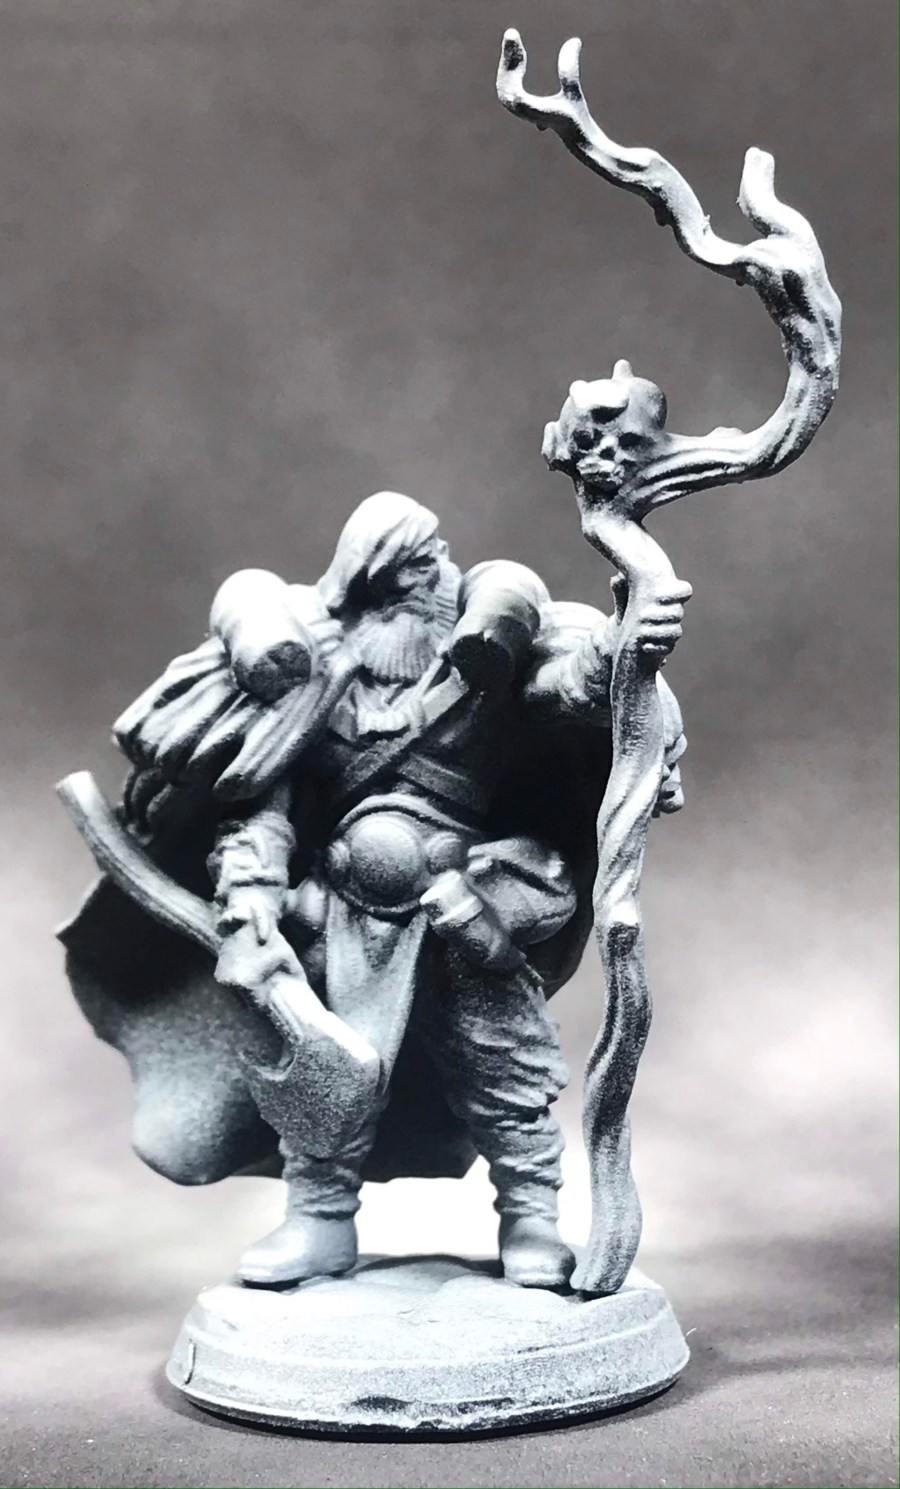
I ran the diagnostic, and everything came up aces. Tomorrow, I am printing up my Ranger and a whole slew of zombies! My enthusiasm for the Elegoo Mars really went up a couple notches today.

I can’t wait to get more prints ready to paint, and get my Rangers of Shadow Deep on!

Winding Up for”Rangers of Shadow Deep”

Rangers of Shadow Deep is not, by any stretch of the imagination, a new game. The table top skirmish game was released about a year ago by Joseph McCullough, and shares a ton of the DNA of one of his other games, Frostgrave. As a matter of fact, if you have played Frostgrave (you should), you’ll be able to pick up on Rangers of Shadow Deep in a jiff.

Shadow Deep has a few really cool aspects that set it apart from Frostgrave, though. Rangers is a co-op game, so you don’t face your fellow players in combat. You work together to solve riddles, battle monsters, and find clues about the encroaching darkness that has been wiping kingdoms off the map.

And you can play it solo. It’s pretty amazing. The game has a simple AI baked into it, but it still proves to be plenty challenging.

I’m getting ready to play my first game of Rangers, but I figure I might as well go bonkers with the project. I have set a few rules into play for myself, which I will outline here:

1- All the minis I will be playing with will be printed on my Elegoo Mars.

2- The terrain for each scenario will be scratch built, of printed here in the lab.

3- Everything used in game will need to be fully painted.

4- I will present write-ups of each game, as well as behind the scenes looks at the processes that I will be using to bring the game to the table. I’m really freaking bored, and this might be the only thing that keeps me from going kookoobananas.

5: This guy needs to be in the Ranger’s band of heroes:

img_3482

The first thing I needed to do was settle on a Ranger. In Shadow Deep, your Ranger can be just about anything; Spellcasters, classic barbarian types, sword-and-board twinks, dump-truck babies in bear suits, you name it.

I have always been partial to half-elf Rangers, especially the classic, archetypal bow wielding bad-ass. I would also like to play with a female Ranger character, because I’m tired of beefcake.

I’m also pretty burned out on cheesecake, so finding the right Ranger proved more challenging than I thought!

(I don’t have a problem with cheesecake mins. If you want a little T&A in your games, have at it! There are some great sculpts out there! It’s just not what I want right now!)

But I want a mini that looks fierce, and has the sense to go adventuring with something covering her vital organs.

My usual go-to STL model files have been from Titan Forge Miniatures, Artisan Guild, and Lion Tower Miniatures. They all have some great figs, and I came really close to going with this awesome Ranger from Lion Tower:

But, I kept looking. I also found Lila from The Dragon Trapper’s Lodge, and a few minutes later found another set of files that had Lila with an amazing mount. So, she’s in the queue, as is the earlier Ranger from Dan Kelly at Lion Tower Miniatures.

You can’t have enough Rangers, after all!

Next up: a big batch of zombies for the first scenario!

My Kingdom for Good Lighting

It’s been a long, terrible, and murky road, but I think I might finally have my lighting dialed in for miniature photography. Here are my Tengu from Bushido, finally looking like I have always wanted them to look in a photo:

img_3413

Compare the shot above to this glam shot of the same figs from a few months back:

img_3338

The second photo looks pretty okay, but the warmth of the colors isn’t there, and you can’t see how cool the feathers on old Papa Owl look. It’s a pretty staggering difference when you’re trying to show off your chops as a painter.

img_3414

I have tried so many damned set-ups for photographing minis. Everything from light booths to a trash-can with a light shining through it. Nothing was giving me what I wanted.

img_3415

Then, I decided to print off a washed out grey background, which I taped to a stand that had a back panel on it. I taped the background on with a slope at the back, so that the minis could be photographed without a crease in the background.

img_3416

It takes two studio lights held about 8 inches above the stand to light everything up, and it makes a world of difference in the quality of the photos!

img_3417

Now, I have to fight off the temptation to go back and take new photos of all of my minis! It’s a pretty tough urge to fight!

img_3418

Now, I just have to ride out the pandemic until Shiv Games opens back up. Most of us have been working on Bushido bands over the last few months, and I know we’re all itching to check out the game!


Scratch-Build Fantasy Village, Part 2

Confession time– I just invested in a new FDM printer and a pretty amazing series of files for terrain building, so it’s hard to say how much of this kind of building I will be doing in the future. That being said, I love a good scratch build, so I’m almost certain I’ll keep at it to some capacity.

Plus, western civilization collapsed a few years back. It’s hard to say how long we’ll be able to pick up spools of plastic for printing. You can decide whether I am joking or not, because I sure the hell don’t know anymore.

img_3431

With the base of the building established, it was time to get to work on some components for the rest of the structure. I am using really cheap foamcore that I picked up at Dollar Tree, because the paper peels off super easy, leaving a dense, easy to carve foam ready to play. For the shingles on the roof sections, I just carved my shapes with a ballpoint pen, then went at it with a blade to get the slopes and shaping.

This technique allows me to do some pretty cool effects, like this dormer that I put in on the lower floor of the tower:

img_3425

All of the detail is just carved directly into the foam, either with a balloint pen or a good pencil. The ballpoint gives crisper detail, and I think it might be my favorite technique. This is also the first time I assembled a building like this with hot glue, which sped up the whole process incredibly.

It was time to add the next floor up. I opted to go with a full interior at first, but changed my mind as I went along.

img_3426

I decided to go ahead and do the support beams in foamcore, too, since everything will get a couple of coats of wood glue to seal up the foam and strengthen the sculpt. Wood glue has a bit of resin in it, so it will help toughen stuff up quite a bit.

The whole build took about four hours, and ended up being pretty cool!

img_3432

I put in a balcony for snipers in a skirmish style game, and plenty of exposed brick and timber to go with the stucco.

img_3435

The chimney was easier than any that I have ever done before. I used Gorilla Glue to bind to pieces of foamcore together, which is easier to carve into than traditional glue. Plus, the foaming action of the glue really binds the foamcore together. A little hot glue to add the top, and it’s pretty spiffy!

img_3434

My other favorite detail of this piece is the curved slant in the roof, which throws the “safe” feeling of the building completely out the window. It’s something that I was never able to to with traditional foamcore building, but without the paper holding things in place, the foam form was easy to bend into place. Hot glue just made it stay there once it got there!

img_3433

Next up, the whole thing gets sealed in a mix of black paint and wood glue, then it’s time to paint!

Warhammer Underworlds: Getting Trapped-up in Hrothgorn’s Mantrappers

IMG_3331

When that crystal-clear moment of honesty hits me full on the face, I have to admit to my decades-long love/loath relationship with Games Workshop. They make some good games, and a whole ton of just… okay games. They have some really petty policies when it comes to Indy game stores, because they know full well those stores absolutely rely on geedubs to make the rent every month.

The other thing about honesty, though? I have to admit that they have stepped up a ton when it comes to their sculpts, especially when it comes to fantasy offerings. Warcry has some gorgeous stuff, but Warhammer: Underworlds, especially Beastgrave, has been taking the cake.

IMG_3335

Look at Hrothgorn here. He’s a giant slab of ogre, who has a giant bear trap mounted to his harpoon gun. I’m sure the thing gets about ten feet before wind resistance off that trap drops the spear to the ground, but it looks cool.

He comes with a couple of idiot grots, here’s Luggit and Thwak, who double up to try and hit new heights of awesomeness:

IMG_3332

Quiv is literally a walking quiver. He carries extra bolts for the boss:

IMG_3333

Then there is Bushwakka, he’s the real brain trust of the bunch:

IMG_3334

Thrafnir rounds out the warband, and just happens to be a giant kitty. Meow.

IMG_3336

The minis are a blast to paint, the gnobblars in particular took about 10 minutes each with Contrast paint, and you can tell. Up close it’s a pretty slap-dash job, but they look fine from over a foot away. I took a little extra time on Hrothgorn and Kitty, and they’re a lot of fun to look at as I wait for quarantine to end so I can get down to Shiv and get a game in.

That’s a joke. I pretend to play games. I really go to Shiv Games to hang out with my friends. I’m a rabid painter at heart, the games that I occasionally get in are just a perk!

The Game Changer.

Last week, a purchase I have been wrestling with making arrived on my doorstep. It’s a purchase I have had mixed feelings about for months, but isolation and work stress (I work in the mental health field) from COVID-19 finally won.

I bought an Elegoo Mars resin printer. That model you see up above was my first print, and the reason why I finally gave in. He was, to be frank, too cool not to have in my collection.

I have been conflicted for a long time on this technology. Initial prints that I had seen from extruded printers didn’t really impress me, and resin, until recently, has been really expensive. Now, you can get a good printer with a liter of resin for under $300.

My other big issue has been what I see as a disruption effect on an industry I care a lot about. Good prints made at home could be the death of small game stores, but after all of the printing trials and fine tuning I had to do to get things going, I don’t think we’re there… yet.

There is a lot you have to learn to make resin printing effective, and mistakes can be costly and messy. I messed up the FEP film almost immediately, and my garage was too cold for things to work right. But I am stubborn as hell, so I dove into research mode, and now I’ve been getting amazing prints without fail for a couple of days.

This handsome gent is Gino, and he was one of the awesome models Artisan Guild had available in March. $18 a month, and March had more than half a dozen badass dwarfs, including one mounted on a Griffon. I didn’t really have a choice.

Once I trimmed the supports off, it was time to get Gino primed, and start laying on the paints:

I really had a ton of fun with this model. He’s brawny, puffing on a pipe, and he’s stepping on some poor monster’s head. It wasn’t until I was almost done painting that I realized Gino had knocked a bunch of this dude’s teeth out before chopping off his head. Such a great model, and I think he cost me about .50 cents worth of resin to print out.

The final product is stunning! I’m still working my way through the rest of the offerings for last month, but Gino is ready to kick some ass!

Lightning SFX Experiment

The Thor mini form Marvel:Crisis Protocol is pretty cool, but after finishing him up, he was lacking… oomph. That had to change.

One quick search through EBay later, and that Jane Foster Thor found its way home to me. Click are terribly painted, but that lightning effect is made of soft, transparent plastic. Time for some chop-shop action!

Getting the lightning onto Thor took some persistent pinning, but the end result is pretty great.:

I’m tempted to strip the paint off of the Jane Foster fig. The sculpts on Clix can be half decent once the foot of paint is cleared off!

Scratch-Build Fantasy Village Peoject

We’re self-quarantining through the apocalypse, but I also work in social services. So, I really can’t stay home and completely avoid human contact. So, I’m building a little escape.

My spare time is wide open, so I’ll be building a village to play games in when the End Times are over. And I want to test myself in the process.

I have built a lot of terrain in my life. This time around, I’m going with peeled foam coat as a base, and using hot glue to bind everything. I already love this as an alternative to glue!

I used a pencil to carve in the details, and an emery board to smooth things out. I decided to use wood glue to seal the foam, which I mixed with black paint so I could see if I missed anything.

After getting the test piece done, I decided to paint up the front to see how it looked… and I’m really, really happy!

I airbrushed a light coat of white from an angle, then washed the whole front with a simple glaze made from cheap paint, airbrush thinner, and acrylic floor polish. I went over certain areas with a similar glaze made from green ink to age things up a bit!

Next up I’ll go ahead and finish up the base since the experiment has made me happy!

Kalhana from The Drowned Earth

I don’t know if The Drowned Earth is a good game or not yet, but I love the setting and absolutely cherish the miniatures. Sure, it’s yet another post-apocalypse setting, but the model count per faction is pretty low, and what models there are look pretty amazing!

Kalhana is a big mutant heavy gunner from the Wayfarers faction, and he’s what sold me on the game. He’s really cool to look at, and a blast to paint!

I’m painting up the rest of the faction now, and they’re all a lot of fun. Terrain for The Drowned Earth should be a great deal of fun, too!

Thor from Marvel: Crisis Protocol

Gotta love Atomic Mass Games right now. Marvel Crisis Protocol hasn’t even been out 6 months yet, and the line up past the initial boxed set is impressive to say the least!

The Asgardians hit stores about a month ago, and as you can see, a certain Odinson isn’t messing around!

I spent a little extra time layering in some richness to the cape, and I’m still thinking of some lightning effects that I can work in. Other than that, Thor is another solid winner from Atomic Mass!