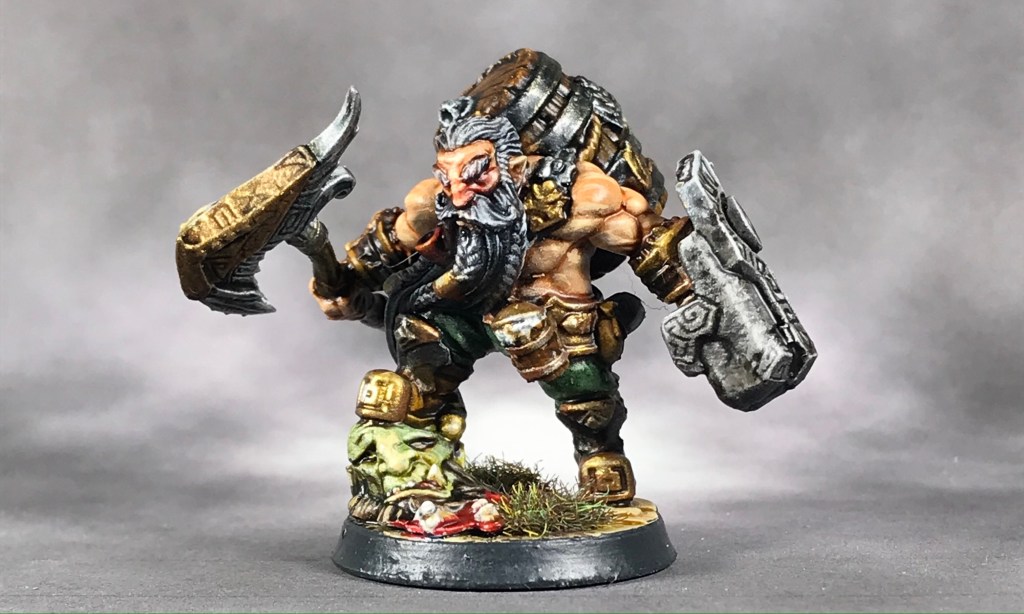
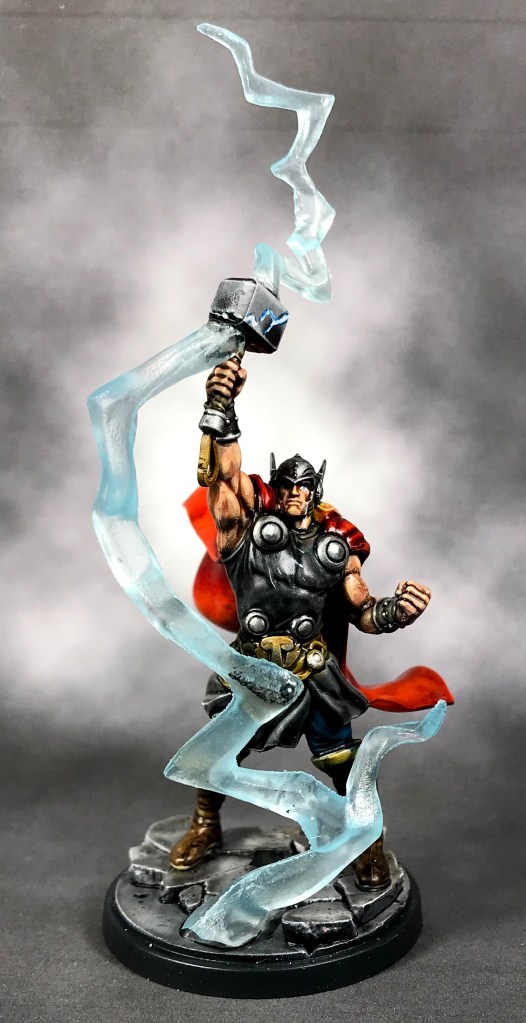
I have to admit something– I am allowing myself to go “full geek” on my upcoming Rangers of Shadow Deep campaign. I am also changing a few of the rules I set earlier, but I’ll get to that in a minute.
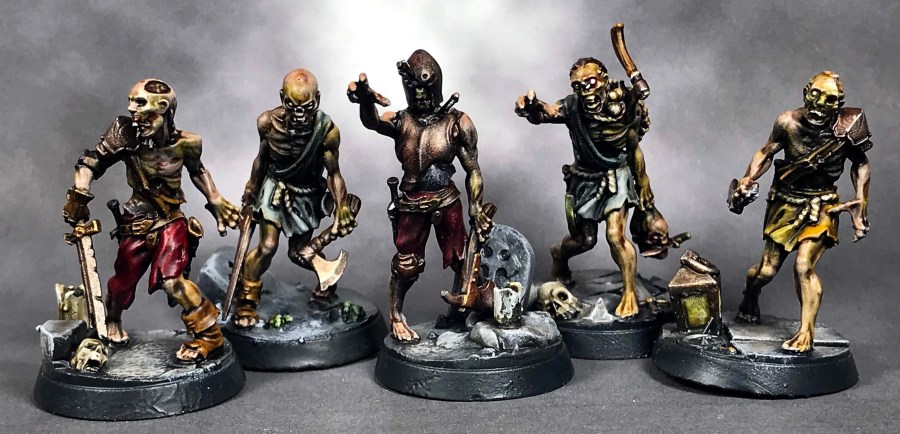
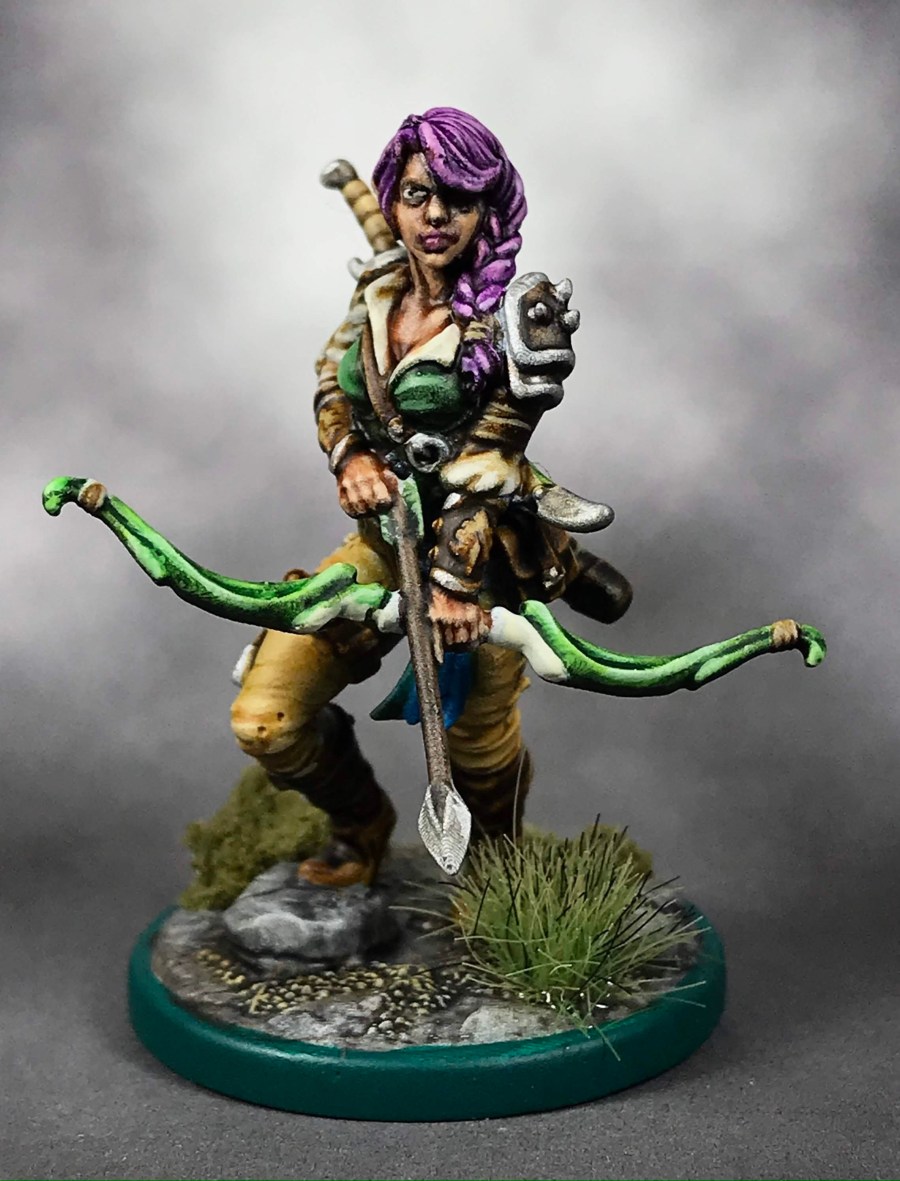
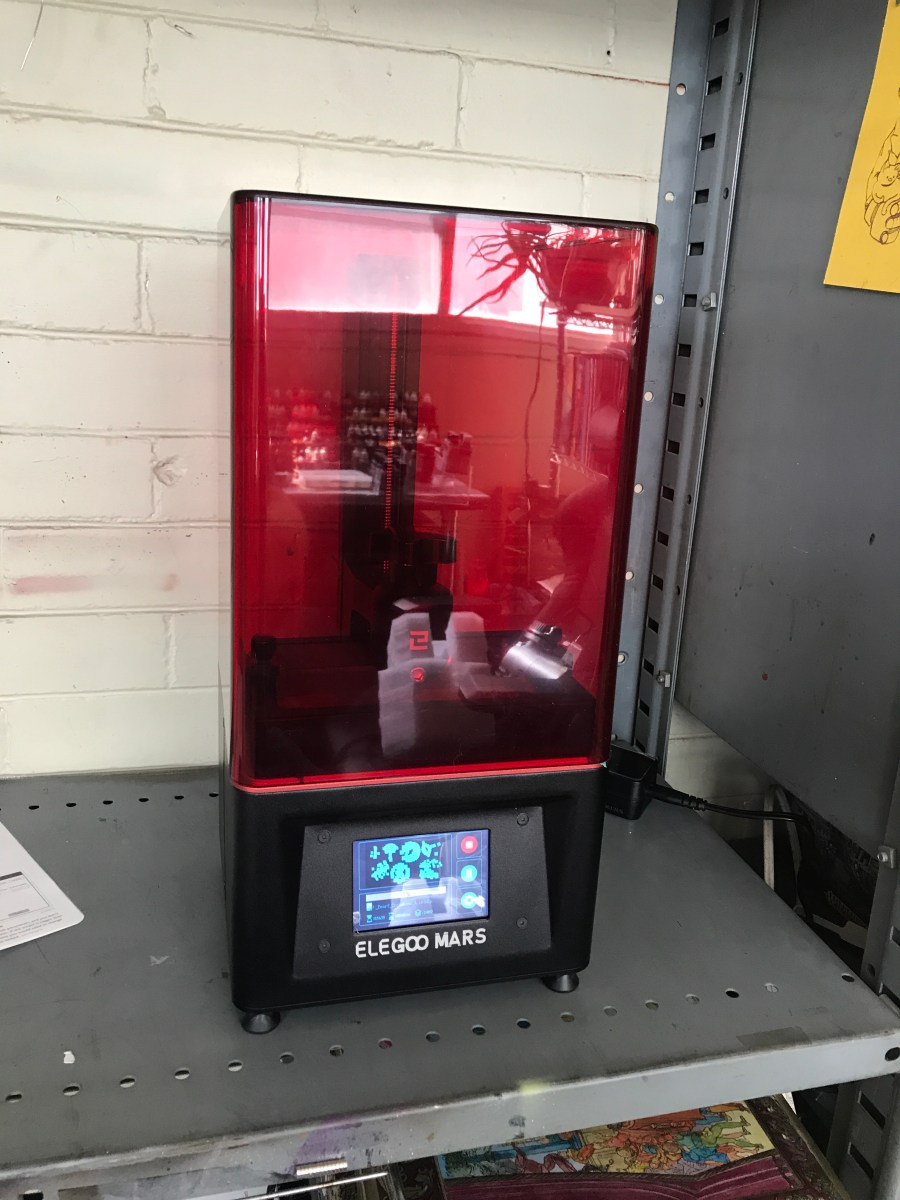
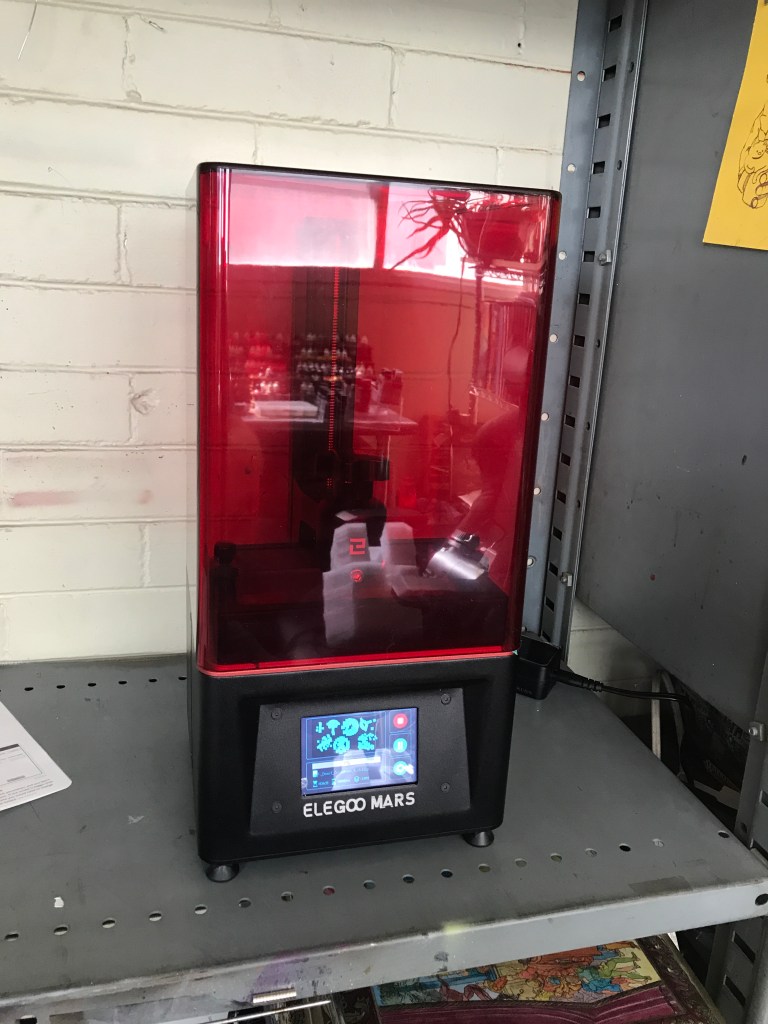
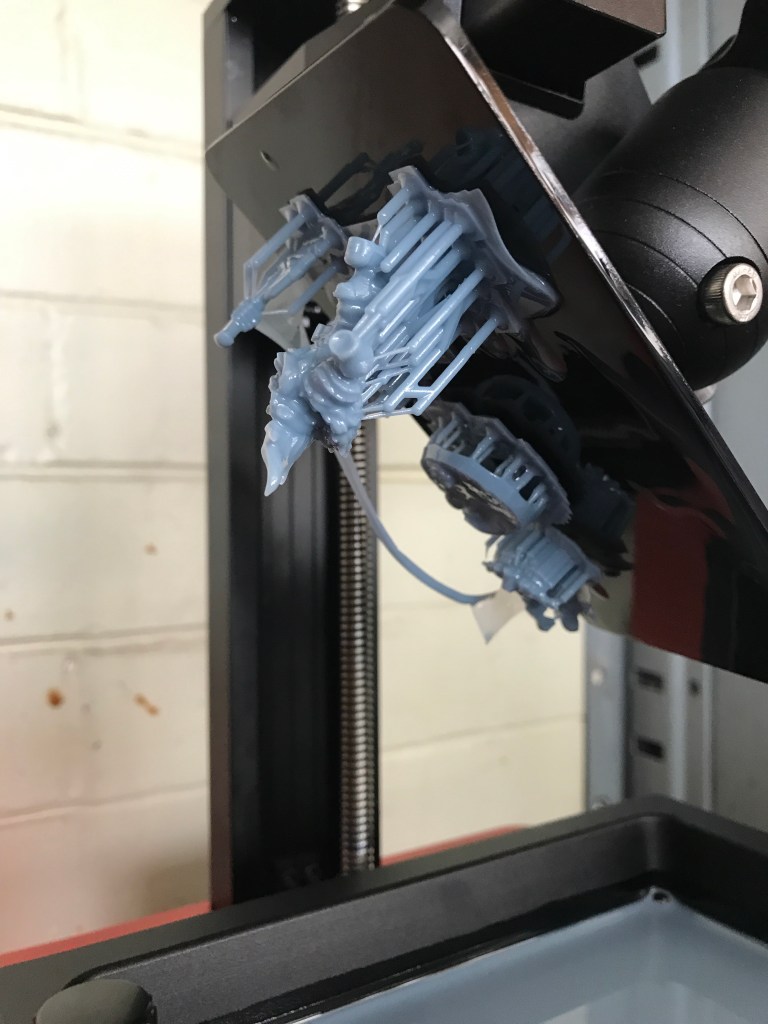
The first scenario that I am going to play involves my Ranger and her crew searching for clues about a missing Ranger… and a town full of missing people. The scenario calls for a load of zombies, so I loaded a set of five into the Mars and got them painted up the next day.

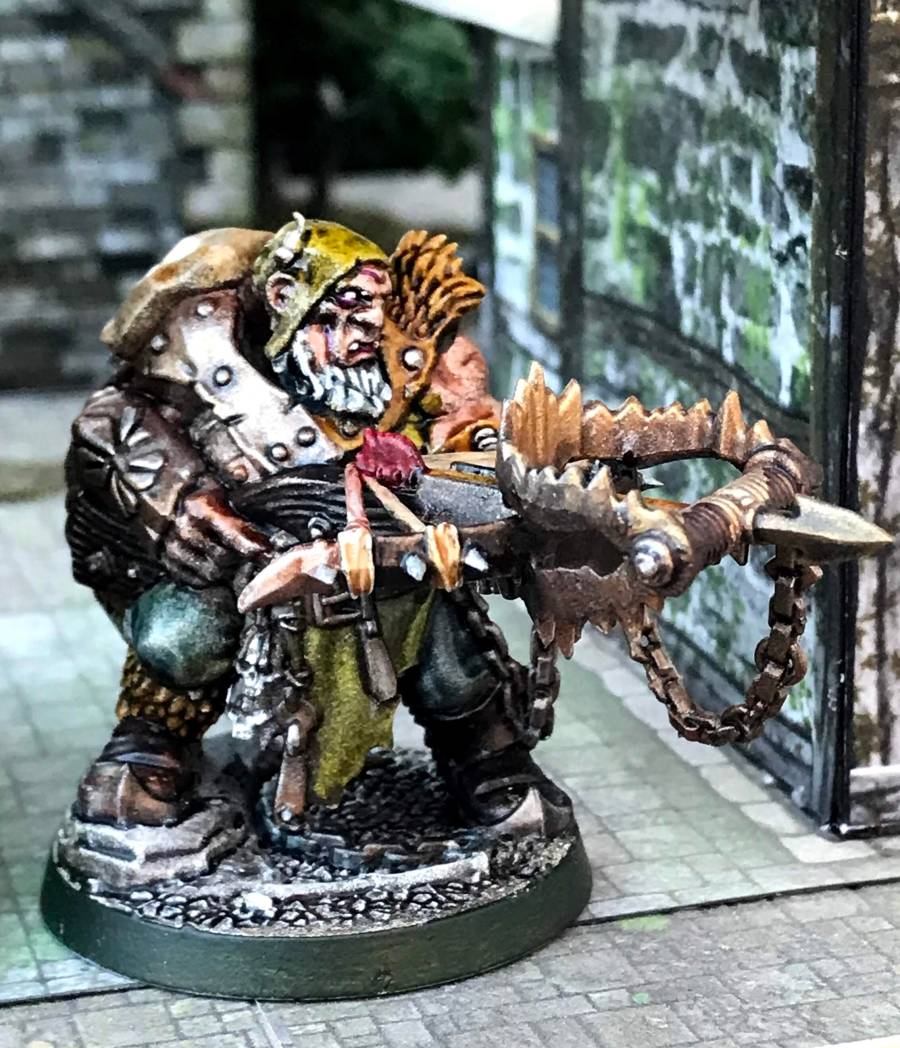
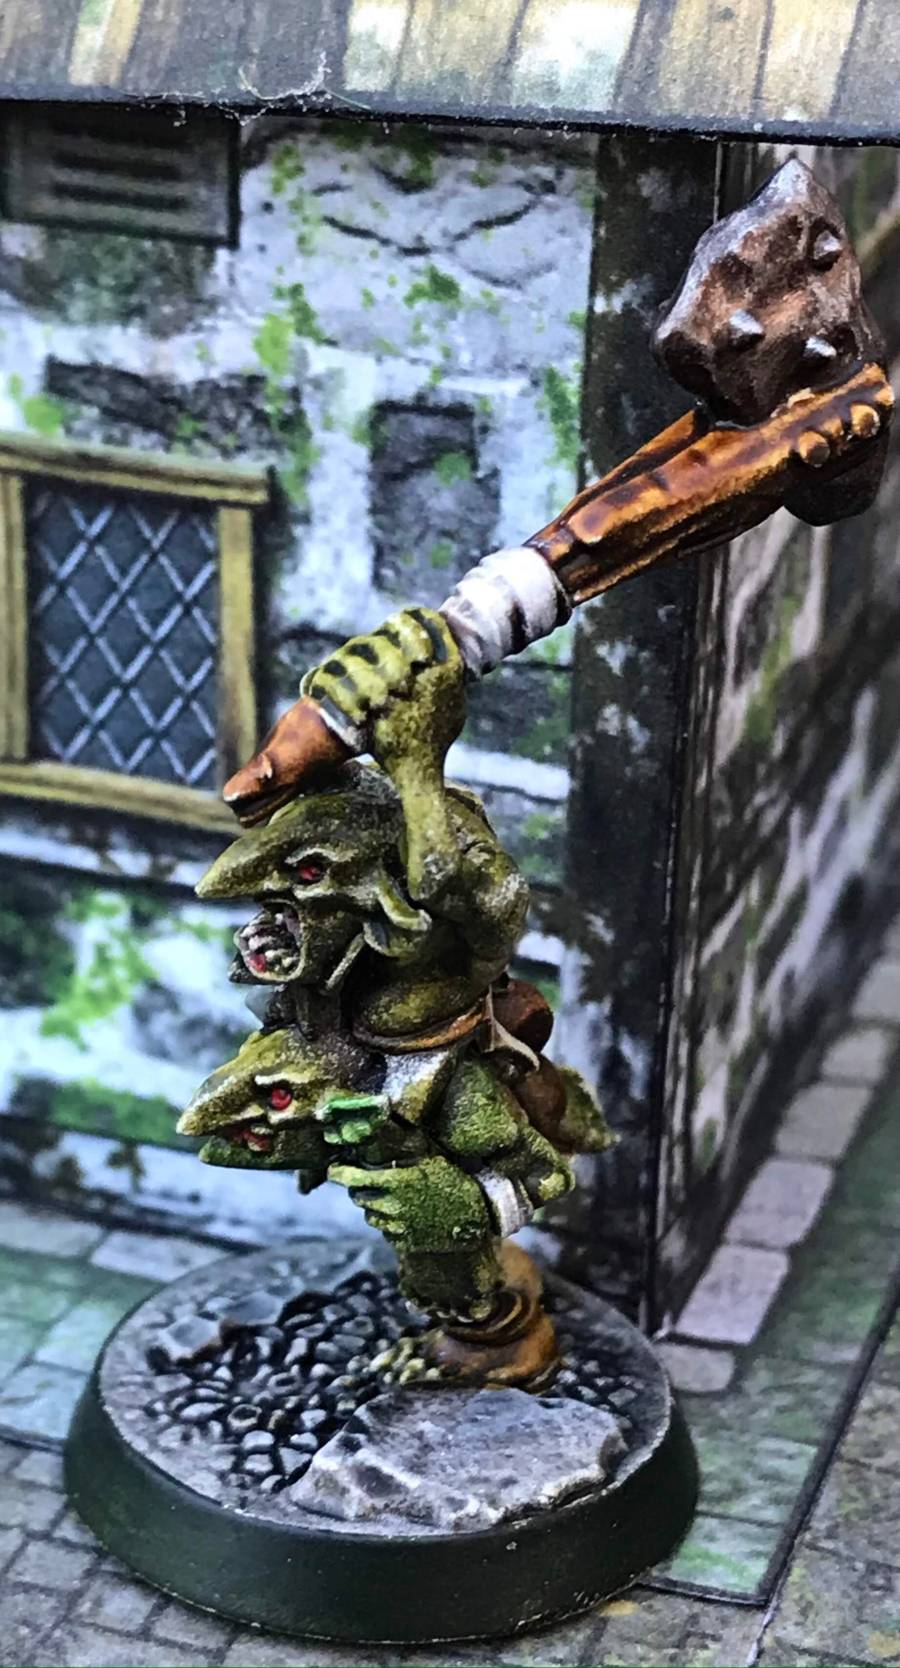
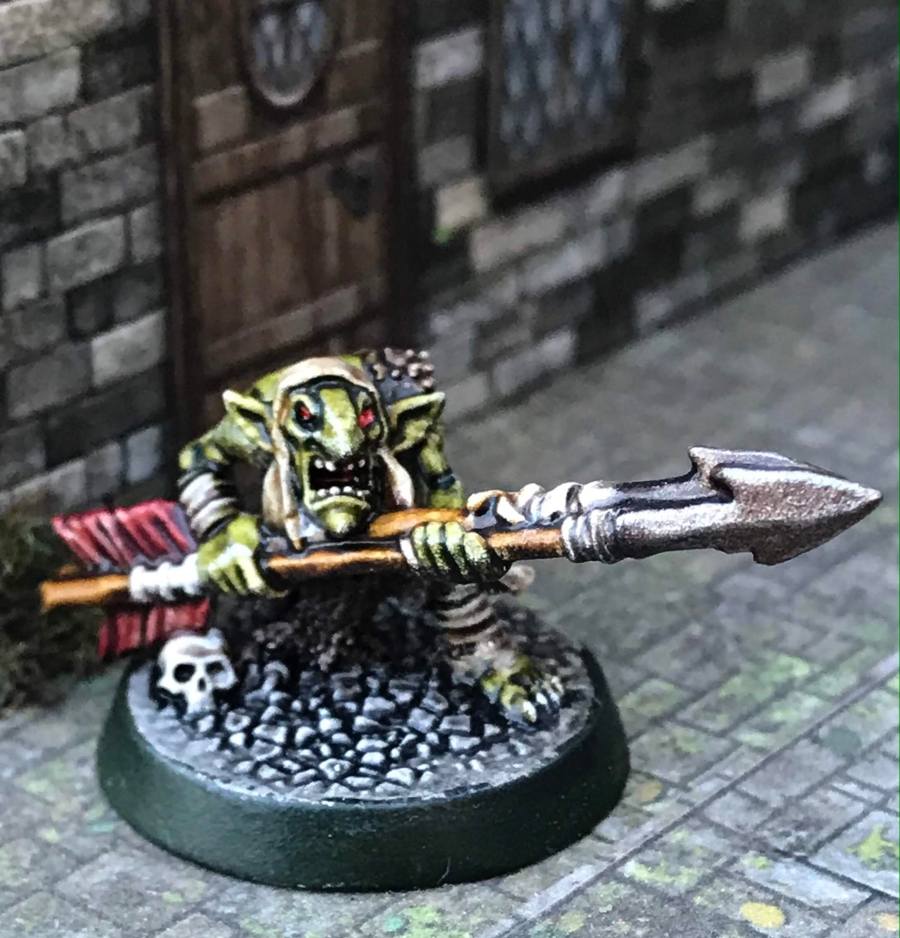
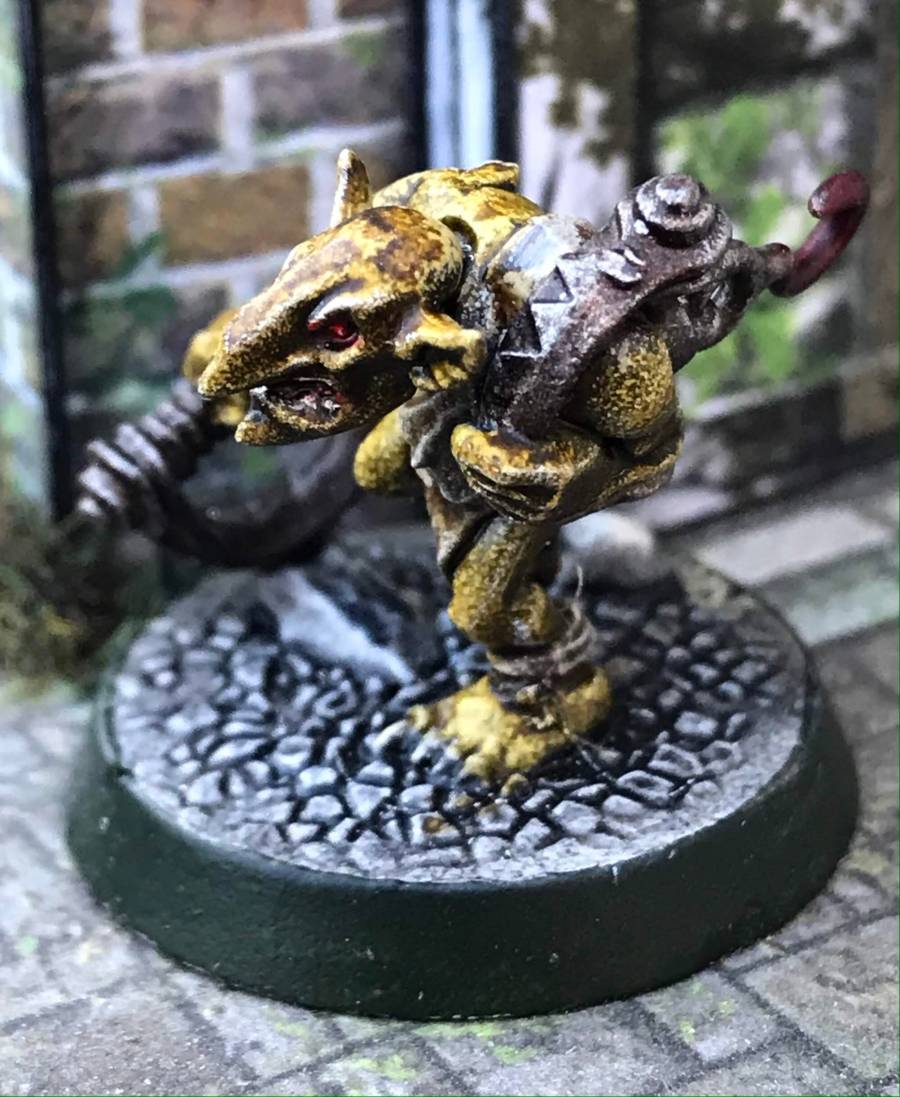
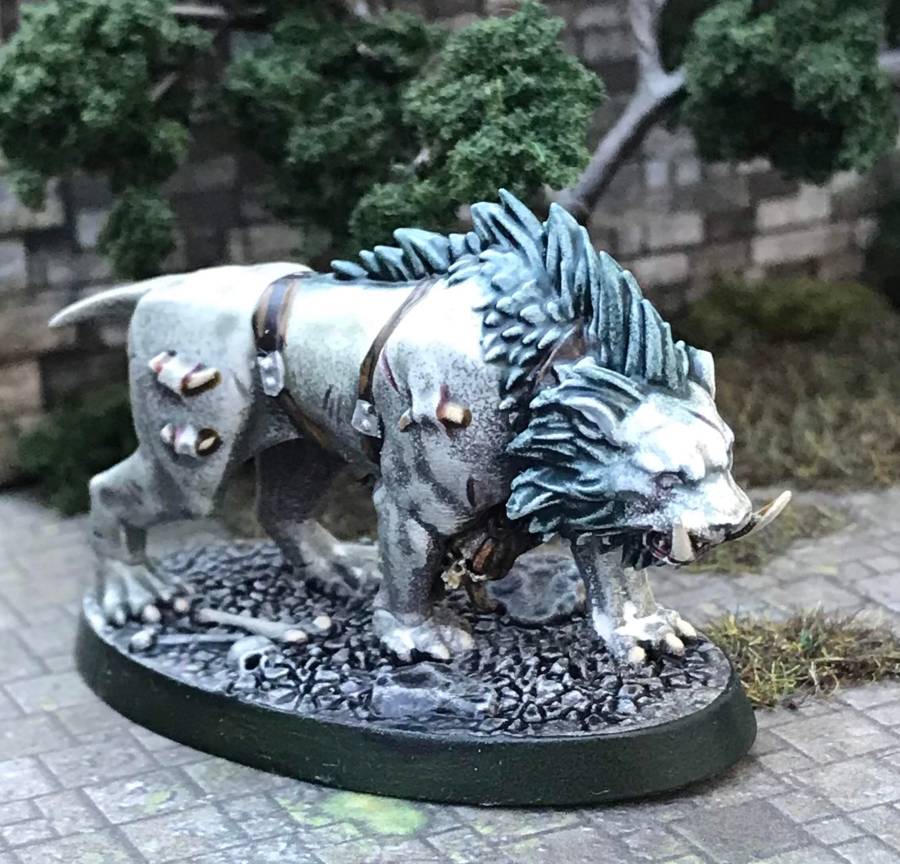
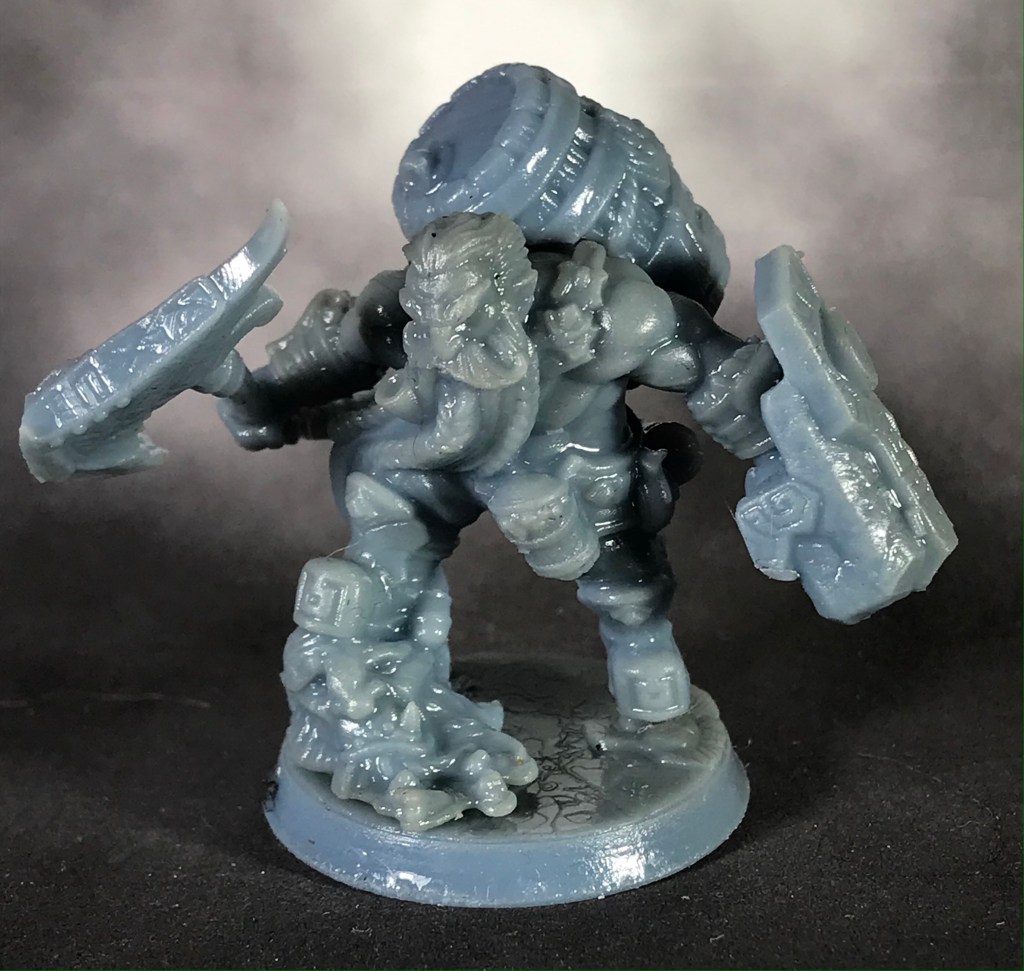
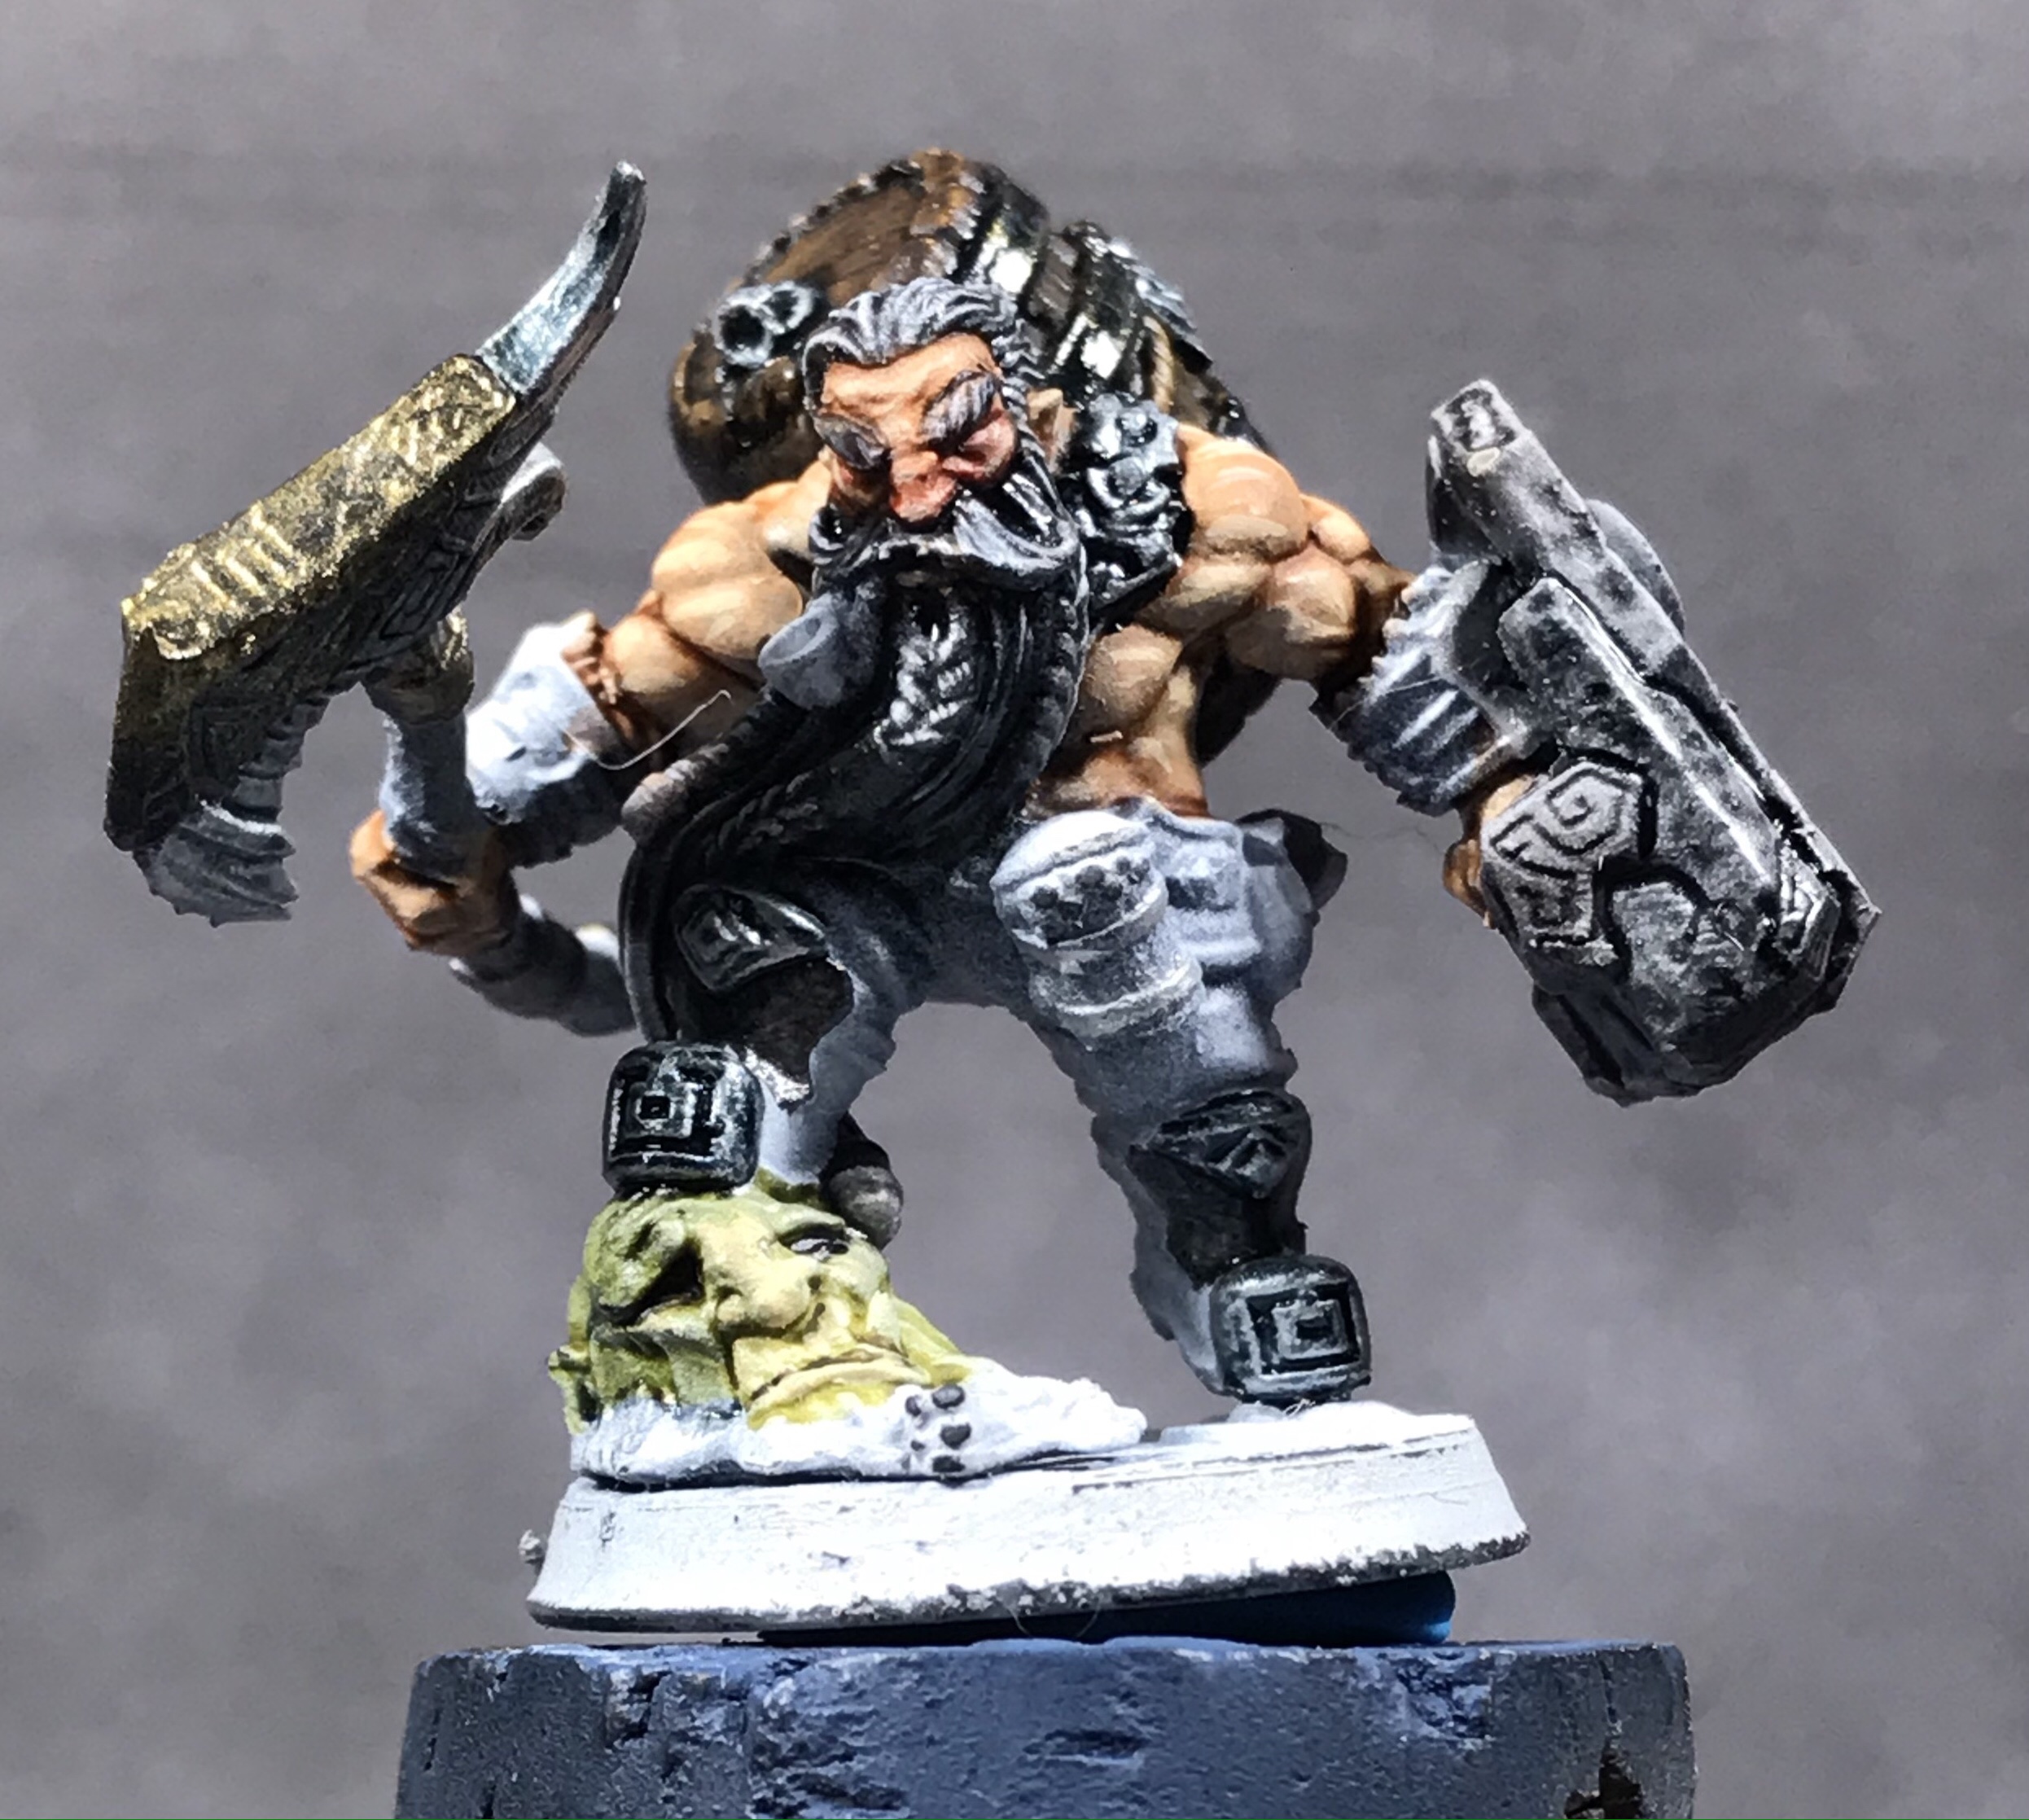
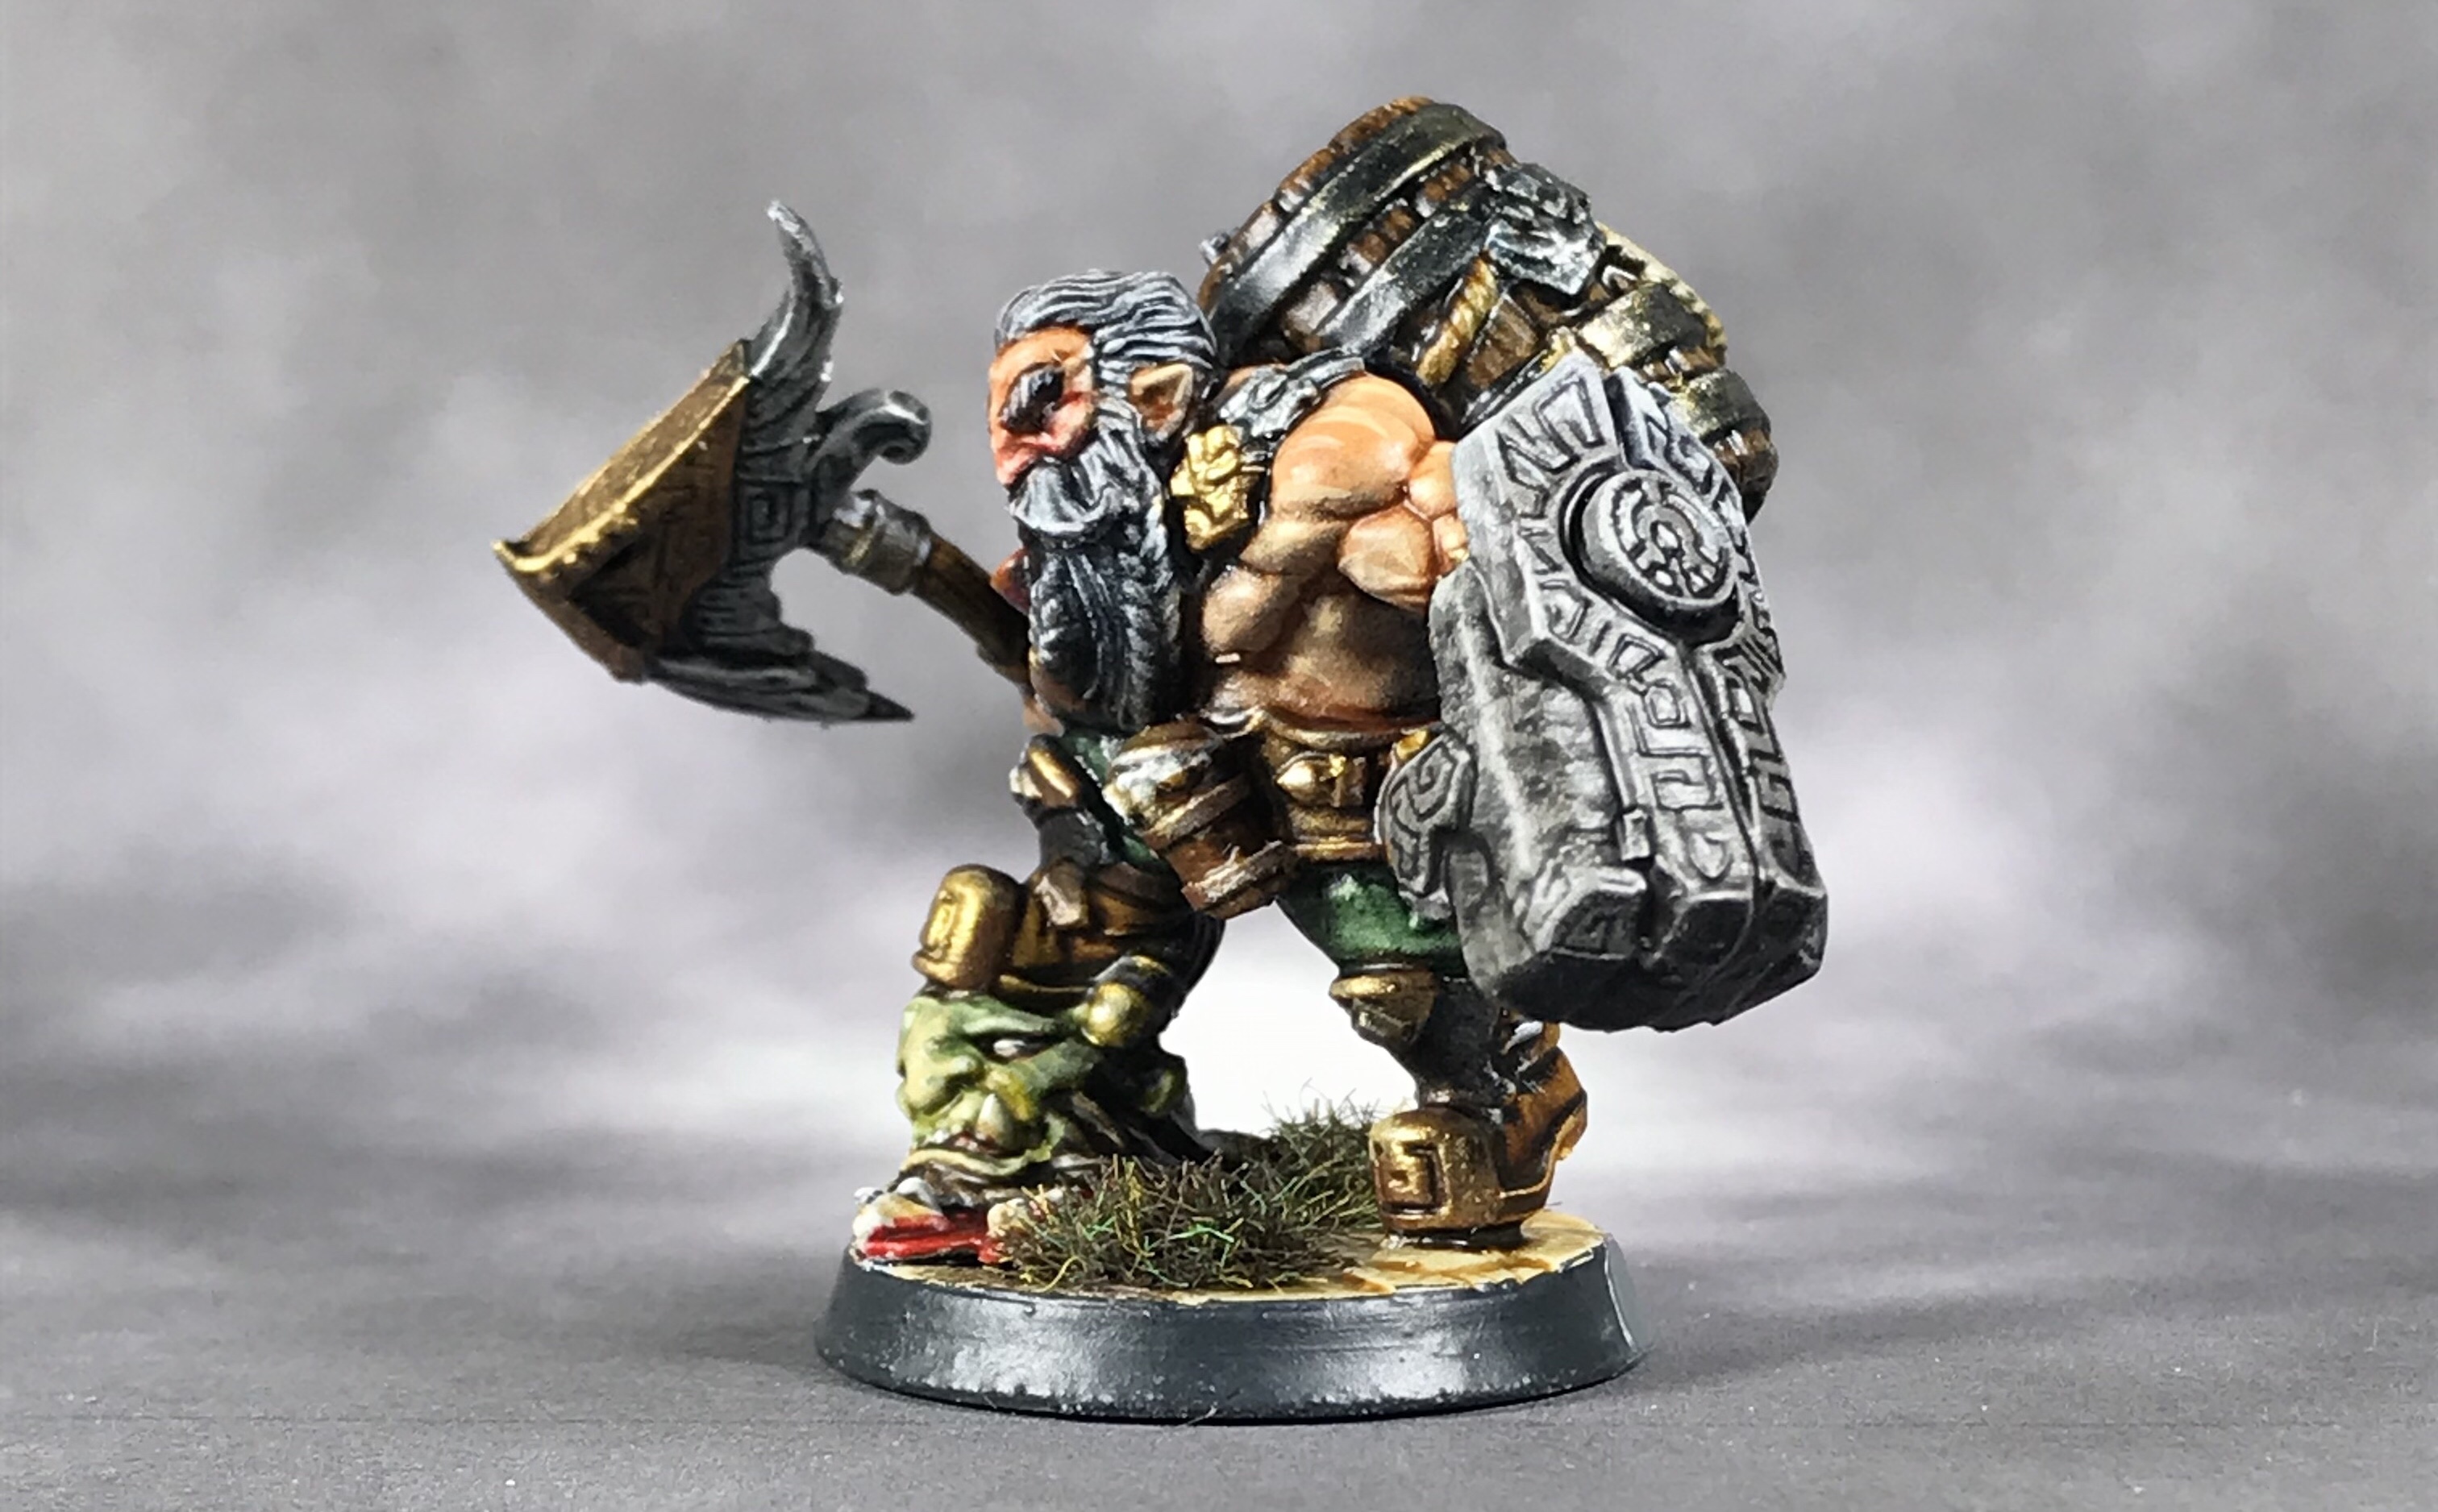
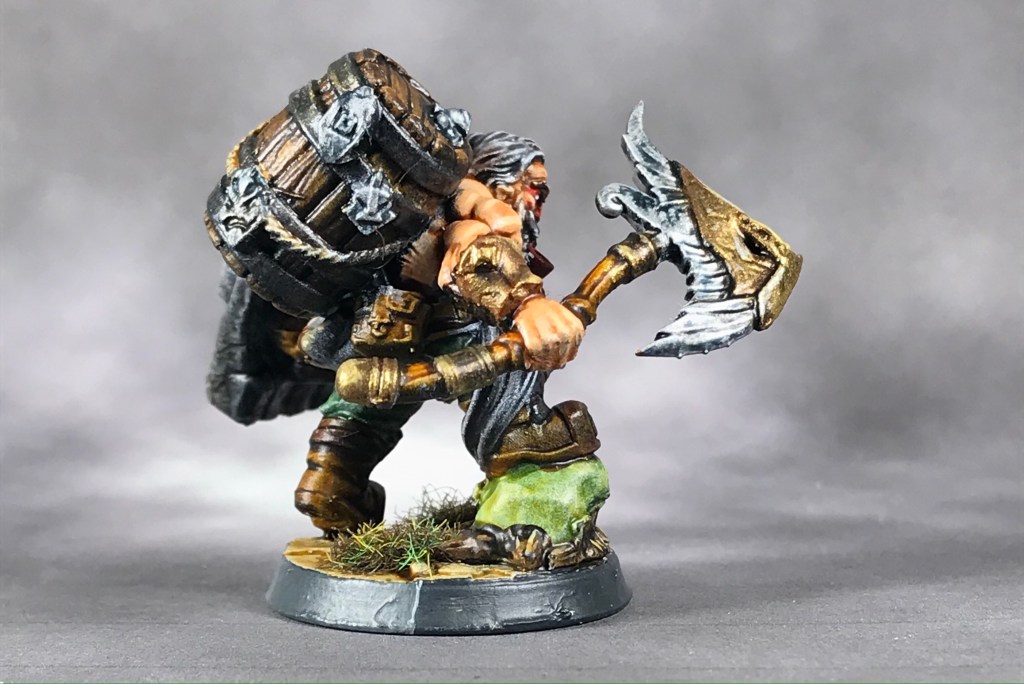
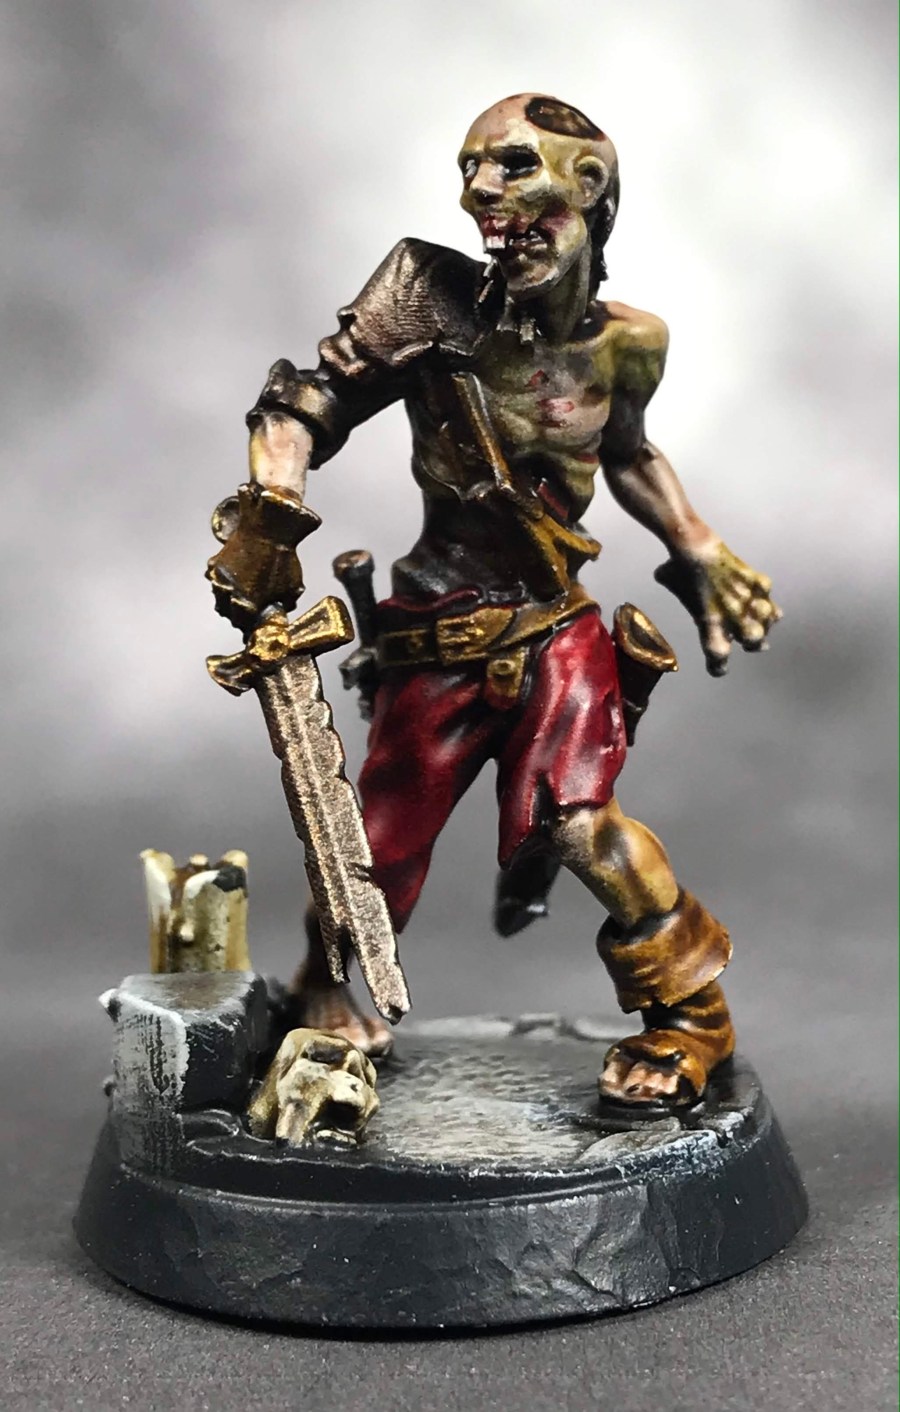
I went with a rough and ready paint scheme with lots of glazes. I wanted the skin to look leathery and mummified, and the metals to look really weathered.

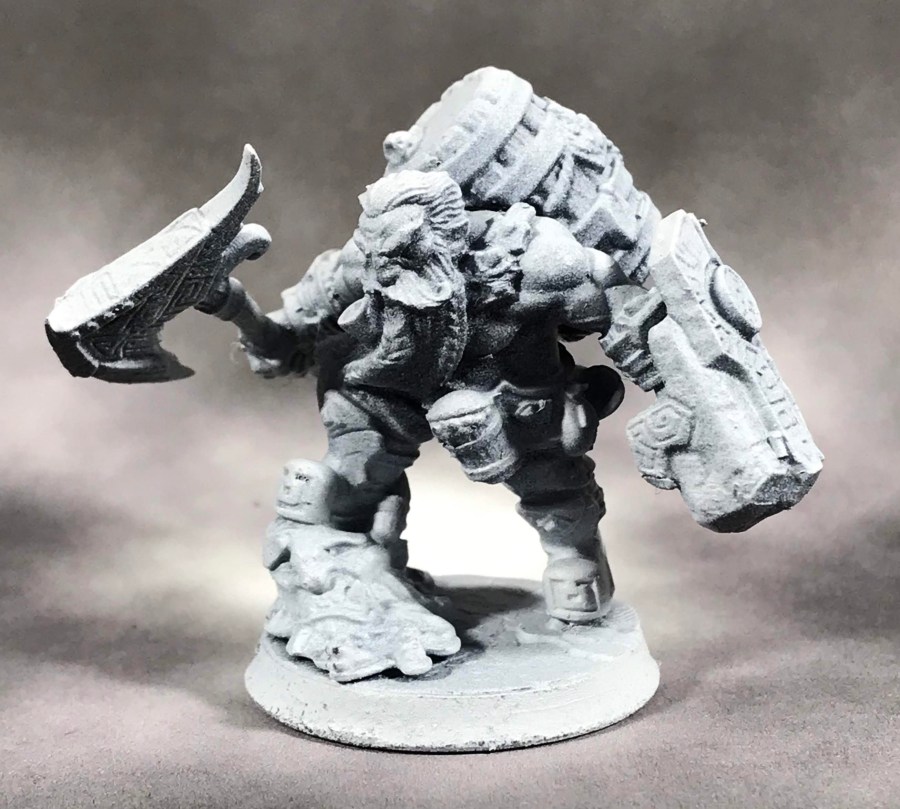
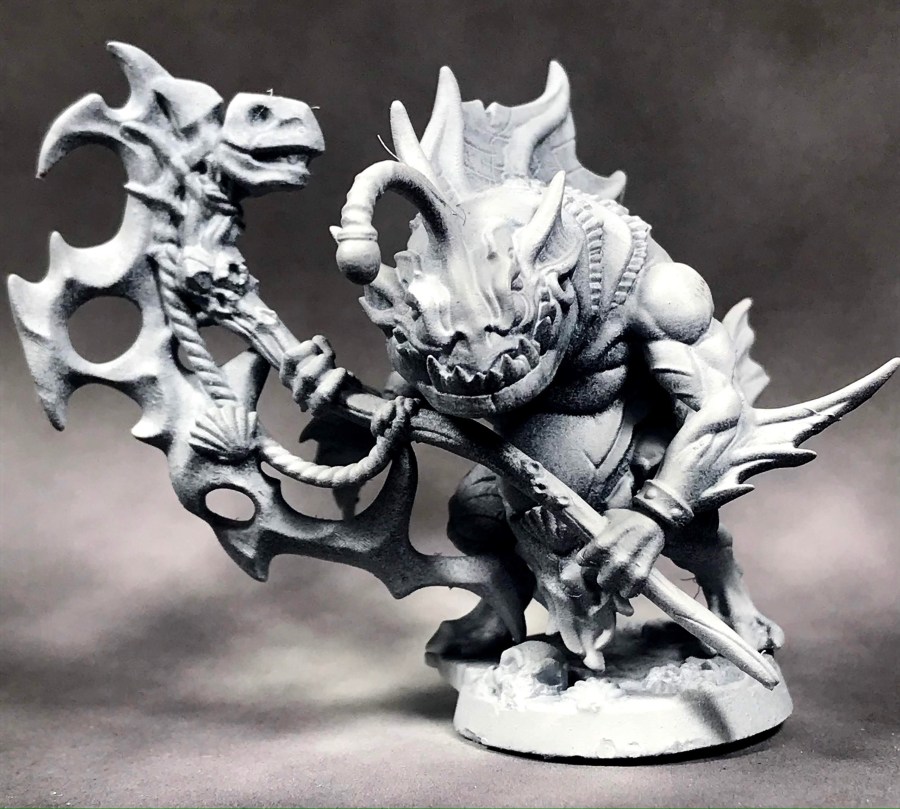
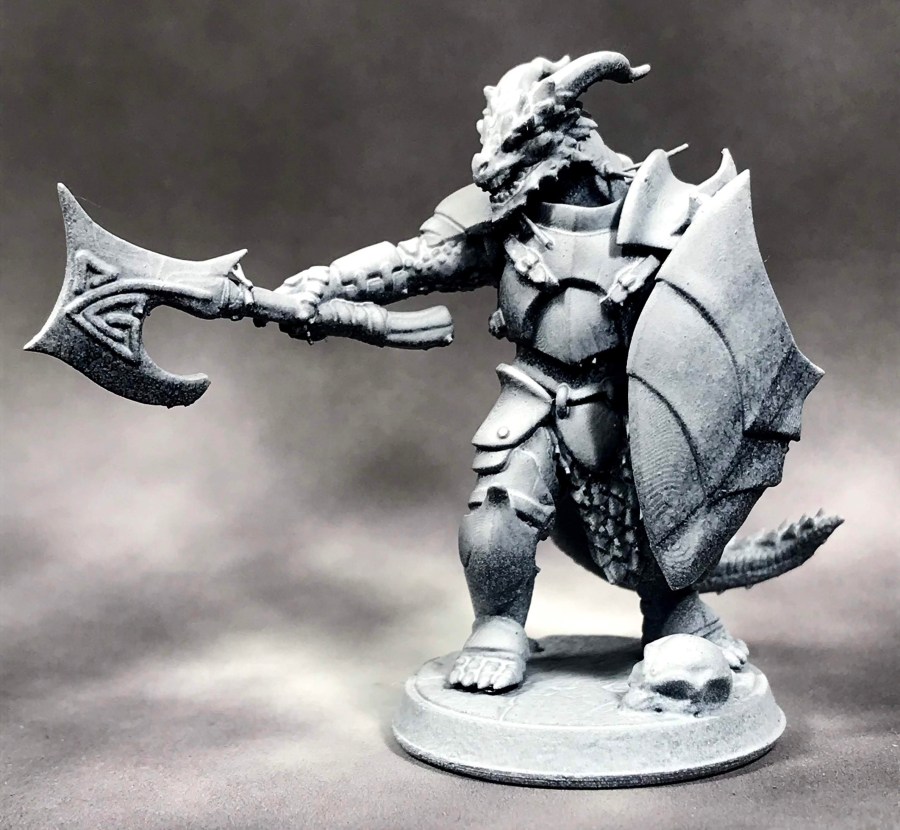
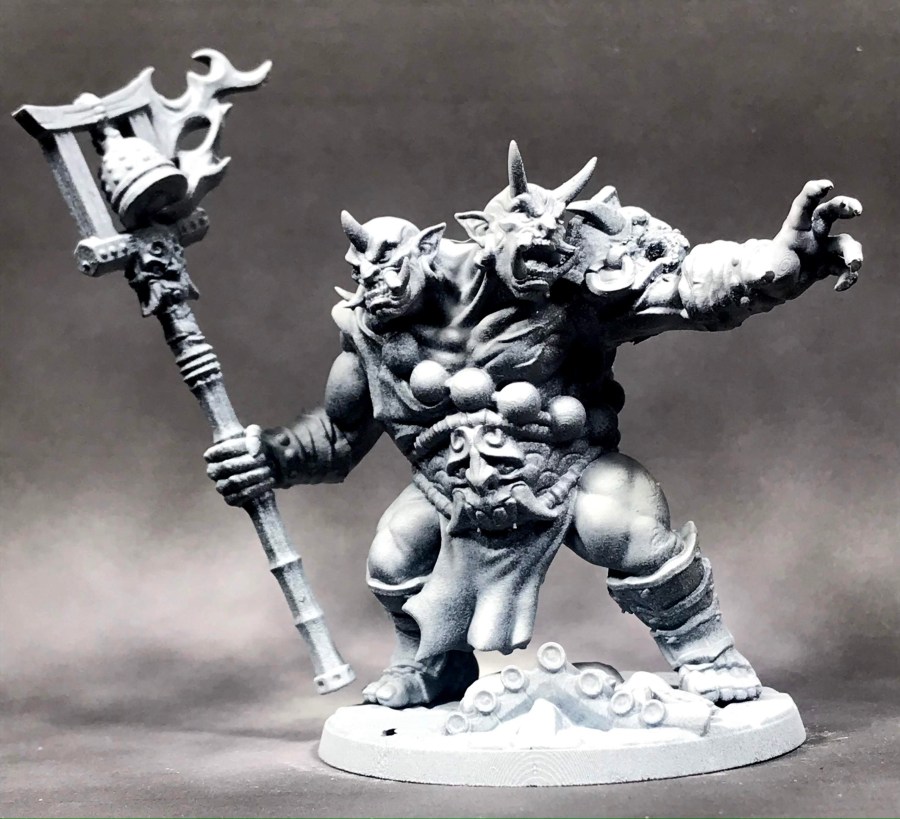
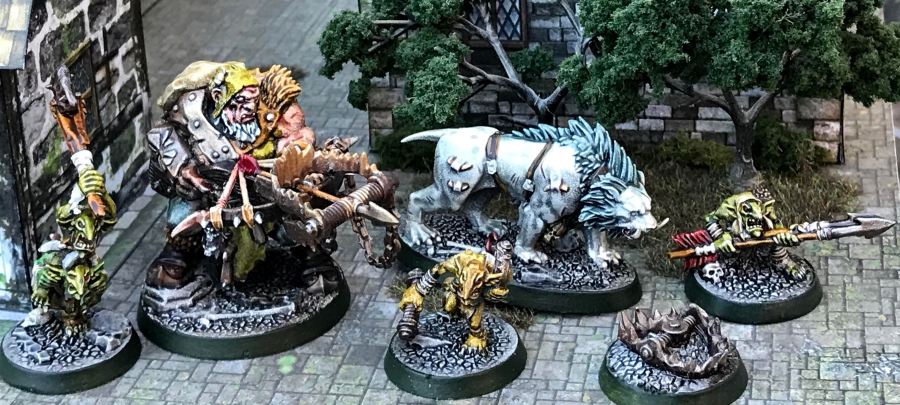
I also lucked out this month since Titan Forge has a bunch of undead up for this month’s Patreon subscribers, so I got some pretty great and pretty fresh minis for the game.
That brings me to the first rule I am “breaking” for my campaign! I was only going to allow minis that I had printed, but printing and painting a whole slew of zombies was going to take forever. Plus, I have a bunch of orc zombies from Zombicide just gathering dust, so I am allowing 32mm figs that I already own for horde groups like zombies. Plus, I love the Zombicide figs, so I’m happy to get them going. I’m going to print some new bases for them so they fit the theme a little better, and I’ll have a post for them up shortly.
I will be posting Sundays and Wednesdays from here on out, so I’ll be back on Wednesday with the nerdiest damned project I’ve taken on yet. See you soon!