Kings of War: Bring on the Dwarfs! (KoW project part 2)

It’s time that work in earnest began on my Kings of War Dwarf army. The nice thing is that I’ll be able to build up my Vanguard troops while I am at it, which is pretty cool!

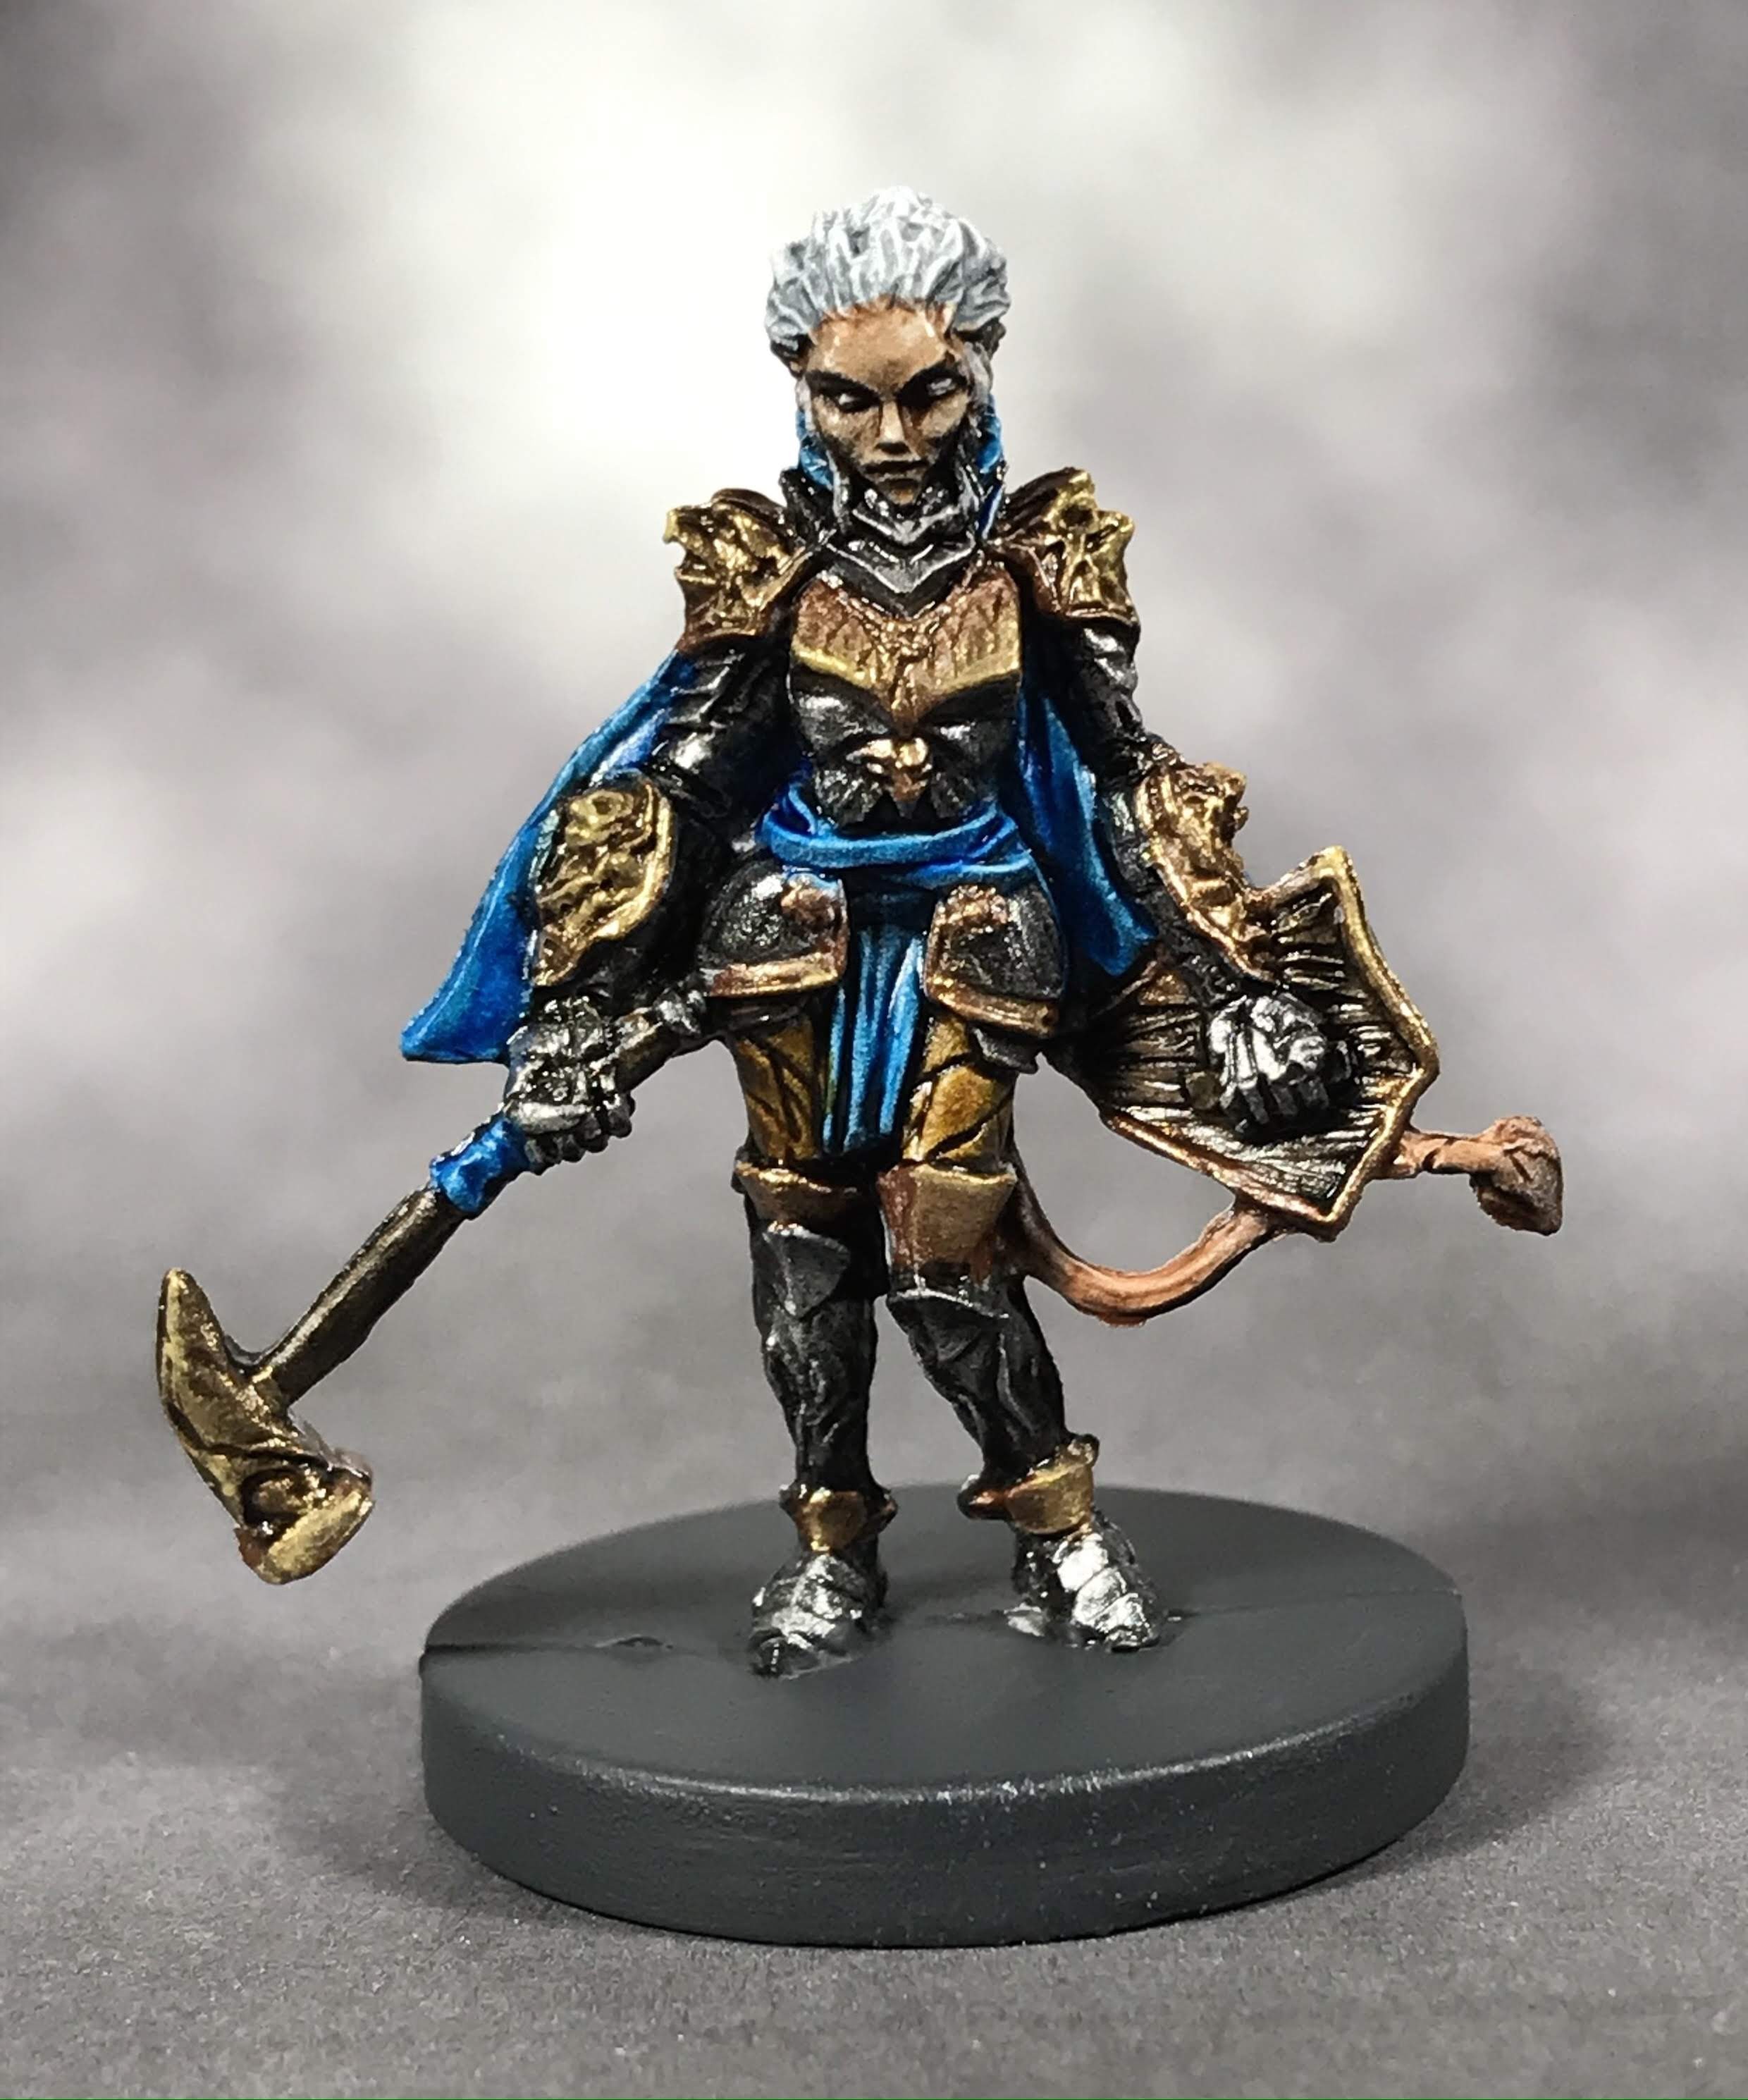
The first regiment up is a group of Shieldbreakers, heavy armored badasses with big, nasty hammers!

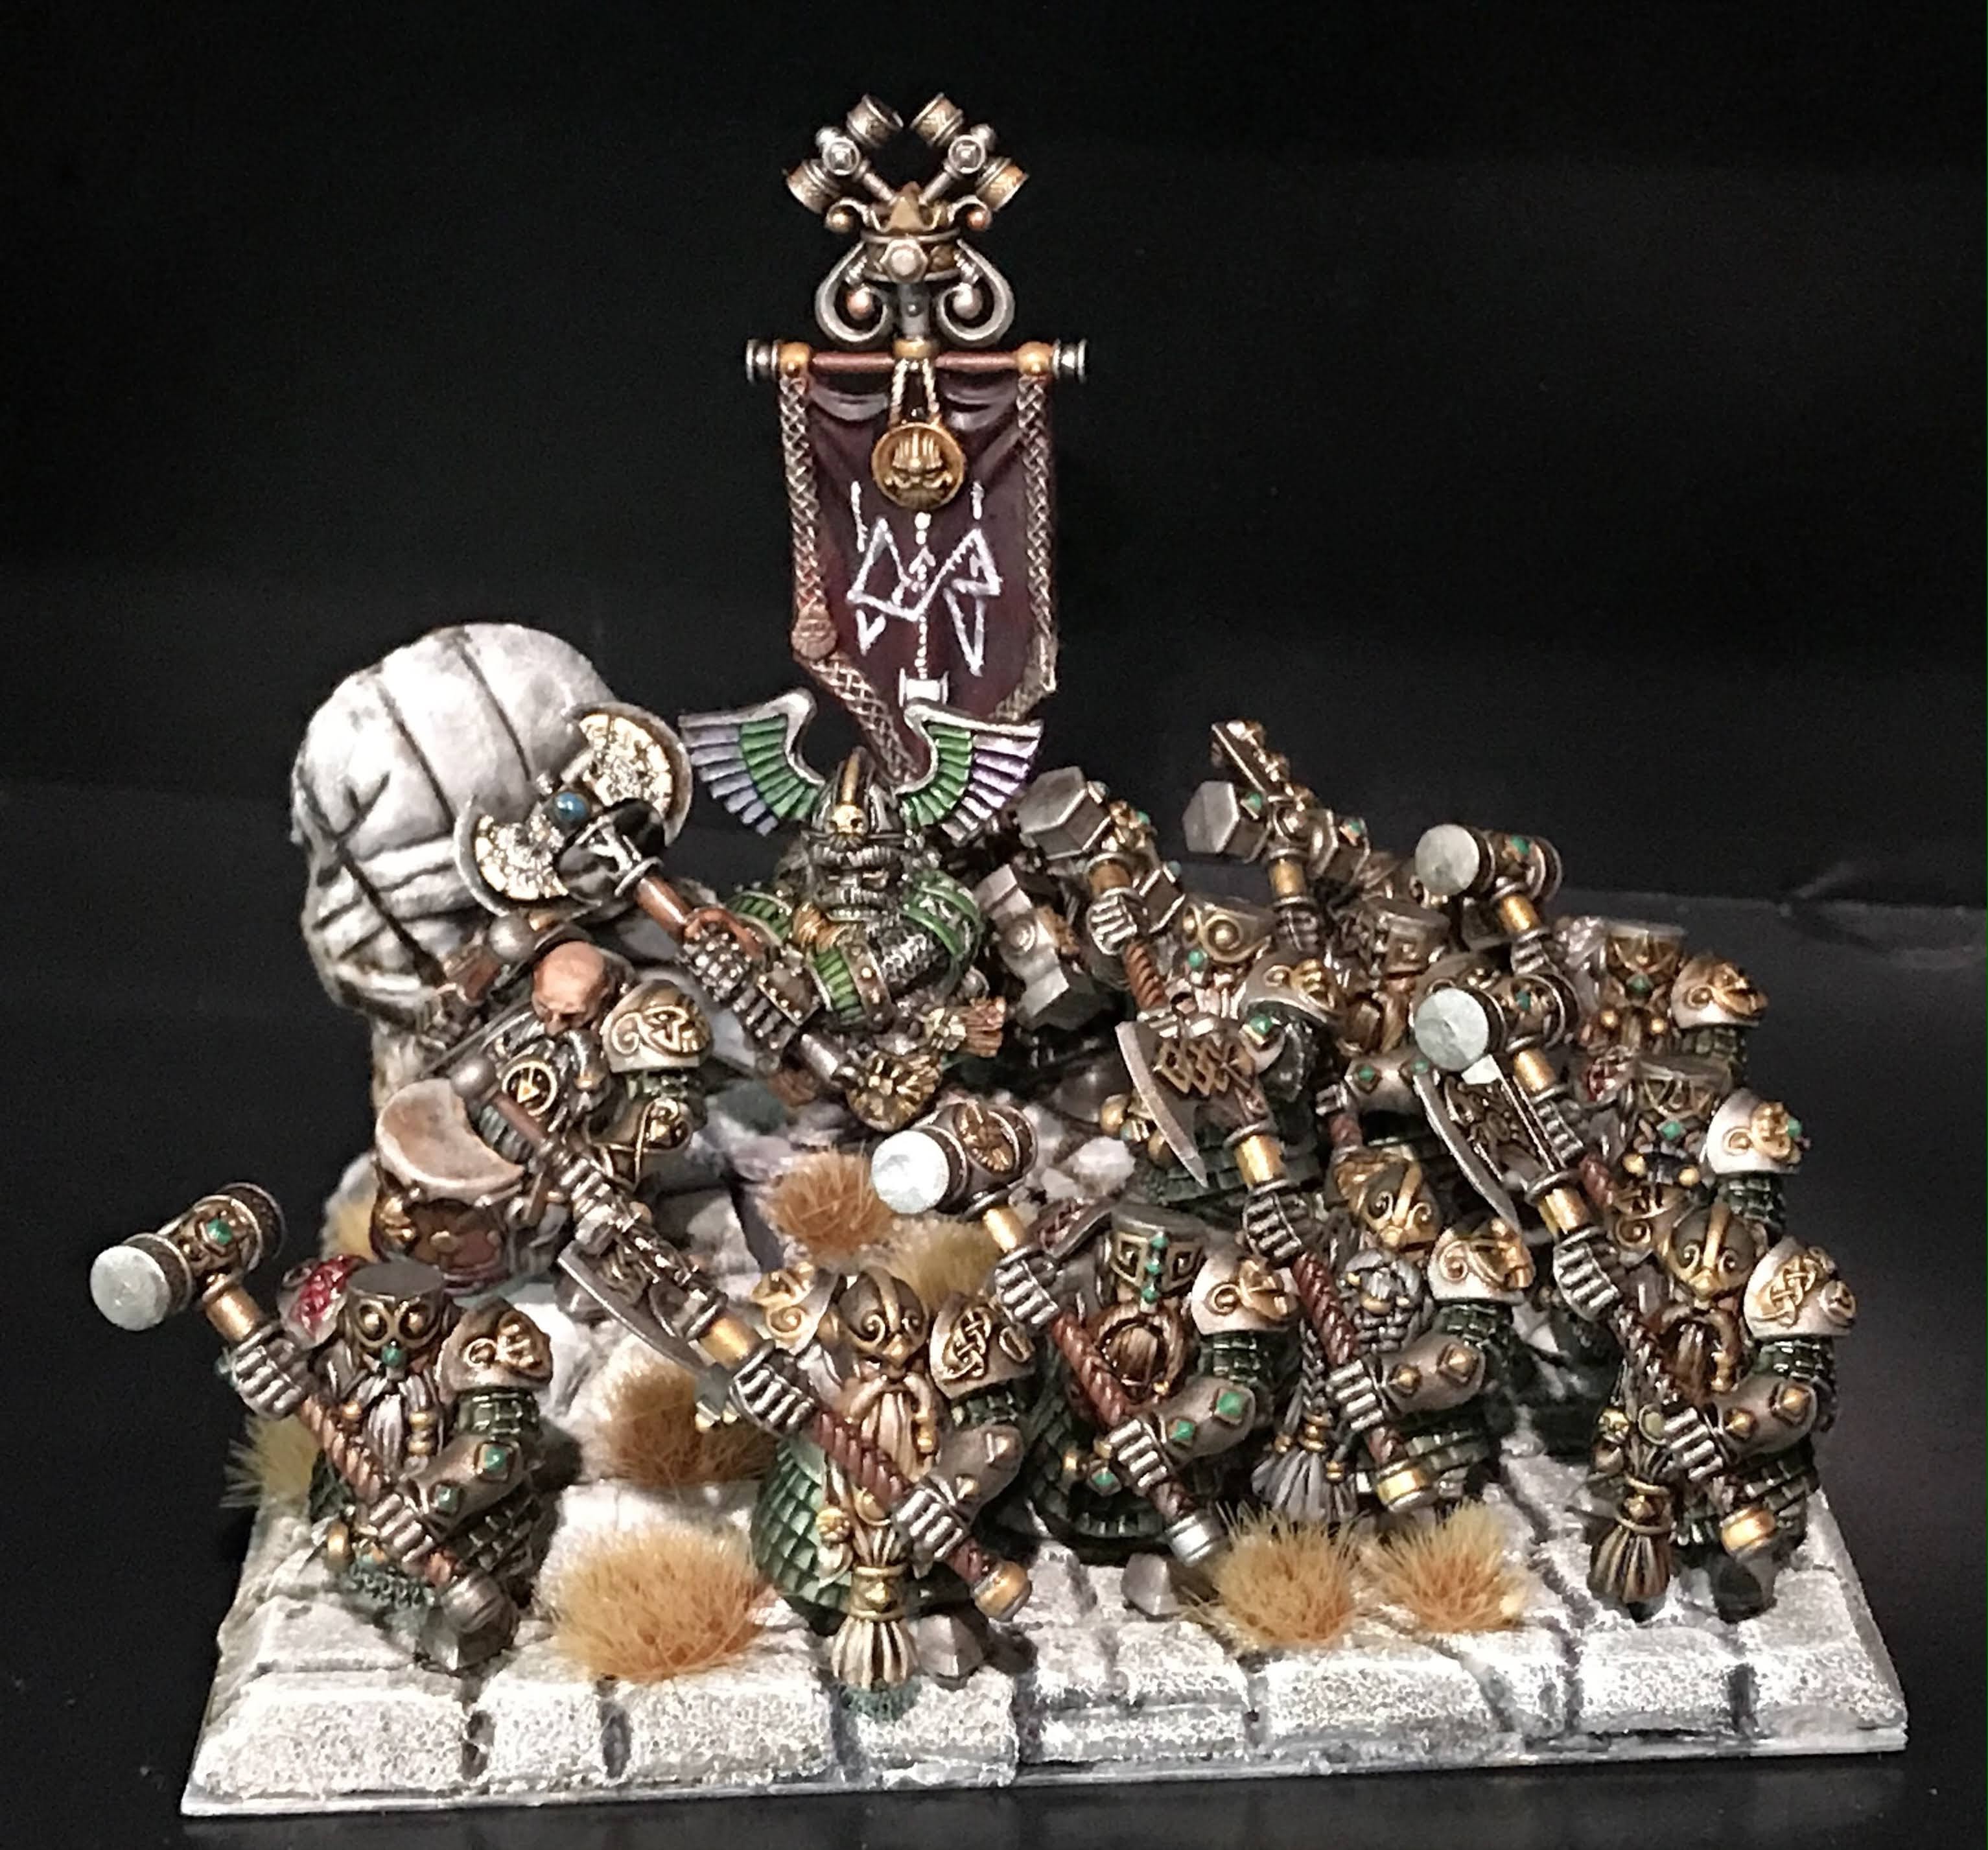
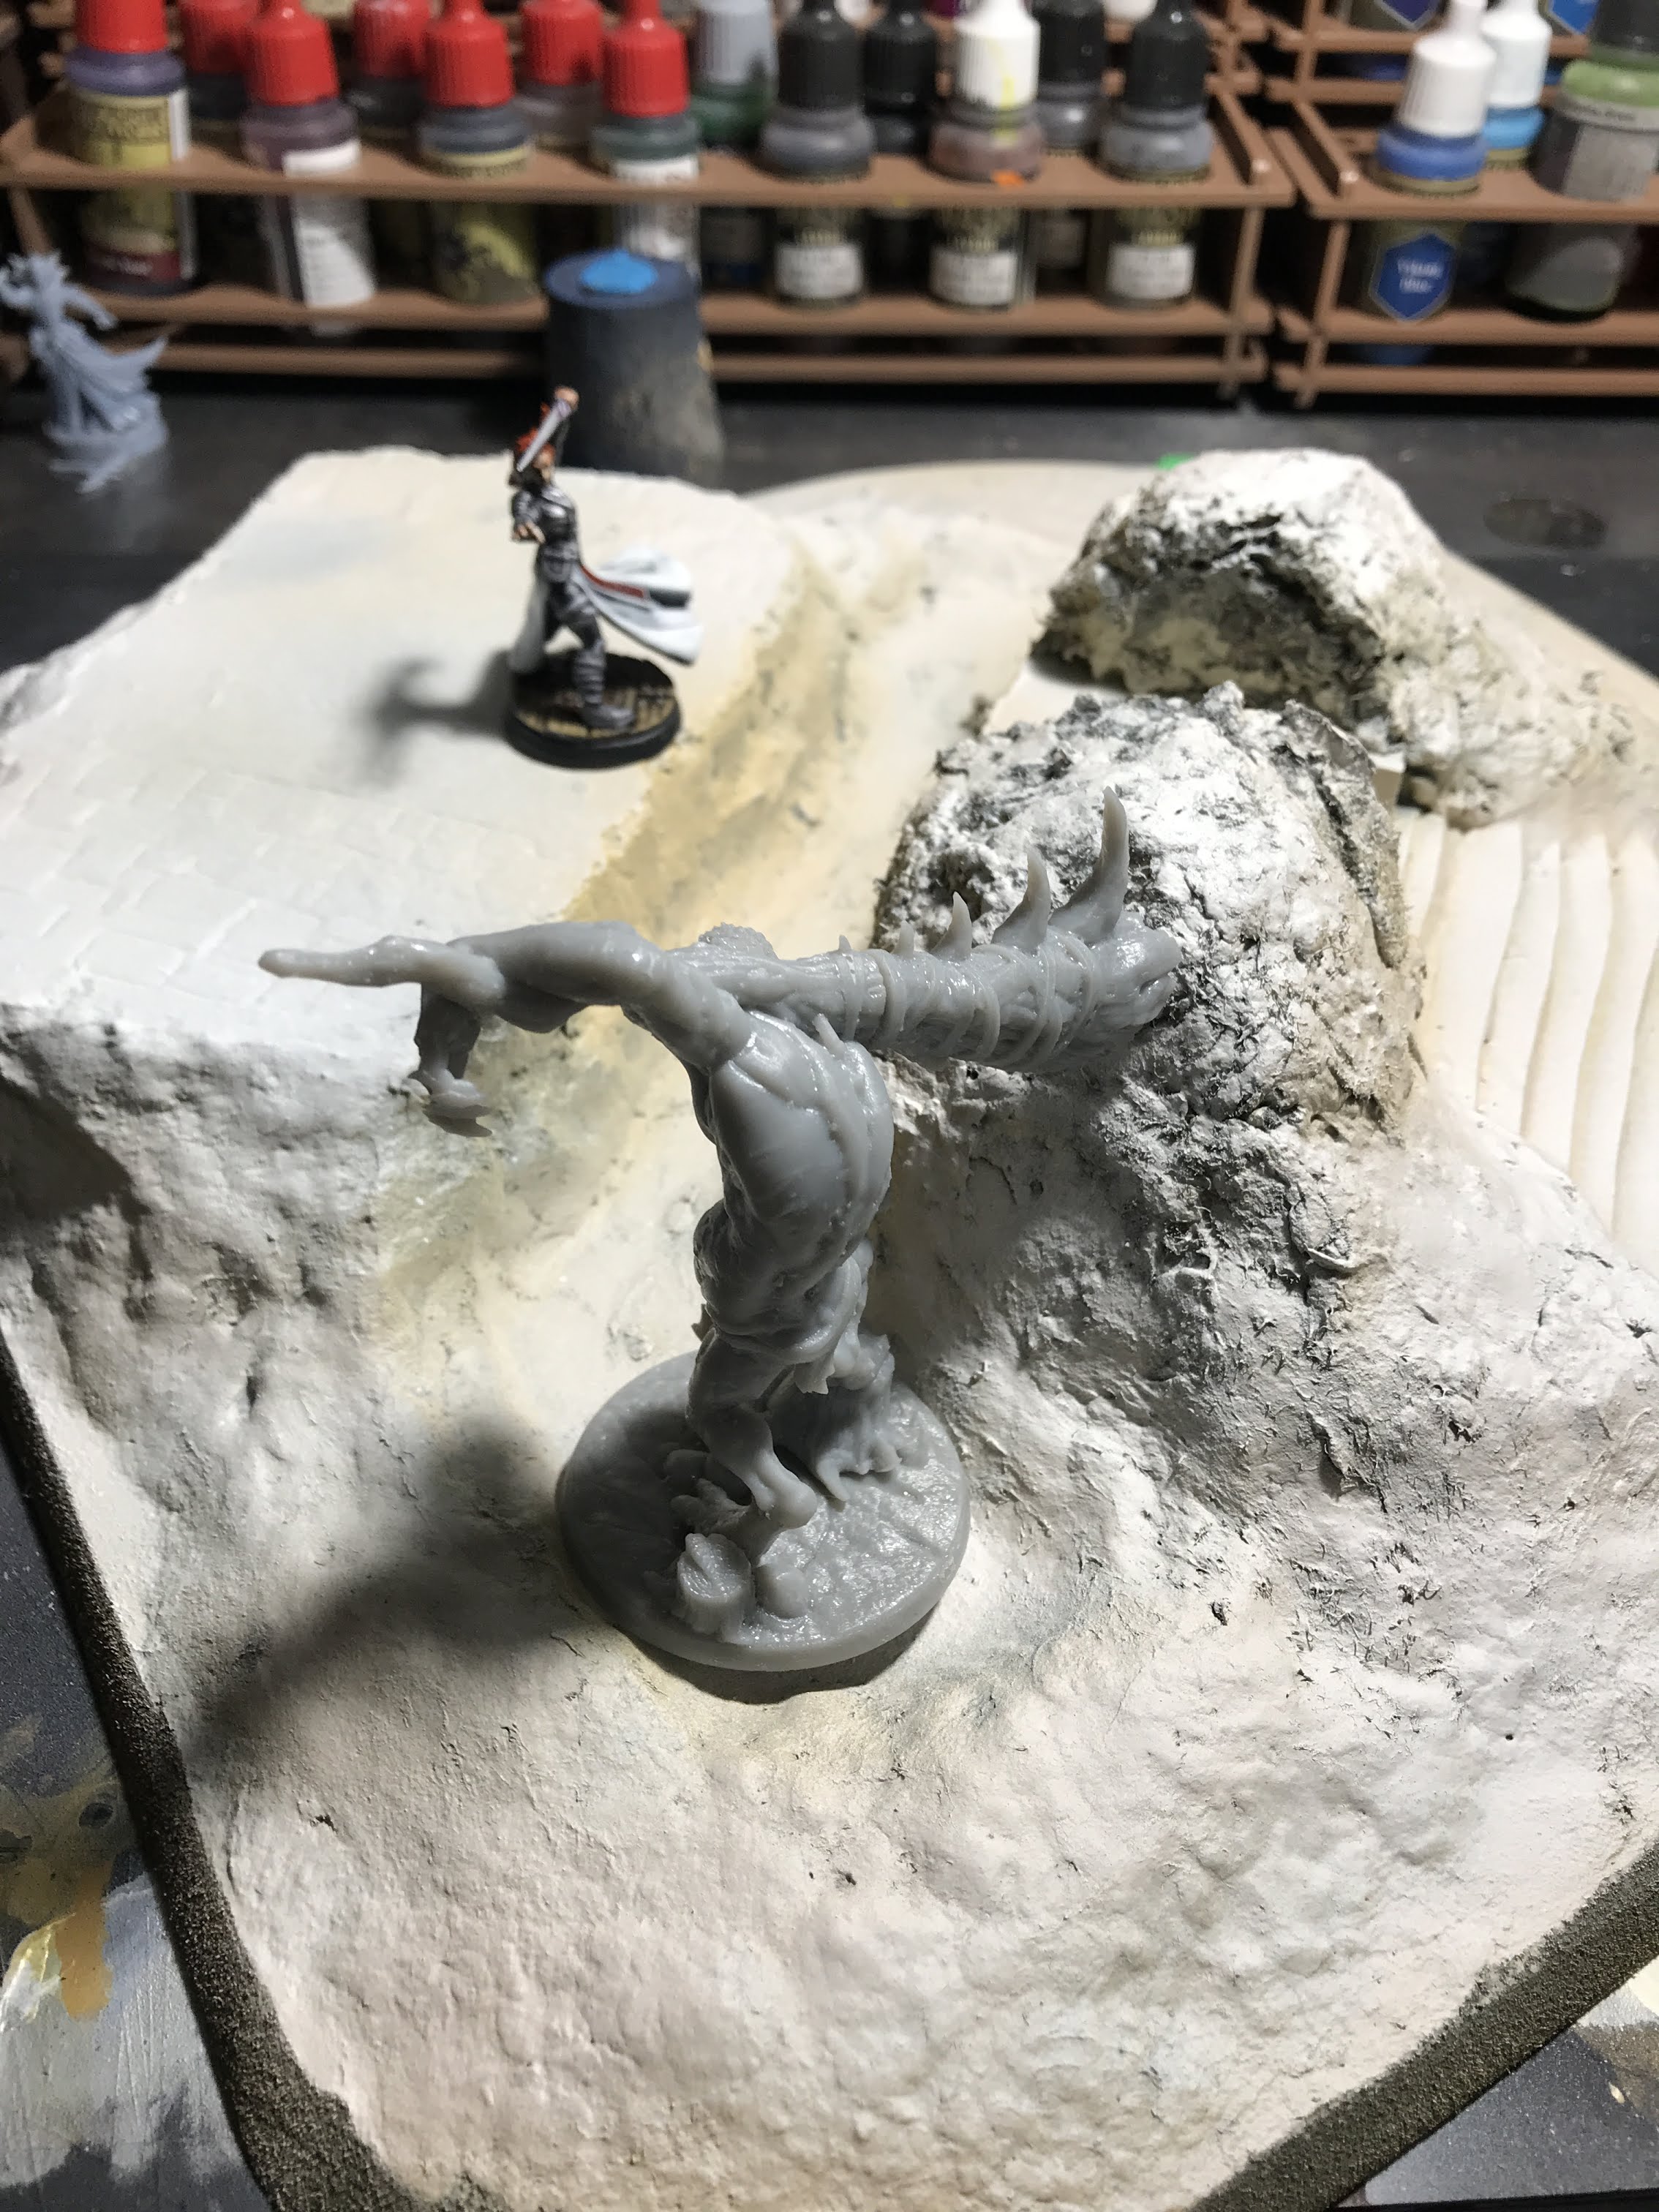
With KoW‘s multibasing rules, I can put a regiment that represents 20 troopers together with 15 minis, and work in some scenic elements to make the group look cool. So, I worked in some elevation with rocks, a dwarf totem in the back, and a magnetized section for the regiment leader, who will be my Shieldbreaker for Vanguard:

It’s cool getting all these old GeeDubs minis back into circulation, and that unit leader is one of my favorite all time GeeDubs sculpts, so… huzzah!

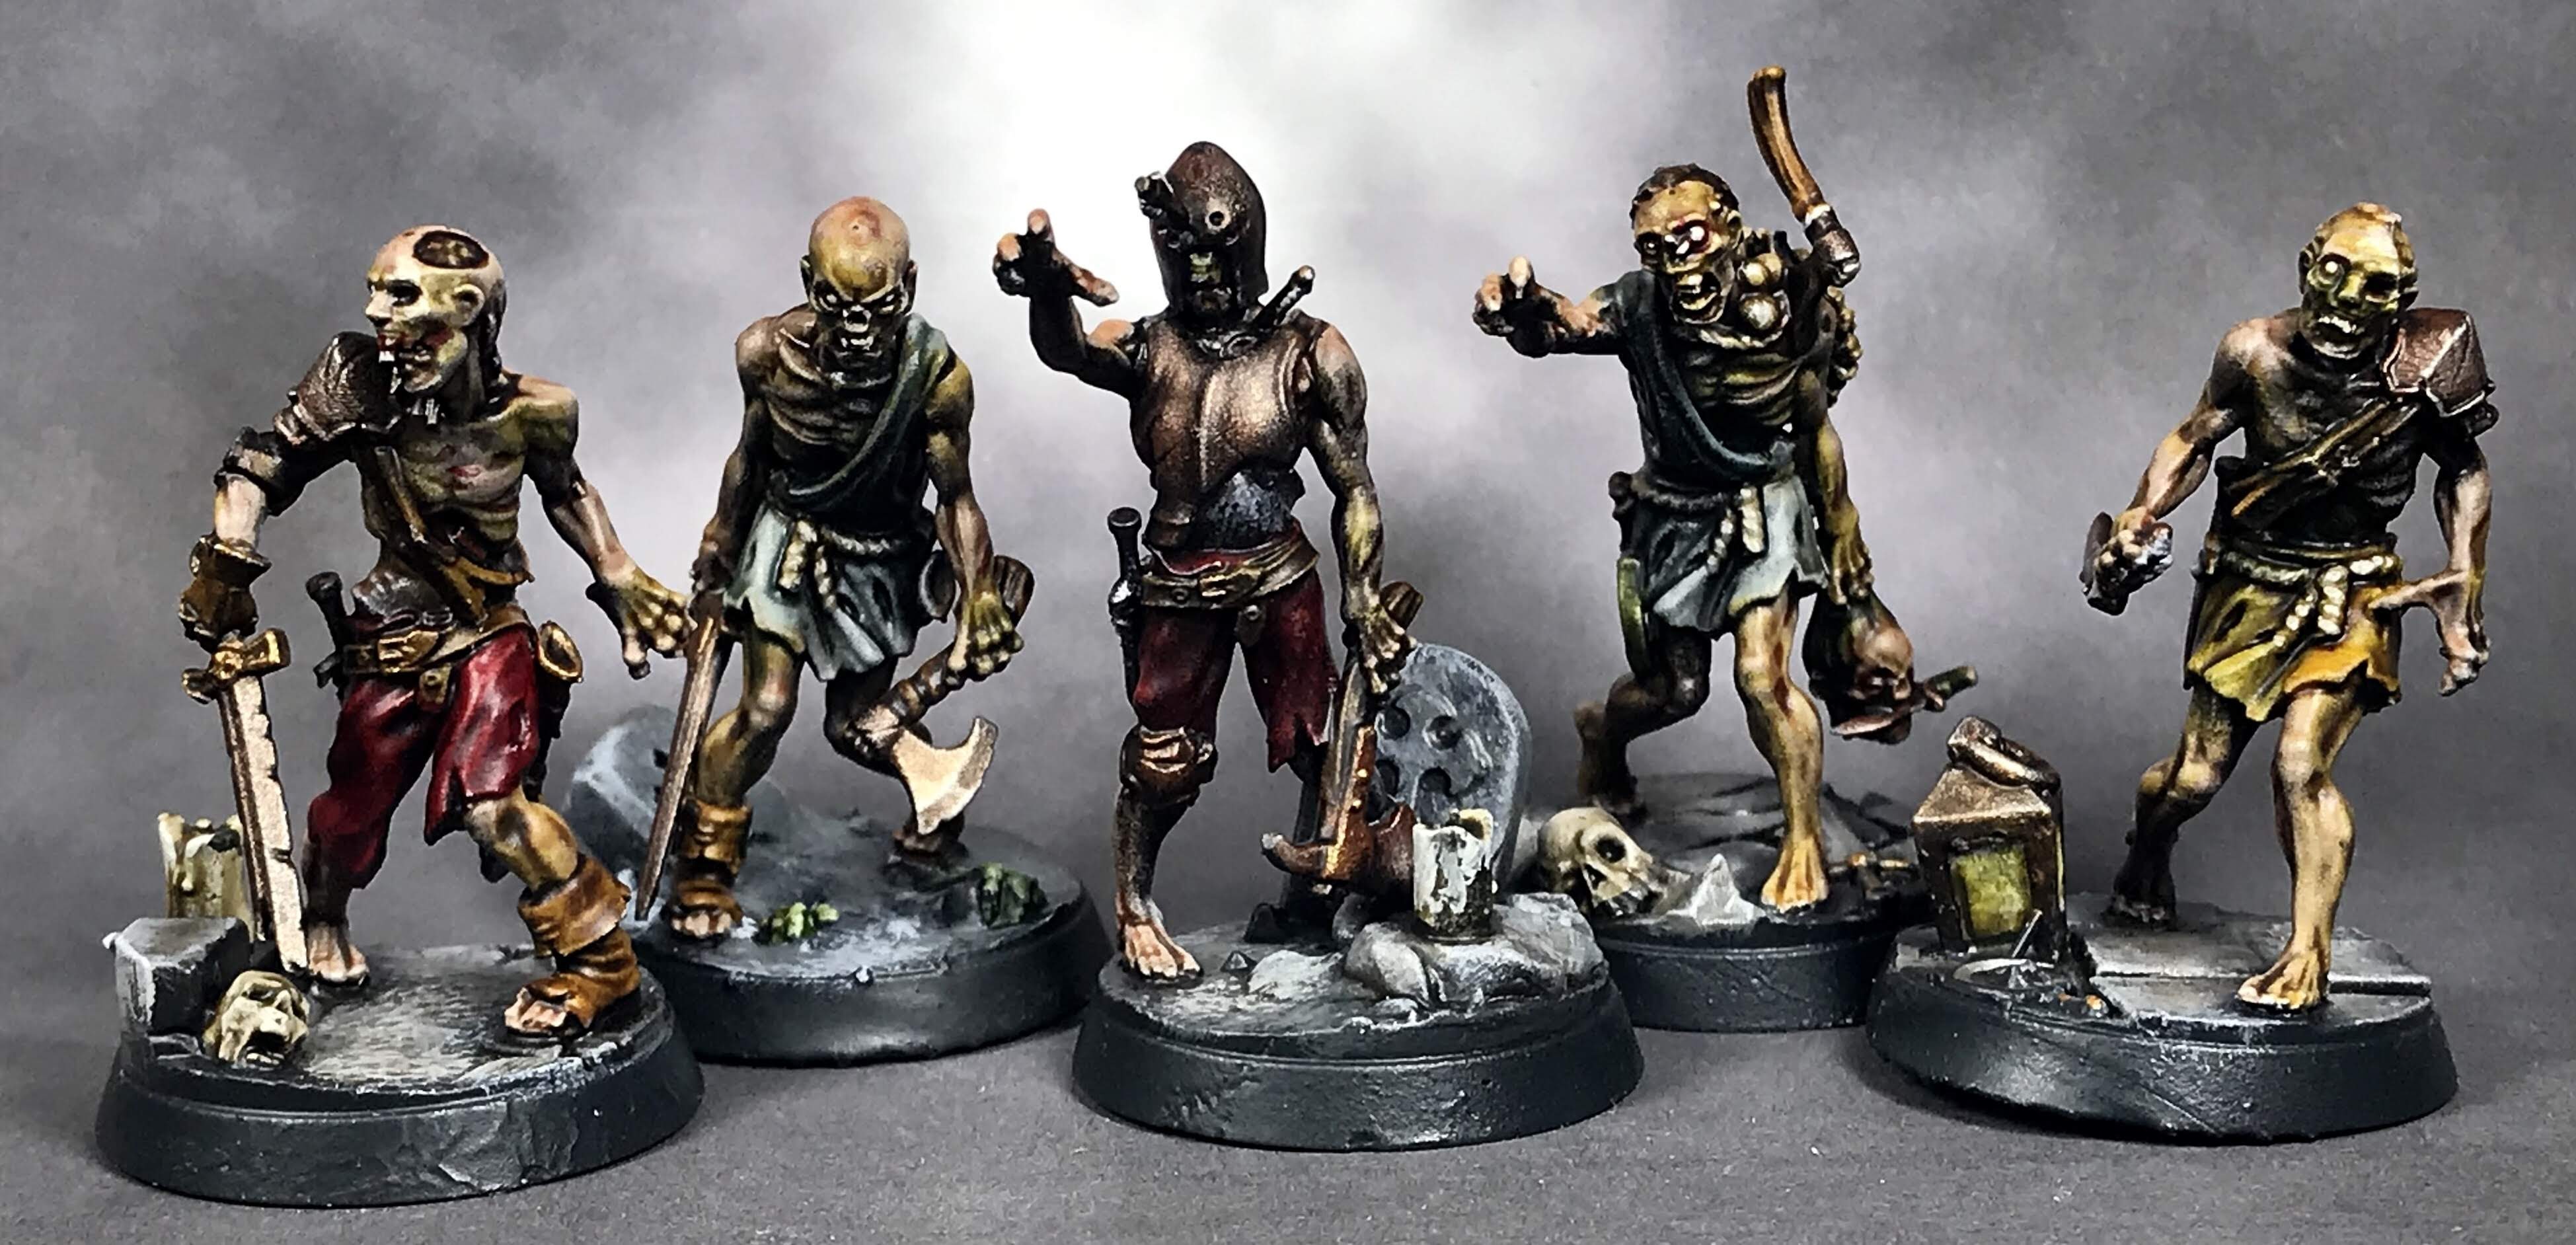
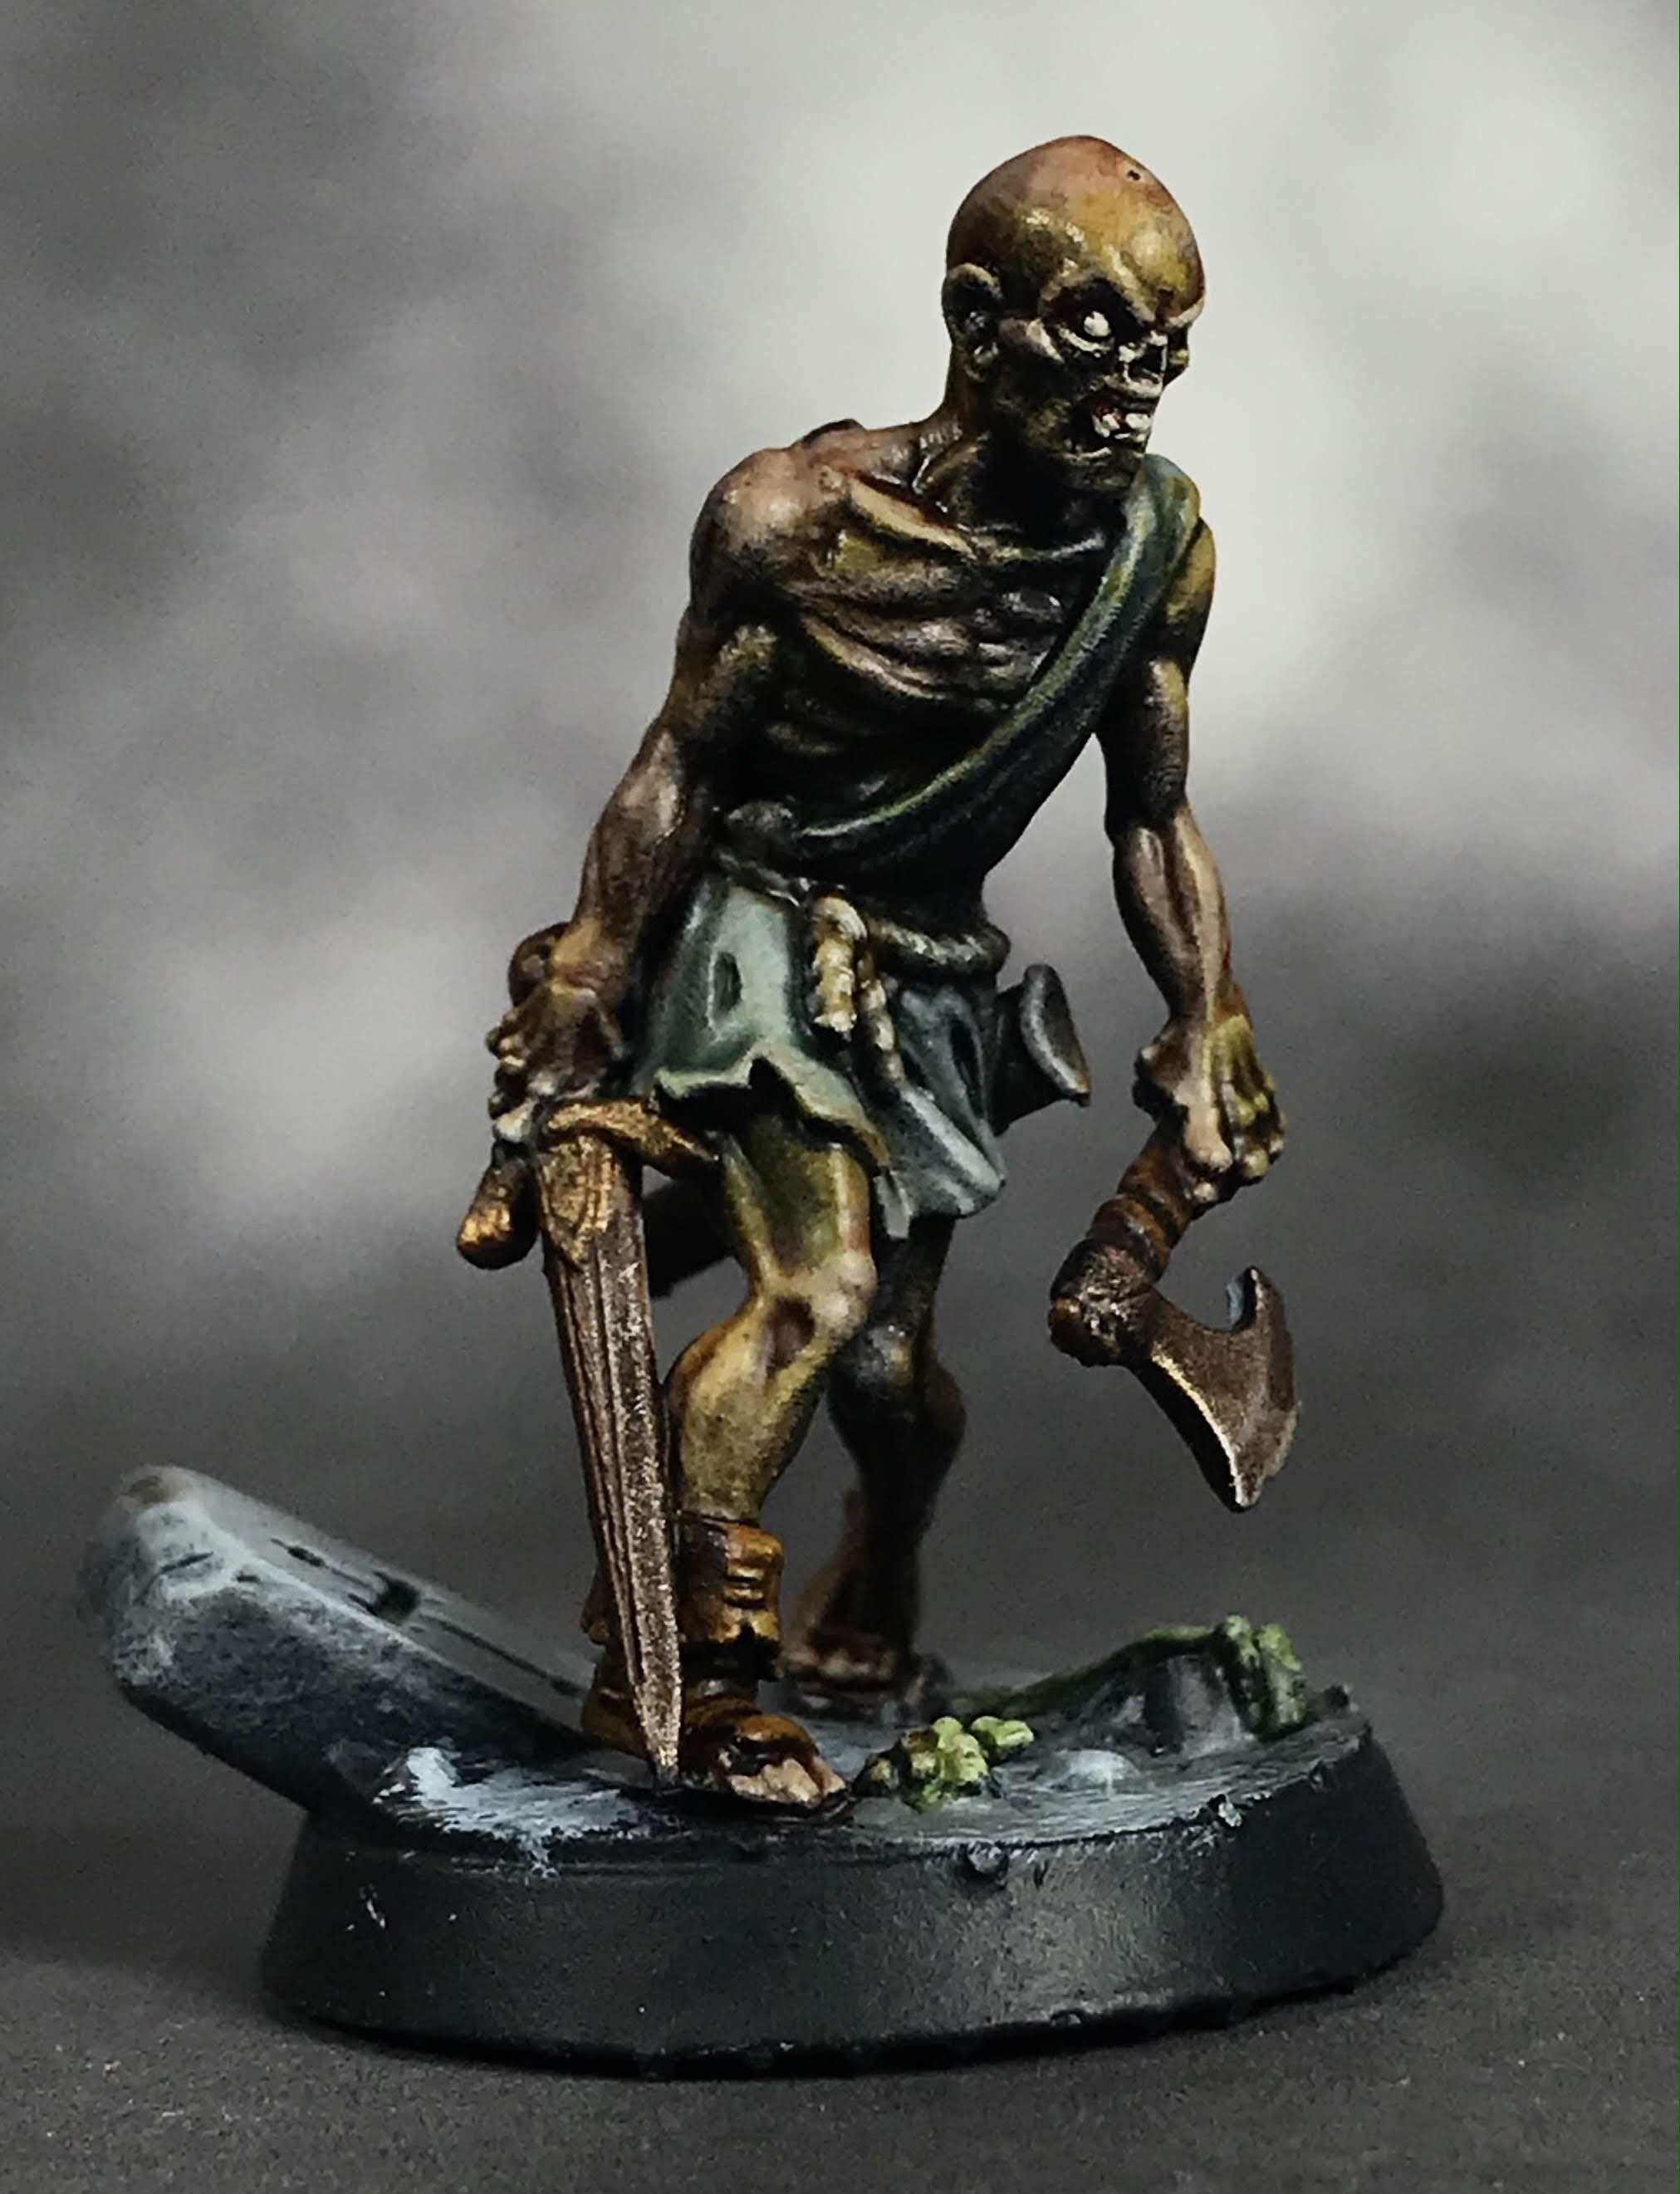
Here’s the second unit of Shieldbreakers, this group has big, nasty axes just to shake things up!

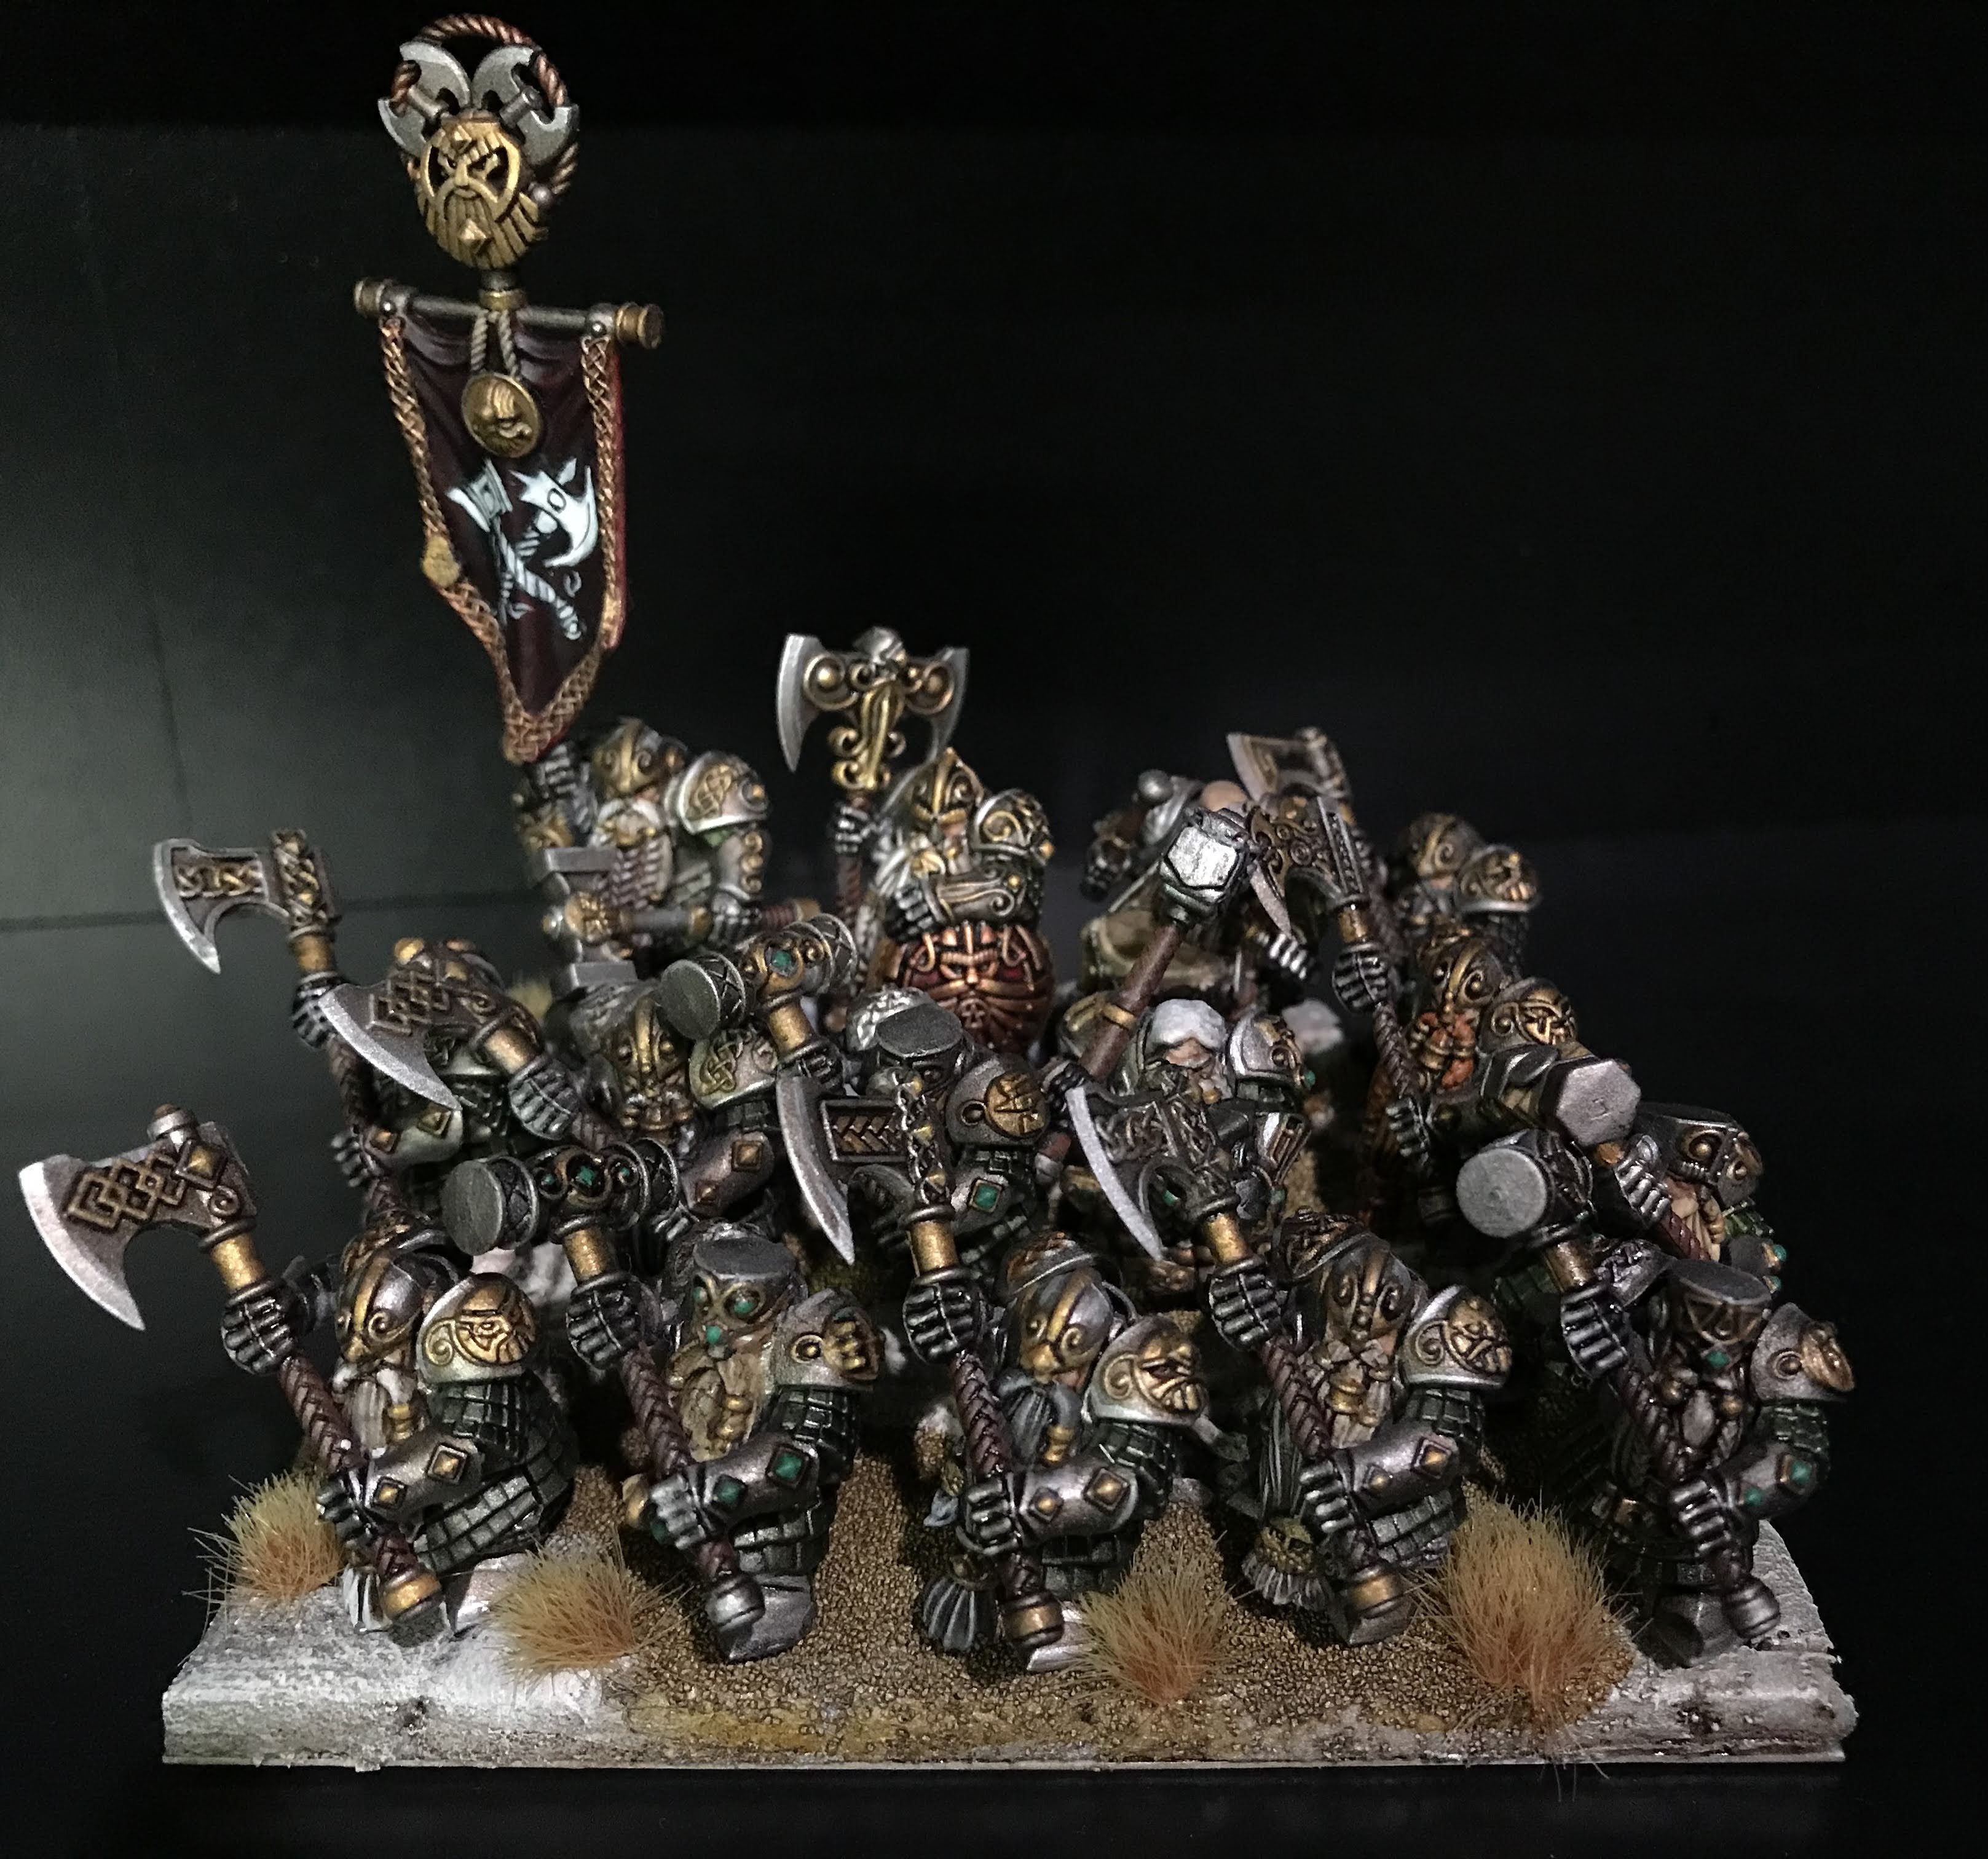
I’ll have to get the unit leader out and get a photo of his on his own, but this puts me at two regiments of soldiers for my KoW army, and two troops for my Vanguard list!

Next up, I’ll get my Rangers together!

Nighthaunt Project (part 2)

The second part of the Nighthaunt project is this pair of ponies, which turned out waaaay better than I was hoping for!

I used my airbrush to blend a nice earth tone brown into an eerie green, then pulled out some ethereal highlights with a light blue gray. Then some rust effects for the metal, and I’m calling them good to go!

Next up, I’ll share the leader of this motley group! I have a ton more Nighthaunt I should finish up, they really are a lot of fun!

Nighthaunt Project part 1

I’m not a huge fan of Games Workshop these days, but I do have a weakness for about a third of the catalogue. The spin flier, weirder, and more far fetched the figure, the more likely that they’ll end up on my paint bench.

The Chainrasp Horrors weren’t the first Nighthuant models that I bought, but the were the first I finished! I employed a unique (to me) color scheme, and really had a lot of fun painting.

The weapons all got some fun rust effects, and a little dark glaze pulled the paint together! The bases were from a Patreon that I support, and the end result put a smile on my face!

Next up, ghost ponies!

Fantasy Realms: Gronk Boomshot

One of the cooler aspects of owning a 3D printer is seeing something you love from a great sculptor, buying the file, and several gooey hours later, holding your new mini in your hot little hands.

One of my favorite companies out there right now is Artisan Guild. The sculpts are gorgeous, with tons of character and expression. The Ogres and Dwarves are neck and neck in my heart right now, but Gronk Boomshot here pushes things over the top.

Peg leg? Check. Bandana? Check. Loincloth barely covering his booty? Checkity check. He’s the whole package.

I also wanted to play with skin tones here, so there is a bit of blue in the shading, and a lot of pinks and reds on his facial skin. A true delight to print AND paint!

Town Guards, Part One

My quest to find the perfect town guards came to an end this month. The awesome sculptor that runs Tytan Troll Miniatures on Patreon has been knocking out some amazing sculpts to print this month. They remind me a lot of the guard in the Diskworld books, so I really didn’t have a choice.

The first batch of four printed up in under 4 hours, cleaned up beautifully, and were a blast to slap a quick paint job onto!

I plan on using them to replace the villagers in my first Rangers of Shadow Deep game, with my Rangers investigating an eerily quiet barracks instead of a village.

Scratch-Built Fantasy Village, Part 6

The first building is finally finished, and I could’nt be happier with how it turned out!

After the flock and shrubbery was secure, I added a couple of plastic railroad trees that I was able to twist in extremely twisty ways by soaking them in boiling water.

The rest of the piece was just a matter of concealing joins and gaps with shrubs.

After all of the flock was set, I poured clear resin into the moat for a water effect.

It’s a really fun piece, and will make for a thematic center-point for my games!

Scratch-Built Fantasy Village, Part 5

Things start to come together quick at this point in a project! Now that the base is dry, I brushed on a solid coat of cheap brown acrylic craft paint. This is about the only thing that I use cheap craft paint on– it’s perfect for this kind of job!

img_3545

Now that the base color is down, a couple of dry-brush passes bring the base closer to what I’m looking for. I also paint in a layer of green for the moat, which will get filled with clear resin later. The stone work that I carved in earlier gets a coat of grey paint, which will get some highlights and shading later.

img_3546

Color blocking is done, so now it’s time for flock. I use a couple of different colors of flocking, and will use some tufts, too. Foliage is never a uniform color or height, right?

img_3547

I took some ground up dried leaves and stuck them to the bottom of the moat with watered down white glue. Shrubbery is the last step here, which has to be glued down using super glue.

img_3548

Next up, it’s time to fill that moat and glue down the building!

Scratch-Build Fantasy Village, Part 4

The bulk of the first building is done, but it was looking kind of sad on its own. This here project was in pretty dire need of some elevation. Lucky me, there is quite a bit of MDF just hanging out in the garage looking for a project connection!

img_3497

First things first, I cut some blocks of blue insulation foam with my trusty Proxon foam cutter. Then I cut a deep recess into one of those blocks, and cut up the recess to make some narrow stairs. I used a ballpoint pen to carve in some stone detail.

img_3539

I place used the building to make sure that the separate blocks were far enough apart, and glued them down to the MDF. Then it was time to use some Celluclay to bulk out the base to make the whole thing look like mounds of earth.

img_3540

Next, I shaped the MDF with a saw and a small detail sander. Once I got the shape down, it was time to build up some more earthen mounds around the stairs leading to the tower.

img_3544

Now to wait for everything to dry, and then get some paint down on this!


‘Gloomhaven’ Paint Project, Part One

My friend (and Geekshow MVP) Rebecca Frost was talking about Gloomhaven one day, and I kind of lost my mind. I had to paint them. Why? Well, I had never seen them before. Here was a game set in the fantasy genre that I had never seen, let alone painted.

img_3518

Luckily, Rebecca didn’t call the police, and I was able to get started on the first batch of six figs. I don’t know what they are, who they are, or why they are, but they are a lot of fun to paint!

First up, a badass lady with a couple of axes. She reminds me of a classic orc, but I think her skin is made of stone or bark!

img_3478

Next up is a bard, but I think she might also be a plant person:

img_3475

I know a Rogue when I see one!

img_3471

I think the next two are druid/ranger types. I might also be waaaay off here, but they both fit a nature theme:

The last one in the first batch looks like a Paladin. We’ll have to see!

img_3477

I have another five of Rebecca’s figs, and I need to get them done soon, too. There are a TON of Gloomhaven minis, so this project should keep me busy a while.

It’s interesting painting board-game miniatures. They still have a lot of detail, but the need to keep the poses static to keep production costs down makes a mini that’s a lot easier to paint. For the simple joy of putting paint to plastic, this has been a pretty fun project!

The Shambling Horde is Growing!

I have to admit something– I am allowing myself to go “full geek” on my upcoming Rangers of Shadow Deep campaign. I am also changing a few of the rules I set earlier, but I’ll get to that in a minute.

img_3532

The first scenario that I am going to play involves my Ranger and her crew searching for clues about a missing Ranger… and a town full of missing people. The scenario calls for a load of zombies, so I loaded a set of five into the Mars and got them painted up the next day.

img_3535

I went with a rough and ready paint scheme with lots of glazes. I wanted the skin to look leathery and mummified, and the metals to look really weathered.

img_3534

I also lucked out this month since Titan Forge has a bunch of undead up for this month’s Patreon subscribers, so I got some pretty great and pretty fresh minis for the game.

img_3533

That brings me to the first rule I am “breaking” for my campaign! I was only going to allow minis that I had printed, but printing and painting a whole slew of zombies was going to take forever. Plus, I have a bunch of orc zombies from Zombicide just gathering dust, so I am allowing 32mm figs that I already own for horde groups like zombies. Plus, I love the Zombicide figs, so I’m happy to get them going. I’m going to print some new bases for them so they fit the theme a little better, and I’ll have a post for them up shortly.

I will be posting Sundays and Wednesdays from here on out, so I’ll be back on Wednesday with the nerdiest damned project I’ve taken on yet. See you soon!