Malifaux: Woe Crew

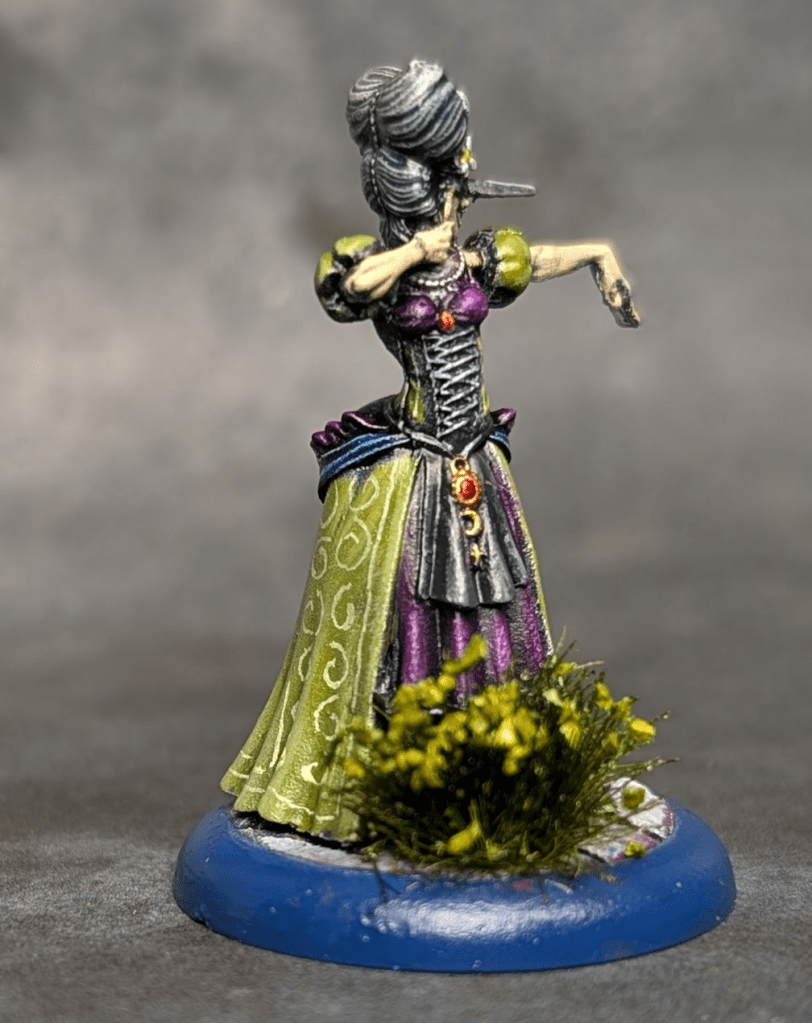
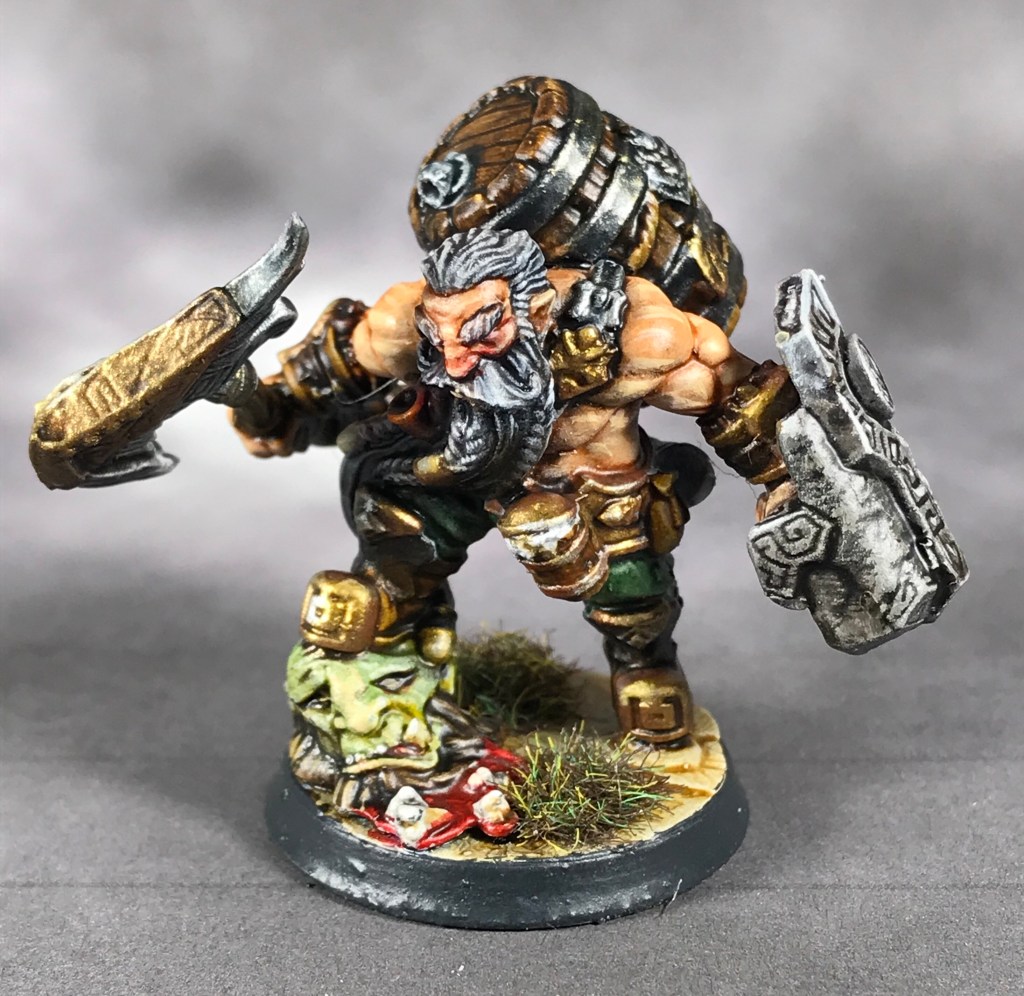
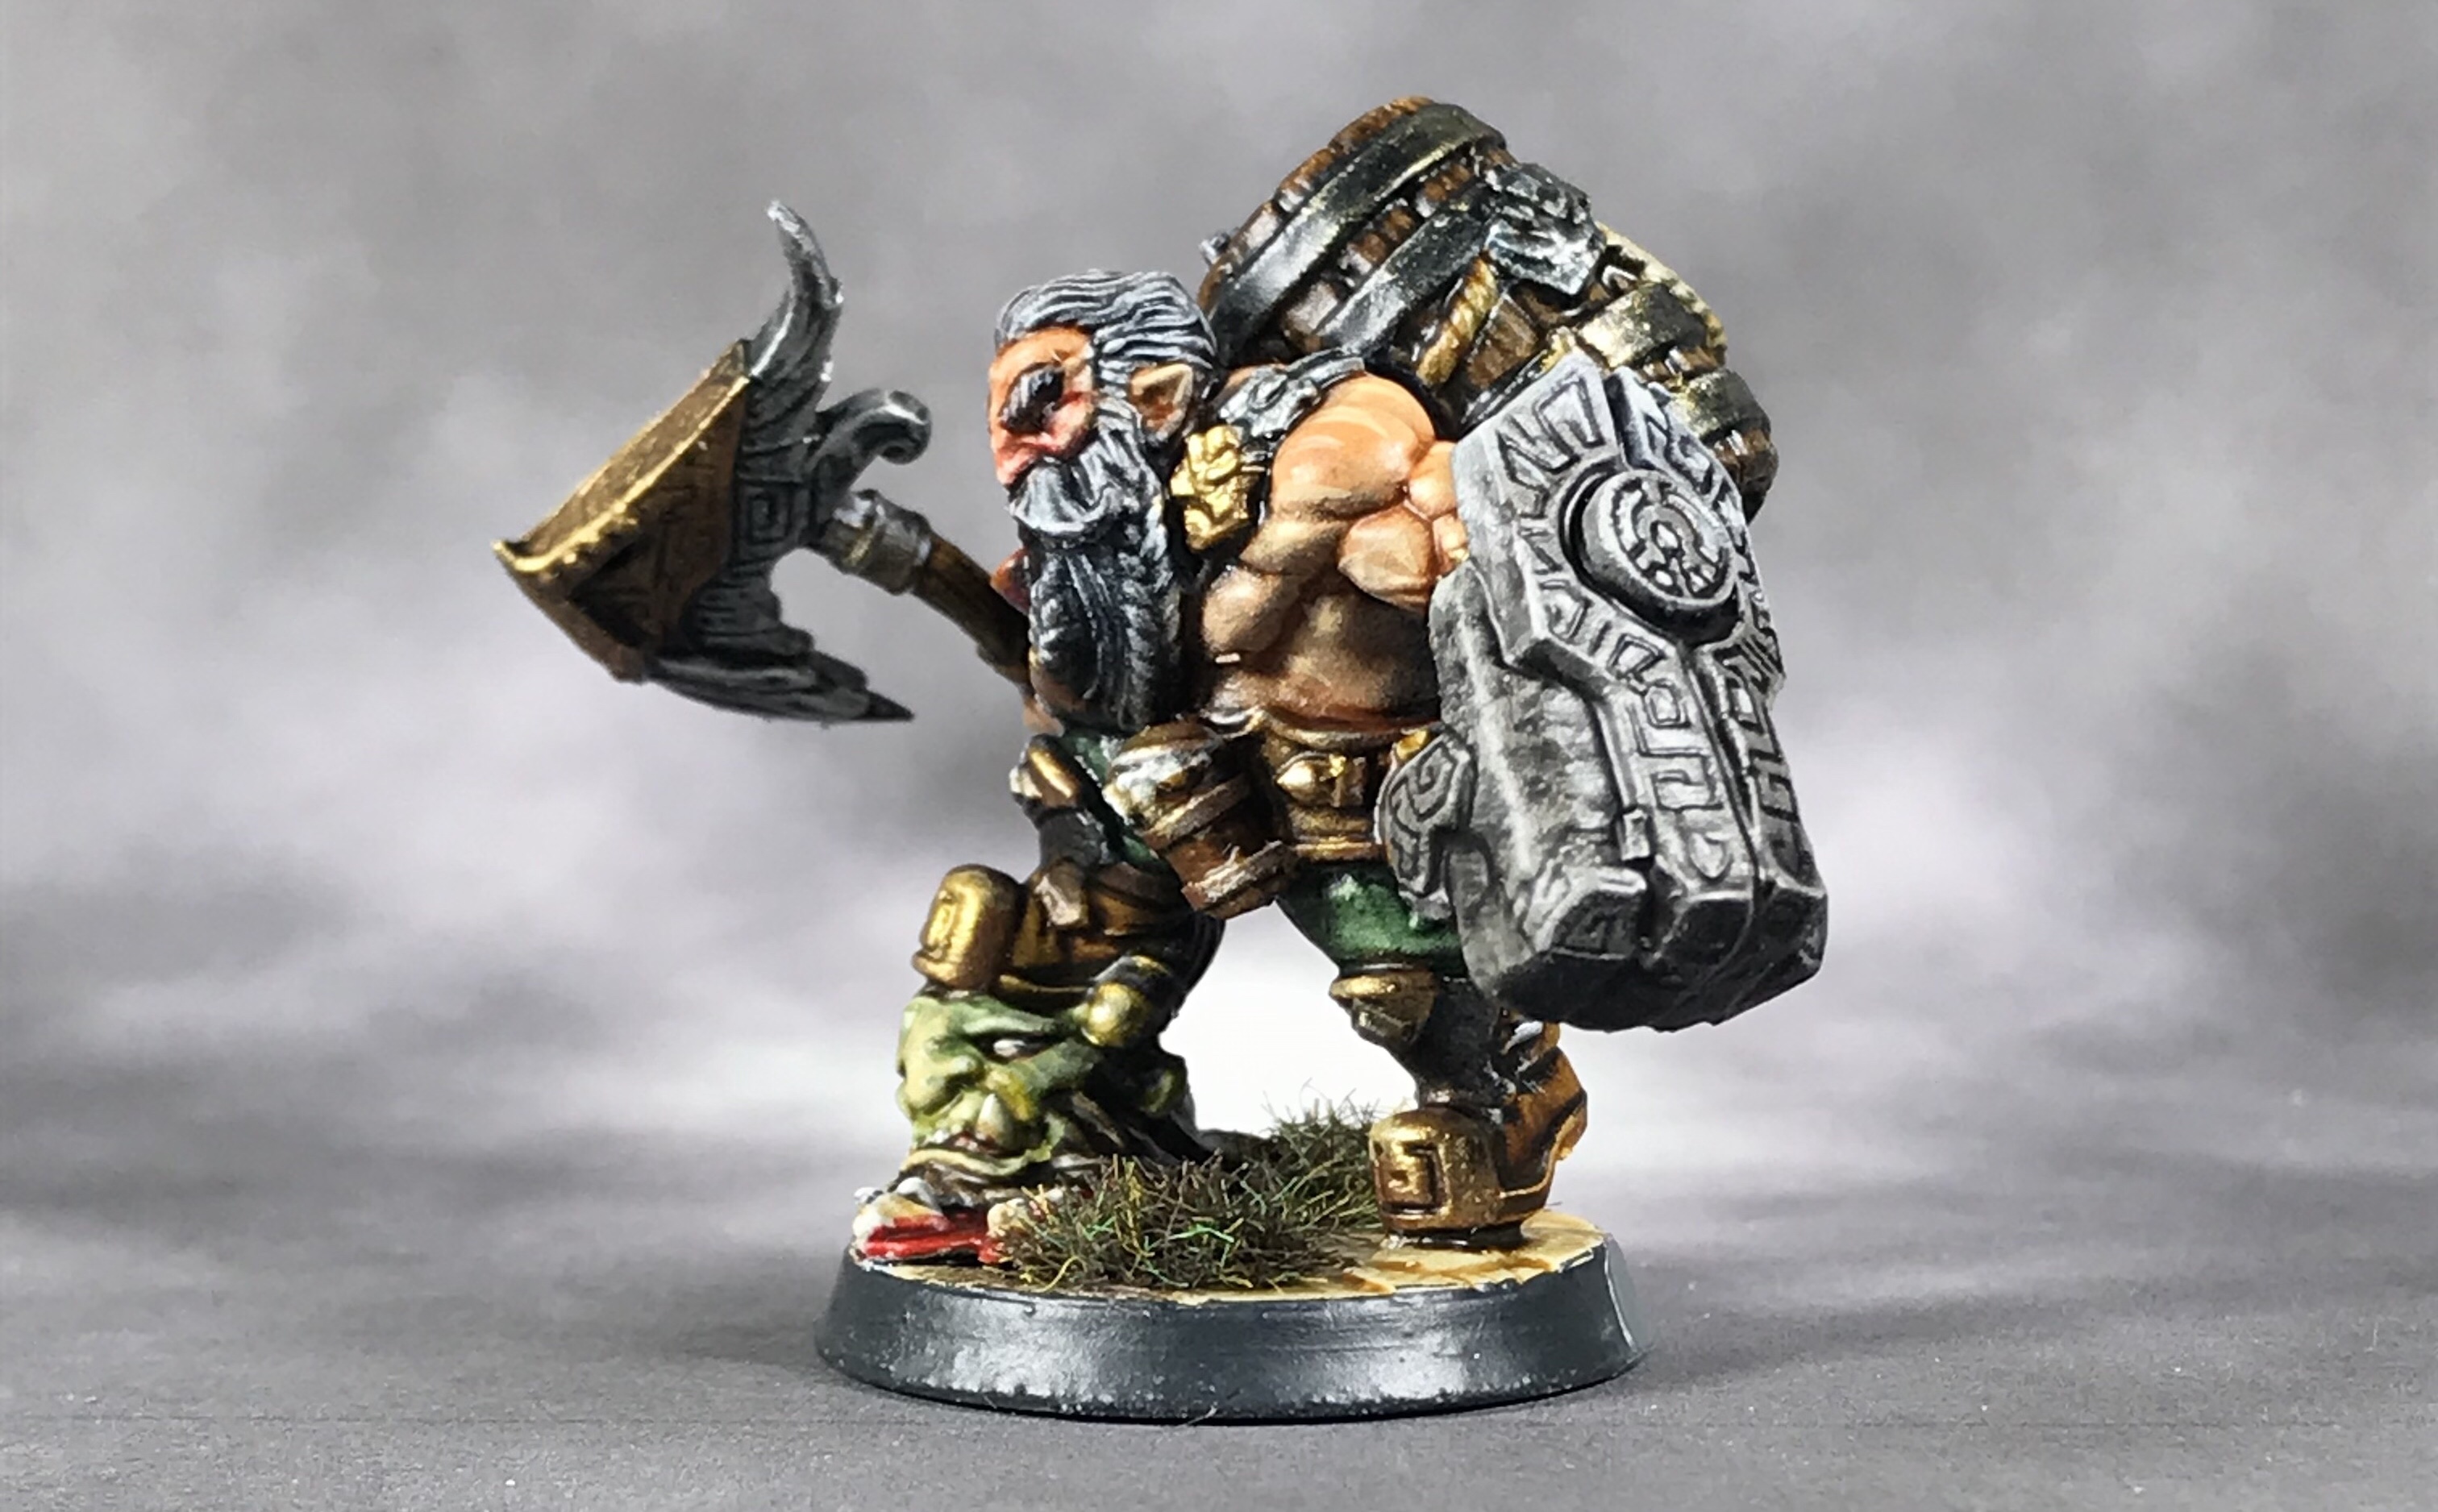
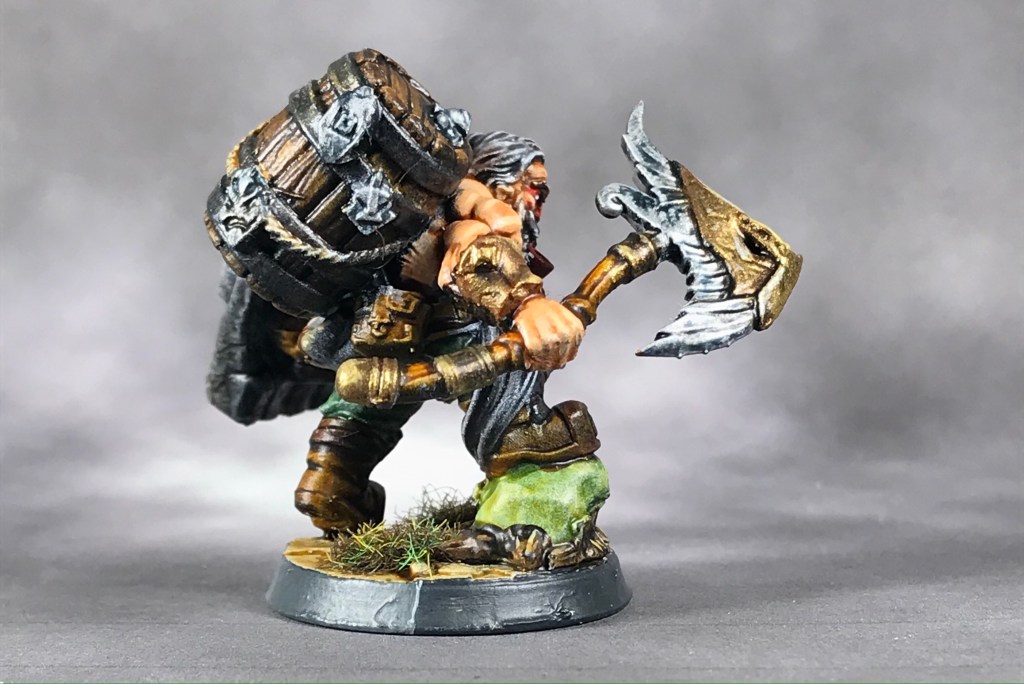
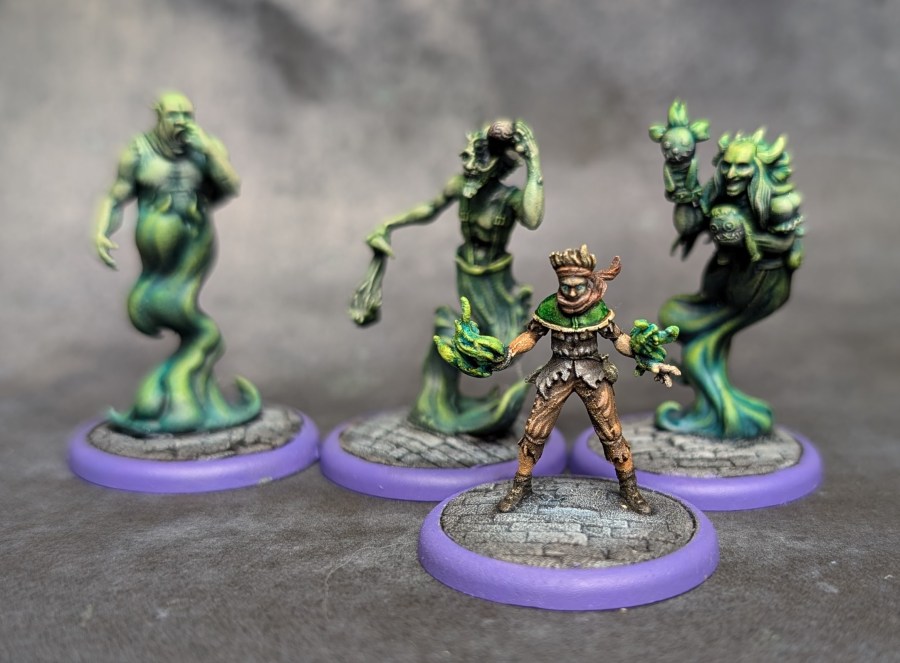
You know, the kind of guy that planned things and had a strategy for his blog posts would have realized that his December crew for Malifaux would have made an amazing post for Christmas day, but I am not, nor have I ever been, nor will I ever be that kind of guy… so here’s my Woe crew, led by the always charming Pandora!

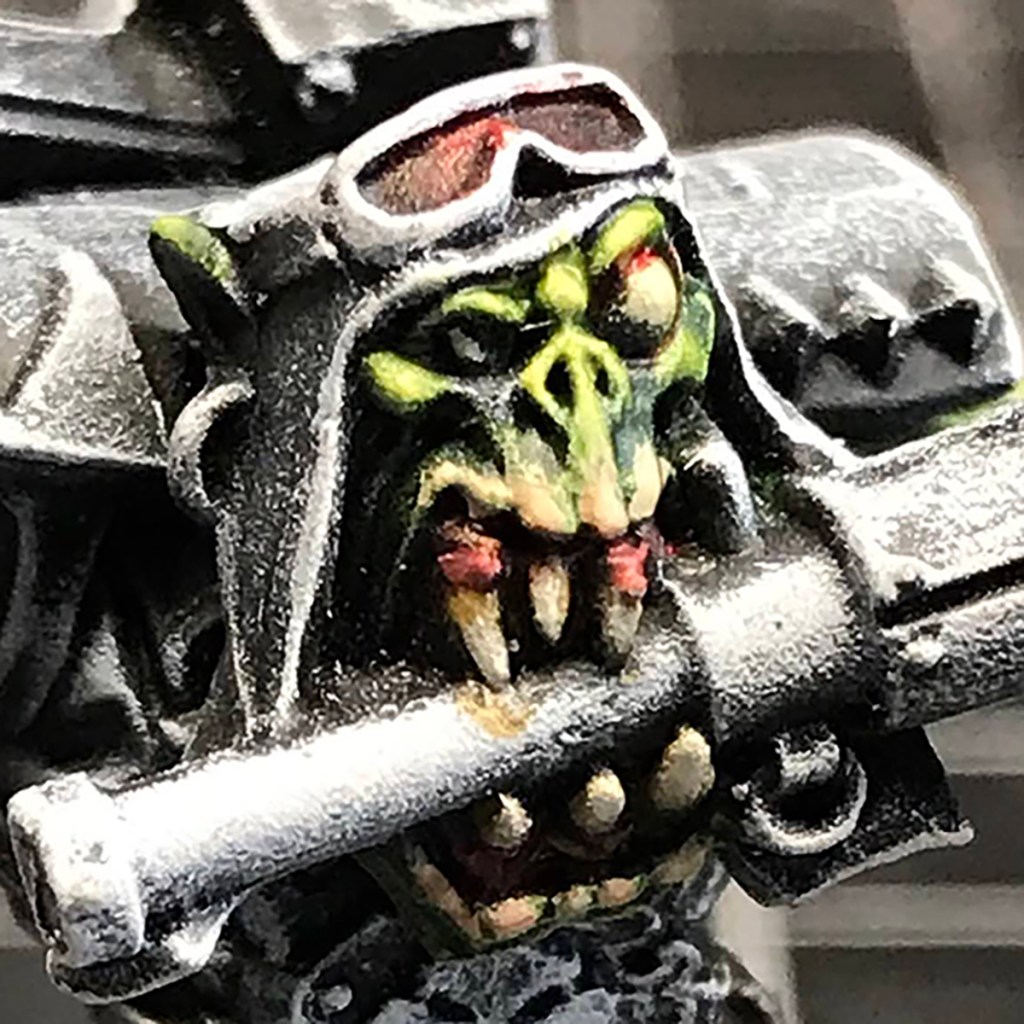
This crew has everything. Freaky Scarecrows. Dememnted Teddy Bears. Evil, stabby babies.

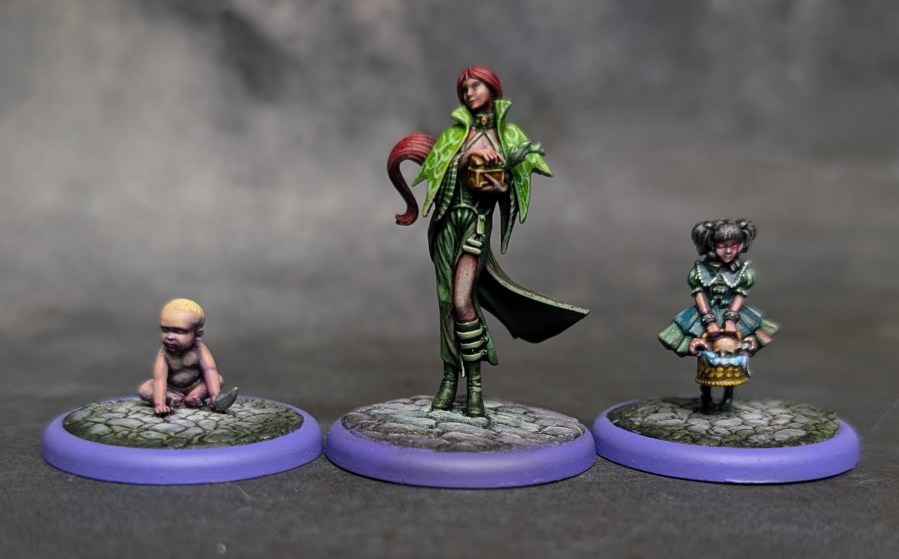
Baby Kade was a challenge, babies are not a thing that come across a painting desk that often, and I wanted his skin tones to be smooth and buttery, which is kind of the opposite of how I paint!

Iggy leads three Aversions, and they’re a ton of fun! Puppets, brain removal, and nose picking, woohoo!

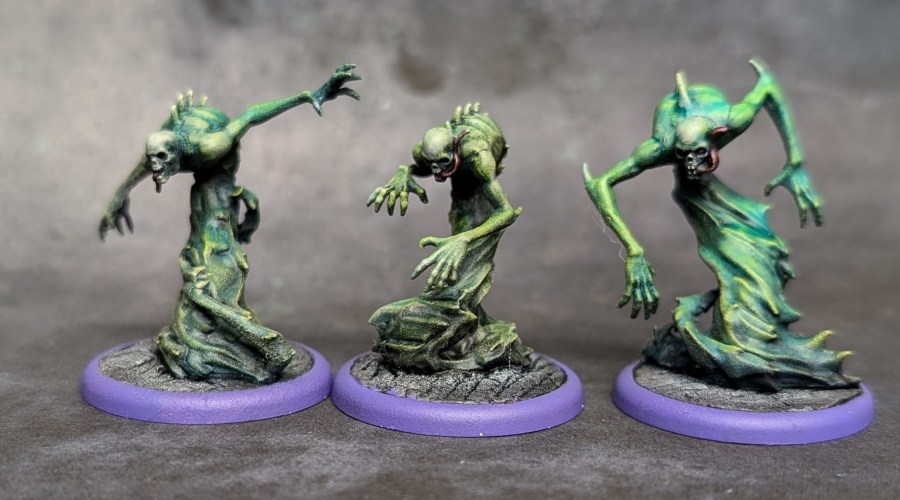
The sorrows are also pretty neat, and really lend themselves well to oil washes.

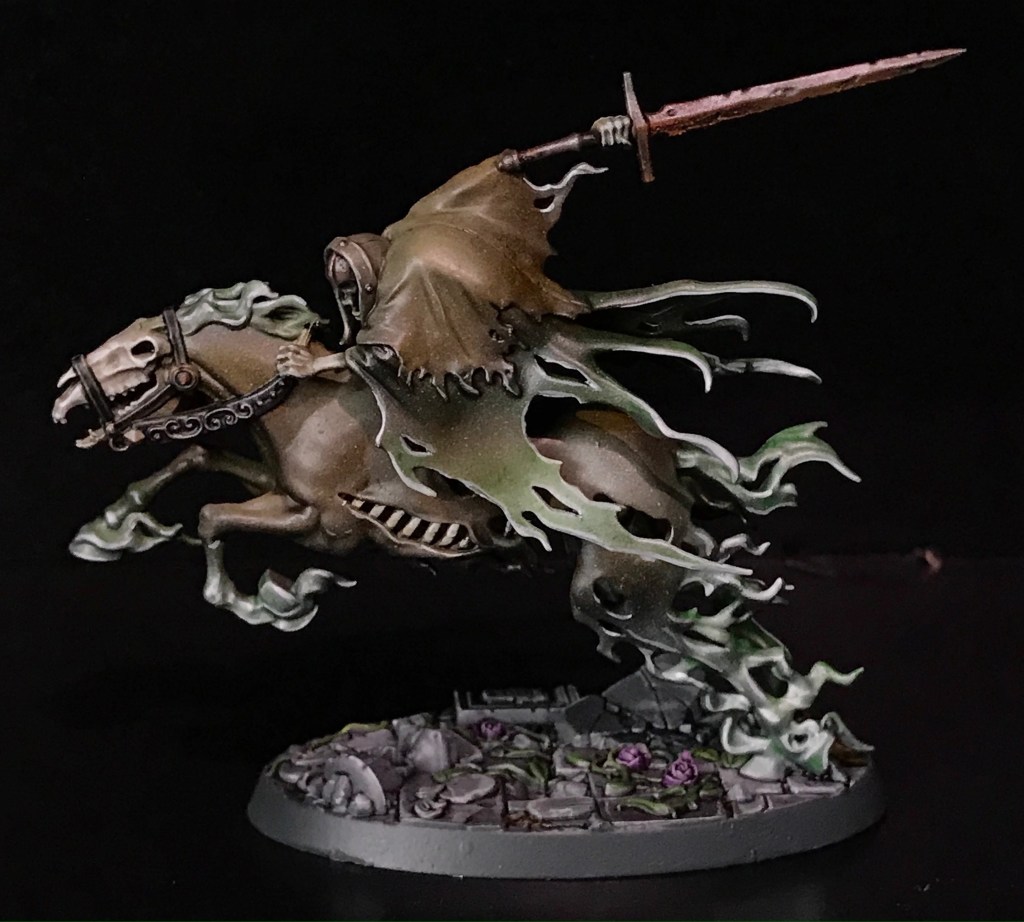
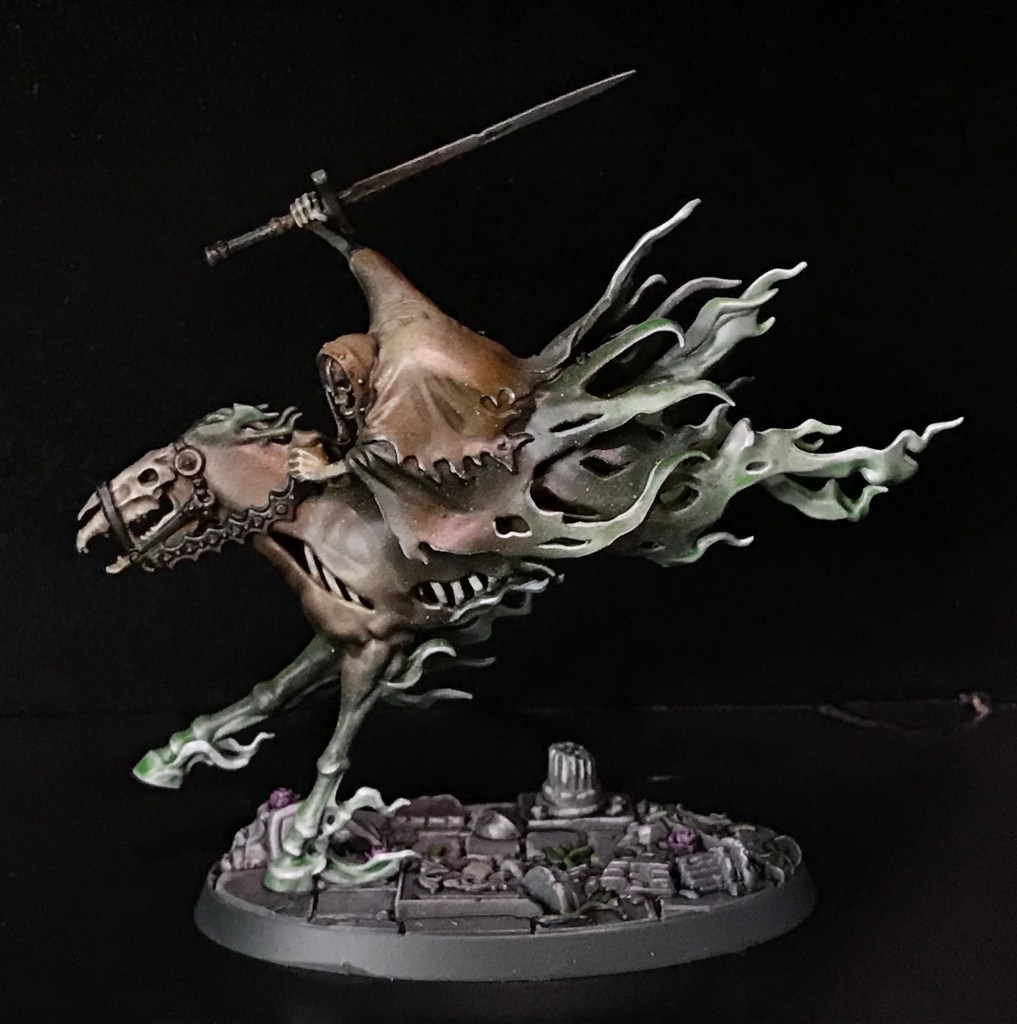
The Poltergeist is last of the traditional Woe crew, and I painted it up like the Aversions and Sorrows:

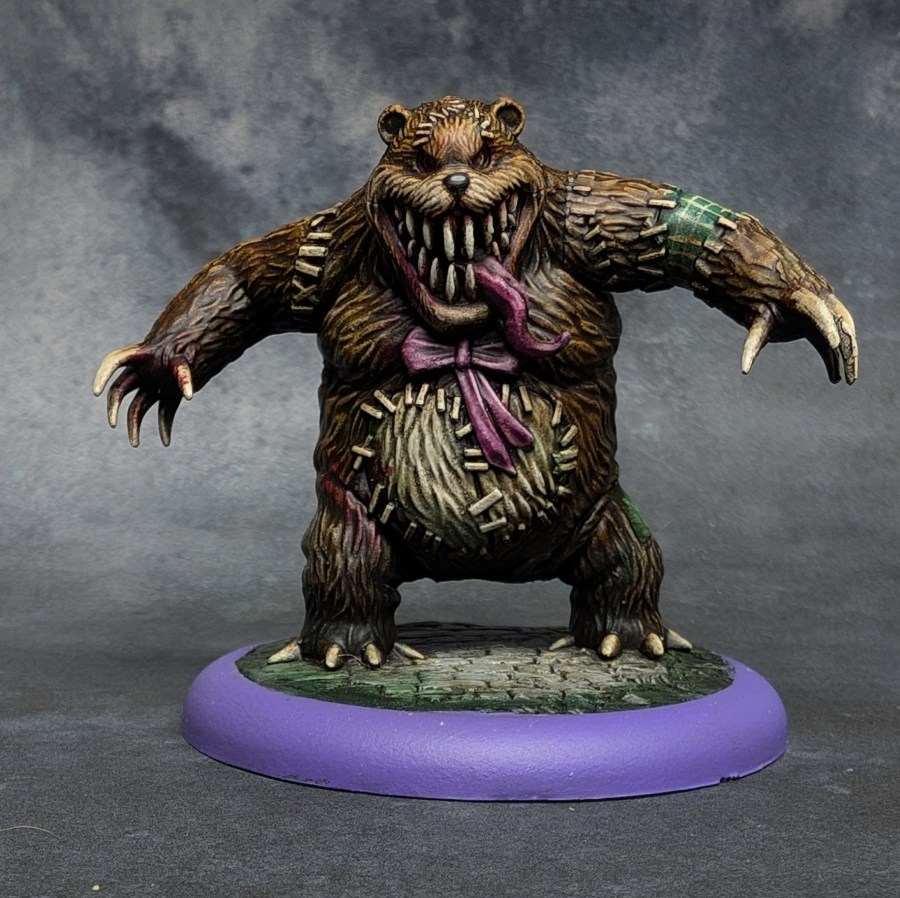
Now, because Baby Kade needs a teddy, one is allowed in this crew!

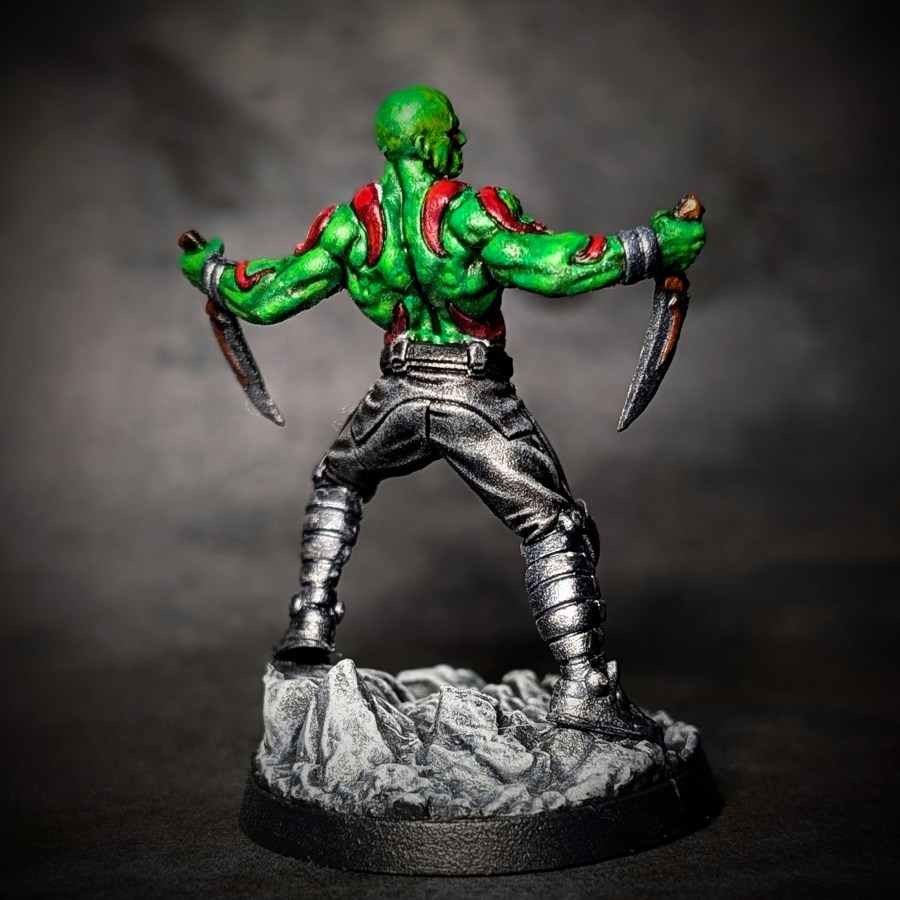
And we’ll round out the Woe crew with The Carver, one of my all-time favorite sculpts from Wyrd!

This crew has been successfully re-home through my wildly popular catch and release program, which allows me to keep painting miniatures without filling the house to divorce levels of crazy little figures.

Moonstone: Doug the Flatulent

I am so happy to finally have this guy done! He is literally the first miniature I saw for Moonstone when it was first teased way back in the dark ages of my memory, and he’s one I was a little stressed about finishing, because he’s so damned iconic.

Moonstone is already an incredibly thematic, atmospheric game. It’s also the only game that I know of that has a mechanic bake into it that allows for a farting dog that is used as a mount for a jousting goblin knight, so if that gets your gaming engines revving, this game was made for you!

That goblin knight’s name is Pubert. He kills folks and steels their money, but he also seems to be really attached to Doug, and I can’t hold much malice towards someone who is that devoted to their dog. I can’t imagine Doug is the best choice of mounts, after all. I’ve known far too many pugs. They’re like the drunk sidekick in every relationship; entertaining, gassy, and just a bit wobbly.

Doug and Pubert are also my first Goblin mini for Moonstone, and I’m really thrilled to be heading into this faction for the game!

Marvel Zombies: Groot! Groot! Groot!

I love Groot! His miniature from Marvel Crisis Protocol is pretty sweet, but alas, I don’t have a personal aircraft hangar to store MCP figs, so I’ll have to do with these Marvel Zombies figs from Zombicide.

It’s a pretty solid sculpt, with plenty of room to play with tints and really break away from the monotony of painting a guy made of wood.

Here he is with Drax, the galaxy’s greatest saxaphone player!

Moonstone Miniatures Game: The Duchess

Time for an update on my Moonstone back log, and perhaps the beginning of a fresh strategy to get these done!

In the past, I’ve just put together whatever I had in front of me, and set out painting that backlog without any real strategy. That has led me to feeling like I’ll never finish any of these collections, since there’s simply so many figures, and I’m doing a terrible job of not buying more!

So, I’ll be taking them on by boxed set, and since the last Moonstone mini I finished was the Creep from the Masquerade box, I figured I would follow up with Duchess, and eventually Claudia Duvel. That should at least help me feel like I’m making some progress as I check off each box completed!

The Duchess is a really fun mini, and challenged me to try some new approaches to color. I wanted to go super bright on everything, but she’s also pretty sinister, so I needed to go bright and sinister, which I’m hoping I pulled off!

Here she is with Creep, looking like they’re ready to poison some canape at the next Grand Ball! Claudia is already on the paint table, so I should have her up soon!

The Masquerade Troop box is available online directly here, but you could be a real champ and order it from your local game store!

Marvel Zombies: Drax the Destroyer

Still playing catch-up on the never-ending mass of miniatures from the Marvel Zombies Zombicide game from CMON! Today it’s all about Drax. Or Mr. Destroyer, if you’re feeling fancy.

I’m pretty consistently surprised with the quality of these figures from CMON, considering the first Zombicide minis I painted were not the best of experiences!

Also, I LOVE that these miniatures have base details already. That’s a really great addition that goes a long way towards selling the mood of the game!

I still haven’t played a game of Zombicide, but it could happen. Regardless, I’m happy to have these around for any super-hero action that might come along!

Grimmleigh’s Guide to Painting Ork Skin

Since absolutely no one has asked, I thought it would be fun to put together a quick guide to how I paint ork skin. This is a speed paint method that I have been tinkering with for the better part of 20 years, and allows me to get a squad of orks (or goblins, or green dwarves, or emerald halflings) on the table pretty quickly!

Step One:

Start with a good foundation. Deeznudds here was sprayed with a coat of black primer, then I gave him a zenithal highlight pass with gray paint. Then, he got a downward drybrush of light grey paint. I’m going for high-contrast here, so subtlety is absolutely not a goal.


Step Two:

I blocked in the skin with some Sap Green ink from Daler Rowney, mixed with just a tiny bit of airbrush medium to dilute the pigment just a little. With the pre-shading done in step one, the skin could be considered done at this point and look just fine on the table-top…

Step Three:

…but we’re not Barbarians, are we? At this point, I started picking out the upper left side of the highlights with a little bit of yellow paint (Army Builder Babe Blond to be exact). Any light yellow will do the trick. I took a couple of passes to build up the lighter effect.

Step Four:

Why yellow? Well, Padawan, green is made out of yellow and blue, therefore it really likes being highlighted with yellow, and if you need to shade, blue works a wonder. At this step I have mixed a little Army Painter Arid Earth in with my yellow, and my highlights are getting smaller with each layer. It’s also time to paint that manky damned eye.


Step Five:

This step is completely optional, but I really like the effect. I paint in the highlights on the lips with a lighter skin tone, this adds a cool effect to the face and breaks up the monotony of a purely green face.


Step Six:

This is where I block in final highlights on the lips by adding a little Army Painter Arid Earth to the flesh tones. 


Step Seven:

Deeznuddz is looking pretty fierce, it’s time to line his gums and his manky damned eye with some Flesh Tearers Red Contrast Paint from Citadel.I also painted in his teeth with some Menoth White Highlight from Studio P3.

Step Eight:

The gums get a little highlight action by adding a little Army Builder Arid Earth to the Flesh Tearers Red. Yes, I do try to highlight with the same color, good eye! This is a good place to coat the teeth with some Skeleton Horde Contrast Paint from Citadel.

Step Nine:

At this point, all that’s left is the teeth. Since highlighting with a yellow based paint won’t give me the effect I’m looking for, I’ll be using Menoth White Highlight from Studio P3. Deeznuddz is ready to smash some skulls!

The same technique that was used on this face works perfectly for any green skin, whether it’s arms, torsos, or even squishy little goblins. Have fun!

Now, the colors may seem a bit washed out, but that’s because we’re looking at this guy much bigger than he is in real life. Look at your screen at about what his real world size would be, and you’ll see what I mean!

If you enjoyed this guide, let me know! I’m thinking about starting a series to help people navigate learning to paint miniatures!

Nighthaunt Project (part 2)

The second part of the Nighthaunt project is this pair of ponies, which turned out waaaay better than I was hoping for!

I used my airbrush to blend a nice earth tone brown into an eerie green, then pulled out some ethereal highlights with a light blue gray. Then some rust effects for the metal, and I’m calling them good to go!

Next up, I’ll share the leader of this motley group! I have a ton more Nighthaunt I should finish up, they really are a lot of fun!

Marvel Crisis Protocol: Valkyrie

I just realized today that I haven’t actually posted pics of most of the Marvel Crisis Protocol miniatures that I have painted up, so I’m going to have to make a change to that!

Valkyrie, though, is a newer mini that I finished up this week. The box art shows her in her classic comics version, all Nordic and blonde. Nope. I’m a big fan of Tessa Thompson’s portrayal in the Marvel movies, so I opted for a darker skin tone and black hair.

I kept everything else pretty straightforward from Valkyrie’s classic comic look, with the purples and vibrant blues.

Scratch-Built Fantasy Village, Part 6

The first building is finally finished, and I could’nt be happier with how it turned out!

After the flock and shrubbery was secure, I added a couple of plastic railroad trees that I was able to twist in extremely twisty ways by soaking them in boiling water.

The rest of the piece was just a matter of concealing joins and gaps with shrubs.

After all of the flock was set, I poured clear resin into the moat for a water effect.

It’s a really fun piece, and will make for a thematic center-point for my games!

The Game Changer.

Last week, a purchase I have been wrestling with making arrived on my doorstep. It’s a purchase I have had mixed feelings about for months, but isolation and work stress (I work in the mental health field) from COVID-19 finally won.

I bought an Elegoo Mars resin printer. That model you see up above was my first print, and the reason why I finally gave in. He was, to be frank, too cool not to have in my collection.

I have been conflicted for a long time on this technology. Initial prints that I had seen from extruded printers didn’t really impress me, and resin, until recently, has been really expensive. Now, you can get a good printer with a liter of resin for under $300.

My other big issue has been what I see as a disruption effect on an industry I care a lot about. Good prints made at home could be the death of small game stores, but after all of the printing trials and fine tuning I had to do to get things going, I don’t think we’re there… yet.

There is a lot you have to learn to make resin printing effective, and mistakes can be costly and messy. I messed up the FEP film almost immediately, and my garage was too cold for things to work right. But I am stubborn as hell, so I dove into research mode, and now I’ve been getting amazing prints without fail for a couple of days.

This handsome gent is Gino, and he was one of the awesome models Artisan Guild had available in March. $18 a month, and March had more than half a dozen badass dwarfs, including one mounted on a Griffon. I didn’t really have a choice.

Once I trimmed the supports off, it was time to get Gino primed, and start laying on the paints:

I really had a ton of fun with this model. He’s brawny, puffing on a pipe, and he’s stepping on some poor monster’s head. It wasn’t until I was almost done painting that I realized Gino had knocked a bunch of this dude’s teeth out before chopping off his head. Such a great model, and I think he cost me about .50 cents worth of resin to print out.

The final product is stunning! I’m still working my way through the rest of the offerings for last month, but Gino is ready to kick some ass!